DemoCharge enables Windows users to create powerful tutorials, presentations and other demonstrations quickly and easily. Here’s why it’s the right tool for many projects.
You may download a free, trial version of DemoCharge here.
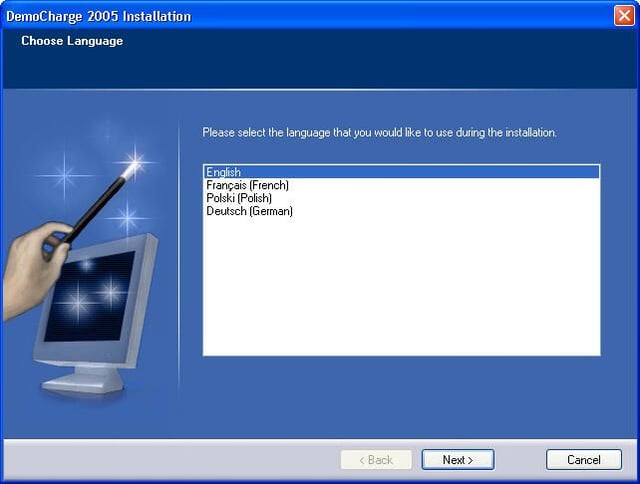
After downloading the DemoCharge 2005 setup file, the first page users see upon double-clicking the executable file is this Choose Language window.
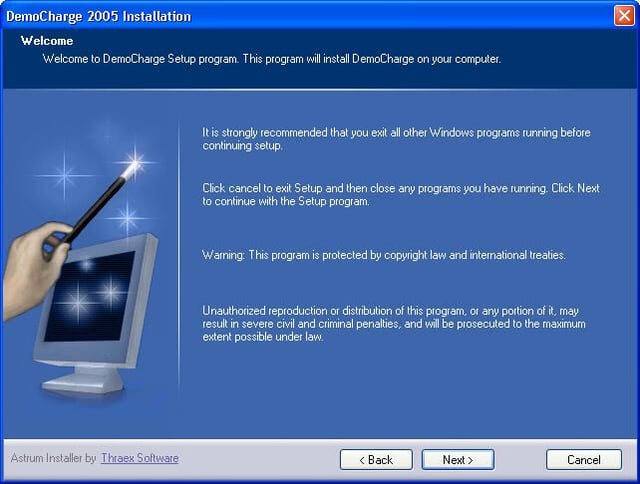
Once the language is selected, the Setup’s Welcome screen appears.
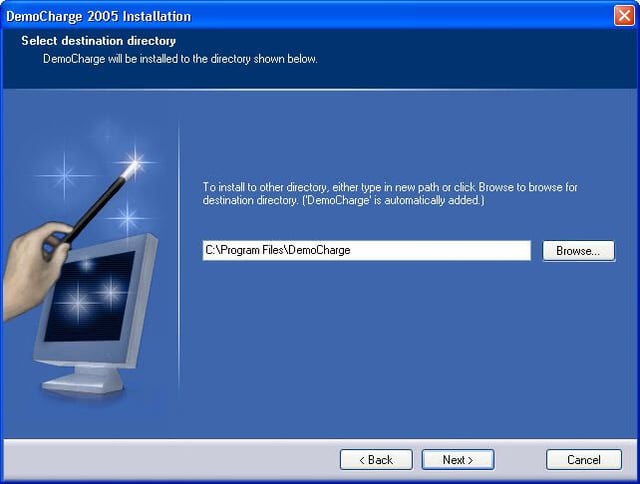
As with most every application setup, DemoCharge 2005 requires that you specify the destination installation directory.
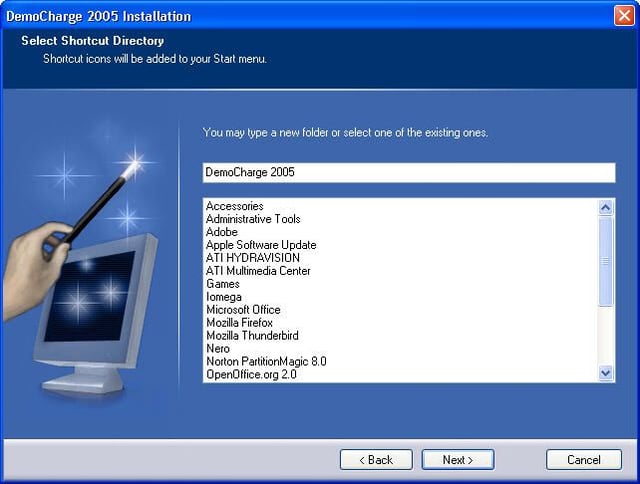
Again, as with most application installation routines, you can create a shortcut directory for DemoCharge 2005 within Windows’ Start menu.
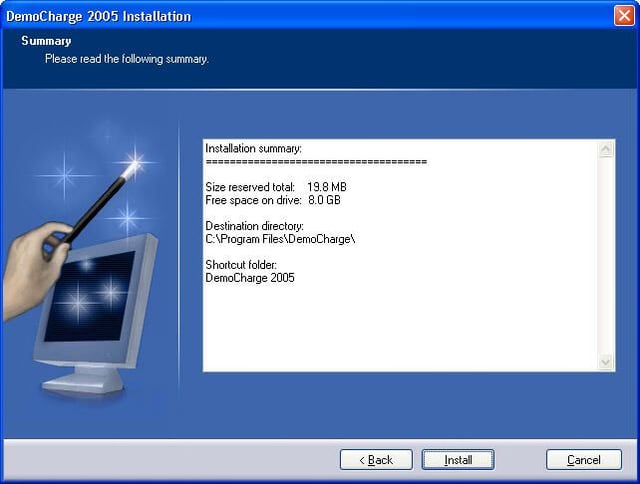
Before installation, DemoCharge provides this summary screen reviewing the default settings the application will use.
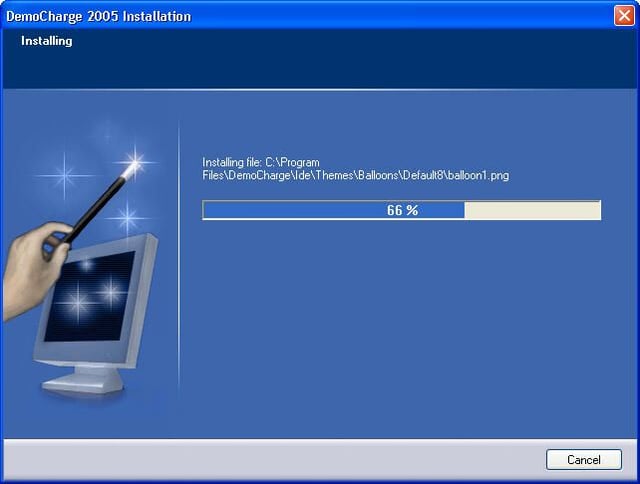
Upon clicking the Install button from the Summary page, the program begins installing itself.
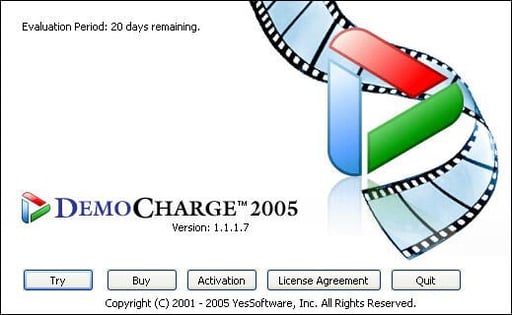
When DemoCharge 2005 starts up, the program displays this page. In addition to displaying the number of days left in the trial version, the application includes a Buy button that can be used to obtain a valid license.
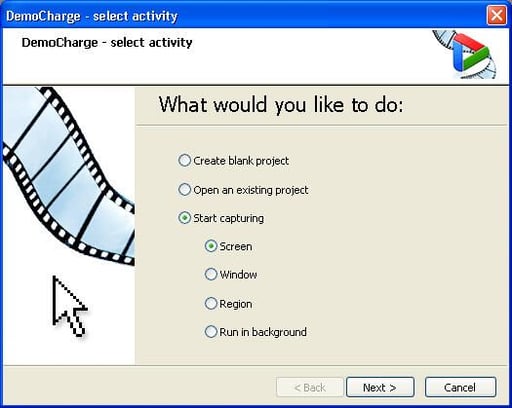
This is the first screen that appears when using DemoCharge 2005. You can elect to begin capturing screen input, create a blank project or open an existing project.
Compared to other video creation programs (such as Adobe Premier or even Windows Movie Maker), DemoCharge enables a user to begin capturing screen and video input with just a few clicks. Confusing setup parameters (such as having to specify screen resolution, video codecs and video or sound card inputs) are essentially eliminated by virtue of DemoCharge’s automatic configuration.

When choosing to start capturing screen input, users see this page. Clicking Finish prompts DemoCharge to begin capturing all screen movement and activity. Pressing CTRL and F10 at the same time, meanwhile, ends active screen capturing.
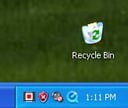
When DemoCharge is in screen capture mode, the application places a red, white and black square filmstrip icon in the Windows System Tray. Thus it’s easy to know whether you’re in capture mode or simply paused.
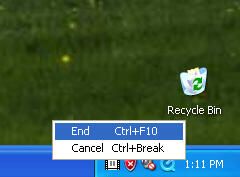
In addition to pressing CTRL and F10 simultaneously, users can right-click the filmstrip icon and select End from the resulting pop-up menu.
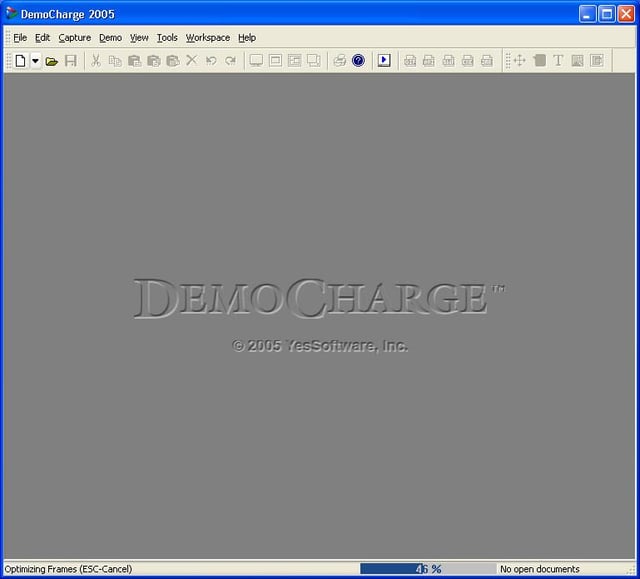
When completing the screen capture process, DemoCharge 2005 optimizes frames and creates a project.
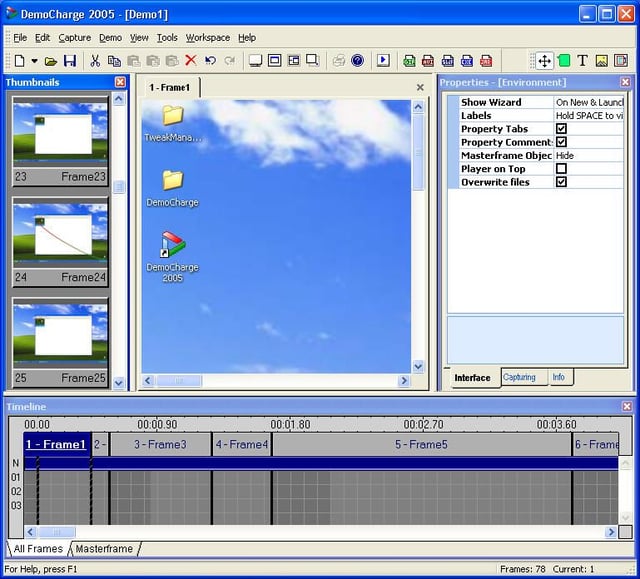
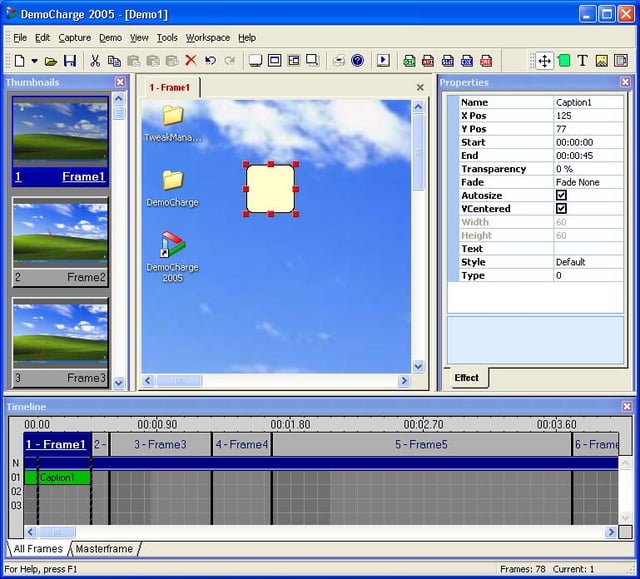
Once screen capture information is optimized, DemoCharge 2005 displays this project editing screen. In addition to multiple toolbars, the software provides thumbnail views of each captured frame and a timeline useful for editing demo timing.

In addition to exporting screen capture and demo projects as GIF files, users can also export demos as AVi, SWF and EXE files.
Handy icons are already present on screen, meaning users focused on creating demonstration files for others need not wade through numerous menus or cascading waterfalls of options to find the output format they require.
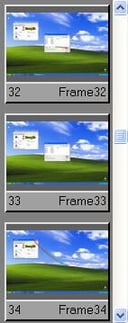
DemoCharge 2005 presents thumbnail views of each frame captured during project recording.
Having these thumbnails readily available makes it easy even for novices to quickly review and edit material they’ve captured. Other video editing and creation programs often include thumbnails, but usually they do so with a host of other information and more complicated menus. By focusing on the most popular tasks required when creating demos, DemoCharge makes it easy for users to go straight to work instead of learning complicated interfaces.
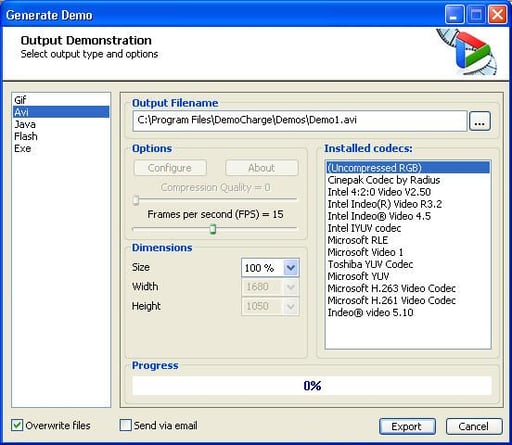
Clicking the export to AVI option calls this Output Demonstration menu. Here you can see (or change) where the output file will be saved, the output filename, the codec to be used in creating the output file and more.
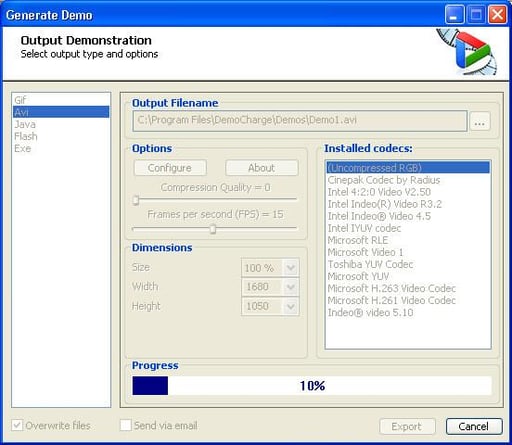
Upon configuring the Output Filename, selecting a codec and clicking Export, DemoCharge 2005 begins creating the AVI file. In my tests, the program requires only a short time (on a 3GHz Pentium) to render output files.
In addition to reordering and tweaking captured frames when creating demos using DemoCharge 2005, several other options are available. In addition to adding pop-up balloons (one is shown here) in specific frames, users can add text, images and adjust the placement of such items using the secondary toolbar that appears along the top with the Standard toolbar.
DemoCharge displays green and red dots within screen capture frames to show where cursor movement begins and ends within the frame.
Individual frame timing is easily edited using DemoCharge 2005. Simply click the beginning or end of the frame you wish to adjust, click it, and move it to the desired length.
Prior to exporting projects as completed files, DemoCharge 2005 includes a preview function that enables screening a demo before completing work.
By enabling even beginners to begin capturing screen and video input, easily add notes and graphics to that information, and export the work to common video formats, DemoCharge is the right tool for users requiring easy-to-learn-and-potent demonstration software.

Erik Eckel is a managing partner at Louisville Geek and president of Eckel Media Corp. He previously served as Executive Editor at TechRepublic. He received Microsoft Engineer accreditation from Sullivan University and earned his Bachelor's Degree in English from the University of Louisville. He's earned Network+, Windows NT 4.0 MCP+I and MCSE, and Windows 2000 Professional MCP accreditations.


