In June of 1988, Microsoft released MS-DOS 4.0, but it got off to a rocky start due to that fact that is was quite buggy and suffered from compatibility issues with many applications. In December of 1988, Microsoft released MS-DOS 4.01, which fixed the bugs and compatibility problems.
Despite its initial problems, MS-DOS 4 introduced a number of new technologies including XMS support, support for hard disk partitions of up to 2 GB and featured the first native graphical shell.
In this screenshot gallery, I will walk you through the MS-DOS 4 installation procedure, which is interesting because it is powered not by the more familiar Setup program, but an earlier incarnation called the Select program.
MS-DOS 4 was the last operating system to use the Select program for installation. (MS-DOS 5.0 was the first operating system to use the Setup program, for its installation.)
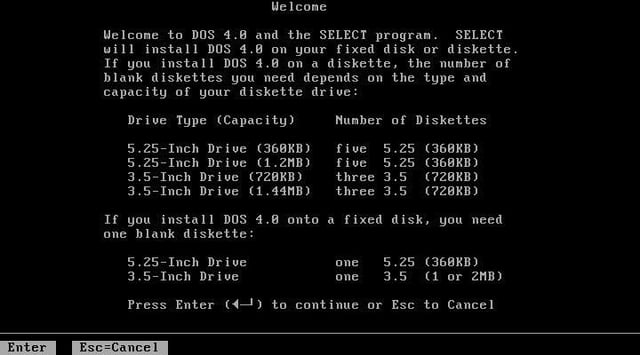
Another interesting aspect of this vintage installation is that the Select program’s Welcome screen begins by asking you if you want to install the operating system on a fixed disk or floppy disks and then lists the number of blank floppies you need to have on hand for the installation. Hard disks were expensive and many computers at that time only came with floppy disk drives.
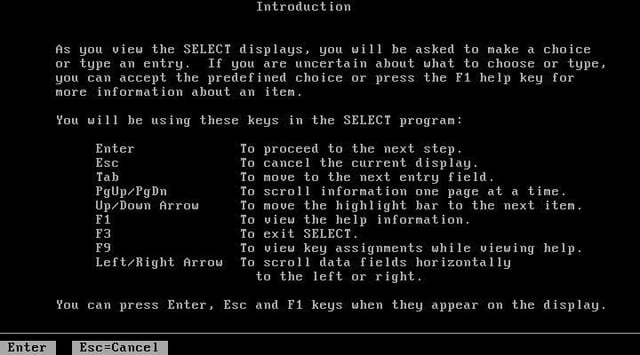
The Introduction screen provides you with a set of instructions on what keys to use to perform the installation.
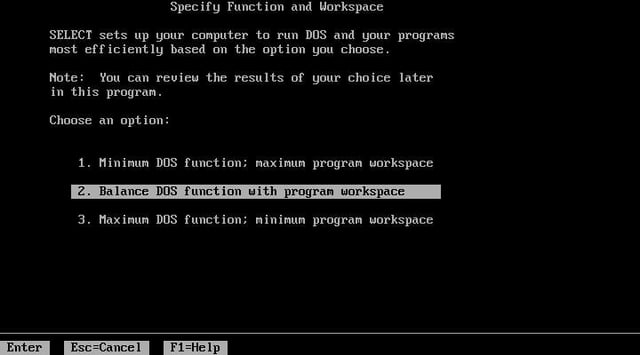
In order to fine tune the installation, you get to choose how you want to balance memory usage, by deciding how much of the operating system you want to load into memory and how much you want to leave available for your applications. (Note that I’ve selected the “Balance DOS function with program workspace” option.)
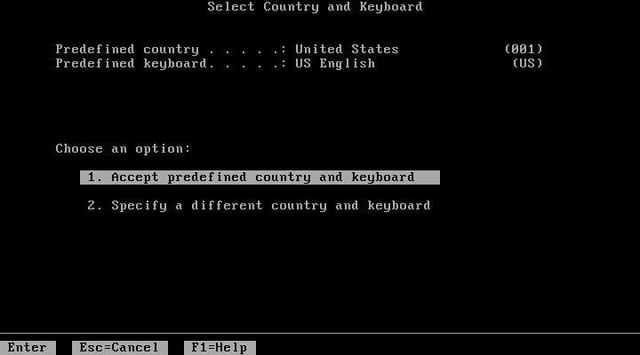
Of course, you have to select a country and keyboard layout.
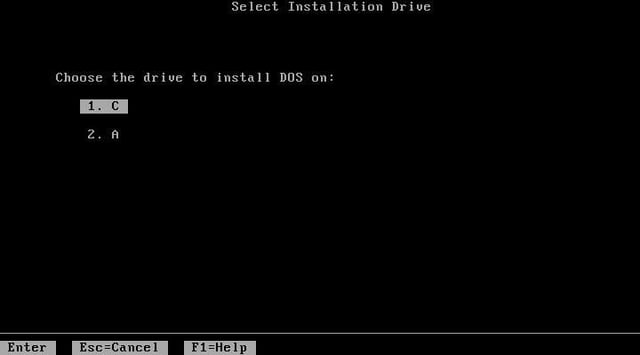
Because many computers of that era only had floppy disk drives, you can choose to install MS-DOS 4 on floppy disks as well as on a hard disk.
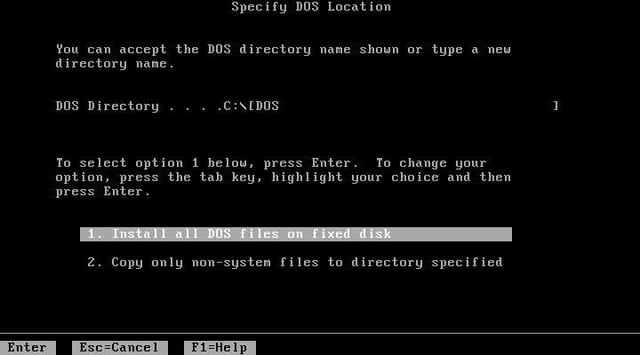
In addition to choosing the installation directory on the hard disk, you also get to choose whether or not you want to install all the DOS files.
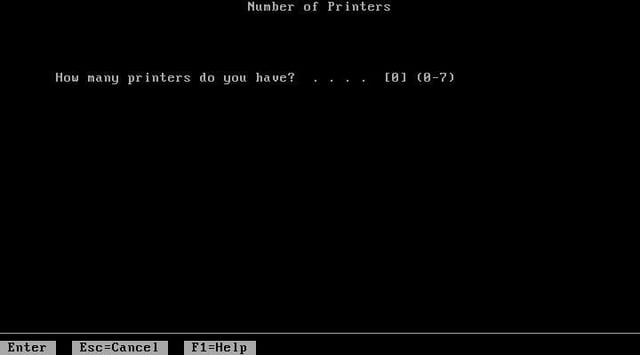
The MS-DOS 4 Select program gives you the option to choose multiple printers.
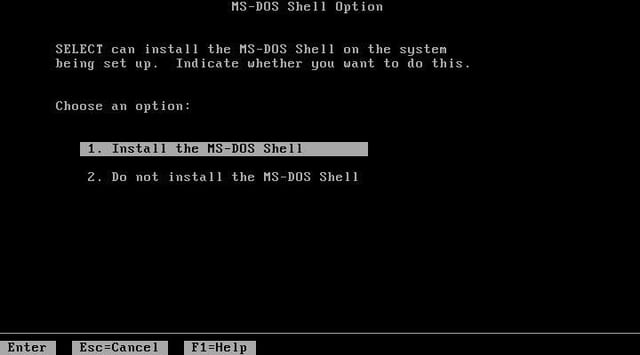
While the MS-DOS Shell was one of the fancy new features in MS-DOS 4, installing it was optional.
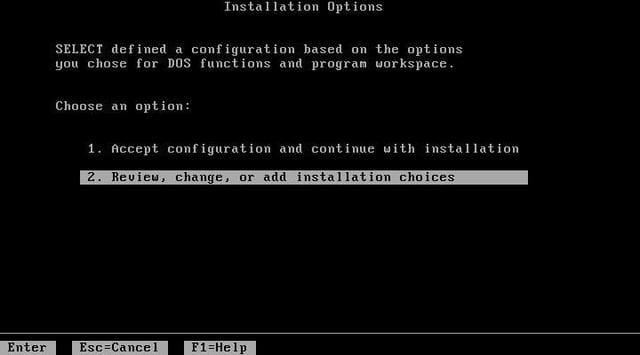
Even though the MS-DOS 4 Select program defines a default configuration based on the choices you made previously, you have the option to review and change those options.
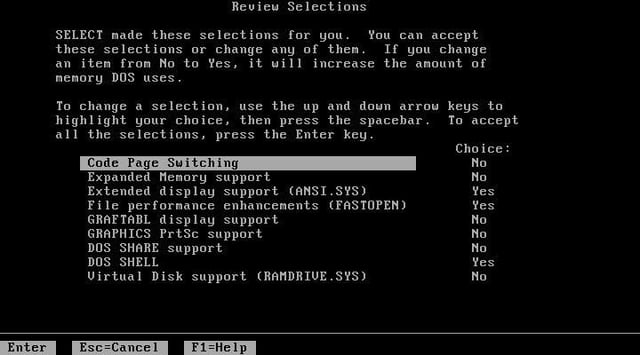
As you can see, this particular configuration is primarily based on selecting the “Balance DOS function with program workspace” option on the Specify Function and Workspace page. As you can see, some of the more memory intensive features aren’t selected. Notice the option to enable Expanded Memory support.
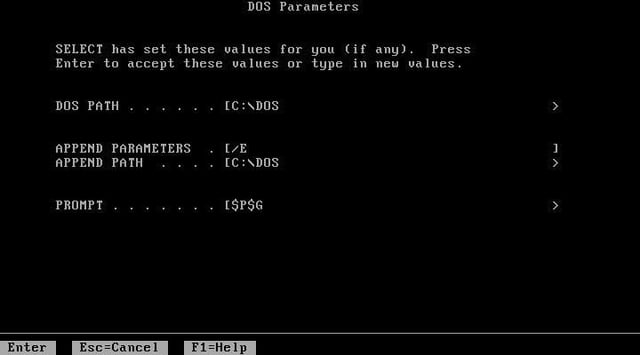
The DOS Parameters page indicates those settings that will be enabled in the Auatoexec.bat file.
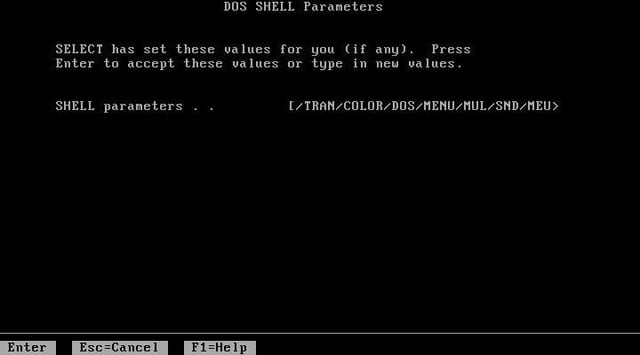
The DOS SHELL Parameters page indicates the default settings that will be configured for the command that launches the DOS Shell program.
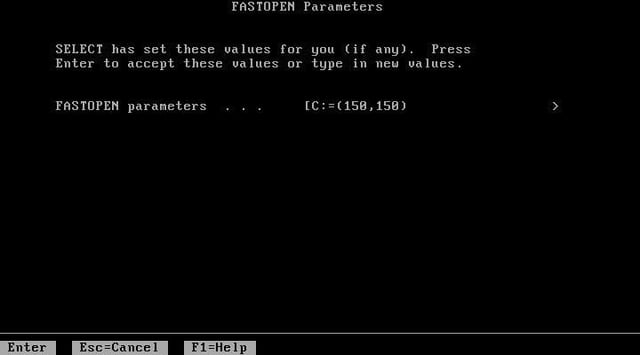
The FASTOPEN Parameters page indicates the default settings that will be configured for the command that launches the FASTOPEN command, which creates a cache that keeps track of the locations of files on the hard disk for fast access.
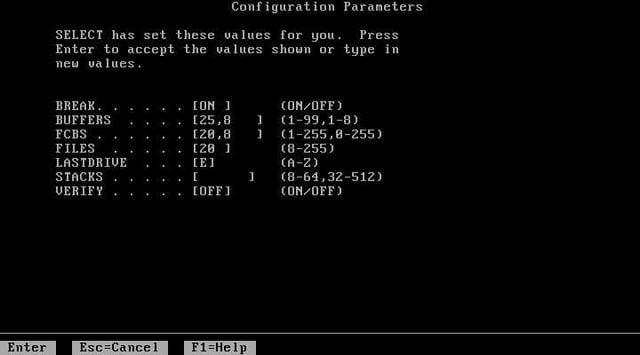
The Configuration Parameters page indicates those settings that will be enabled in the Config.sys file.
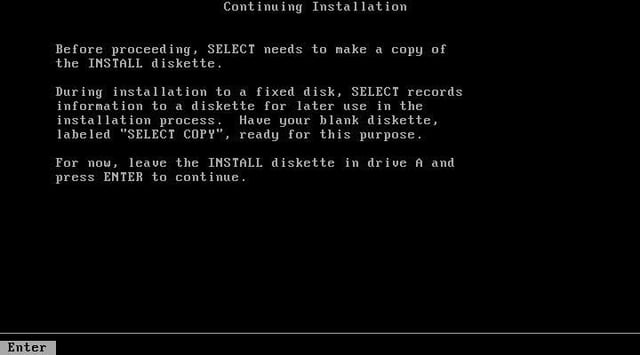
Before going to the next step, the MS-DOS 4 Select program requires you to make a backup copy of the Install disk.
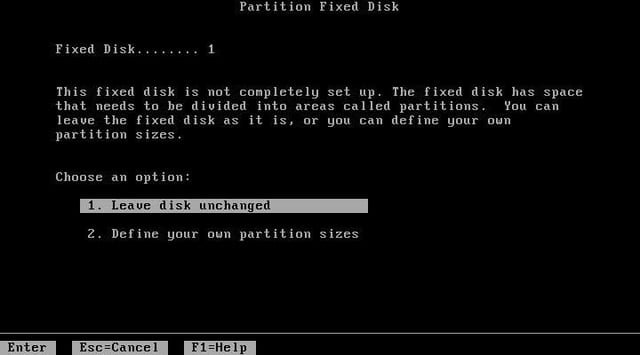
On the Partition Fixed Disk page, you are given the opportunity to repartition the hard disk. MS-DOS 4 provided native support for hard disks partitions of up to 2 GB.
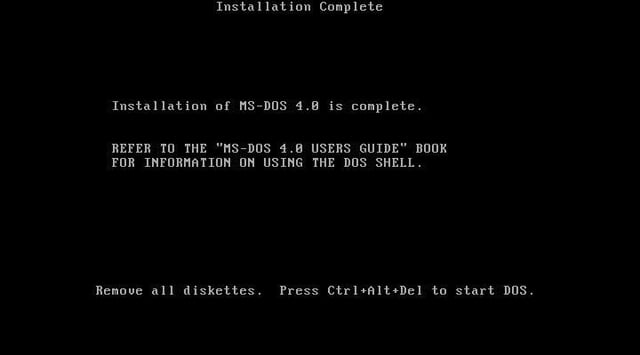
After prompting you to insert the other two disks and copying their contents to the hard disk, the MS-DOS 4 Select program informs you that the installation is complete and prompts you to remove all disks and to restart the system.
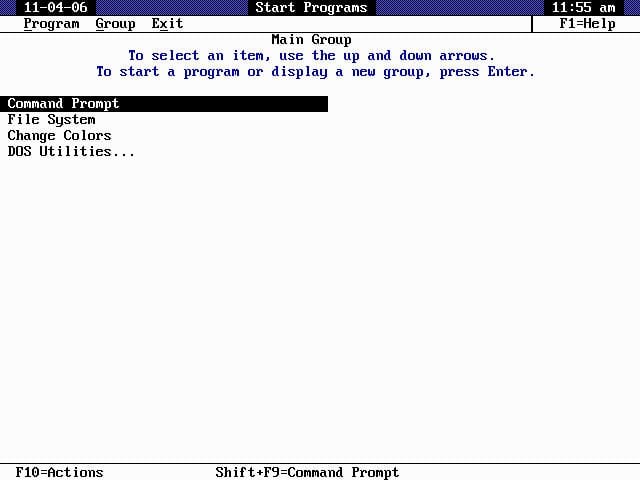
When you boot up MS-DOS 4 for the first time, you see the Start Programs screen of the DOS Shell. As you can see, the Main Group allows you to access the Command Prompt, the File System, the Change Colors page and the DOS Utilities group.
If you look close enough, you can see the origins of Program Manager and even the Start menu.

My first computer was a Kaypro 16 \"luggable\" running MS-DOS 2.11 which I obtained while studying computer science in 1986. After two years, I discovered that I had a knack for writing documentation and shifted my focus over to technical writing.


