
Thinking about jumping ship to Android this holiday season? There are plenty of people who wouldn’t blame you, especially since the iPhone 7 was a letdown for so many. It seems that Apple is starting to fall behind in the innovation game, and no one could be happier than Google.
If you’re considering leaving Apple’s iOS behind there’s no easy way to do it: Apple has made switching from Android as easy as pressing a few buttons, but Google hasn’t seen fit to duplicate their efforts in making switching simple.
If you’re planning to take your photos, music, and contacts with you from your iPhone to your shiny new Android device there are a few things you’re going to need to do, and you’ll find all the steps here.
For starters, go sign up for a Google account if you don’t have one already.
Getting photos from your iPhone to Android means uploading them to Google Drive, which is where images are hosted (just like the iPhone’s use of iCloud).
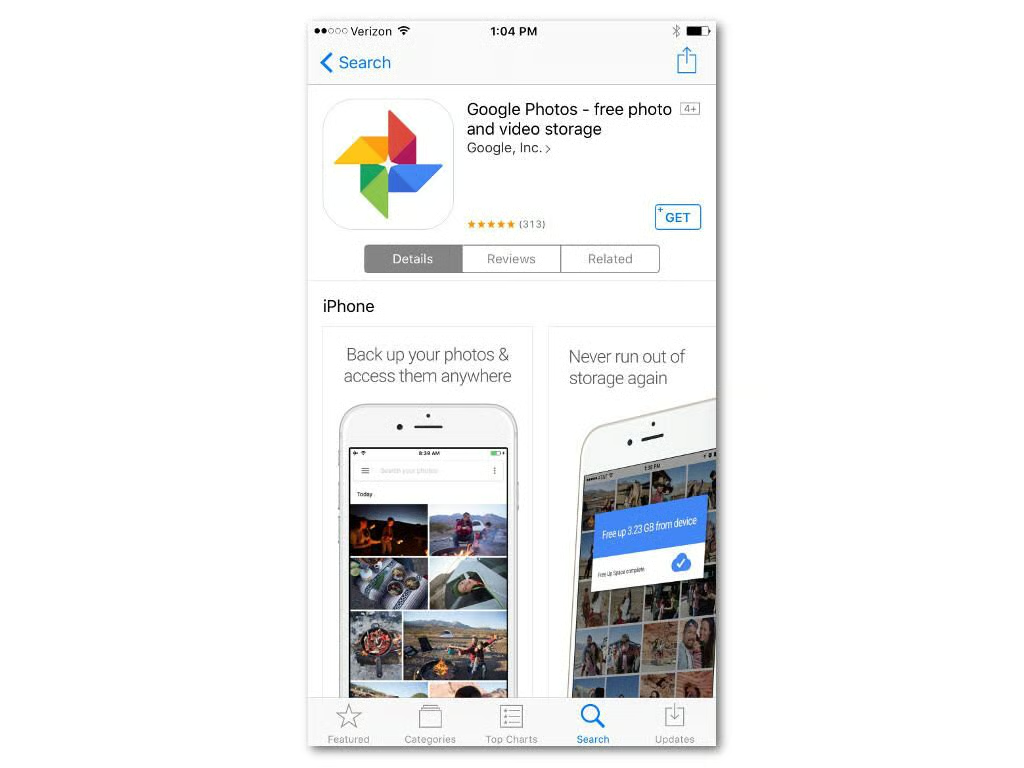
Moving photos is simple with the Google Photos iOS app. Head to the App Store to download it.
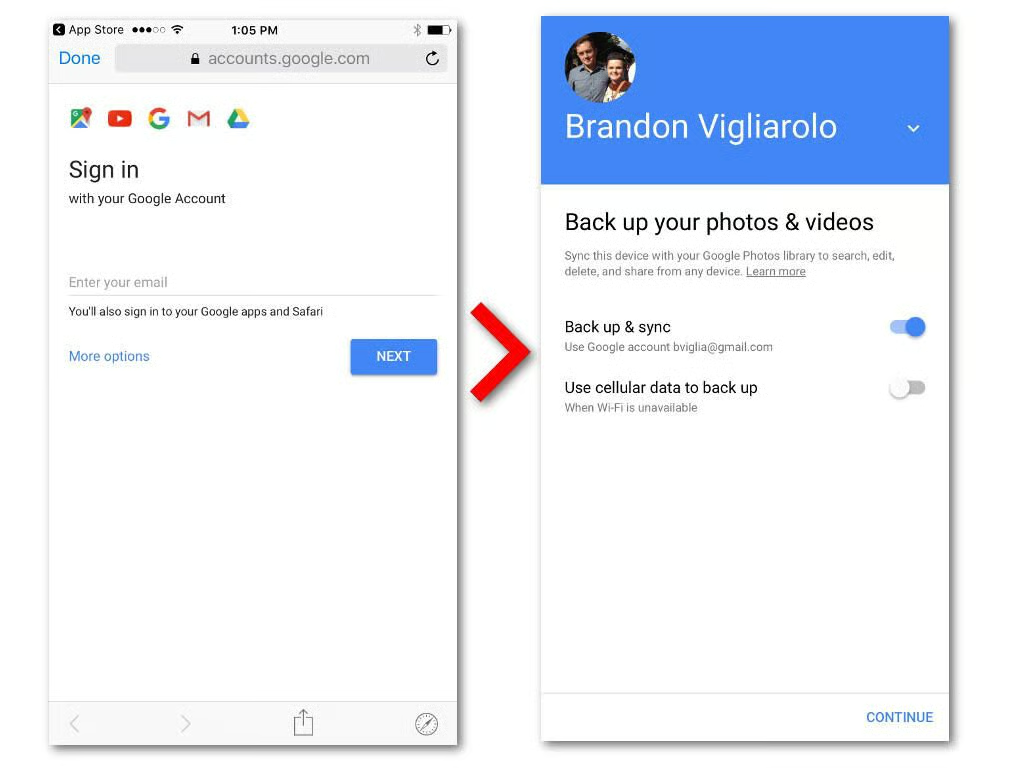
Once Google Photos is installed log in with your Google account. Once you do that you’ll be prompted to sync your photos. Make sure that option is on, click Continue, and that’s it!
Getting music files from iTunes to Google Music is a bit more complicated: You’re going to need to have all the music you want to move saved to a desktop or laptop, so start downloading now if you haven’t already done so.
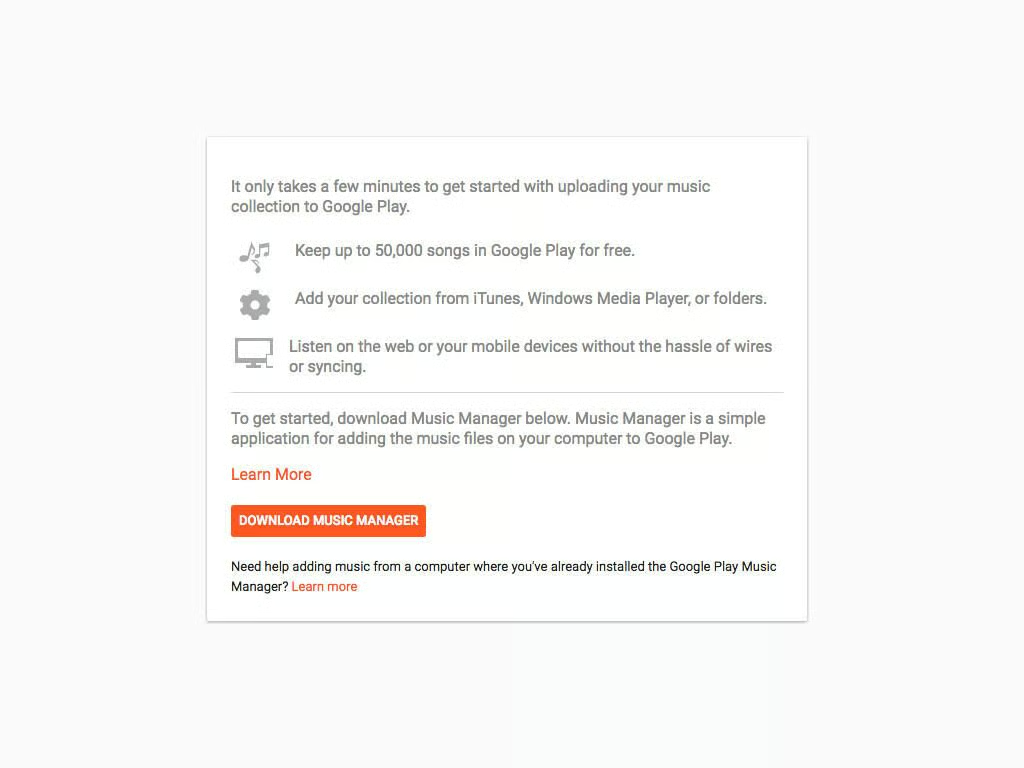
Next you’ll want to download Google Music Manager. The macOS or Windows version should be chosen for you automatically when you click Download Music Manager.
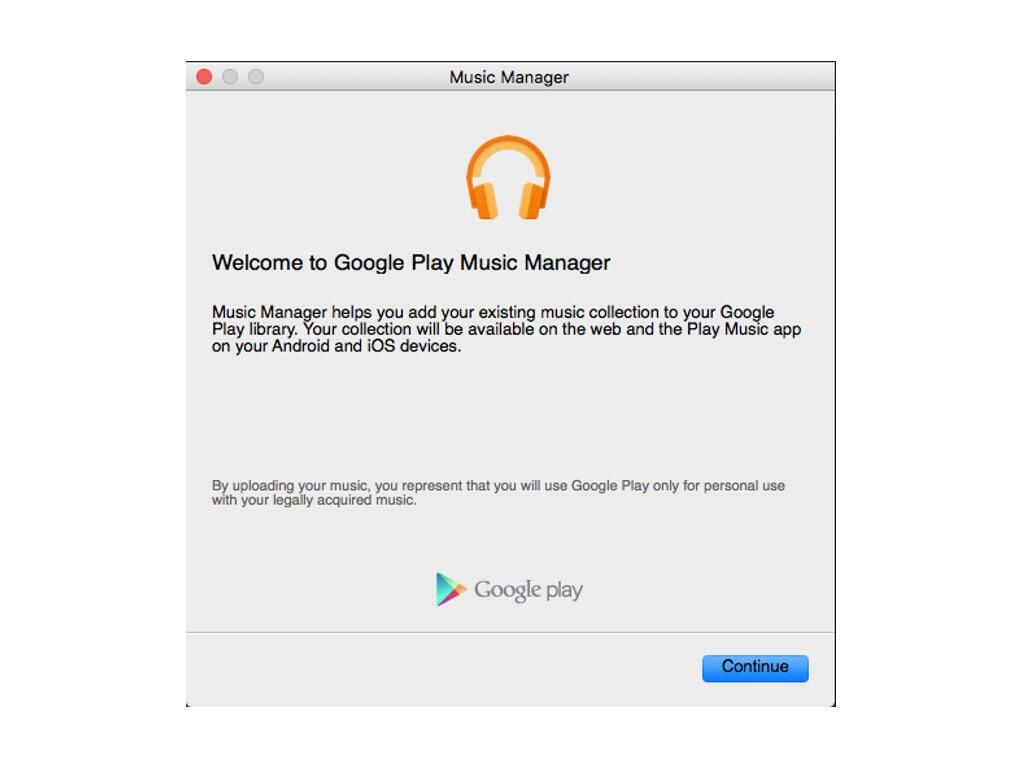
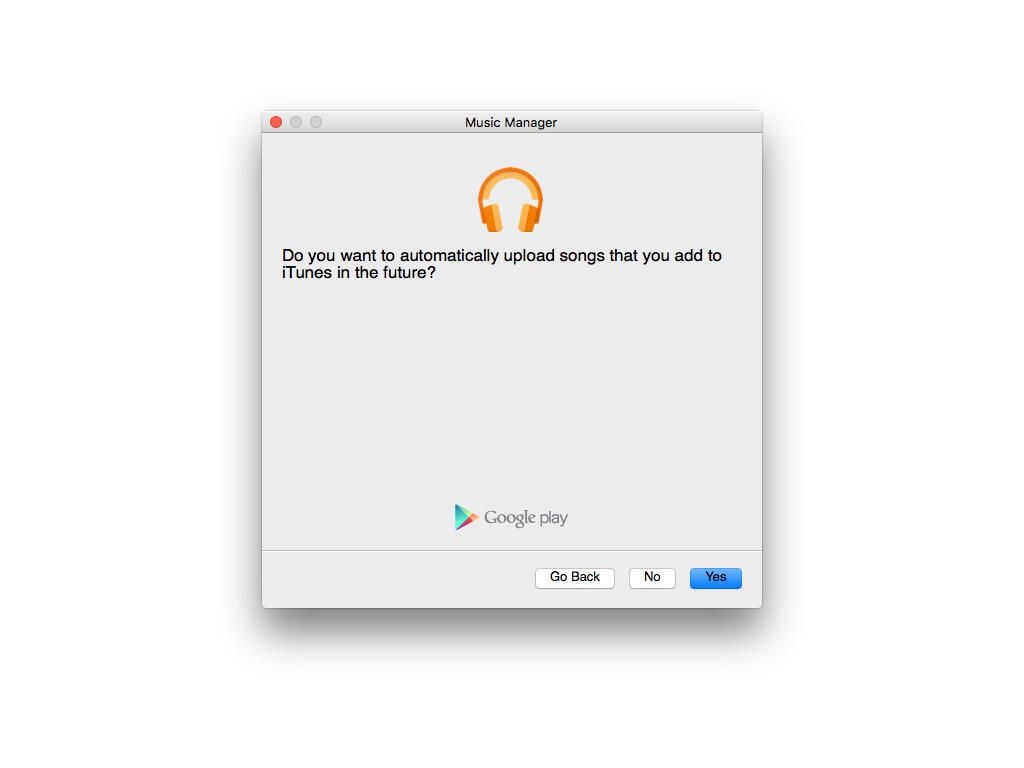
Google Music offers cloud storage for thousands of songs, letting you access your music library on whatever device you sign in to, and Music Manager is how they get there. Once you install the app and start it up for the first time you’ll be greeted with the above screen.
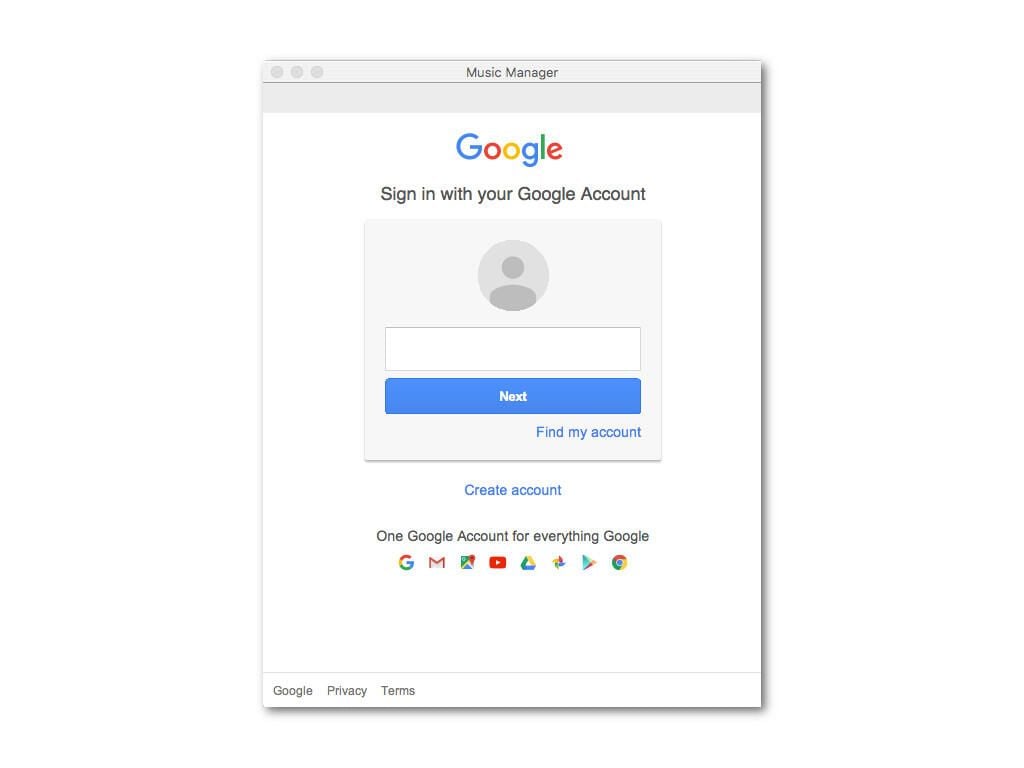
Sign in with your Google account just like you did in the Google Photos iOS app.
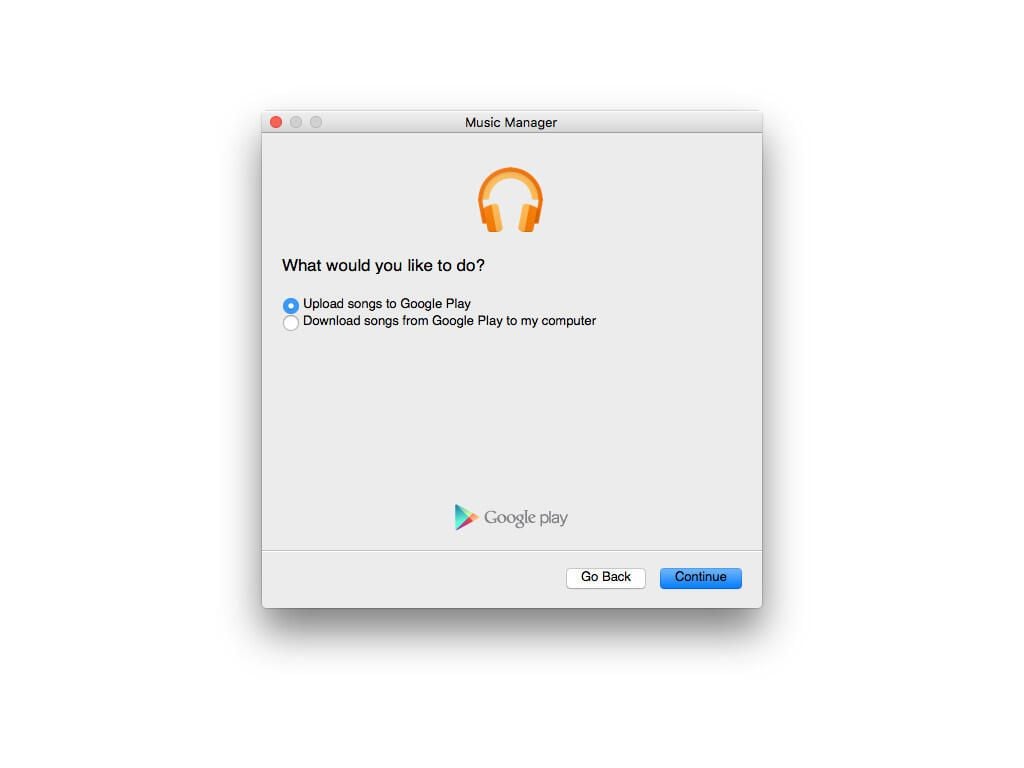
You’re presented with these two options: make sure you select Upload Songs To Google Play and hit Continue.
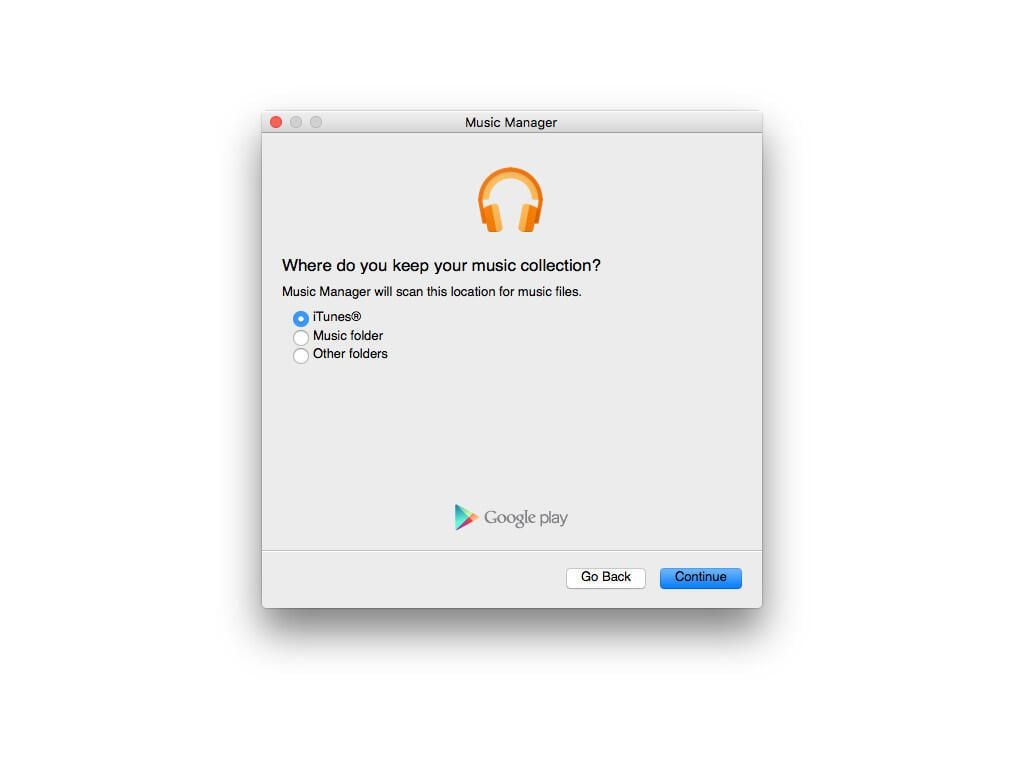
Music Manager is pretty good at finding iTunes files, provided they’re stored in the default location. If you’ve changed the directory for your iTunes files you should choose the third option and manually point it at the iTunes file.
If you keep music in a Music folder that your operating system designates by default then choose the middle option.
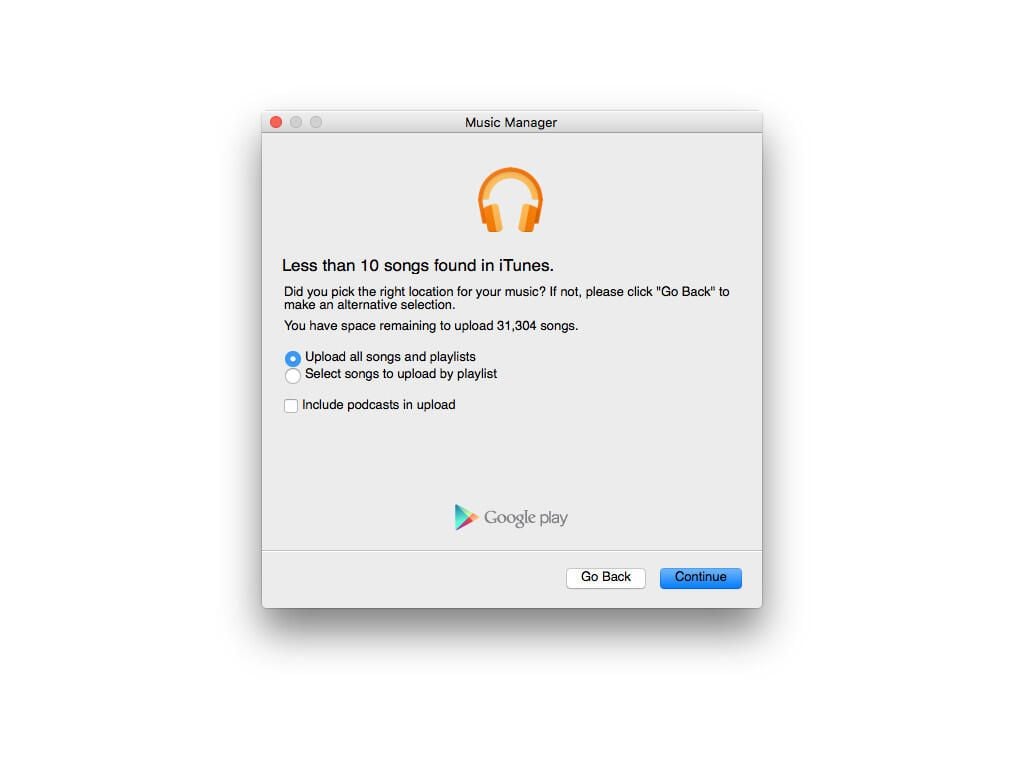
The app will scan the designated location and let you know how many tracks it found. You can let it upload all of them or specify to only upload things from certain playlists–a great option if you want to minimize which music you transfer. There’s no reason you have to upload it all now and iTunes won’t delete your files because you dumped your iPhone.
If you plan to keep buying music through iTunes make sure you choose to let Music Manager automatically sync files in the future. If left running in the background your music library will exist seamlessly in both the Apple and Google worlds!
The most manual of all the parts of an iOS to Android migration is moving your contacts, unless you already have a Google account and store them there.
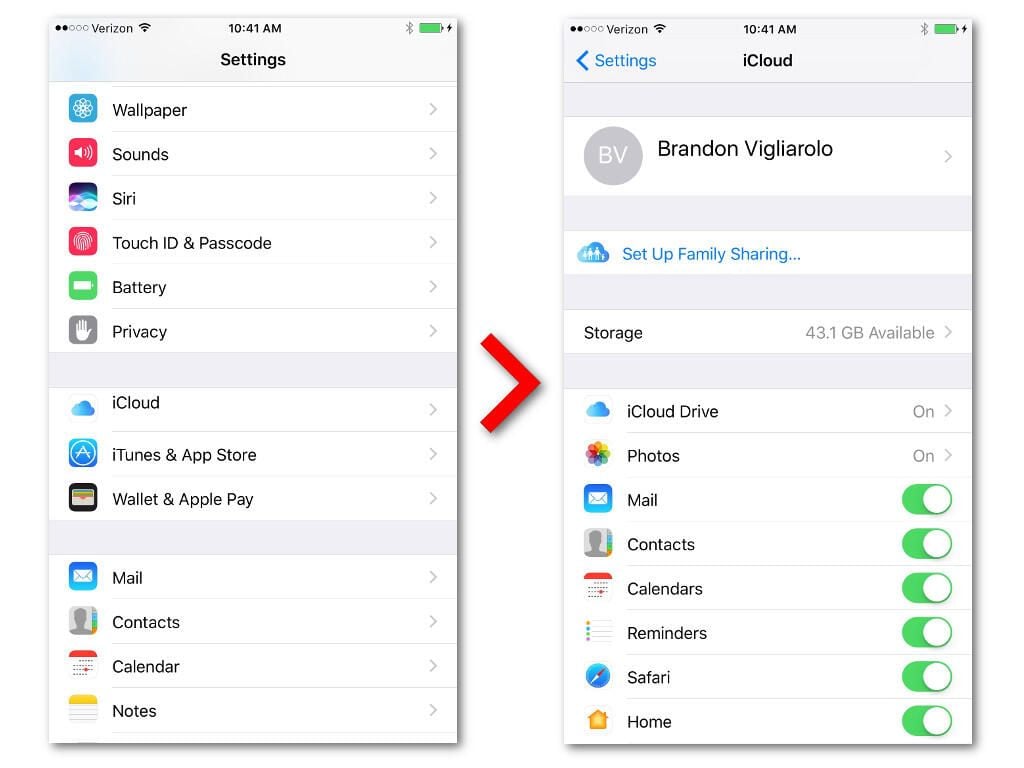
If not, chances are good your contacts are stored locally on your iPhone or are synced to iTunes. Open up settings, then tap iCloud. Make sure Contacts is turned on. If it isn’t turn it on now and give your phone a few minutes to sync your contacts to iCloud.
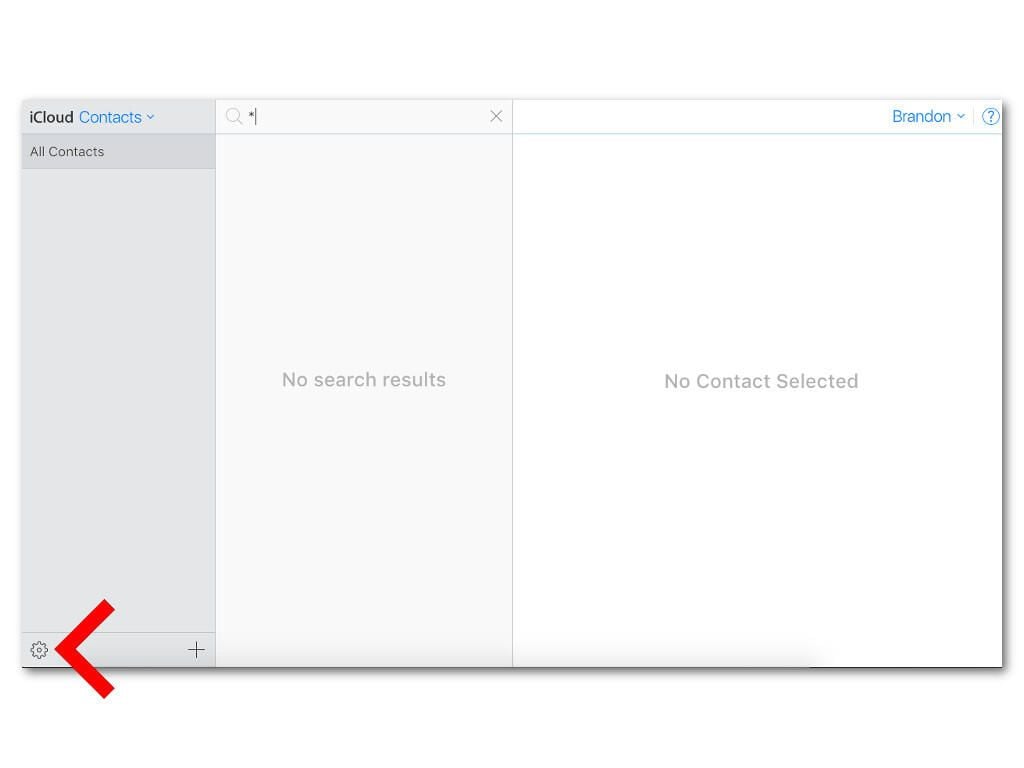
Now you need to go back to your desktop or laptop and open a web browser. Head over to iCloud.com and log in with your Apple ID. Once you’re in click on the Contacts button and you’ll be greeted with this screen, albeit full of your recently uploaded contacts.
Click on the gear button in the lower-left corner to open the menu.
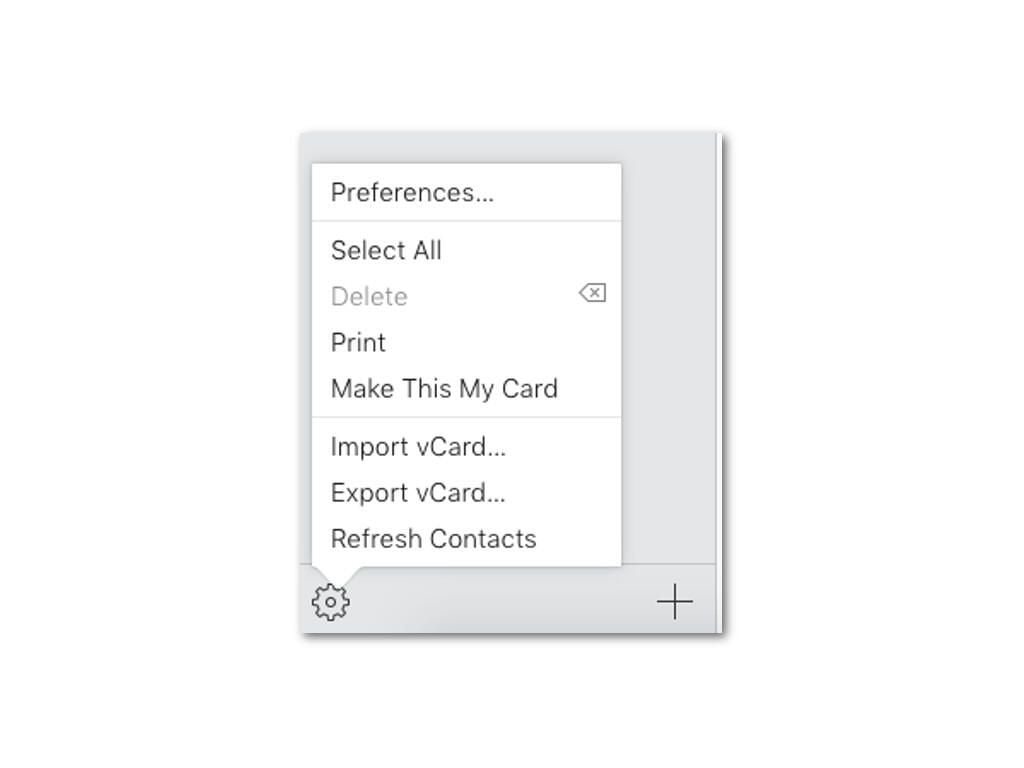
When you click on the gear you’ll be greeted with this menu. Don’t click Export vCard yet! First be sure you click Select All–if you don’t you’ll only end up exporting the first contact on your list.
Once all contacts are selected click on Export vCard, choose a location to save the file, and open up Gmail on the same computer.
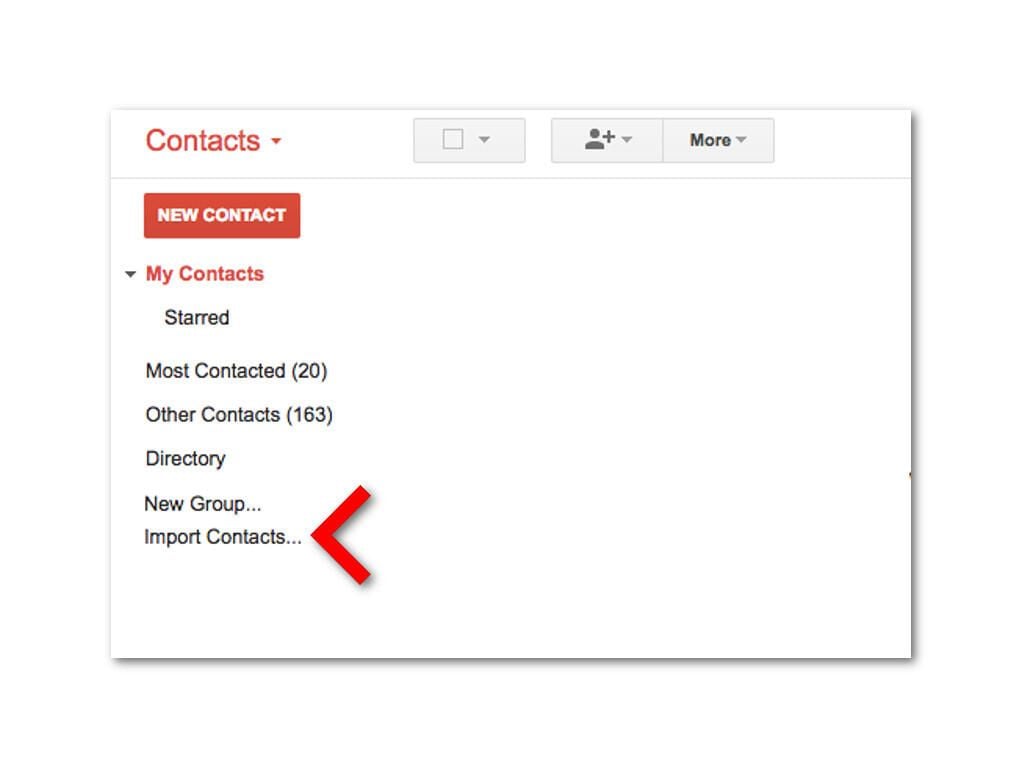
The Mail screen is the default page you see when logging into Gmail. In the upper-left corner where it says Mail click to open a dropdown. Select Contacts to open this screen.
Once you’re there look down the left side for Import Contacts and click on it.
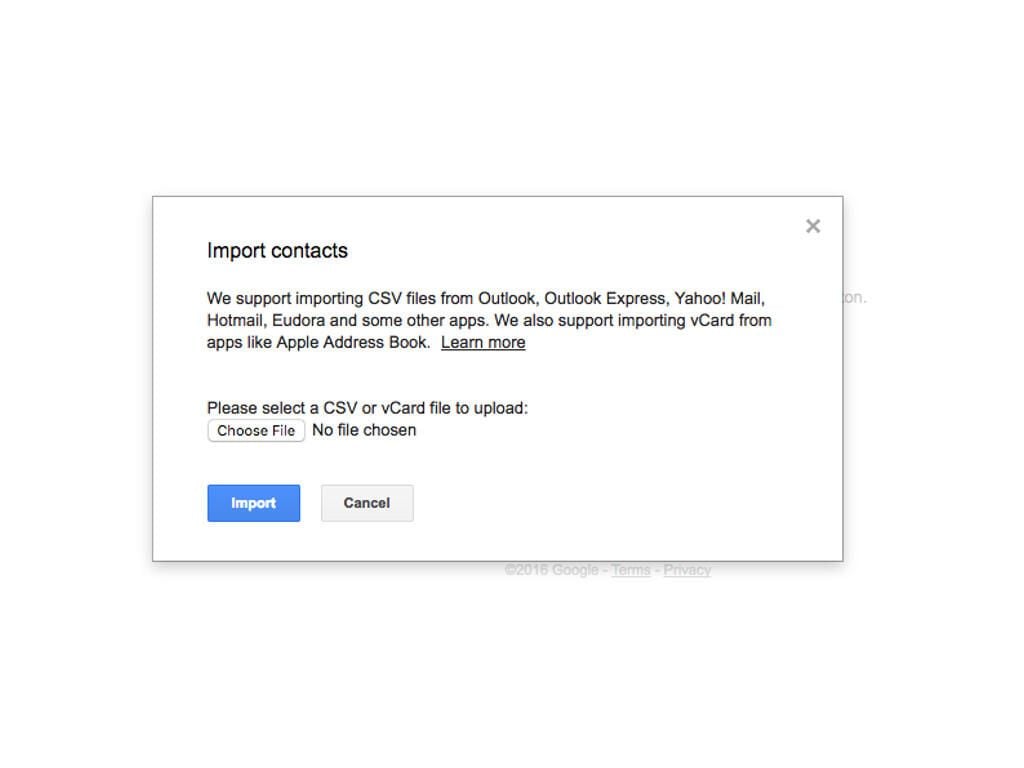
This window will open up. Choose the vCard file you exported from iCloud, click import, and let it do its thing.
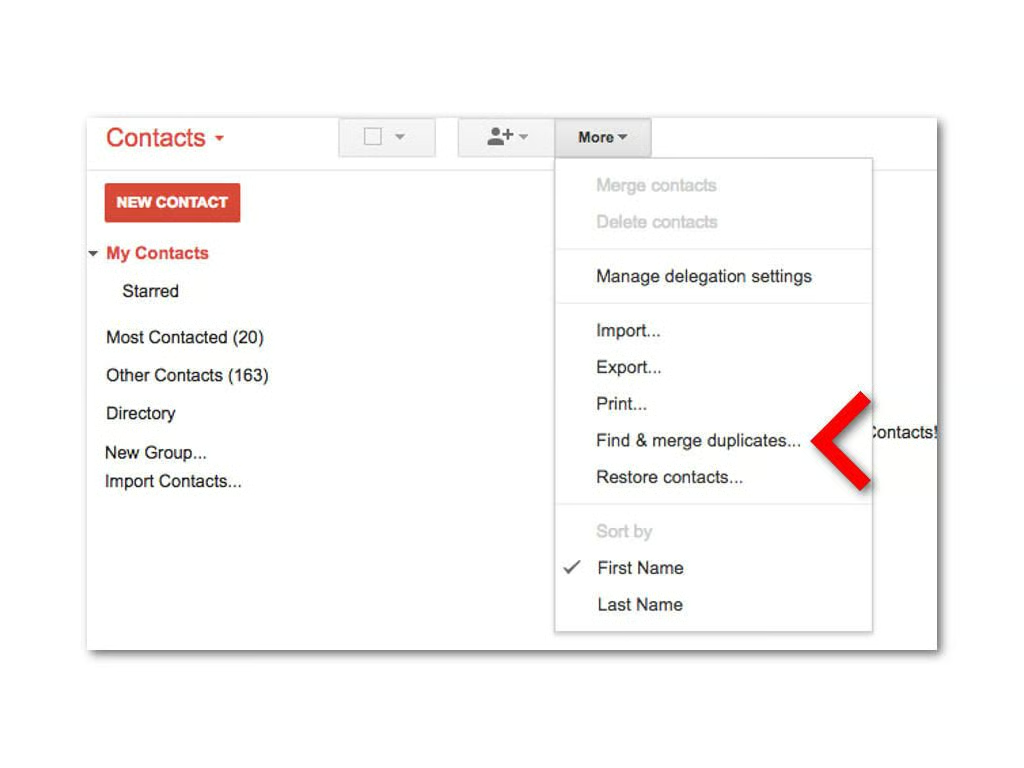
Click on more from the main Contacts screen, then select Find & Remove Duplicates. There’s no better time than now to clean up your address book!
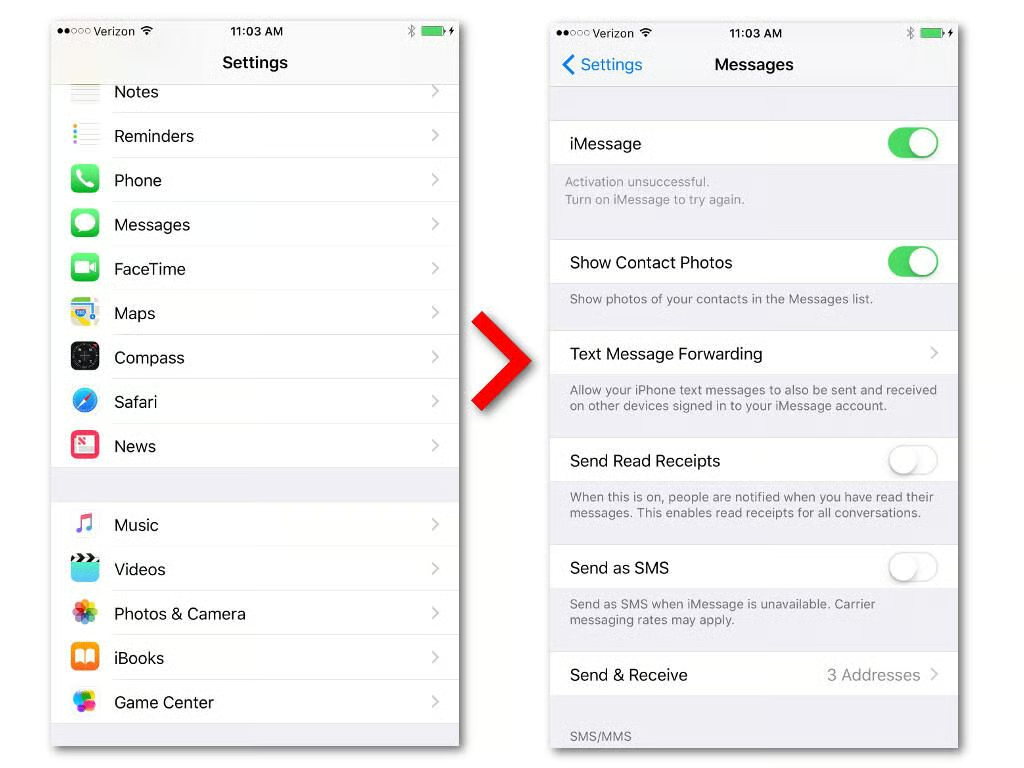
The last thing you absolutely need to do before retiring your iPhone is to turn off iMessage. If you leave it on, any message you receive from an iPhone user in the iMessage format will be lost.
Open settings, tap Messaging, and swipe the iMessage button to the left to turn it off. Now go turn on that new Android phone and enjoy your new device!

Brandon is a Staff Writer for TechRepublic. He's an award-winning feature and how-to writer who previously worked as an IT professional and served as an MP in the US Army.


