This gallery is also available as a TechRepublic blog post and download.
Without DNS, computers would have a very tough time communicating with each other. However, most Windows administrators still rely on WINS for name resolution on local area networks and some have little or no experience with DNS. Steven Warren explains how to install, configure, and troubleshoot a Windows 2008 DNS server.
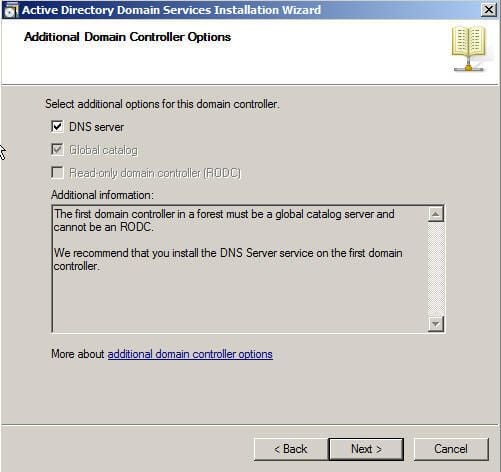
You can install a DNS server from the Control Panel or when promoting a member server to a domain controller (DC). During the promotion, if a DNS server is not found, you will have the option of installing it.
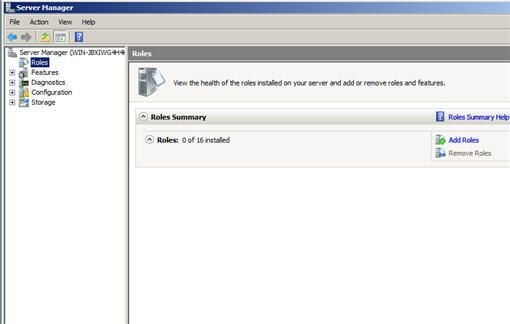
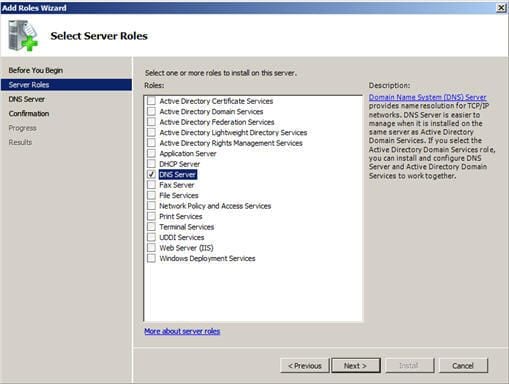
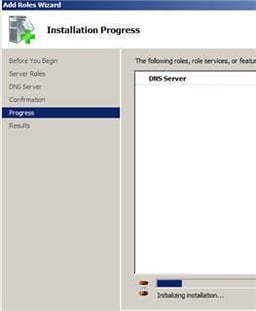
To install a DNS server from the Control Panel, follow these steps:
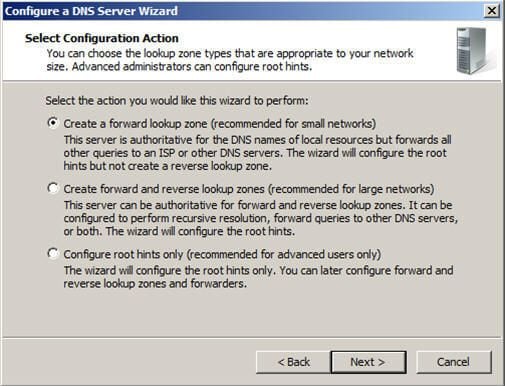
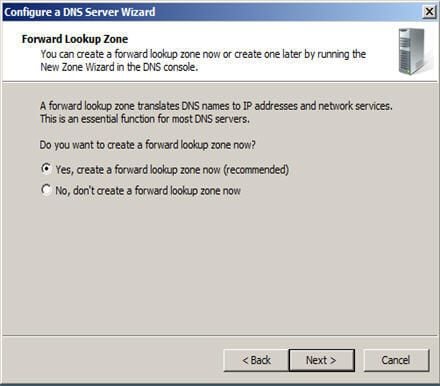
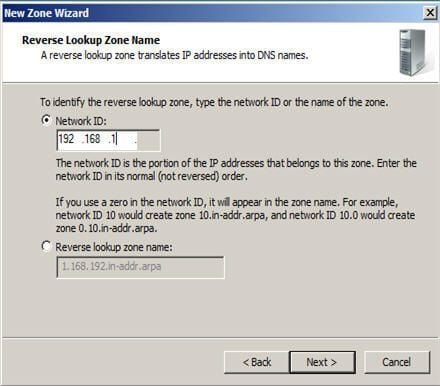
A forward lookup zone is simply a way to resolve host names to IP addresses. A reverse lookup zone allows a DNS server to discover the DNS name of the host. Basically, it is the exact opposite of a forward lookup zone. A reverse lookup zone is not required, but it is easy to configure and will allow for your Windows 2008 Server to have full DNS functionality.
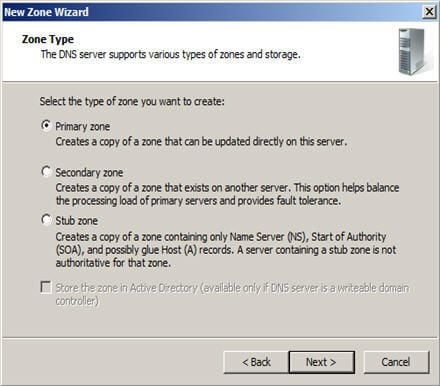
When selecting a DNS zone type, you have the following options:
AD Integrated stores the database information in AD and allows for secure updates to the database file. This option will appear only if AD is configured. If it is configured and you select this option, AD will store and replicate your zone files.
A Standard Primary zone stores the database in a text file. This text file can be shared with other DNS servers that store their information in a text file.
Finally, a Standard Secondary zone simply creates a copy of the existing database from another DNS server. This is primarily used for load balancing.
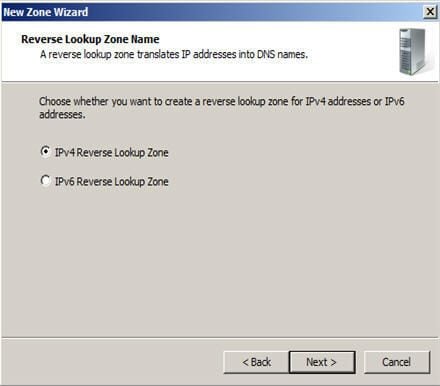
Choose whether you want a IPv4 or IPv6 Reverse Lookup Zone.
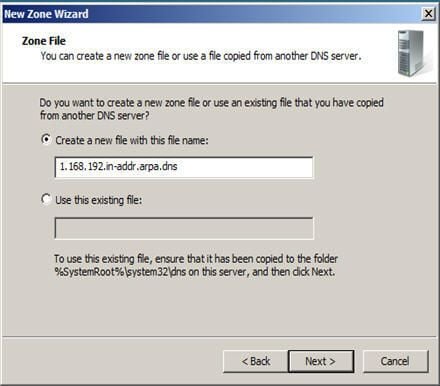
You can choose to create a new file or use an existing DNS file.
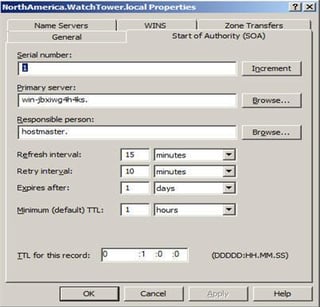
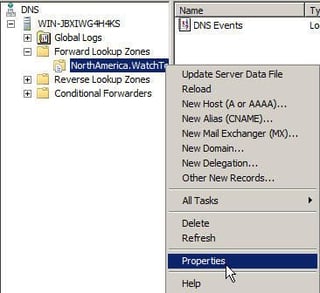
The Start of Authority (SOA) resource record is always first in any standard zone. The Start Of Authority (SOA) tab allows you to make any adjustments necessary. You can change the primary server that holds the SOA record, and you can change the person responsible for managing the SOA. Finally, one of the most important features of Windows 2000 is that you can change your DNS server configuration without deleting your zones and having to re-create the wheel
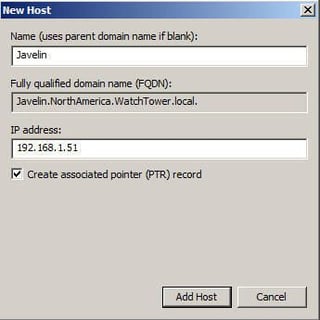
A Host (A) record maps a host name to an IP address. These records help you easily identify another server in a forward lookup zone. Host records improve query performance in multiple-zone environments, and you can also create a Pointer (PTR) record at the same time. A PTR record resolves an IP address to a host name.
To create a Host record:
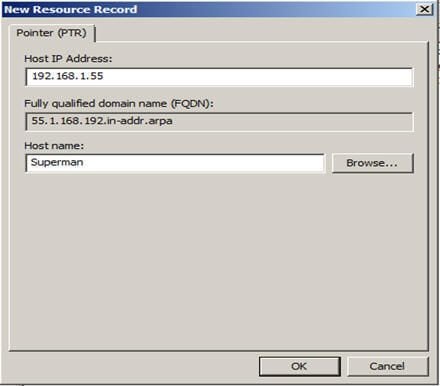
A Pointer (PTR) record creates the appropriate entry in the reverse lookup zone for reverse queries. As you saw, you have the option of creating a PTR record when creating a Host record. If you did not choose to create your PTR record at that time, you can do it at any point.
To create a PTR record:
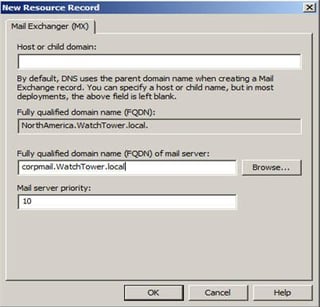
Mail Exchange records help you identify mail servers within a zone in your DNS database. With this feature, you can prioritize which mail servers will receive the highest priority. Creating MX records will help you keep track of the location of all of your mail servers.
To create a Mail Exchange (MX) record:
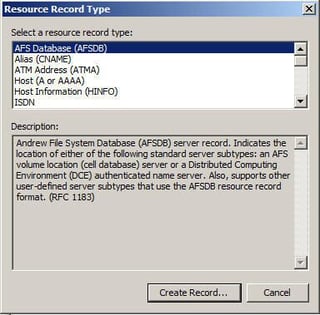
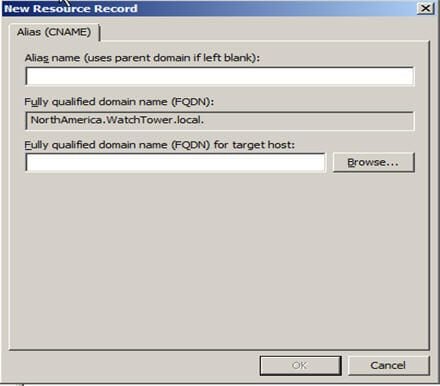
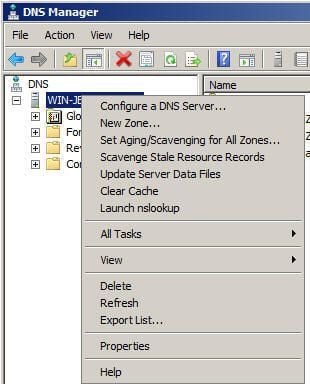
You can create many other types of records. For a complete description, choose Action | Other New Records from the DNS console. Select the record of your choice and view the description.

Steven S. Warren is a popular author residing in Winter Haven, Florida with his wife and 2 children. As a columnist on such well-known IT web sites as Techrepublic.com, CNET, and ZDNET, Steven has published numerous articles. Additionally, Steven holds the following certifications: MCDBA, MCSE, MCSA, CCA, CIW-SA, CIW-MA, Network+, and I-Net+. You can visit his web site at http:\\\\www.stevenscottwarren.com. \ \ He is also a Microsoft Most Valuable Professional and has book on VMware Workstation 5 forthcoming.


