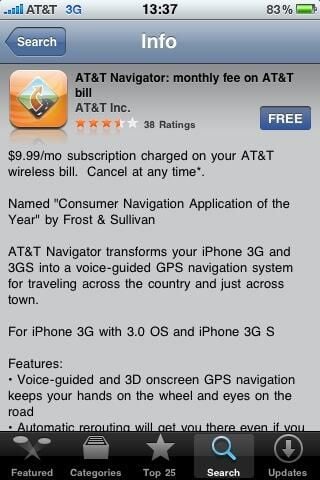
Voice guided navigation has been missing from the Apple iPhone since the first device rolled out in 2006. With the 3.0 OS update we now have the capability for this and TeleNav and AT&T were one of the first to provide this service. TeleNav has mobile clients on a number of carriers and devices and their iPhone client is quite full featured with the ability to send destinations to your account from the Internet. Traffic updates and up-to-date maps are provided via the wireless data networks.
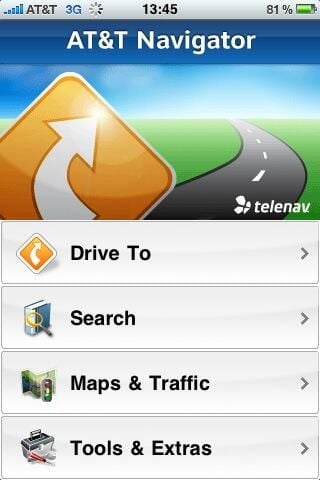
The launch/splash screen of AT&T Navigator on the iPhone 3GS.
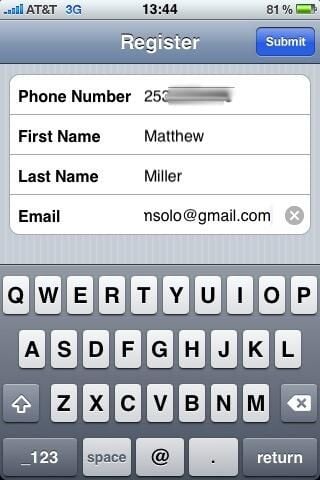
You need to enter your account number, name and email to login to the AT&T Navigator system.
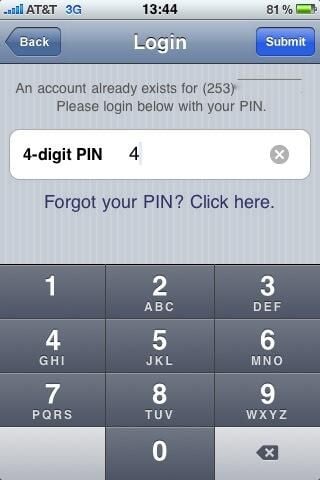
You enter your PIN number just for the initial launch and won’t have to enter it later when you use AT&T Navigator.
This is a very familiar looking home screen for those who use TeleNav’s navigation software on their other mobile phones.
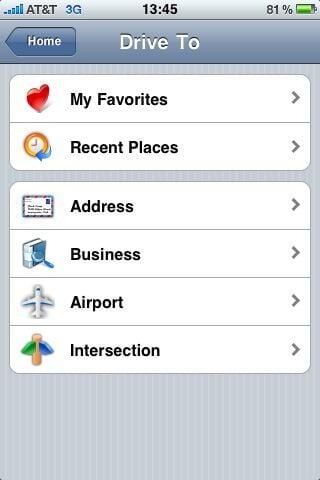
This is the first display you will see as you start to enter your destination. You have several options for choosing your destination.
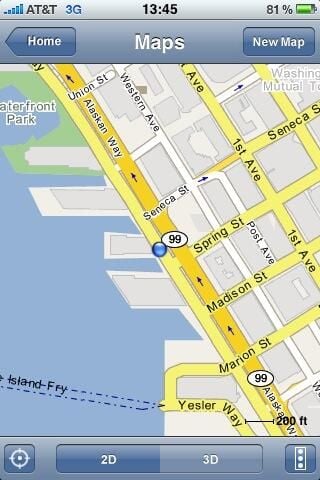
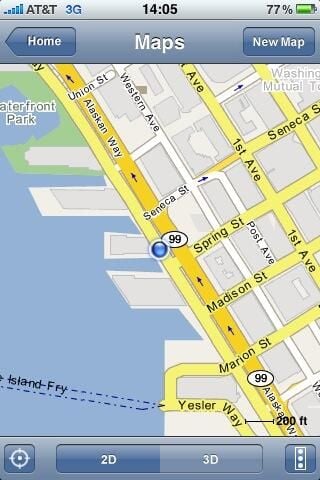
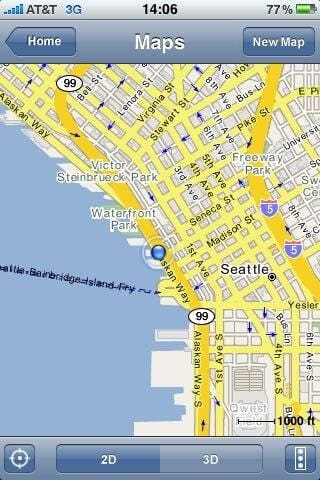
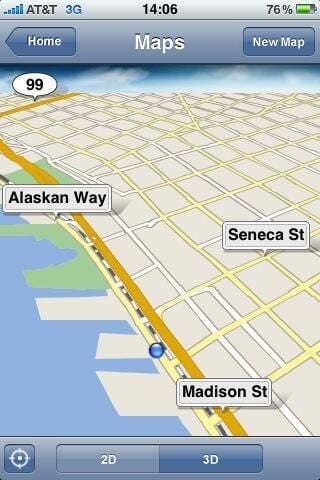
Maps can be viewed in 2D or 3D modes and the 2D mode gives you a birds-eye view.
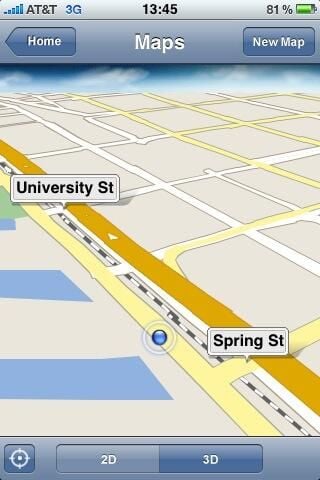
Here is a view in 3D mode.
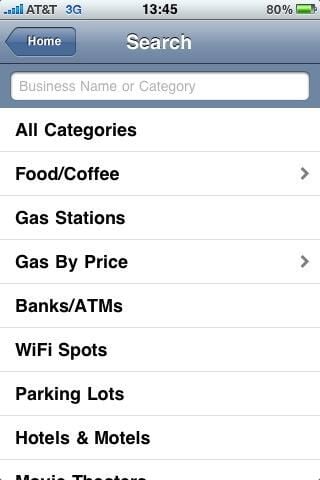
Over 10 million points of interest (POI) appear in different categories in AT&T Navigator.
One of my favorite features is the ability to send destinations to my account from the Internet.
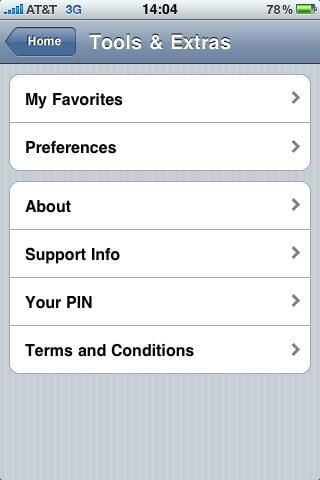
View of the Tools & Extras display. The bottom options are primarily use for your own account management.
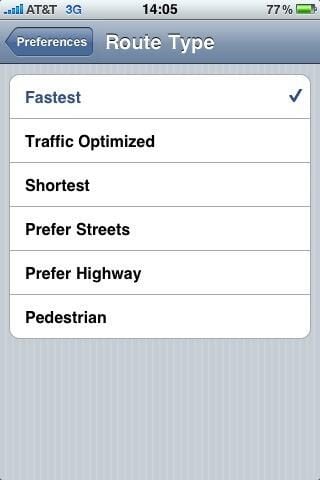
You can choose from one of six different route types.
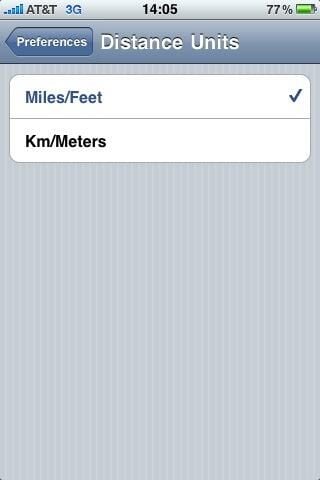
You can view data in either the metric system or English system.
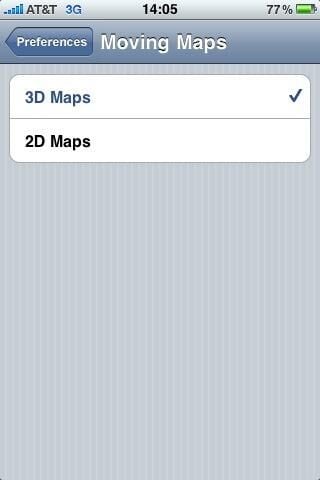
You can choose from 2D or 3D maps. I personally prefer 3D moving maps when I navigate.
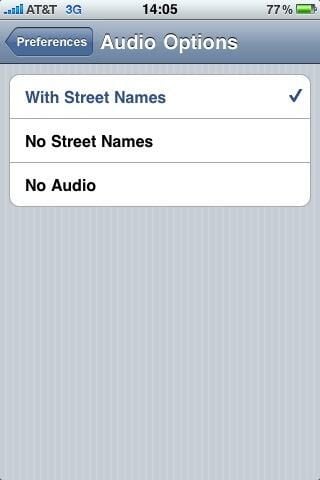
There are three audio options, including one with no audio.
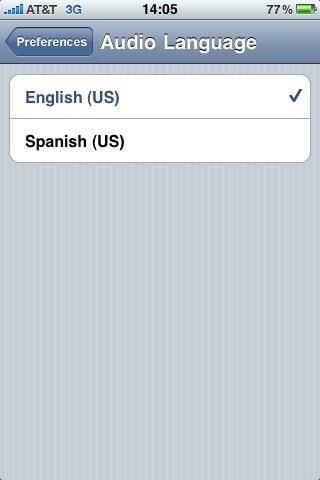
Both English and Spanish are supported by AT&T Navigator.
Maps appear in 2D or 3D and in 2D you get a birds-eye overview.
The pinch and zoom functionality of the iPhone is supported in AT&T Navigator.
Zooming out with more finger pinching.
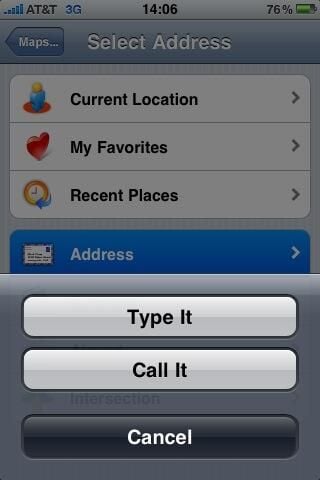
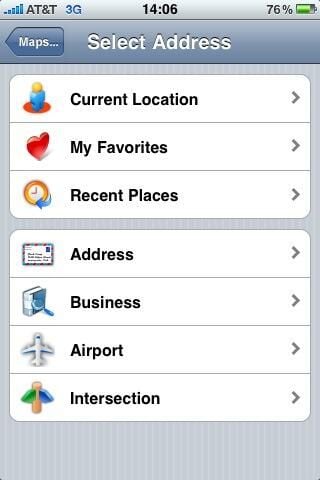
You can select an address in several different ways.
Two ways to enter a specific address.
When you select Call It then a phone number pop-up appears so you can speak the address into the system with a phone call.
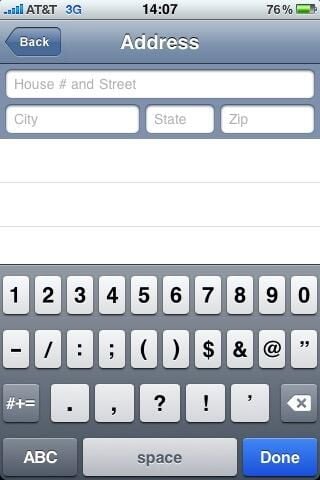
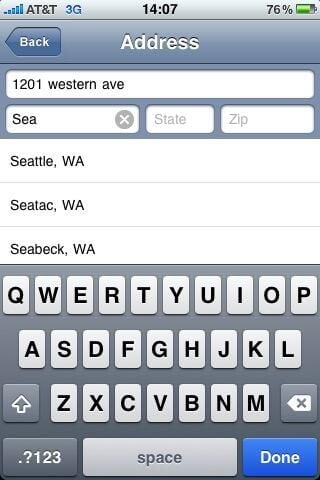
You can use the iPhone keyboard to enter an address. The software smart filters as you enter the city to make destination entry faster and more efficient.
Enter SEA to get to Seattle in the city list.
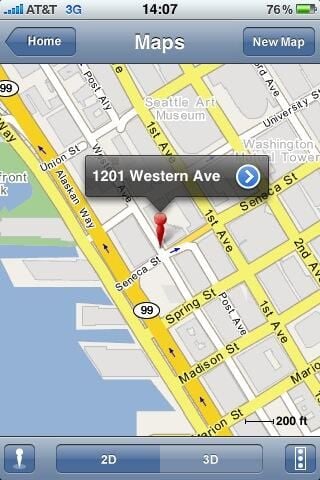
The address you enter then appears on the map. You then tap the blue arrow to see other options for navigation.
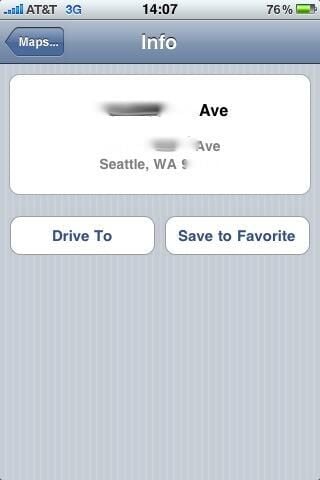
A couple of choices are available to you after you get your address entered.
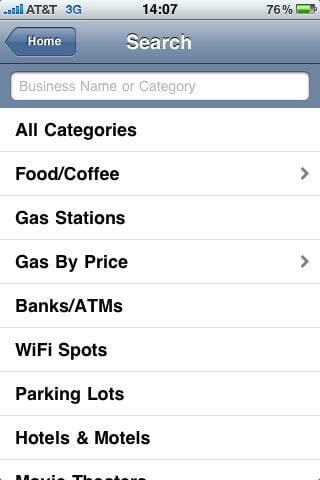
Categories of points of interest.
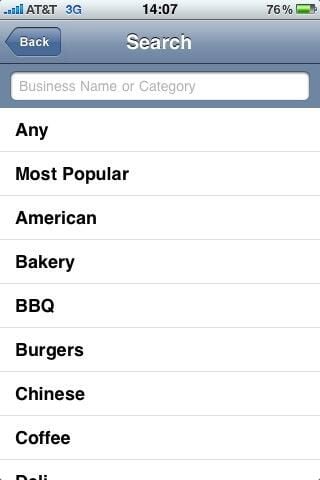
Some food categories available when you select the main Food category.
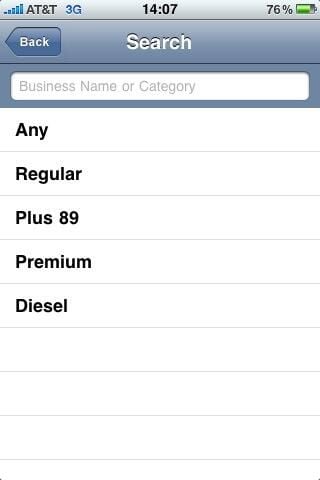
Gas prices can be found for different types of fuel.
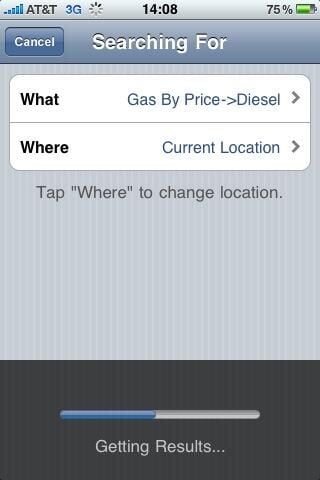
Searching for lowest fuel prices in AT&T Navigator.
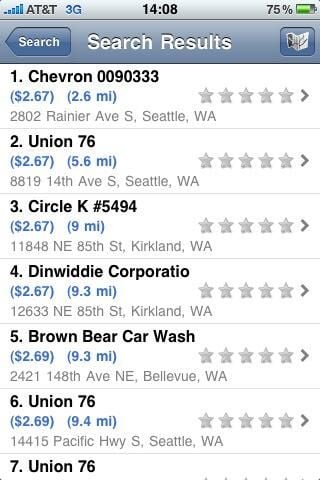
Here is a gas price search results page.
You can drive to the gas station or save the gas station to your Favorites.
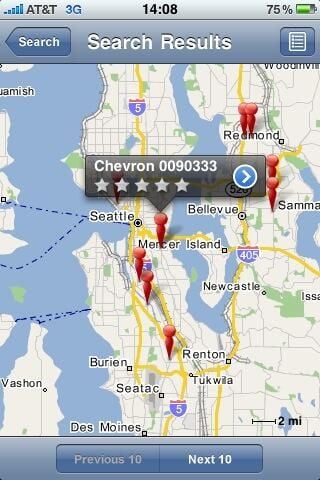
You can toggle the gas station results from the list view to the map view, as shown here.
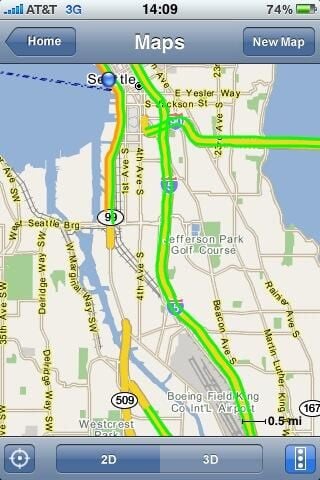
There were a lot of green colored roads in Seattle today, which means traffic was moving around pretty well.
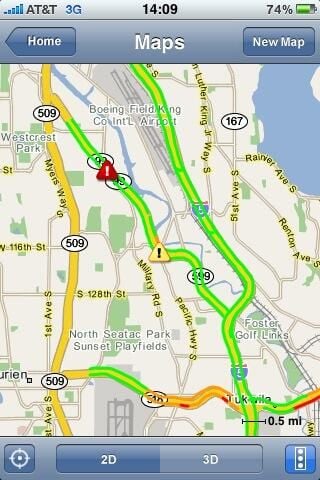
If there is an issue with the traffic, then a red icon appears on the map.
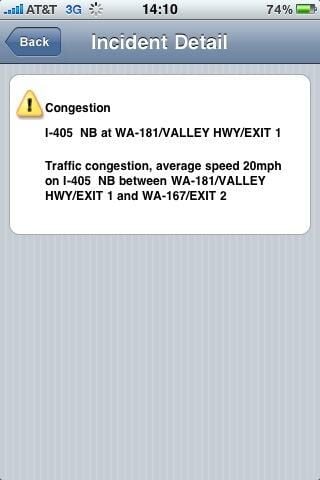
The details of traffic incidents can be viewed in detail.
Congestion appears with yellow icons and you can see the details by tapping the icon.
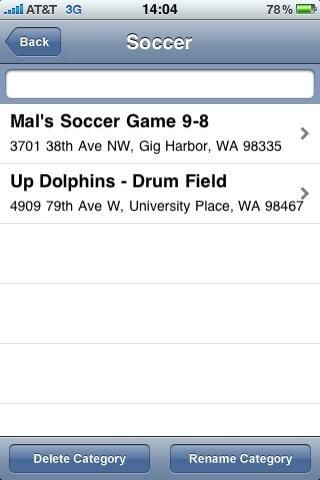
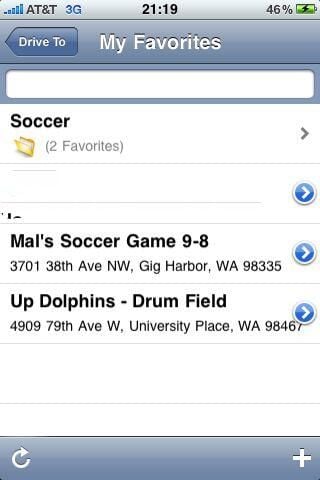
There are several ways to designate an end point to your trip and using Favorites is one of the best ways to use the software.
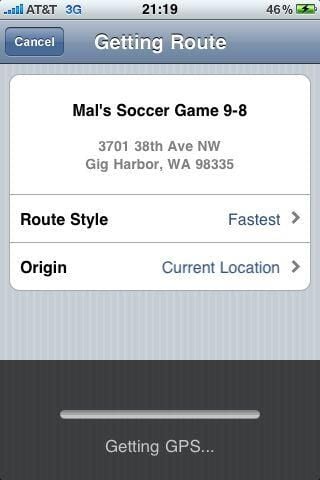
The route is being calculated after selecting the destination.
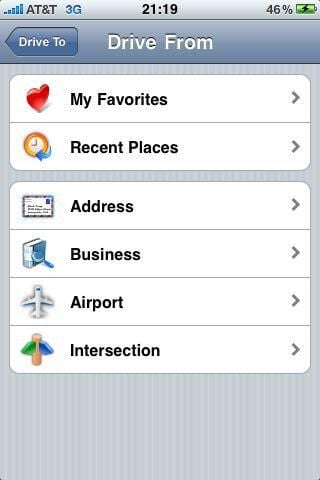
You can choose where you want to drive from and it doesn’t have to be from your current location.
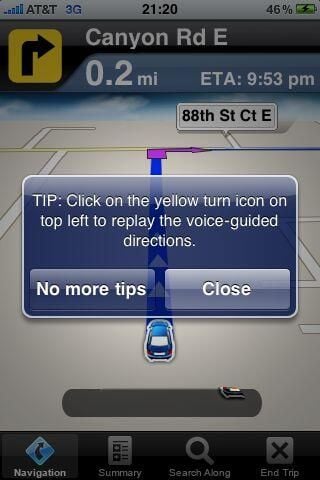
You can toggle the tips on and off when you start navigating.
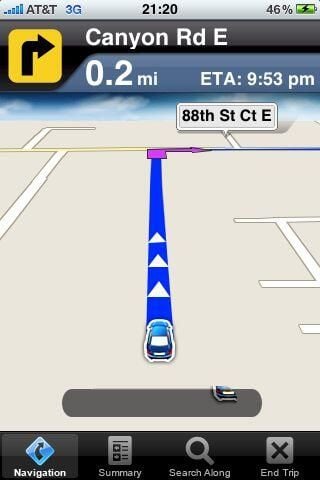
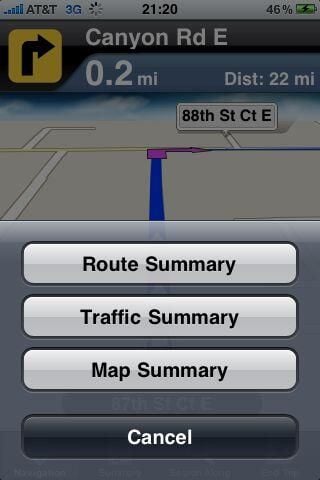
The upper part shows when you have your next turn and which direction you will be going. Your ETA and distance to the destination is also shown. The route appears with a blue highlight and purple arrows for turns.
You can view route, traffic, and map summaries with AT&T Navigator.
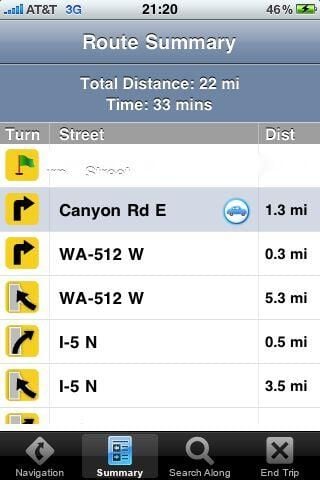
The route summary shows you all your turns in a list view.
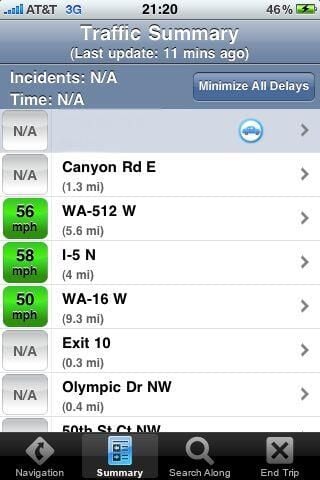
The traffic summary shows average speeds, any incidents, and status of traffic and construction.
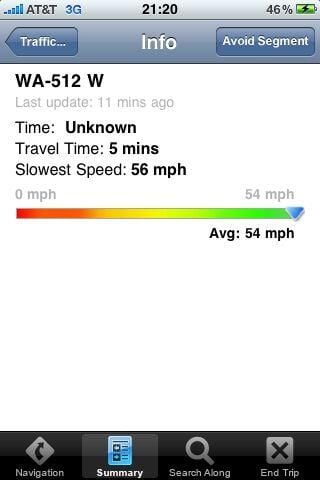
The details of a leg show you what to expect as you travel along your destination.
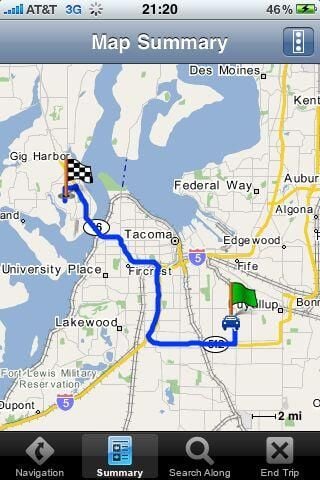
The map summary gives you a single global overview on a map of the selected route.
Gallery 1
Gallery 2