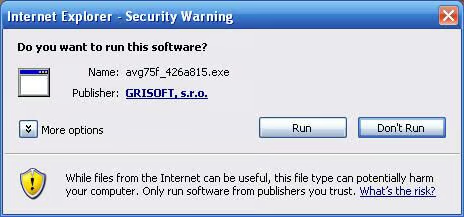
Grisoft, manufacturer of AVG Anti-Virus Professional, recently released version 7.5. Once the installation file (avg75f_426a815.exe) is downloaded the application can be installed.
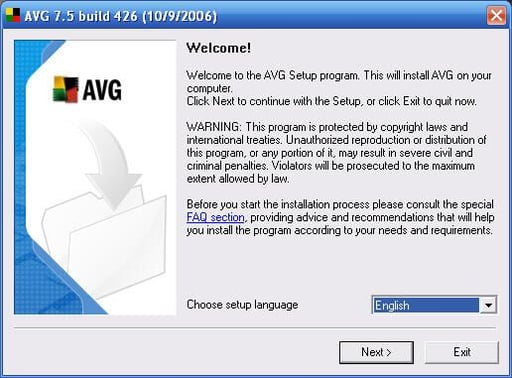
The first step in installing AVG Anti-Virus version 7.5 is specifying the setup language (English is the default).
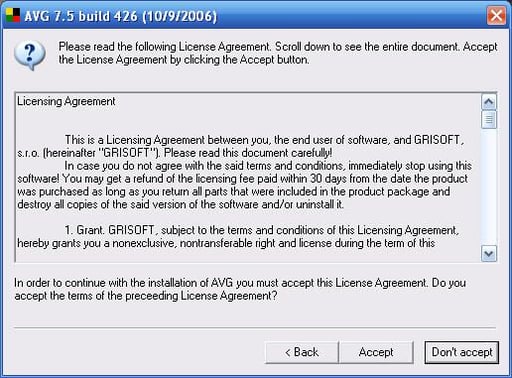
To proceed with the setup, you must accept Grisoft’s licensing agreement.
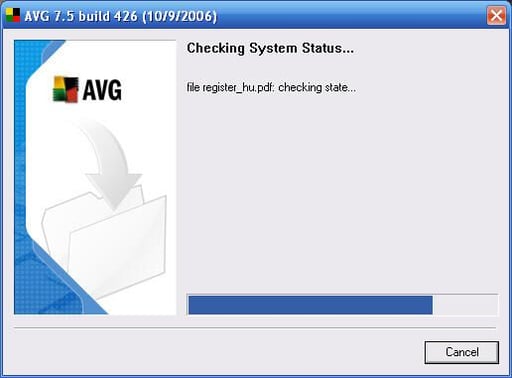
Once the licensing agreement is accepted, the installation program performs a system status check.
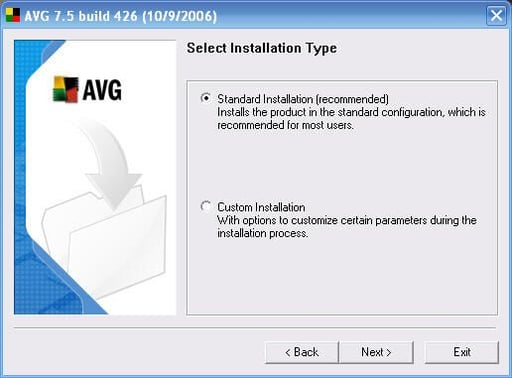
Two installation types are available. The Standard Installation is the recommended method, although administrators can choose a Custom Installation (in which they customize the installation to meet specific requirements).
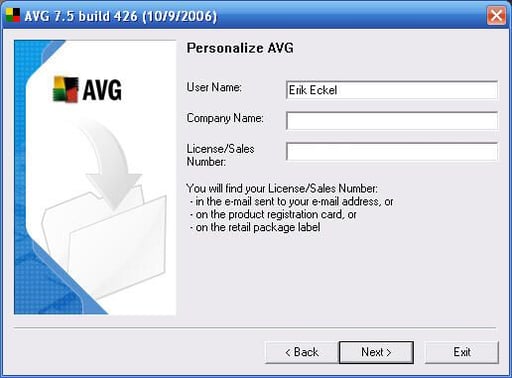
During installation, a user name, company name and license or sales number must be provided.

As is common, the AVG installer displays its progress as the setup program works.
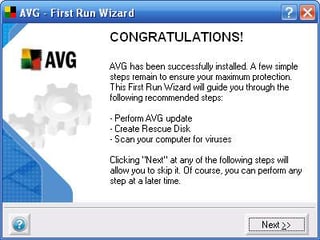
After the setup program’s displayed the screen announcing its completion, AVG presents another dialog box confirming the installation process is complete. Clicking the Next button prompts the program to search for and load updates, provides the opportunity to create a Rescue Disk and scans the system for viruses.
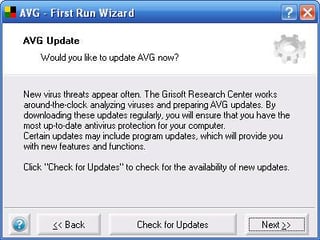
An antivirus program is only as good as its most recent updates. Thus, the very first action AVG Anti-Virus takes after installation is an update. Click the Check For Updates button and AVG phones home for the most recent antivirus signatures.

Once you’ve instructed AVG Anti-Virus 7.5 to perform an update, you’ll see this window.
Typically you’ll use an Internet connection to obtain the updated antivirus signatures. Some administrators, however, will wish to obtain the updated virus files from a local source. In those cases, the Folder button can be used to specify the file’s location.
In order to avoid having to specify the update location each time an update is performed, check the Do Not Ask For The Update Source Next Time checkbox.
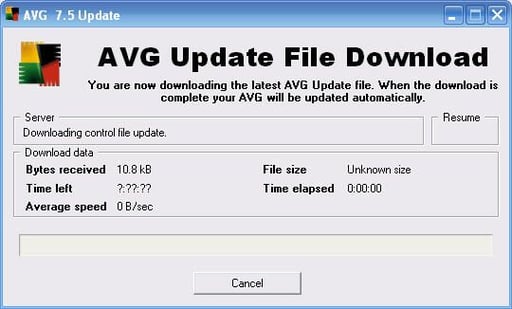
Once the update source is specified, AVG Anti-Virus 7.5 will begin downloading the latest AVG update file. The AVG Update File Download window tracks the number of bytes received, the average download speed, the download’s size and the total elapsed time. The program also estimates the amount of time that required to complete the operation.
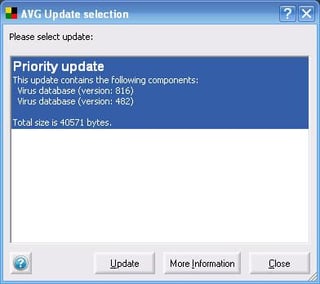
When performing updates, AVG will list priority updates before virus signatures. Highlight the items you wish to download and implement and then click the Update button.

AVG Anti-Virus will track its progress as it downloads application patches and new virus databases.
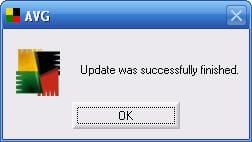
AVG provides a simple window to confirm updates completed properly.
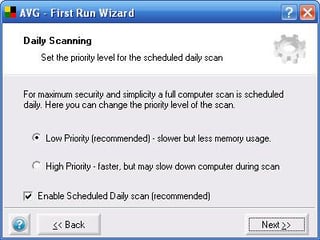
Following the completion of updates and virus databases, AVG presents this menu. By default the application will perform daily scans. You can specify whether the scans should receive high or low priority, or you can disable automatic daily scans, should you so desire.
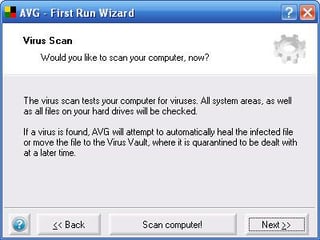
Before triggering a system scan immediately upon installation (a recommended practice), AVG Anti-Virus provides administrators with the option of skipping the scan by clicking the Next button.
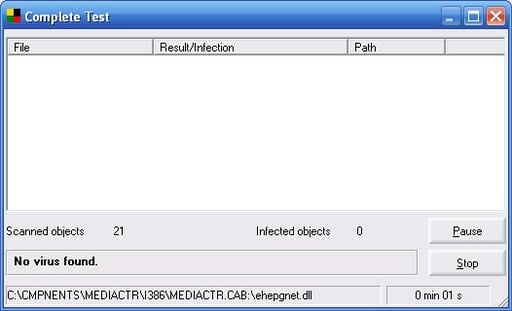
The AVG Anti-Virus 7.5 window is clean and straightforward. The application displays its progress as it works.
Any system infections that are found will be displayed in the main window, starting with the file name, a description of the type of infection and the file’s location.
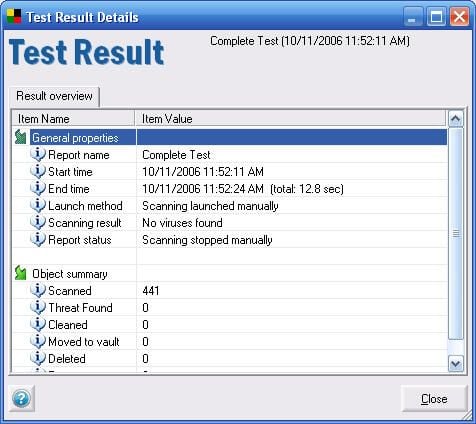
Once a scanning test has completed, AVG Anti-Virus 7.5 provides complete details as to the scan. Here an abbreviated scan’s results are displayed.
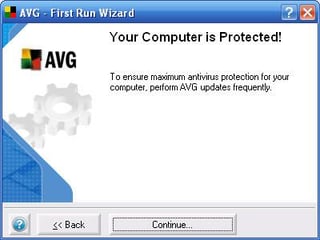
Once the scan’s test results are reviewed, that’s it. Administrators will see this final dialog box announcing that the system is now protected from virus threats.
Clicking the Continue button completes the installation process.
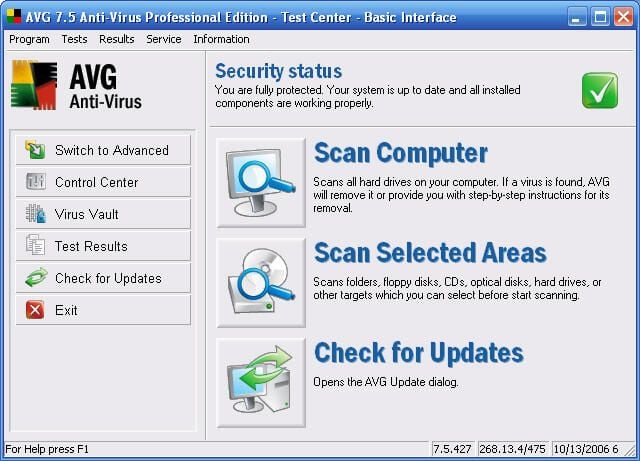
AVG Anti-Virus 7.5’s Test Center Basic Interface offers simple menus from which to administer the antivirus program. Prominent icons are displayed for scanning the computer, scanning only selected areas and checking for updates.
Additional features can be accessed using the icons found in the toolbar on the left edge of the screen.
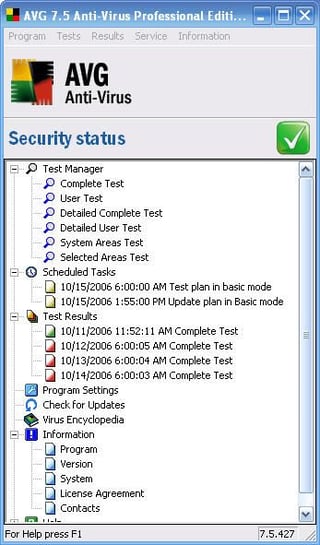
The antispyware application’s Test Center’s Advanced interface cuts to the chase. It places a premium on quickly accessing the most typically used settings.
Everything from scheduled tasks to test results and more are immediately available using the advanced interface.
To switch back to the simple interface, users need only click Program and select the alternative view.
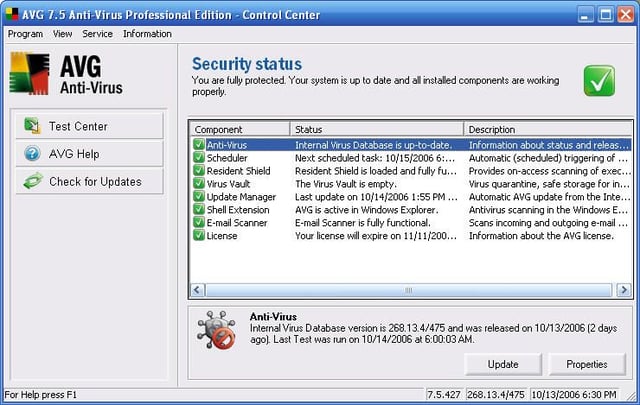
The updated Security Status window reveals much critical information at a glance. In addition to list whether the Anti-Virus Database is current, the page diplays the status of Scheduled Tasks, the Resident Shield, Virus Vault, E-mail Scanner and more.
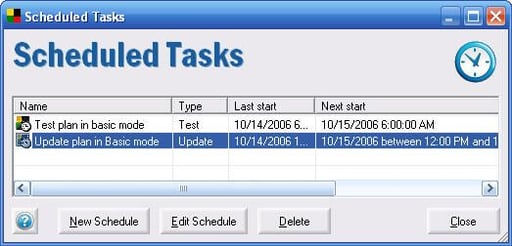
The two most important tasks you can schedule in AVG Anti-Virus are the Test Plan (regular antivirus scan) and Update Plan (which ensures the antivirus database remains current).
The status of these, and other scheduled items, are displayed on the Scheduled Tasks menu as shown here.
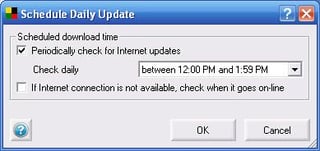
Double-clicking the Update Plan entry from the Scheduled Tasks window reveals this menu. It’s simple and straightforward.
Using the drop-down menu, administrators can select when the application should check for updates. Users can also specify whether they wish for the application to check immediately upon going online, should an Internet connection not be available at the predetermined time.
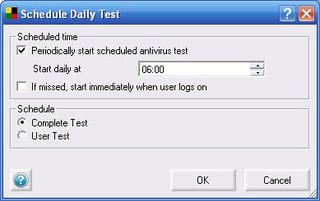
Regular antivirus scans are scheduled much in the same way as updates. Double-clicking the the Test Plan entry from the Scheduled Tasks menu reveals this dialog box.
Administrators can use the drop-down box to specify when periodically scheduled antivirus scans should occur. Users also have the option of specifying that the test scan be run at the next log on, should a regularly scheduled scan be missed.
Further, administrators can also specify which format test should be conducted (either a complete system test or user test – in which the administrator specifies the files to be scanned).
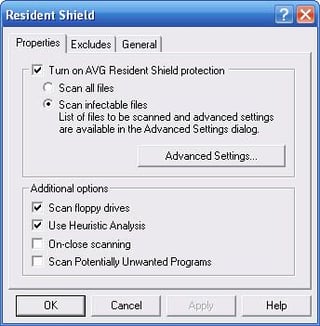
Administrators can double-click the Resident Shield entry from the Security Status page to configure its configuration settings.
Resident Shield protection can be disabled using the checkbox; other options that can be set include enabling scanning of floppy drives, use Heuristic Analysis (turned on by default) and scanning potentially unwanted programs and applications.
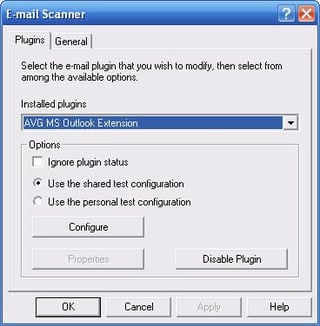
The e-mail scanner can be configured by clicking its entry from the Security Status menu.
Using the drop-down menu, administrators can select the appropriate plug-in for the e-mail system in use. Clicking the Configure button provides additional e-mail scanning options.
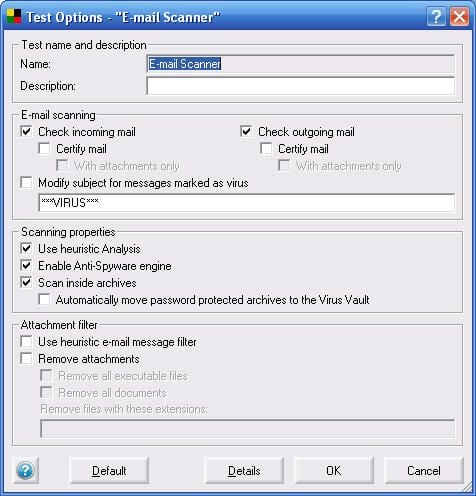
Among the options that can be set using the Configure button are specifying whether incoming and outgoing mail should be checked, whether subject lines should be modified when viruses are found and whether the antispyware engine should be engaged for e-mail content.
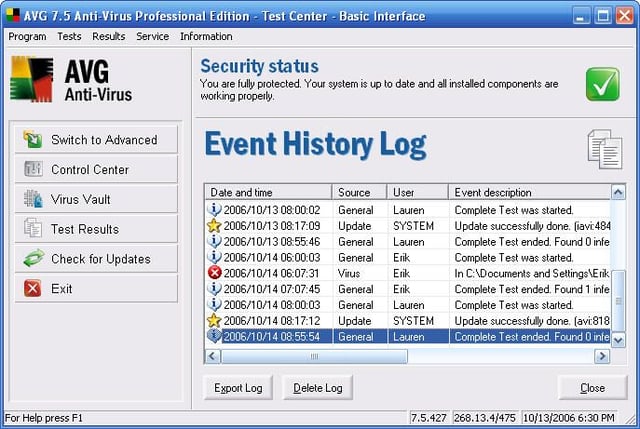
The AVG Anti-Virus Event History Log provides a comprehensive look at all the application’s activity. From user tests to the status of updates, the log provides a complete rundown of the program’s activity history.
As such, the Event History Log provides an excellent starting point when reviewing a system’s infection history and preventive state.

Erik Eckel is a managing partner at Louisville Geek and president of Eckel Media Corp. He previously served as Executive Editor at TechRepublic. He received Microsoft Engineer accreditation from Sullivan University and earned his Bachelor's Degree in English from the University of Louisville. He's earned Network+, Windows NT 4.0 MCP+I and MCSE, and Windows 2000 Professional MCP accreditations.


