Are you really excited about the prospect of experimenting with the new features in the Windows Vista operating system, but aren’t yet ready to give up your existing Windows XP installation? If so, then you may be the perfect candidate for a dual-boot configuration. With this type of configuration, you can easily experiment with Windows Vista and still use Windows XP. In other words, you get to have your cake and eat it too!
This gallery represents an abridged version of an article by the same name. You can page thru the gallery to walk the entire procedure step-by-step. If you want more detailed information, you can read the full article here or you can download it from the TechRepublic directory.
In order to install Windows Vista in a dual-boot configuration along with Windows XP, you need to have either a second partition on your existing hard disk or a second hard disk in your system. Either way, you should have between 20 and 40 GB of available space to install Windows Vista.
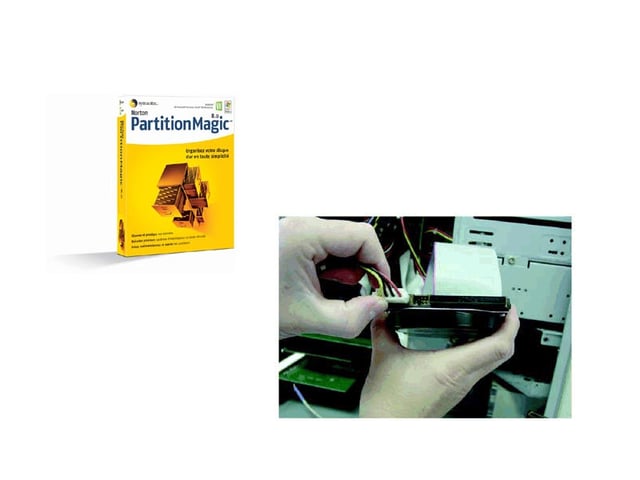
If you don’t have enough available space on your existing hard disk for a second partition, then you’ll need to connect a second hard disk to your system. If you do have enough available space on your existing hard disk for a second partition, then you’ll need to obtain a partitioning software package, such as Symantec’s Norton PartitionMagic
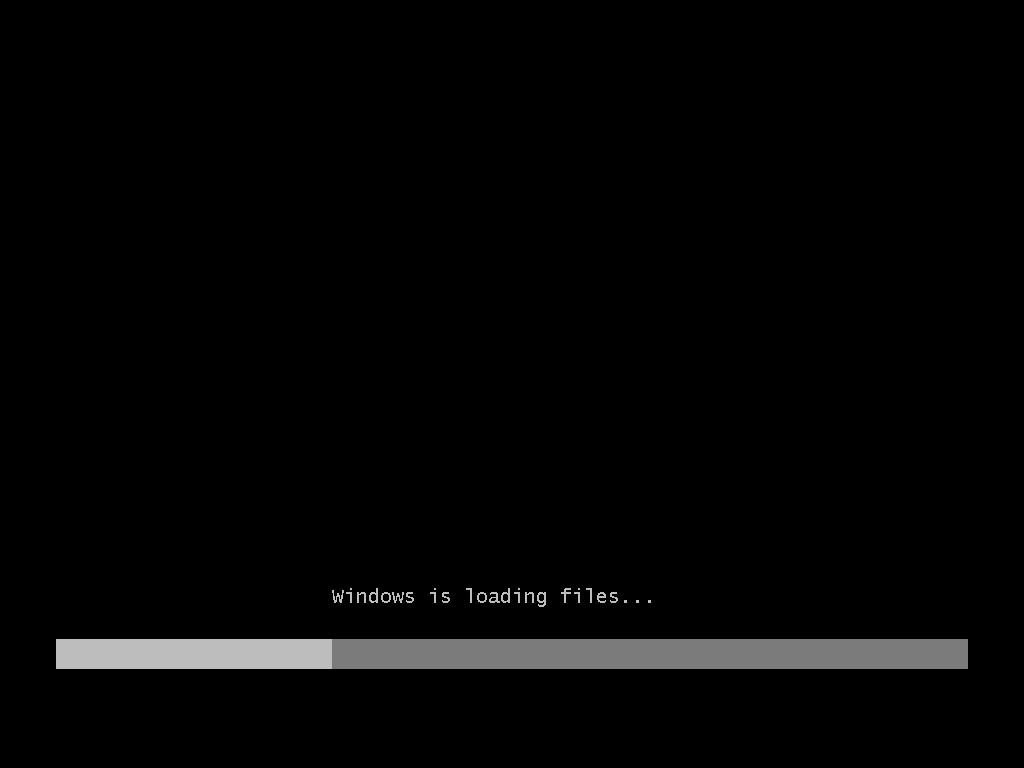
Once you have your second partition or second hard disk operational, just insert your Windows Vista DVD, restart the system, and allow it to boot from the DVD. Once the DVD boots, Windows Vista’s Setup will begin loading.
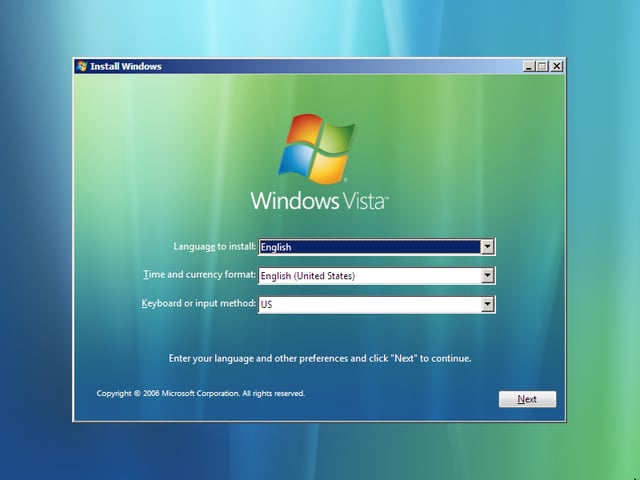
In a few moments, you’ll see a screen that prompts you to choose the regional and language options. As you can see, the default settings are for U.S. and English.

When you’re prompted to begin the installation procedure, just click the Install Now button.
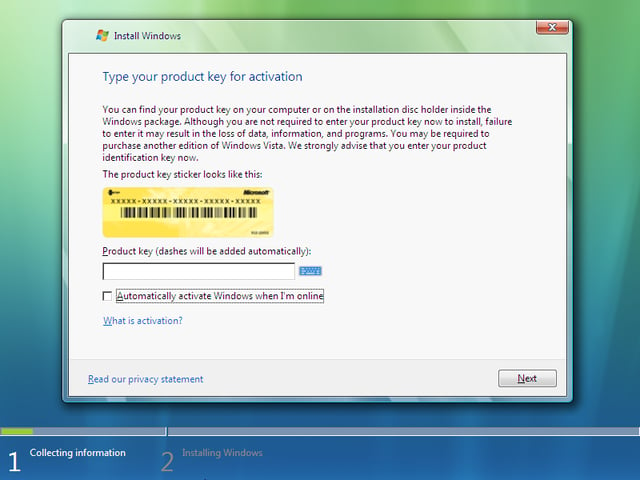
If you just want to temporarily install Vista in a dual-boot configuration while you experiment with hardware and software compatibility and want to conserve on the number of times that you can legitimately activate your copy of Windows Vista \r\nbefore Microsoft locks it down, you can clear the Automatically Activate Windows check box.\r\n
\r\nWhen you do so, you can install Windows Vista and use it as you normally would in a 30-day trial installation. You can activate your license online anytime you want within that 30 days or, if you’re satisfied with compatibility, you can \r\nrepartition your hard disk, reinstall Vista on the main partition and activate the new installation in the process.
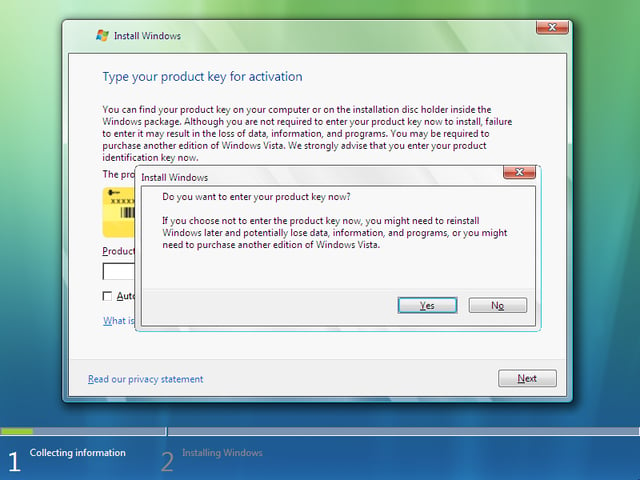
If you disable the automatic activation routine, you’ll see a confirmation dialog box, which contains a harsh warning and prompts you to reconsider. However, you can just click No to continue.
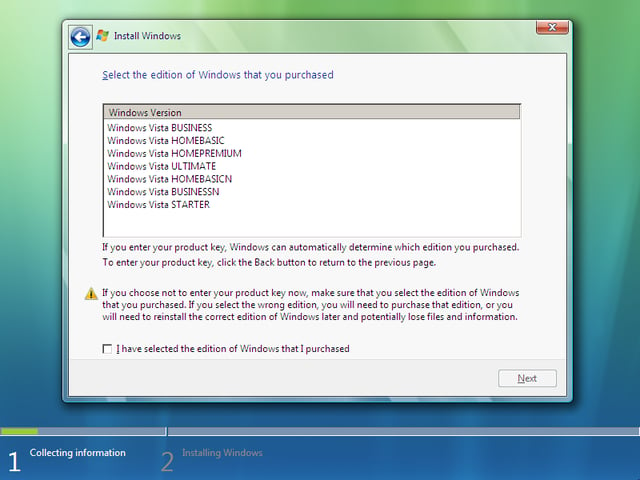
If you don’t enter in a product key, Setup doesn’t know which edition you’ve purchased and will prompt you to select one of the editions on your disk. Keep in mind that since I\u2018m working with the Ultimate edition, all versions are present.

On the next page, you’ll see the Microsoft Software License Terms and are prompted to read through them. However, unless
you’re very curious you can just select the I Accept The License Terms check box and click Next.
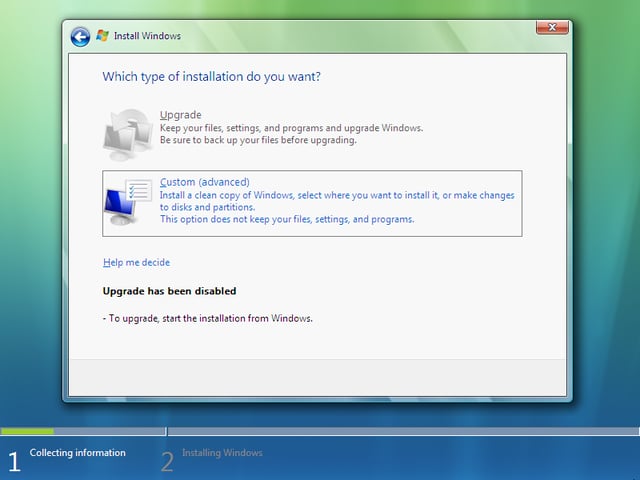
When you boot from the Windows Vista DVD, Custom (advanced) is the only available option on the Which Type Of Installation
Do You Want page—the Upgrade option is disabled. To move on, just click the Custom icon.
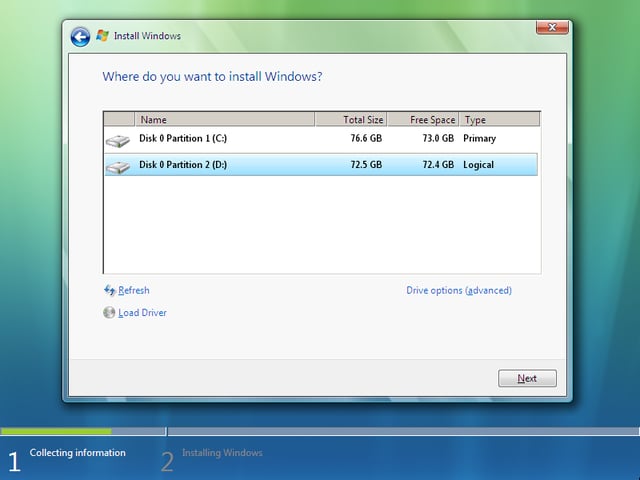
On the Where Do You Want To Install Windows? page, just select your second partition or second hard drive and click Next.
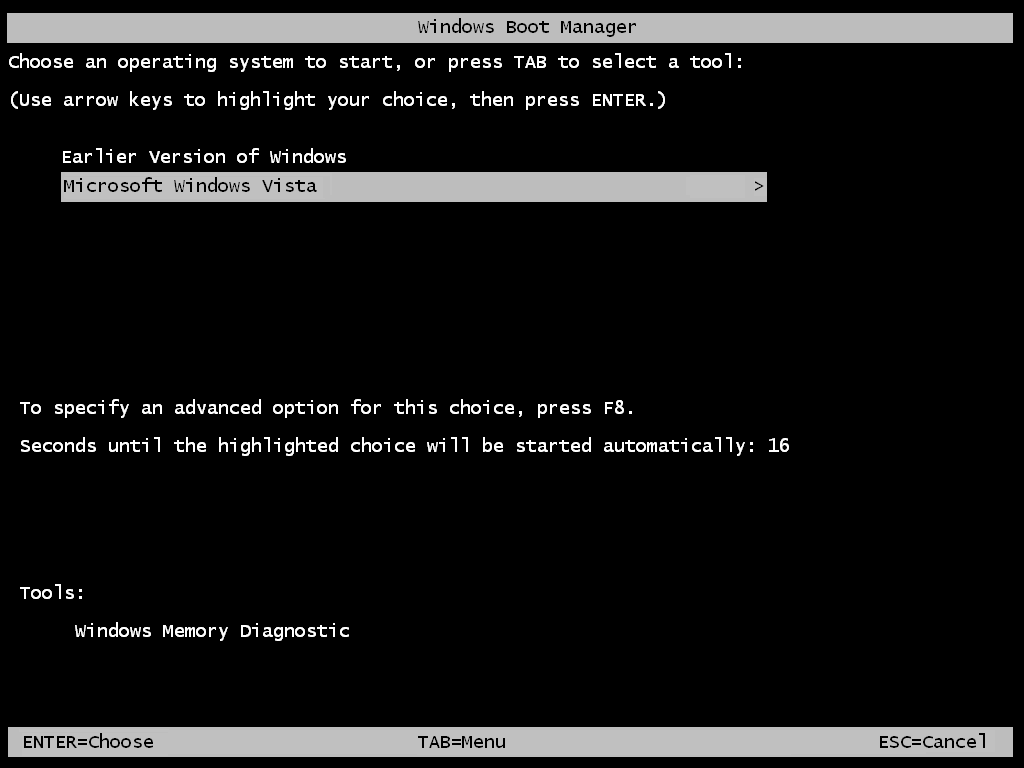
Once the installation is complete, you’ll see the Windows Boot Manager screen where you can select either Windows XP (listed as an Earlier Version of Windows) or Windows Vista. This menu will appear on the screen for 30 seconds before Windows Boot Manager launches Windows Vista.
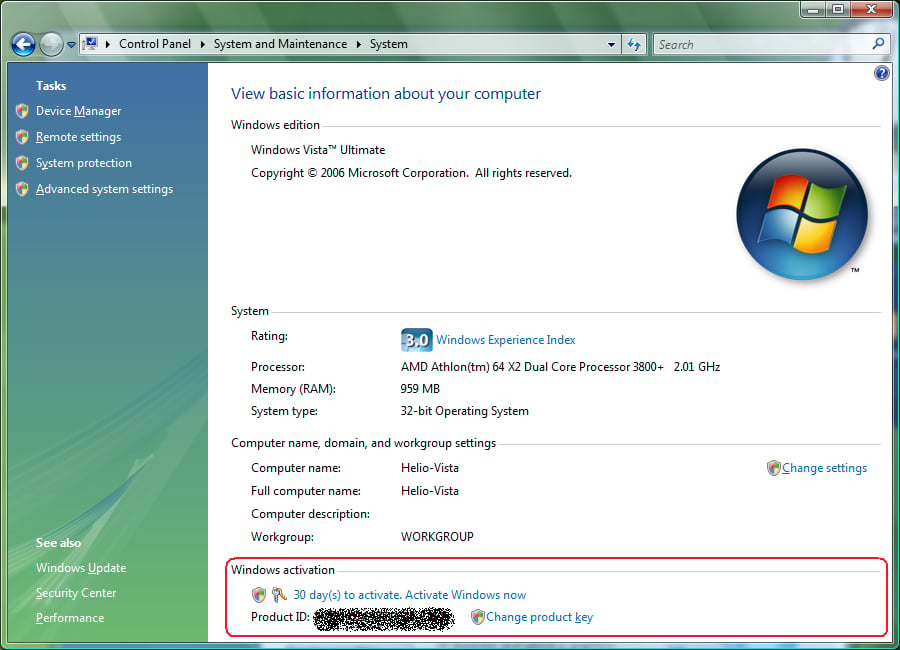
When you install Windows Vista without activating it for testing purposes, the operating system will keep track of your 30 day trial on the System screen.
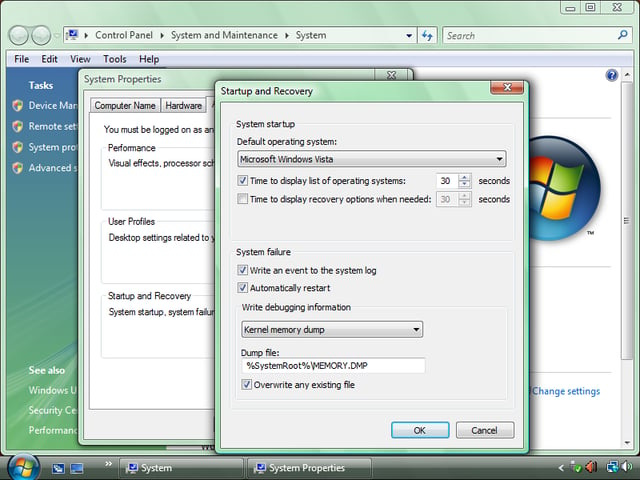
If you want to change the Default Operating System setting or adjust the amount of time that the Windows Boot Manager menu will appear on the screen, you can do so from Windows Vista’s Startup and Recovery dialog box

My first computer was a Kaypro 16 \"luggable\" running MS-DOS 2.11 which I obtained while studying computer science in 1986. After two years, I discovered that I had a knack for writing documentation and shifted my focus over to technical writing.


