
The full penguin-shaped front panel
These are a few of the things we will use to modify the case. They include a case window, a penguin window sticker, some Neon Red cold cathode tubes, and some clear/blue neon case fans.
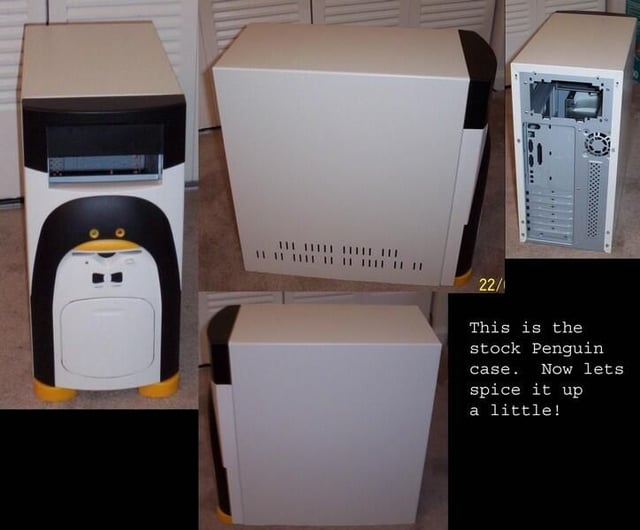
This is the stock case before we touched it.
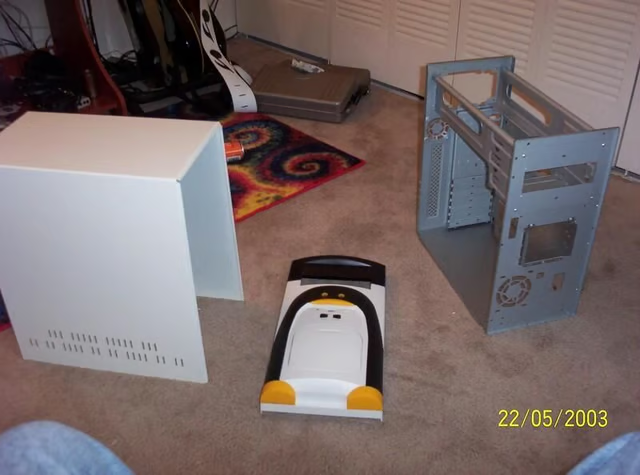
This is the case taken apart. Start by removing the case screws from the back. Then slide the cover off to the rear. Next remove the screws or push the plastic tabs that hold the front face plate onto the case and remove it. Guide any wires connected to the front face plate out through the front of the case as you remove the face plate. Last, remove the case speaker (if installed) by sliding it out from underneath it’s mounts. Now the case is stripped.
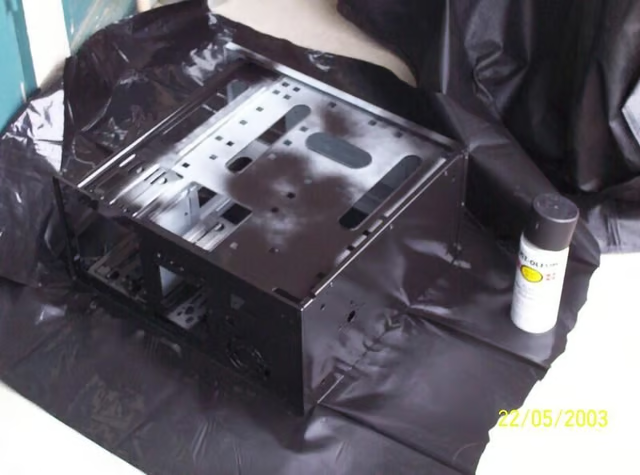
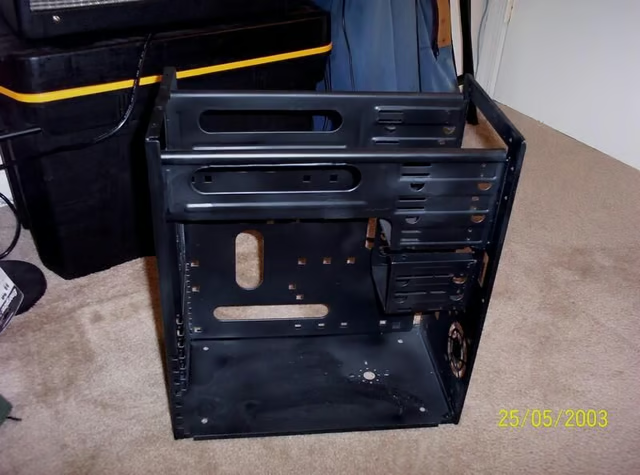
First off, let’s start by painting the case. Since we are going with a Penguin/ USA theme we are going to pain the case black. The inside case black and the case cover white will fit the Penguin theme. We use flat black spray paint to paint it with. After about 2-3 coats we use either a no gloss or satin clear coat to finish the painting and help cut down on scratches. The case in the picture is only half painted.
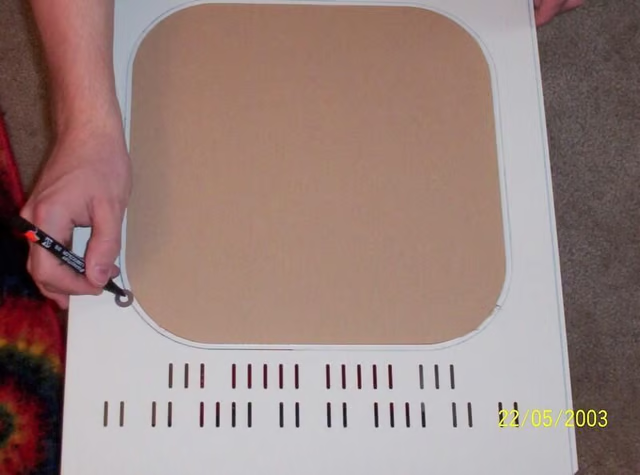
For the case window we used a pre cut window kit that you can buy online or from stores like CompUSA. Better yet you can make your own windows by using Plexiglass and cutting it to what ever shape you want, then using double sided tape or small screws to attach it to the case cover. For this project though we went simple and just shelled out the $20 for a window kit. We decided to try and center the window on the left side of the case cover to show off more of the inside of the machine.
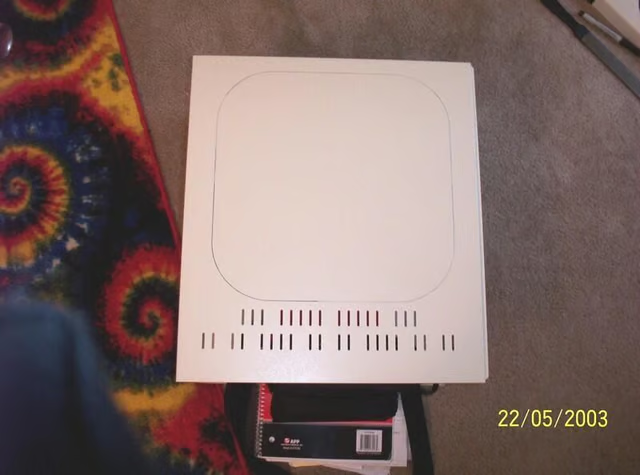
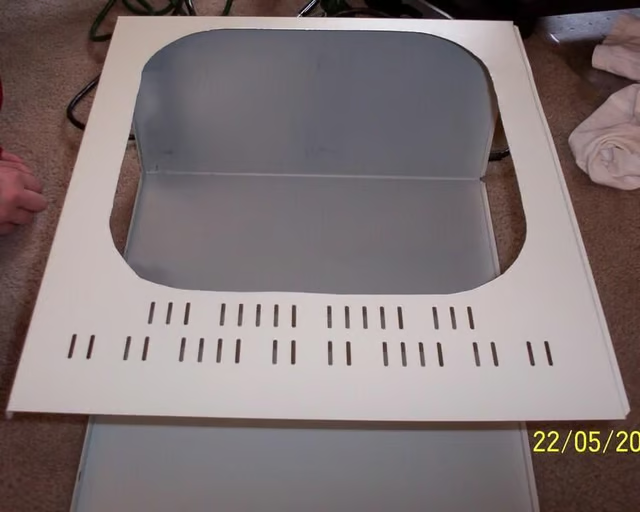
Here is the case cover with the window marked off. Now we will drill some pilot holes for the jigsaw.
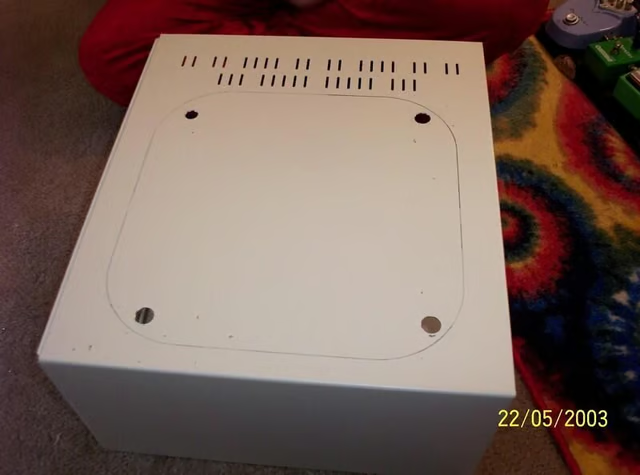
Here is the case cover with 4 pilot holes drilled to accommodate the jigsaw. I used 4 holes so that I had a lot of options as far as angels to cut at to get the straightest possible cuts. Also note that most case covers are pretty thin metal and must be braced well when cutting or it will wobble and bounce all over the place!
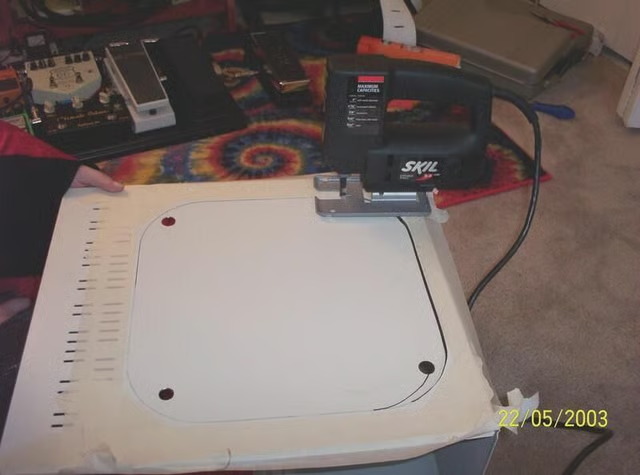
Here is the fun part. Use the jigsaw to cut along the lines you drew. Start off in one of the pilot holes and try to get a straight cut. We used masking tape to tape around the outside of the lines we drew, this helps keep the case from getting scratched up by the jigsaw as you are cutting.
Here is the case cover with the hole cut out. Now we need to file down the edges to remove sharp ends. You can use a file or a Dremel.
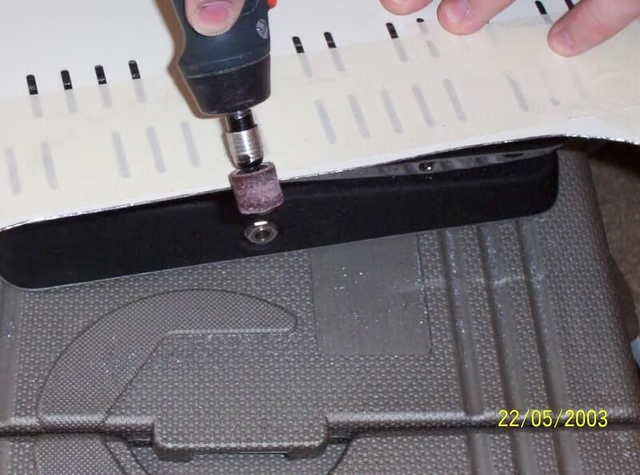
Here we use a Dremel with a sanding pad to file/round off the sides of the hole.
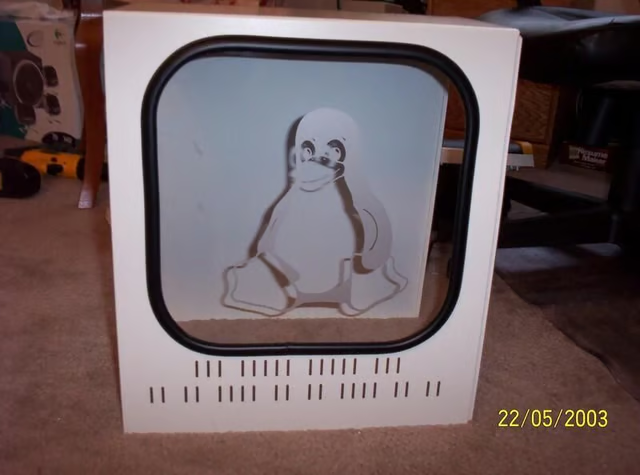
Here is a picture of the finished case window. The last step pictured was Dremeling the hole. From there you use either the window kit you bought or the plexi glass you cut to add your window. If you bought a kit with a rubber molding such as we used, you will first install the rubber molding around the hole, then insert the window into the molding from the inside of the case cover, and last install the locking molding into the rubber molding. Sounds easy enough?
Here is the case after it has been painted, (I forgot to wipe it off before I took the pic!) Now let,s start putting stuff inside. We will start with the power supply.
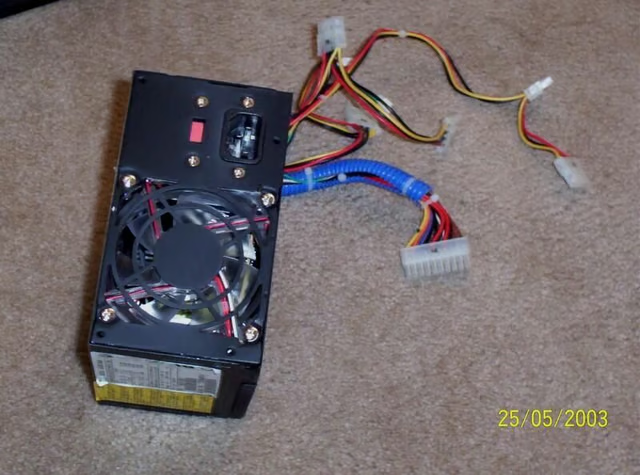
*I do not recommend you do this one at home because the power supply stores fatal voltages that can kill you!* Having said that and that I work with AC and DC power for my day job, here is the modded power supply. I basically took it apart and painted the casing black, then removed the original fan and installed a blue neon fan. Now let’s mount this in the case!
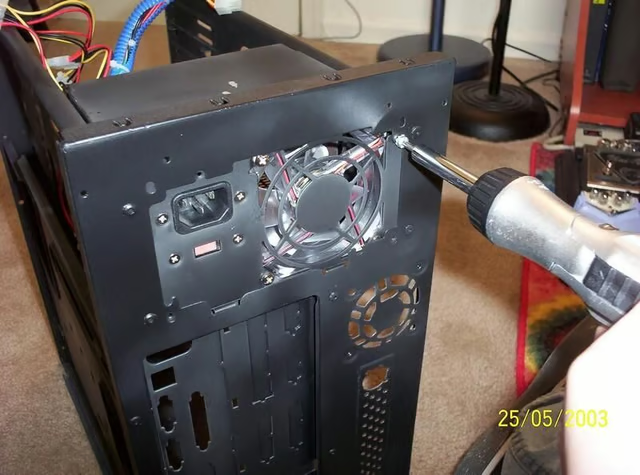
Mount the power supply by sliding it in from the top of the case with the fan/ac inlet facing the rear and secure it with the 4 screws. Now let’s install the mother board standoffs/mounts.
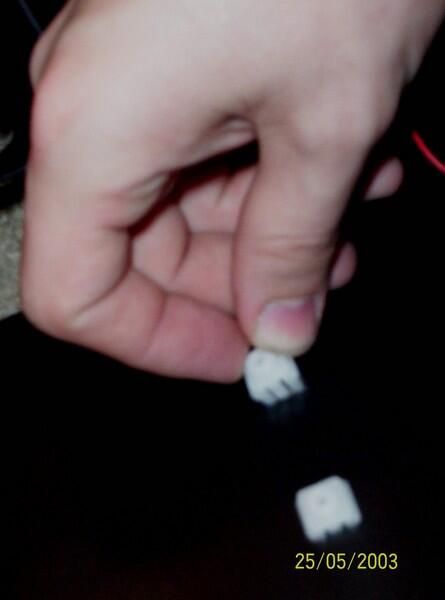
Now we install the motherboard mounts/standoffs. In this case, they are plastic and just snap into place. Be sure to look at your motherboard and figure out where the screws will go so you will know where to place the standoffs. Once they are in place, let’s add the motherboard.
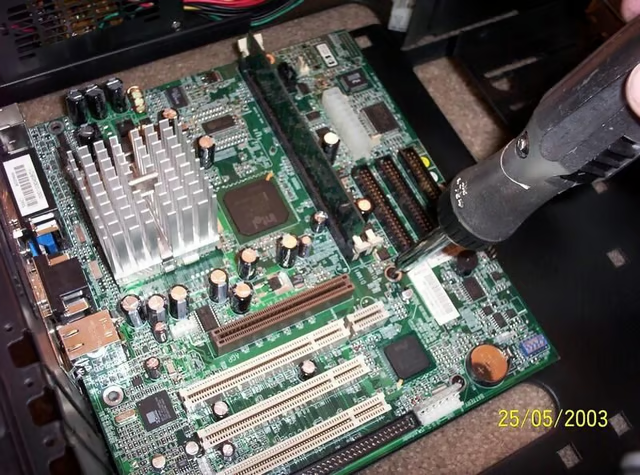
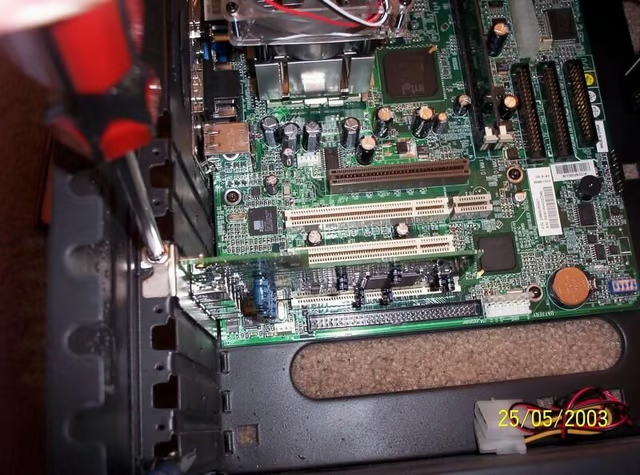
Now we install the motherboard by carefully setting it on top of the standoffs we just put in and letting the In/Out connectors snap into place on the back of the case and lining up the screw holes. Then secure it with the provided screws. *NOTE: In this case I have already installed the CPU and RAM if you have not done so you can add these in after you secure the motherboard. Also, when working with computer equipment watch out for Electro Static Discharge (ESD).
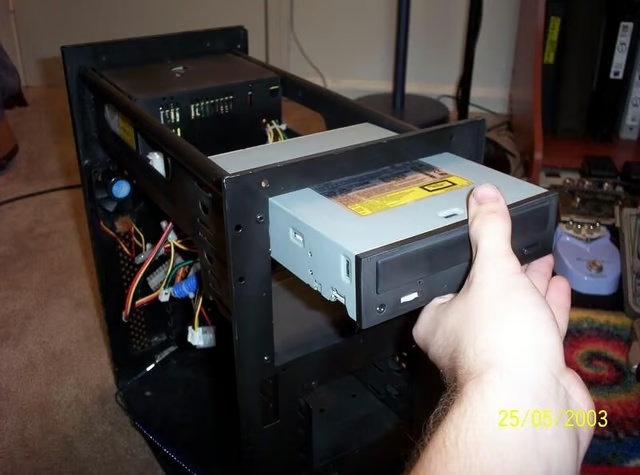
After we have the motherboard mounted, we can install the drives. CD ROM, CD writers, DVD ROMS, DVD writers, Floppys, and hard drives or any other things you might have to mount up front. We do this by sliding the drive into the front of the case into a free drive bay. I recommend placing them in a pre determined order. If you have 2 CD ROMS one is a master drive and the other is a slave drive. The same goes for having 2 hard drives. Place the master drive on top and the slave underneath.
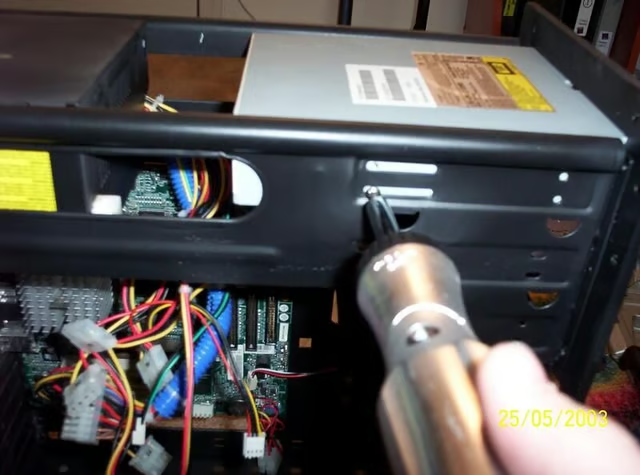
Secure the drives in place using at least 2 screws on on each side, but your better off with using all 4 screws, 2 per side. You may want to leave the screws a little loose until you put the front of the case back on to check for proper spacing. Secure the other drives in the same manner.
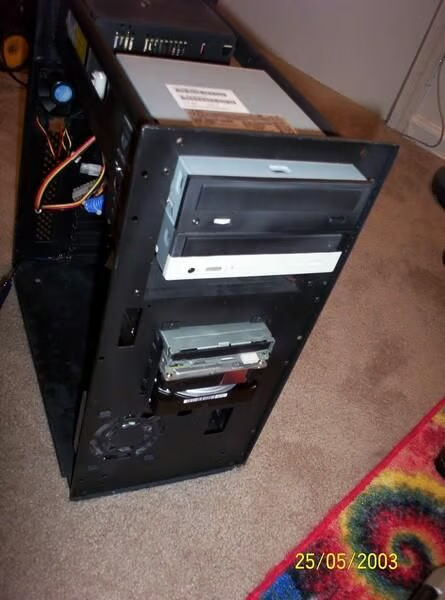
Here is a front view of the drives installed. From top to bottom we have the Master CD Writer, the slave CD ROM, the floppy, the Master Hard drive, and finally the slave hard drive. If you are not sure about the Master/Slave thing check your manuals that came with the device for correct jumper settings. Fix the jumpers before you mount the drives, because it can be tricky to change them afterwards.
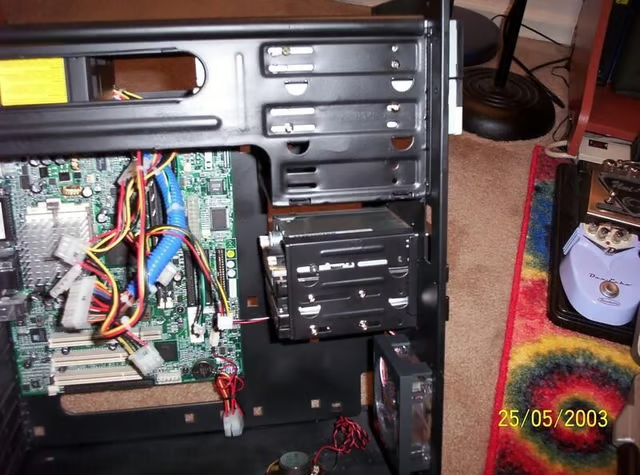
Here is just a side view of the drives installed. You can also see a fan in the bottom right hand corner of the case I put it in after the drives were mounted. Most fans are secured with 4 screws this one however just snapped in. Now, let’s install the PCI/AGP cards.
Next install any PCI or AGP or other cards you have by sliding the card into an open slot and securing it with the screw. Once you have your cards installed, mount any other fans or accessories you have. Once everything is mounted we will work on cabling everything up.

Before we cable things up we will install the Neon lights. Be sure to use a cold cathode style neon light as to cut down on the heat inside the case. Figure out where you want the lights then use the supplied mounts and ty-wraps to secure the lights where you want them. Next mount the inverter in a good location with Velcro supplied in the kit and your good to go. Now we can cable everything up.
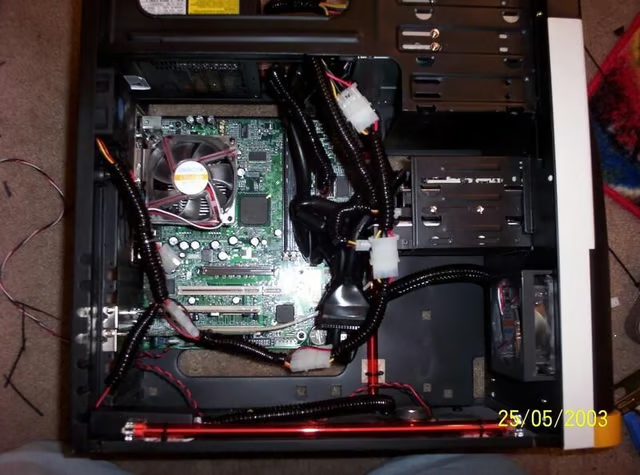
I suggest that you make a plan as far as cable wiring. In this case, I used rounded IDE and Floppy cables to help increase airflow inside the case, and used split loom tubing to route everything else in. In this picture, you see that the front case cover is back on. After I put it on, I made some fine adjustments to the drives spacing then tightened all the drive screws. As I mentioned earlier, try and make a plan once you get all the cables in and connected.
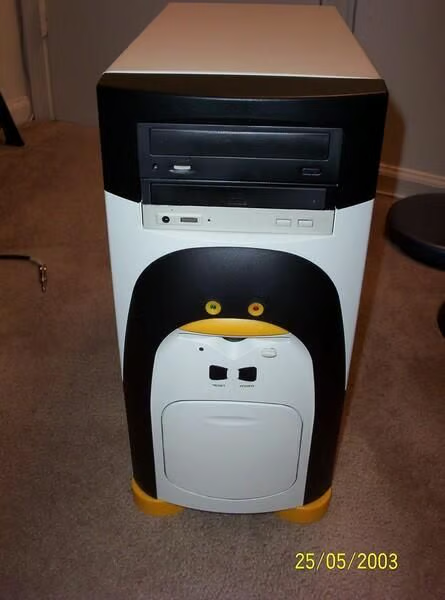
Here is the front of the case finished.
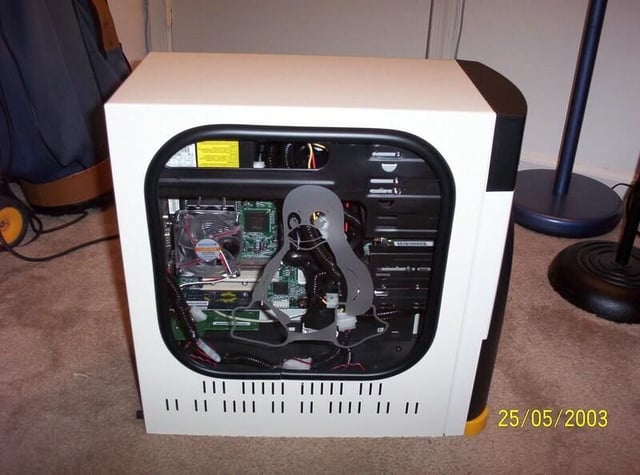
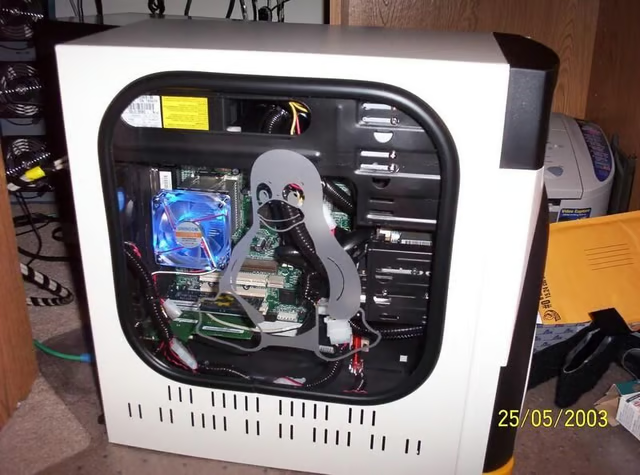
Here is the left side of the finished case. The right side of the case has not changed. But we now have a window on the left to view the inside and watch the neon!
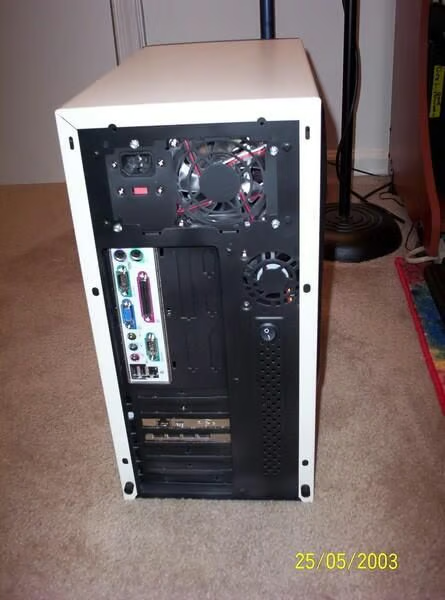
Here is a rear shot of the finished case.
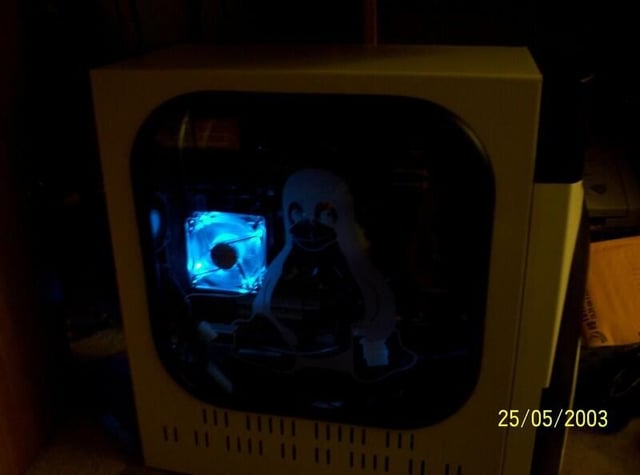
Here is the inside light up with only the blue lights of the fans.
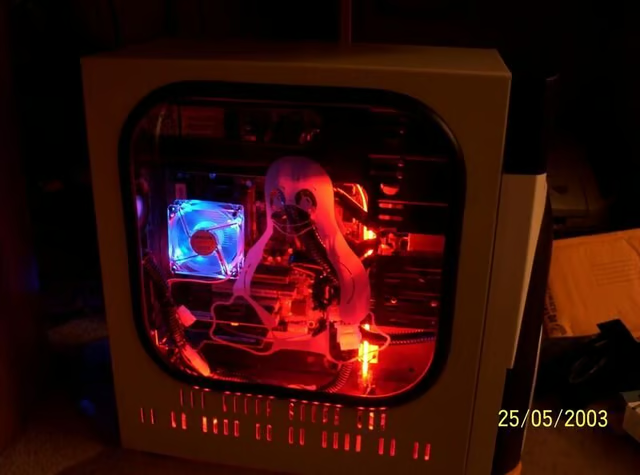
Heres a shot of with all the lights on. This is where I use the Red, White, and Blue theme. My wife also thinks it works as a fire and ice theme.
Here is a shot of the machine running in normal light. Well thats about it, I might make a few changes to the machine as more money comes in and ideas roll out, but for now thats it. Hopefully this inspires someone or educates someone a little. If you have any ideas for me or any constructive critisim drop me an email.
Bill Detwiler is the Editor for Technical Content and Ecosystem at Celonis. He is the former Editor in Chief of TechRepublic and previous host of TechRepublic's Dynamic Developer podcast and Cracking Open, CNET and TechRepublic's popular online show. Previously, Bill was an IT manager in the social research and energy industries. He has bachelor's and master's degrees from the University of Louisville, where he has also lectured on computer crime and crime prevention.


