In November 2010, Barnes & Noble began shipping the NOOKcolor e-book reader. The NOOKcolor offers a 7-inch color screen, touch-screen interface, Wi-Fi support, and runs Android 2.1.
Follow along as I crack open the NOOKcolor for a look at the hardware inside.
Check out the 2010 Amazon Kindle and Kindle DX in these cracking open galleries:
Amazon Kindle DX (Graphite) Teardown
Amazon Kindle Graphite (3G+Wi-Fi) 2010 Teardown
Photo by: Bill Detwiler / TechRepublic
Caption by: Bill Detwiler
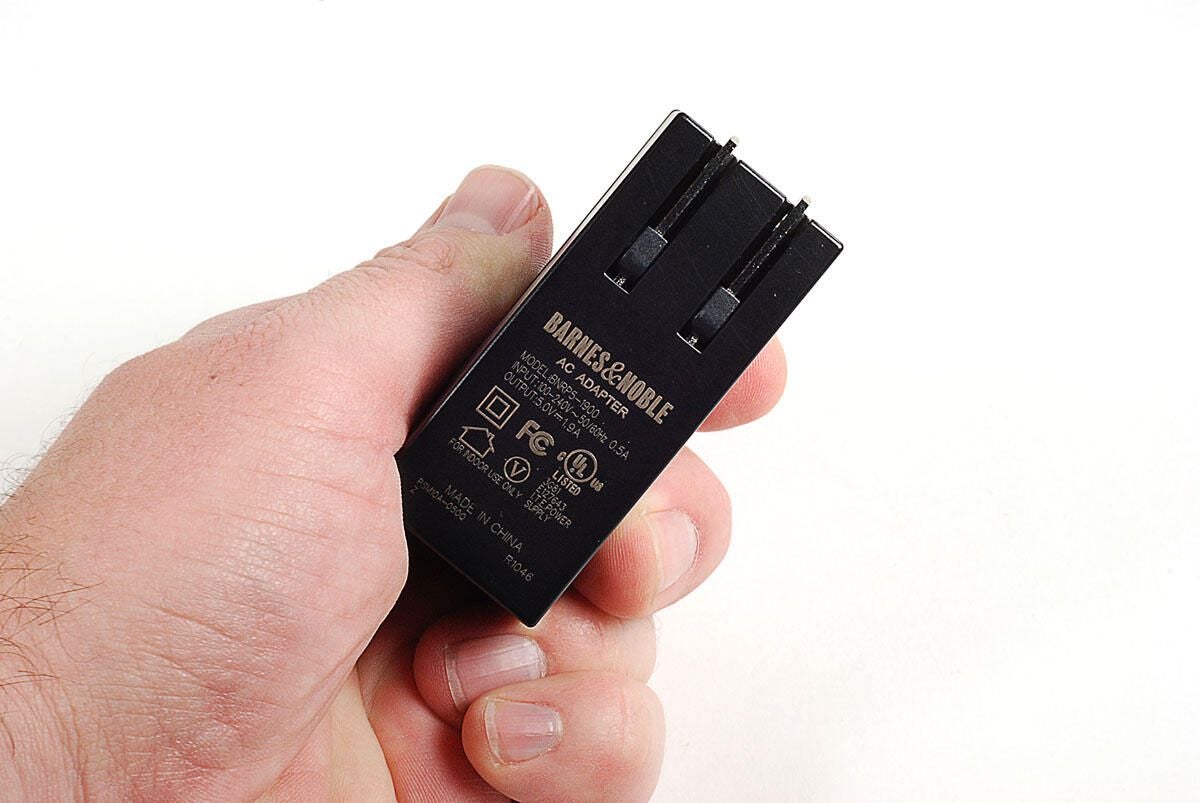
The NOOKcolor uses a 5.0V 1.9A power adapter.
Photo by: Bill Detwiler / TechRepublic
Caption by: Bill Detwiler
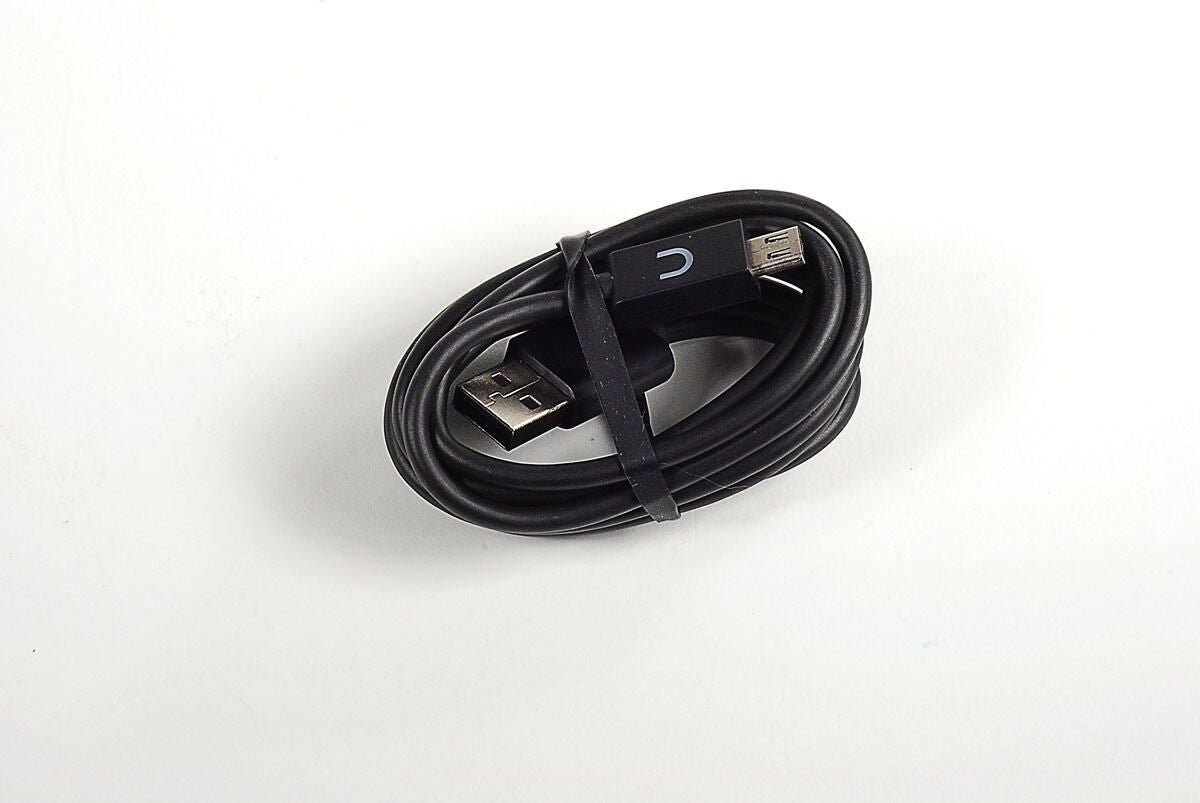
The NOOKcolor uses a USB cable to charge and connect to a computer.
Photo by: Bill Detwiler / TechRepublic
Caption by: Bill Detwiler
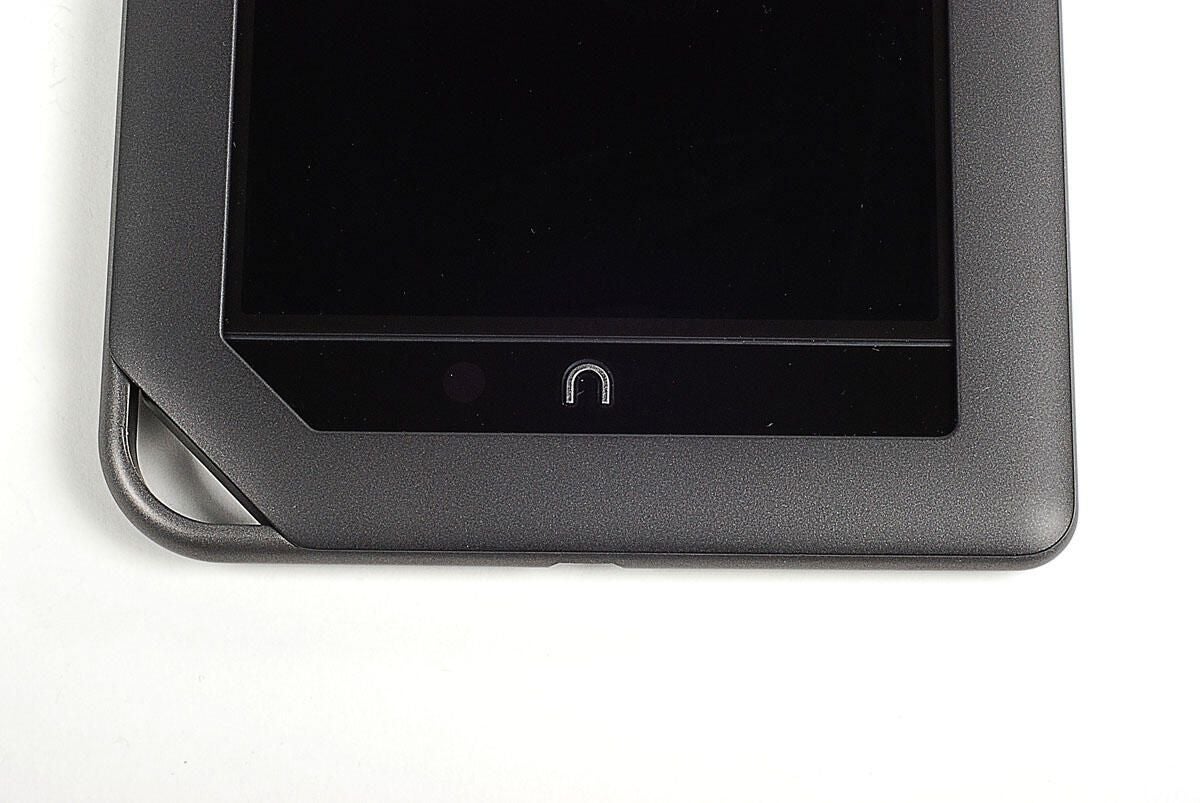
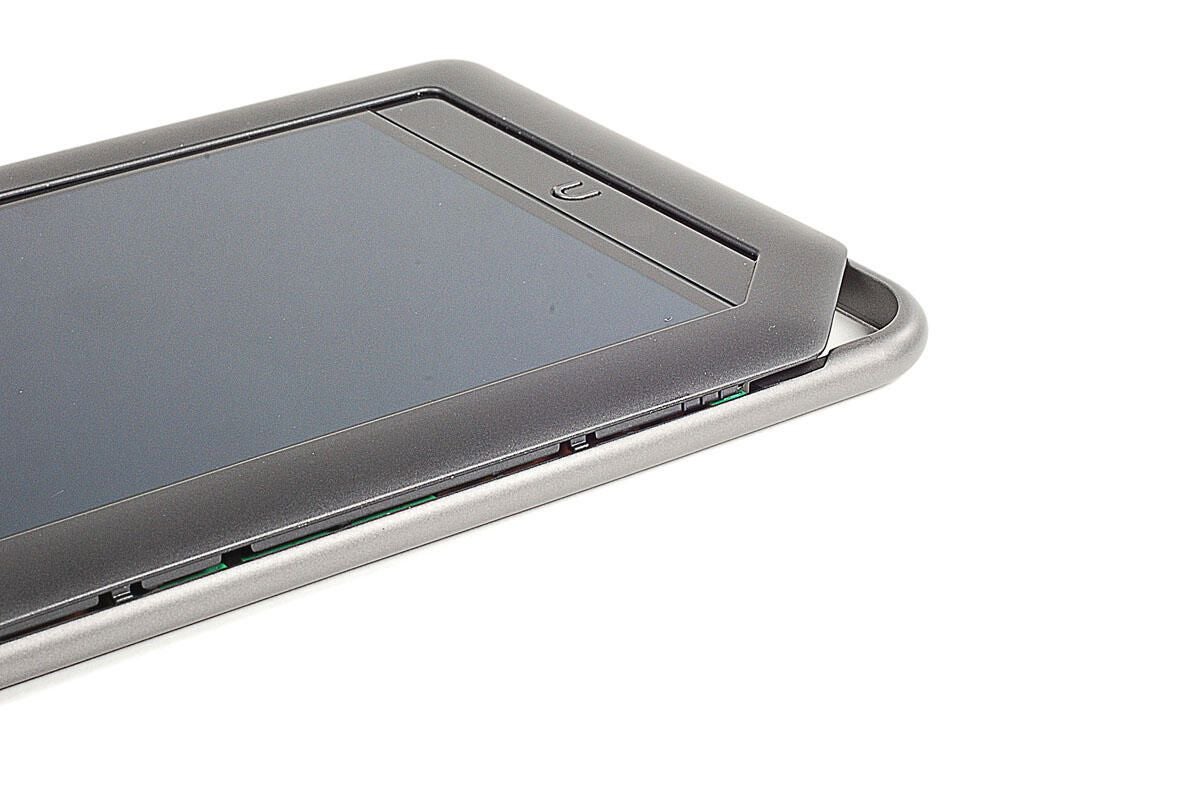
Along the bottom edge of the NOOKcolor’s front are the Home button (the NOOK symbol) and a curious loop. Perhaps we’ll see a wrist strap accessory in the future.
Photo by: Bill Detwiler / TechRepublic
Caption by: Bill Detwiler
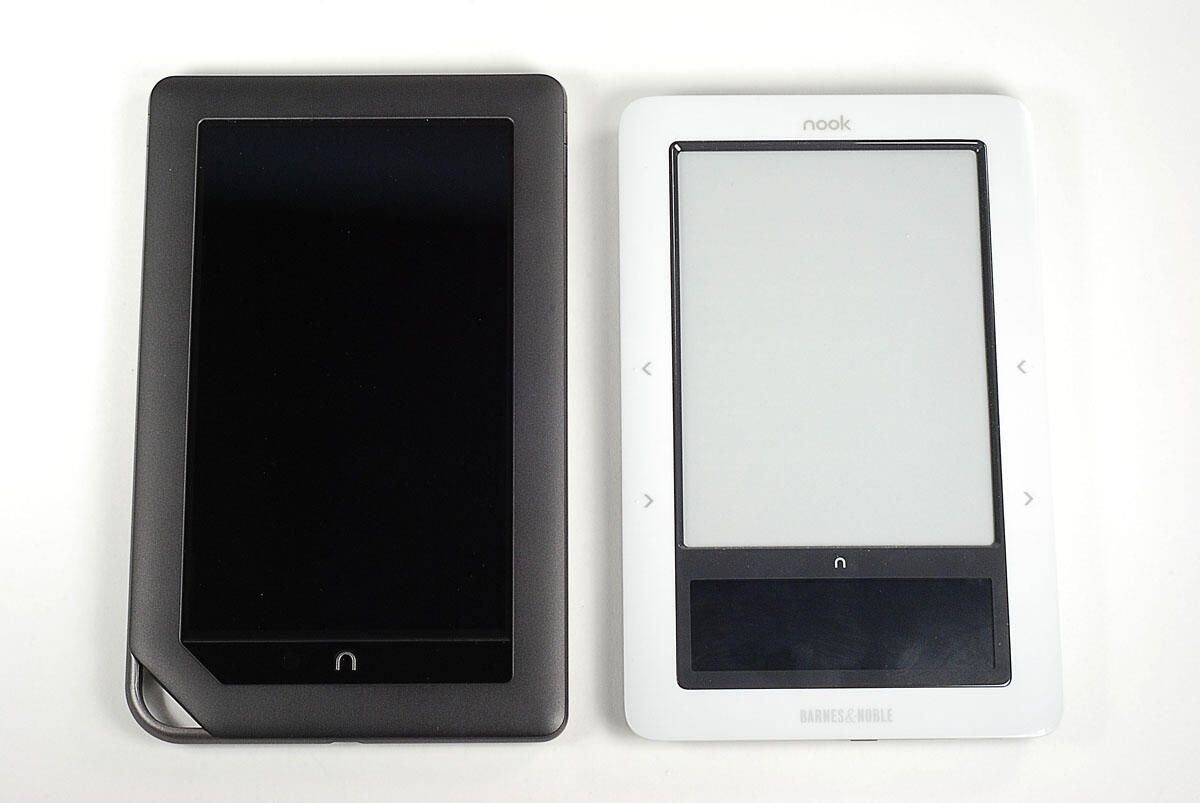
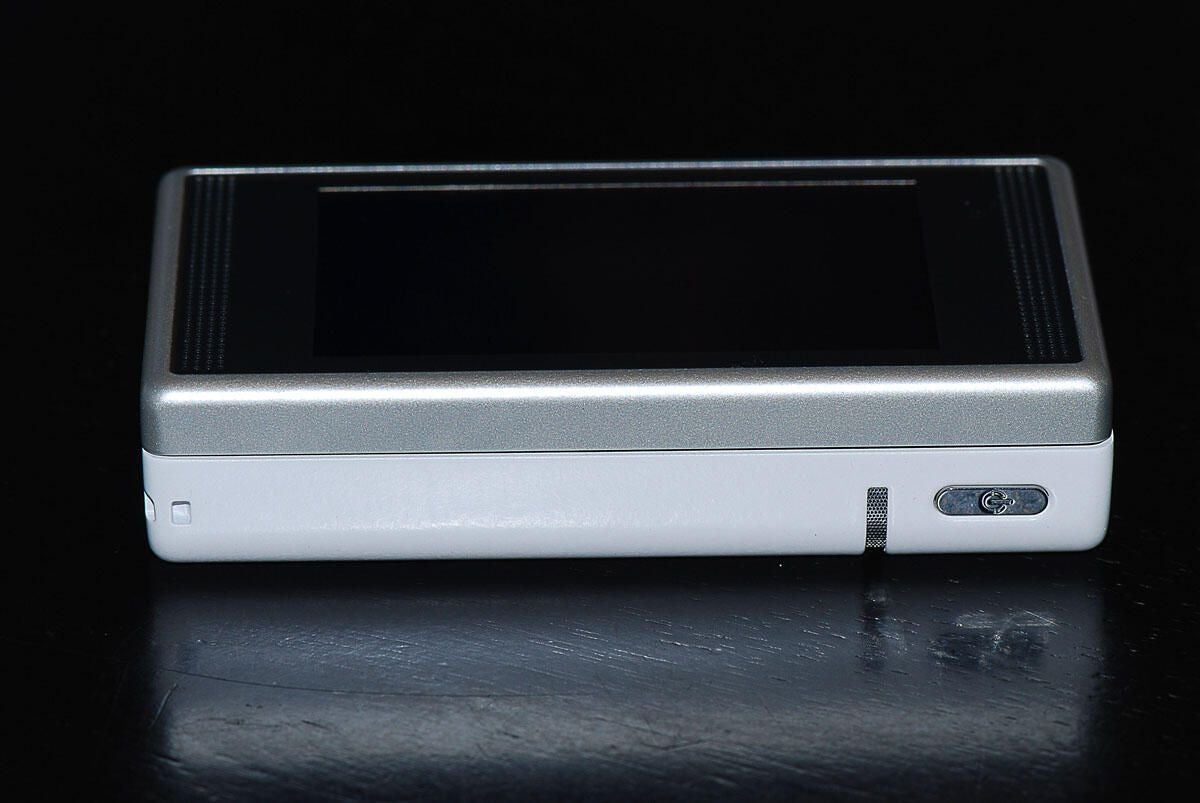
The NOOKcolor is slightly taller than the original NOOK, but about the same width. As NOOKcolor’s entire screen is touch-sensitive, gone is the small color LCD found at the bottom of the original NOOK.
Photo by: Bill Detwiler / TechRepublic
Caption by: Bill Detwiler
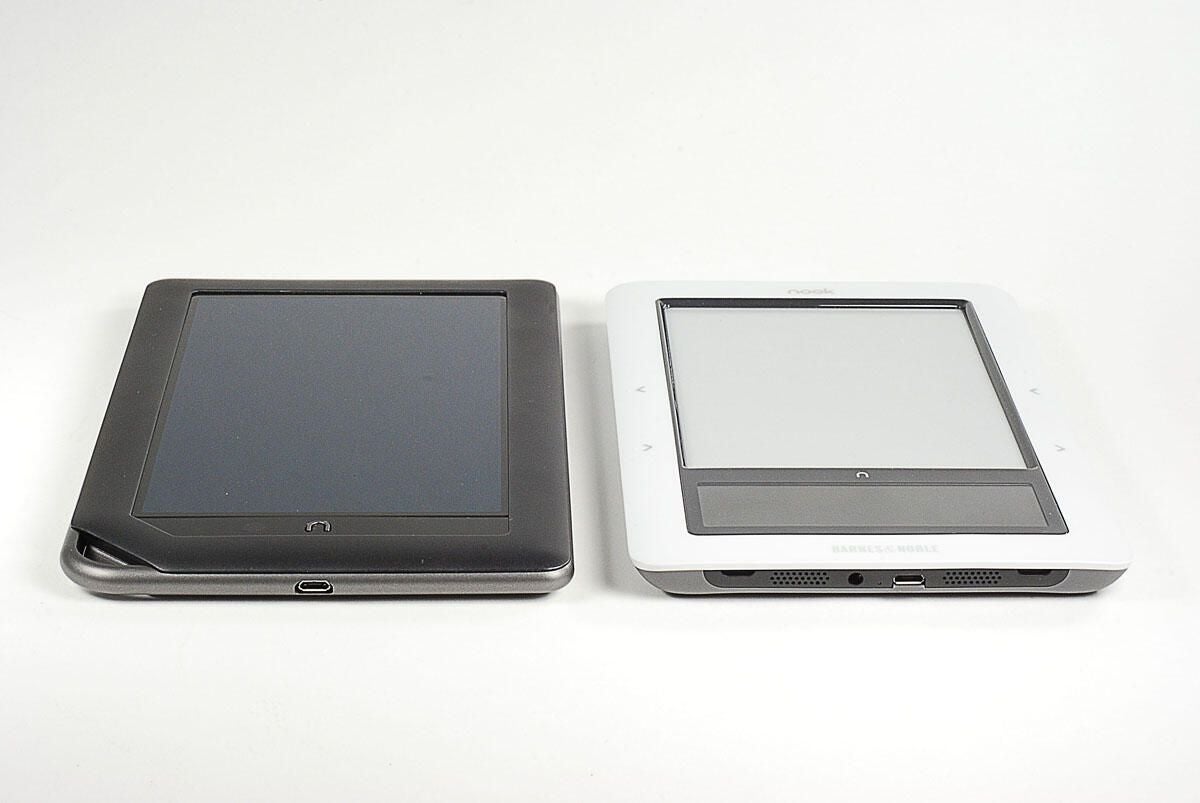
The speaker has been moved to the back of the NOOKcolor and the headphone jack has been moved to the top. Only the USB port remains along the bottom edge.
Photo by: Bill Detwiler / TechRepublic
Caption by: Bill Detwiler
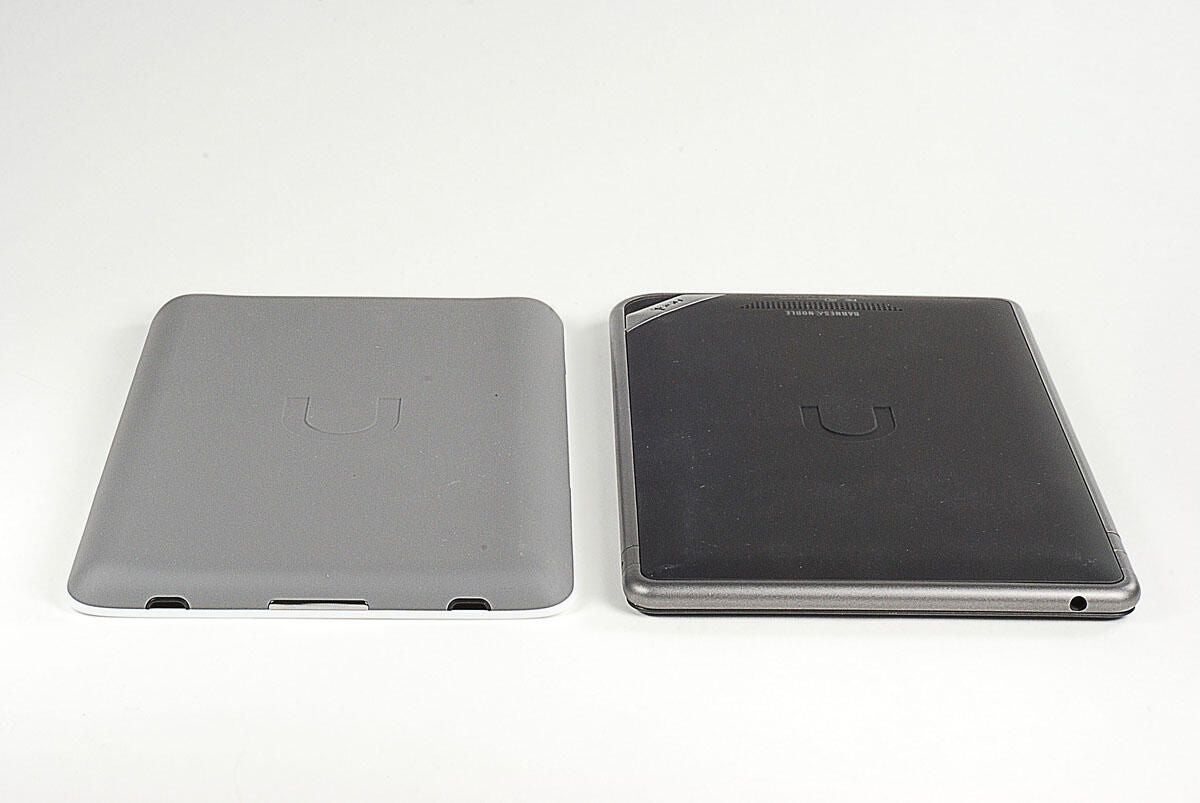
The NOOKcolor has a less beveled, more rounded edge than the original NOOK.
Photo by: Bill Detwiler / TechRepublic
Caption by: Bill Detwiler
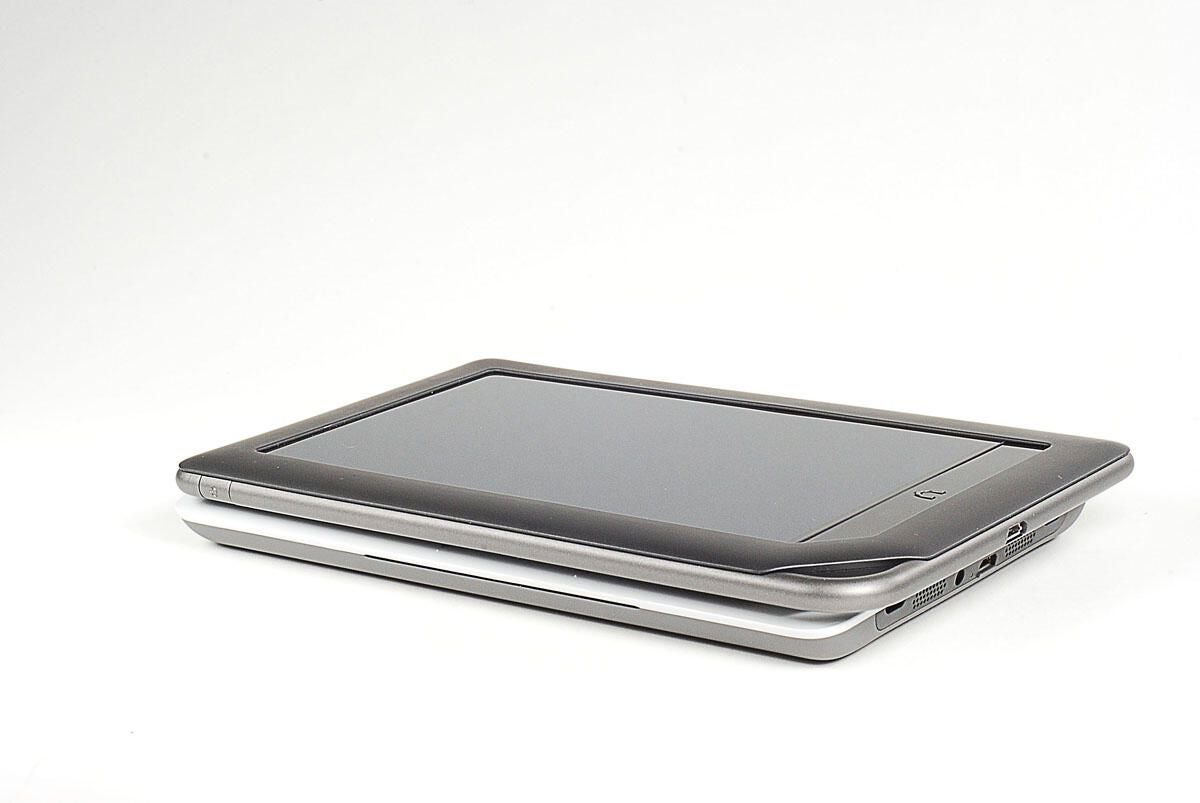
The two devices are very similar in thickness.
Photo by: Bill Detwiler / TechRepublic
Caption by: Bill Detwiler
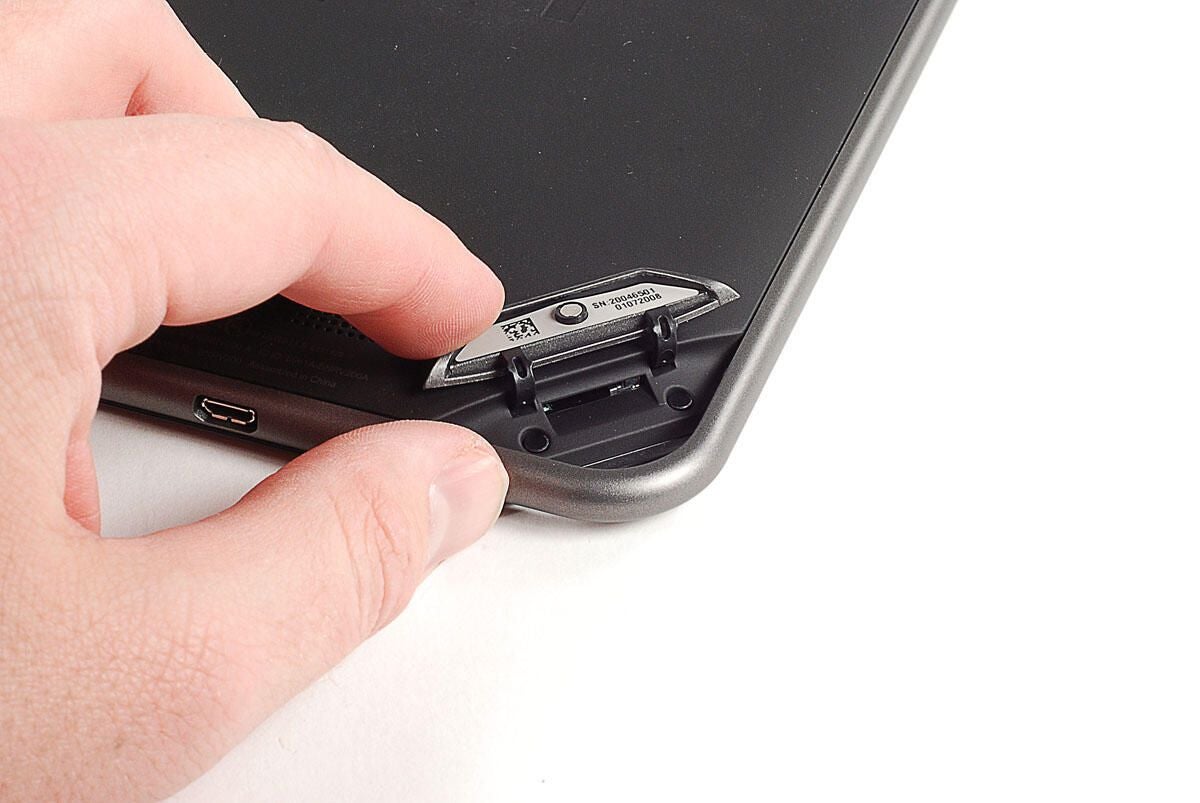
Under the light gray cover on the back of the NOOKcolor is the microSD card slot. The device can support up to 32GB of expanded memory.
Photo by: Bill Detwiler / TechRepublic
Caption by: Bill Detwiler
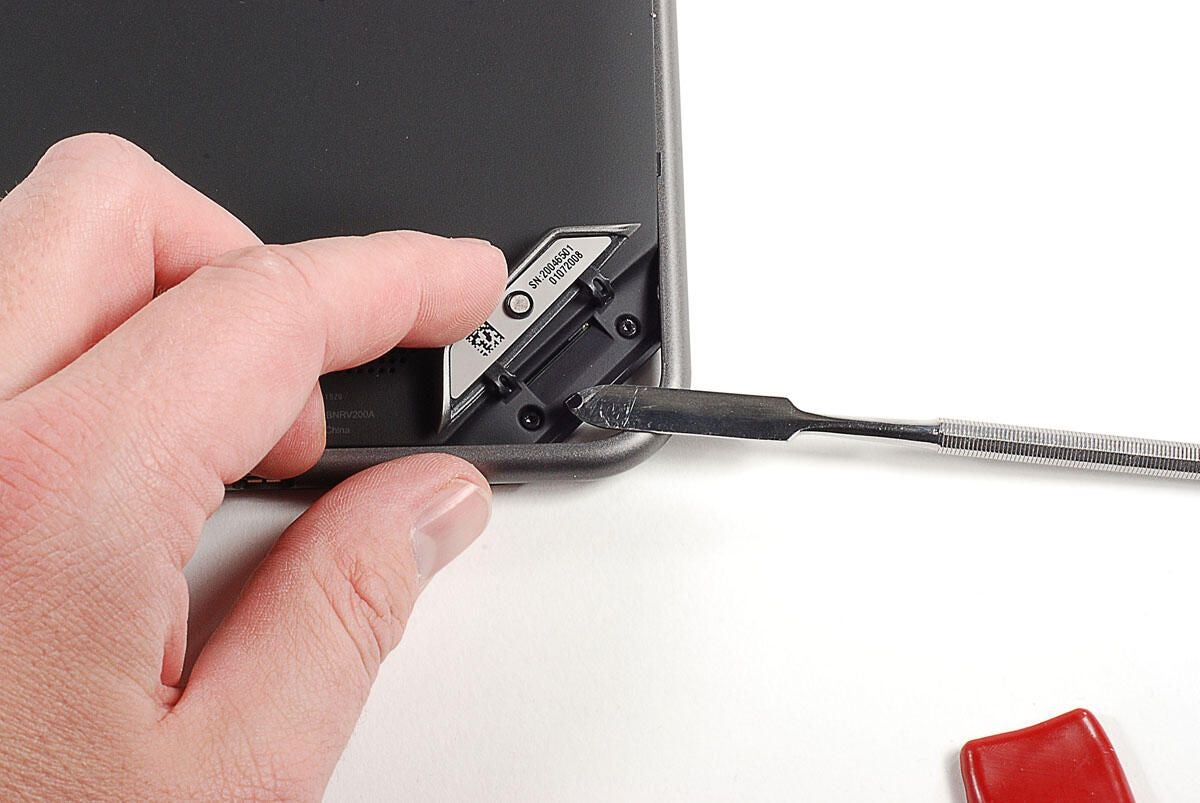
Two Torx T5 screws are hidden under black stickers beneath the microSD slot cover. You’ll need to remove both screws before popping off the back cover.
Photo by: Bill Detwiler / TechRepublic
Caption by: Bill Detwiler
The NOOKcolor’s internal metal frame also serves as the device’s external edge. It is held to the display assembly with 10 Torx T5 screws.
Photo by: Bill Detwiler / TechRepublic
Caption by: Bill Detwiler

After removing the metal frame’s 10 Torx T5 screws, you’ll need to remove three rubber cushions that cover connectors for the battery, power button, and volume up/down button. The cushions are held in place with adhesive. Using a thin metal blade, you should be able to remove the cushions without tearing them or damaging the connector underneath.
Photo by: Bill Detwiler / TechRepublic
Caption by: Bill Detwiler
You’ll need to disconnect the battery before removing the metal frame.
Photo by: Bill Detwiler / TechRepublic
Caption by: Bill Detwiler

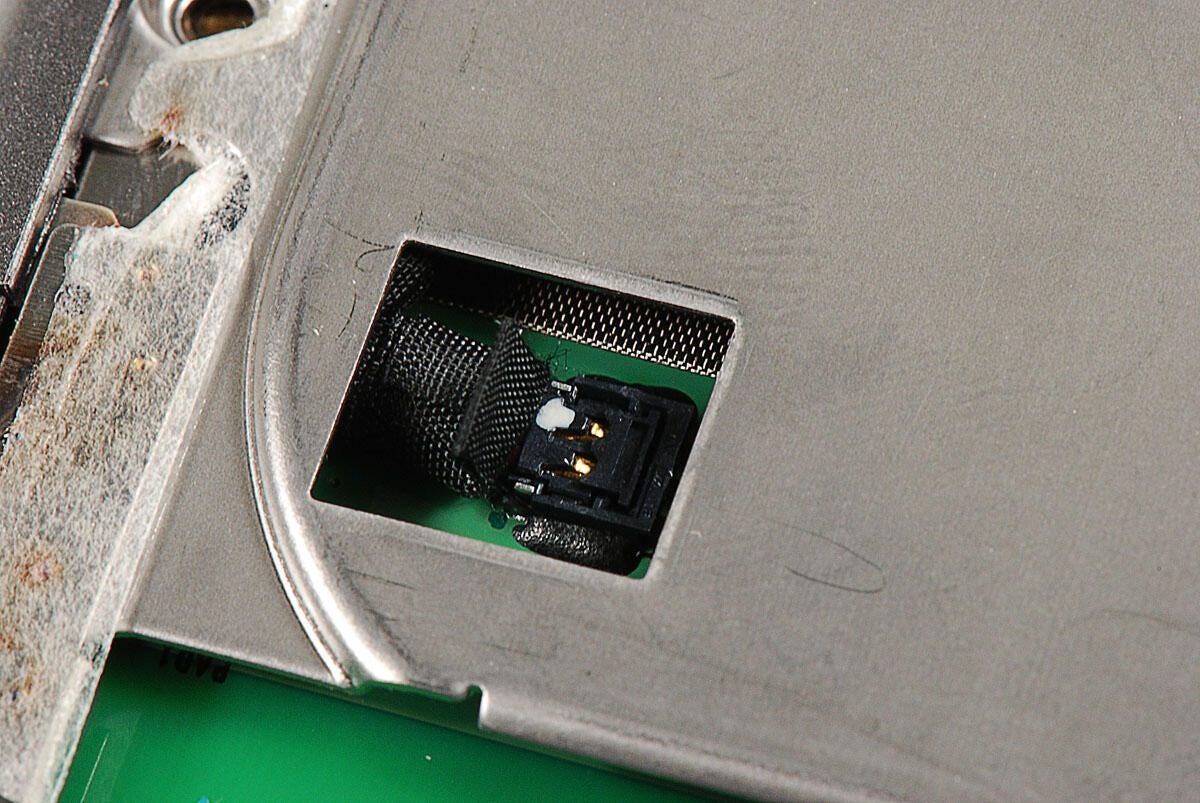
You’ll also need to disconnect the volume up/down button.
Photo by: Bill Detwiler / TechRepublic
Caption by: Bill Detwiler
Lastly, you’ll need to disconnect the power button.
Photo by: Bill Detwiler / TechRepublic
Caption by: Bill Detwiler
With the internal screws removed and the cables disconnected, you can separate the display assembly from the metal frame. You could use a thin metal blade or a plastic case opening tool for this task, but I found that my fingernail worked well.
Photo by: Bill Detwiler / TechRepublic
Caption by: Bill Detwiler
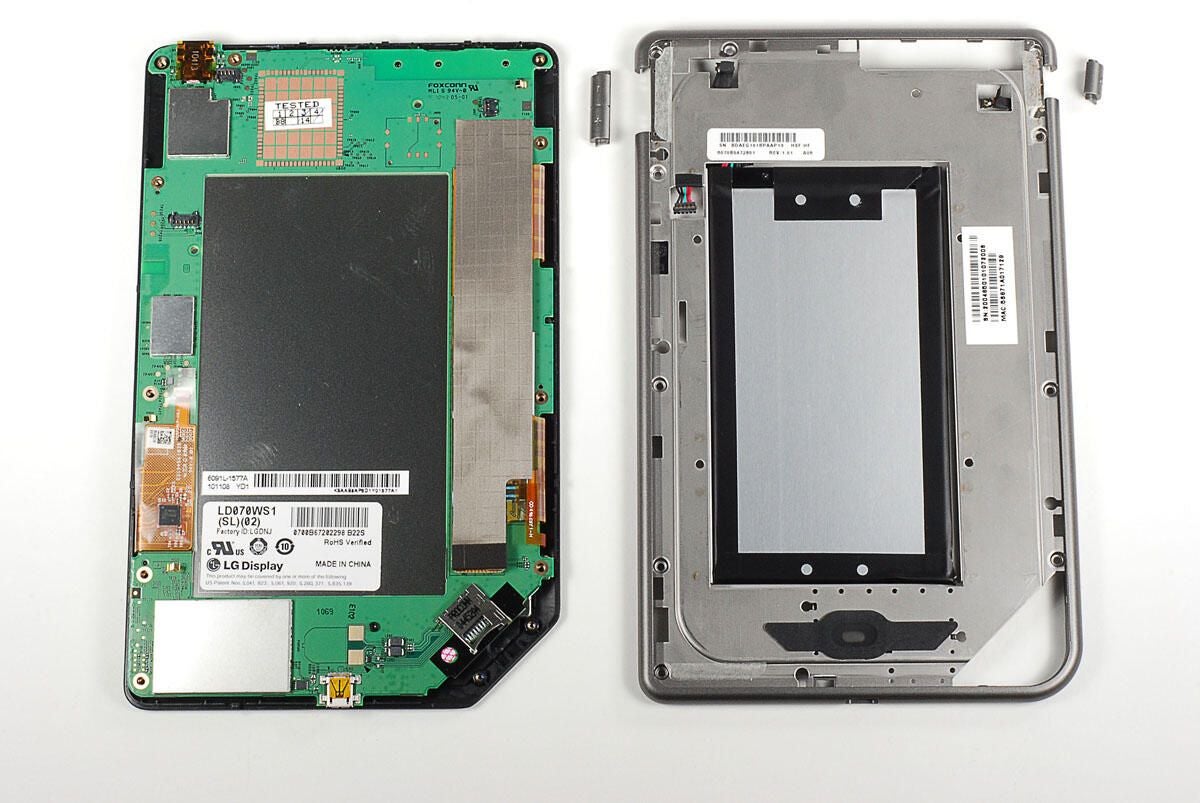
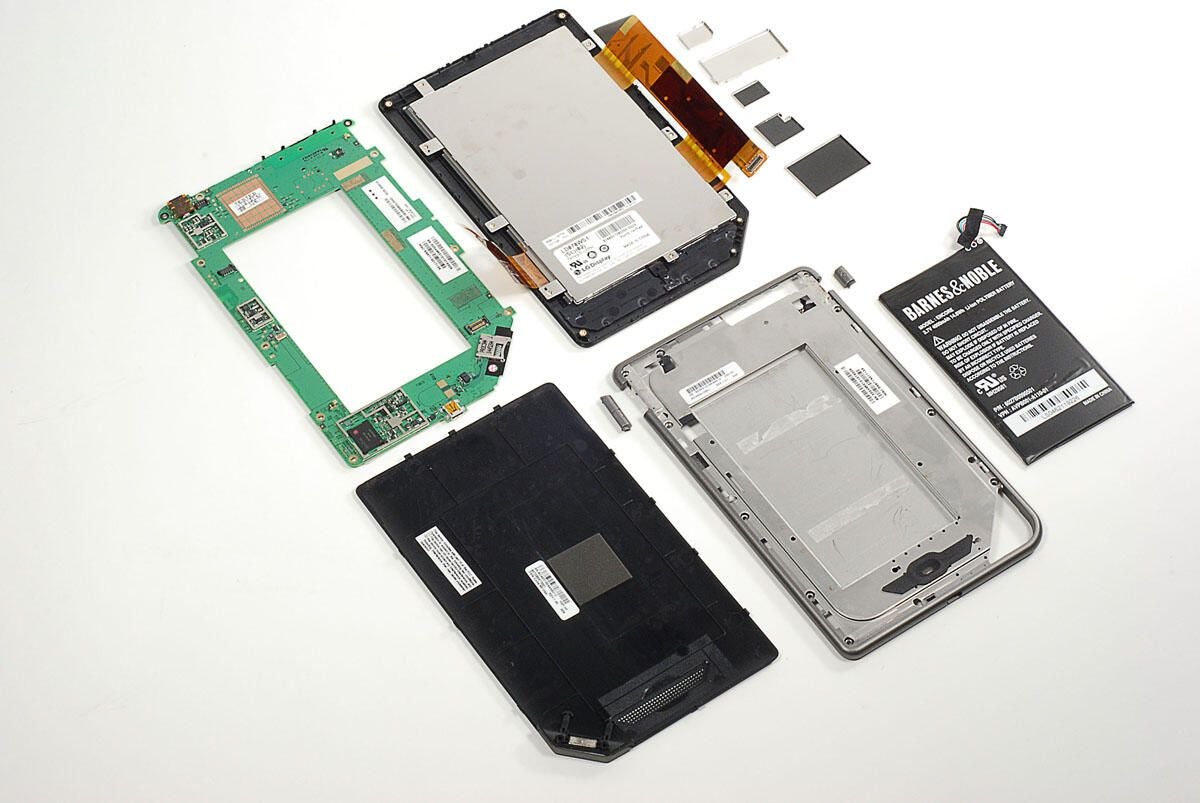
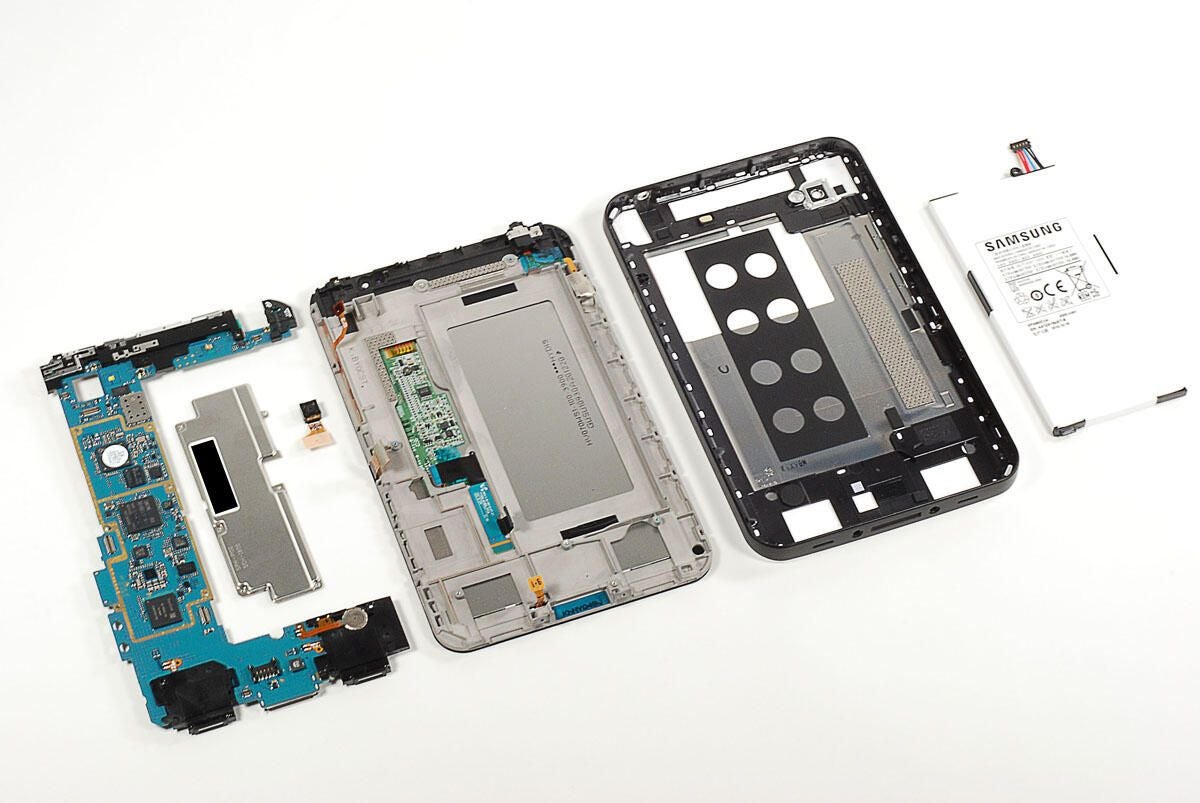
With the internal metal frame separated from the display assembly, we get our first good look at the NOOKcolor’s printed circuit board (PCB). Before going any further with the display assembly, let’s finish our examination of the metal frame and remove the battery.
Photo by: Bill Detwiler / TechRepublic
Caption by: Bill Detwiler
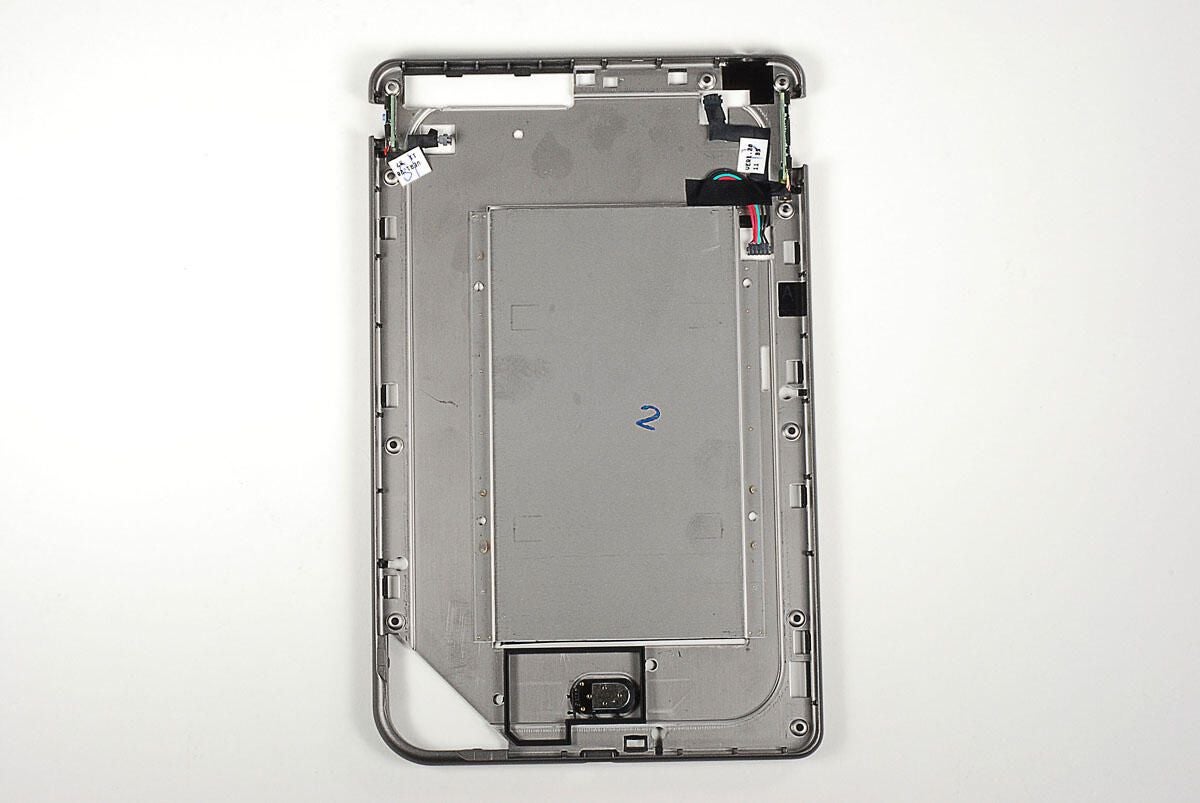
The NOOKcolor’s internal metal frame houses the battery, speaker, power button, and volume up/down button.
Photo by: Bill Detwiler / TechRepublic
Caption by: Bill Detwiler
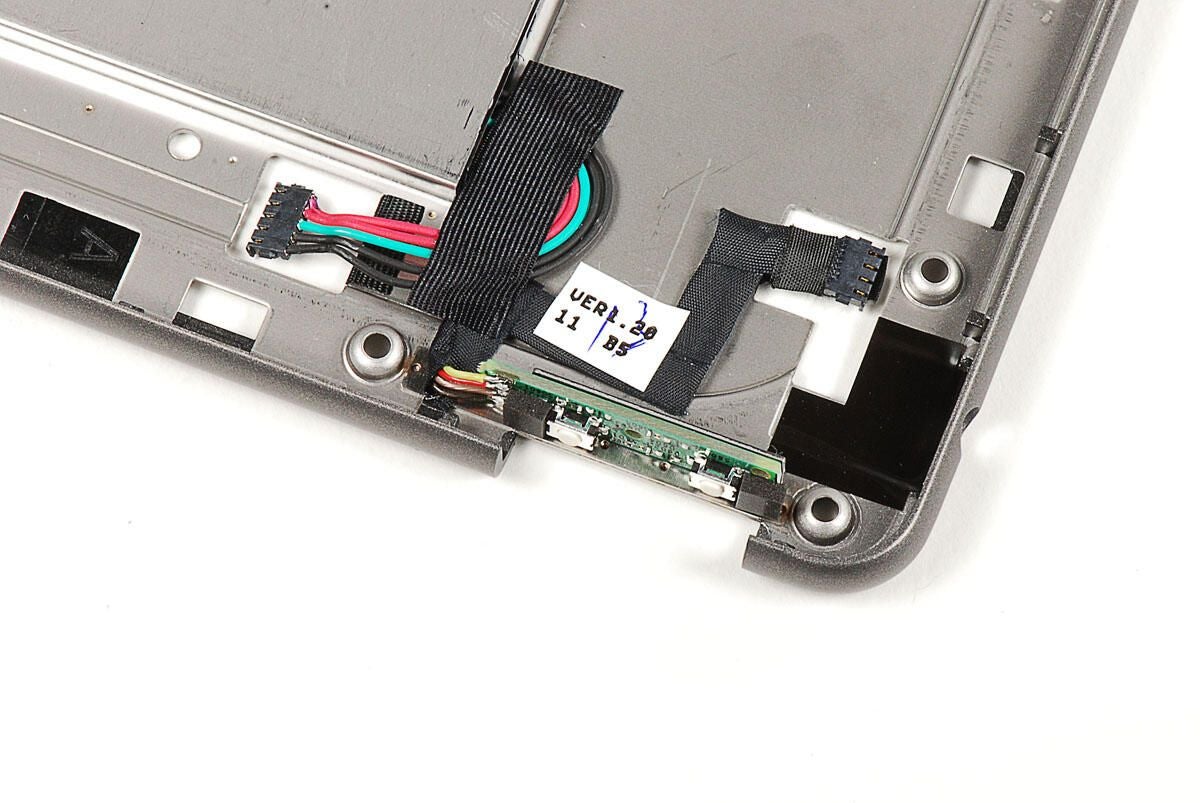
Photo by: Bill Detwiler / TechRepublic
Caption by: Bill Detwiler
A single Torx T5 screw holds the PCB to the display assembly. You’ll need to remove the screw before removing the PCB.
Photo by: Bill Detwiler / TechRepublic
Caption by: Bill Detwiler
The touchscreen connector is attached to the NOOKcolor’s PCB with a gated connector and a bit of clear tape.
Photo by: Bill Detwiler / TechRepublic
Caption by: Bill Detwiler
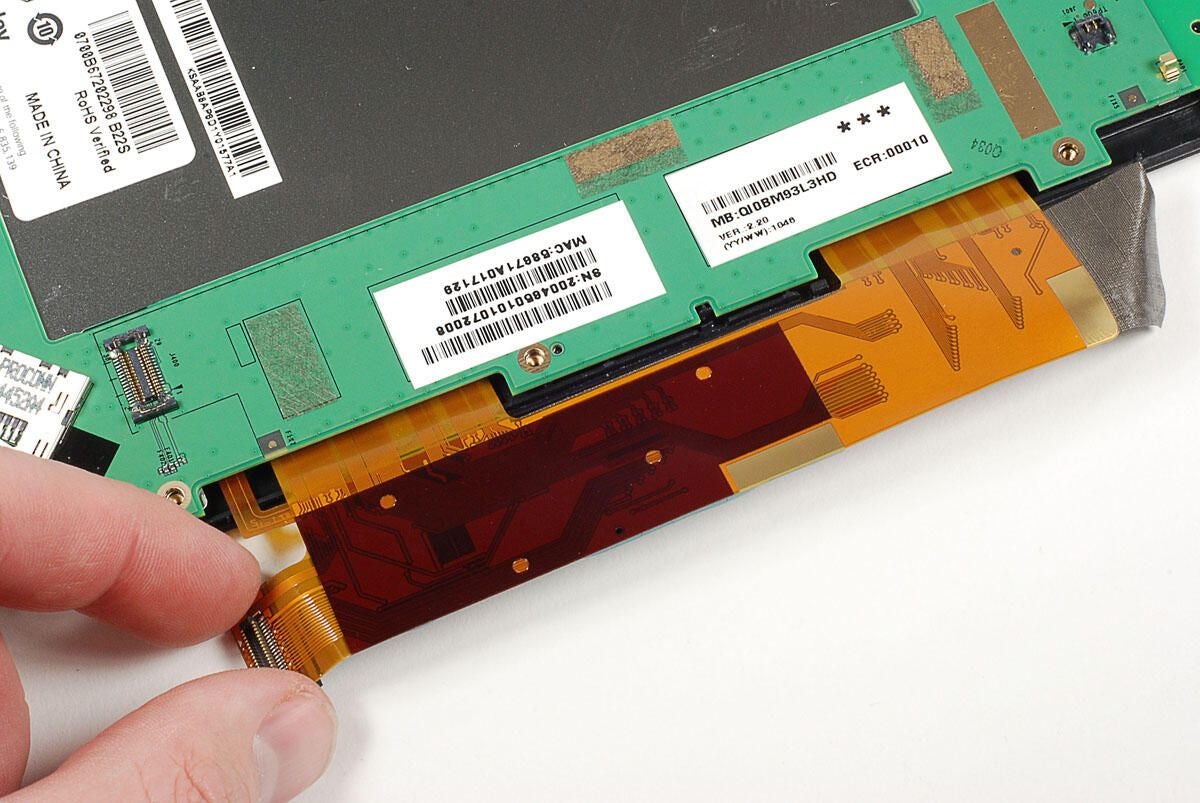
Photo by: Bill Detwiler / TechRepublic
Caption by: Bill Detwiler
With the screw removed and the display and touchscreen controller disconnected, you can begin lifting the PCB away from the NOOKcolor’s display assembly. But, don’t pull too hard. The Wi-Fi antenna cable is still attached to the assembly. The antenna wire runs under two thin metal plates. You can either disconnect the antenna wire and pull it out from under the plates, or bend the plates up slightly and pull the wire out. I opted for the latter.
Photo by: Bill Detwiler / TechRepublic
Caption by: Bill Detwiler
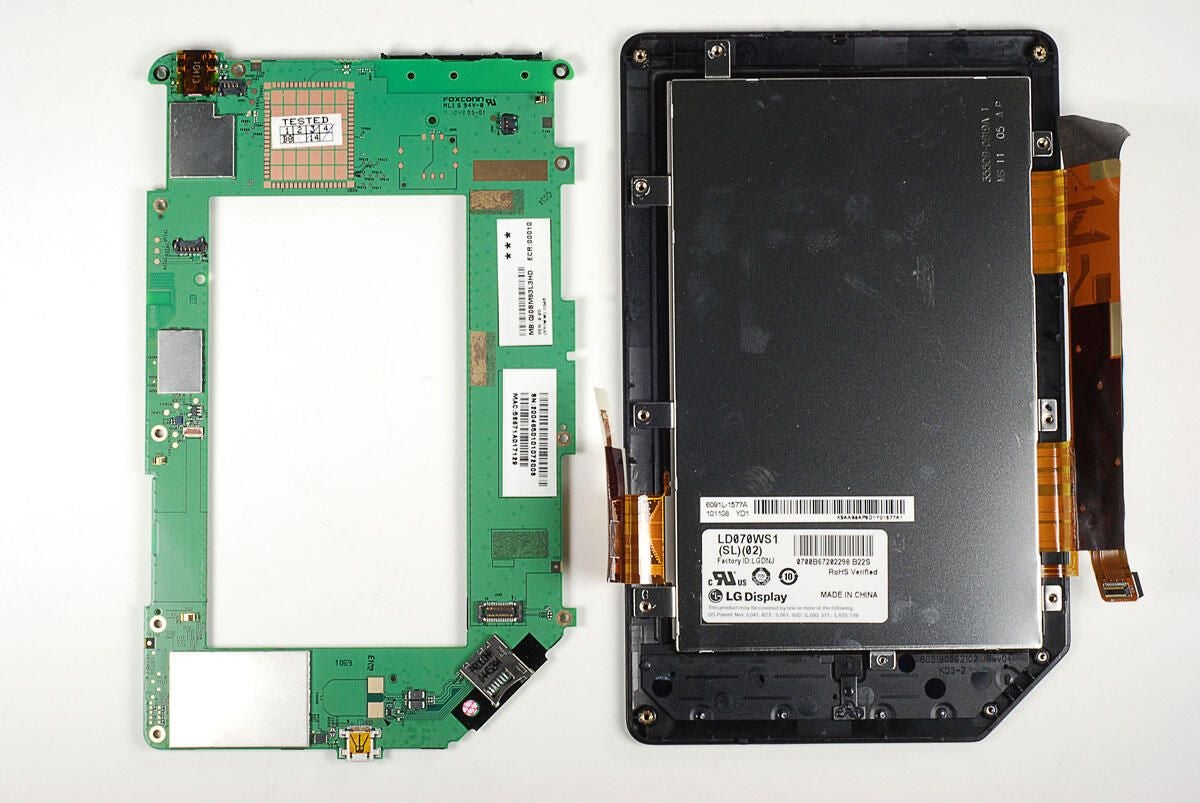
Photo by: Bill Detwiler / TechRepublic
Caption by: Bill Detwiler
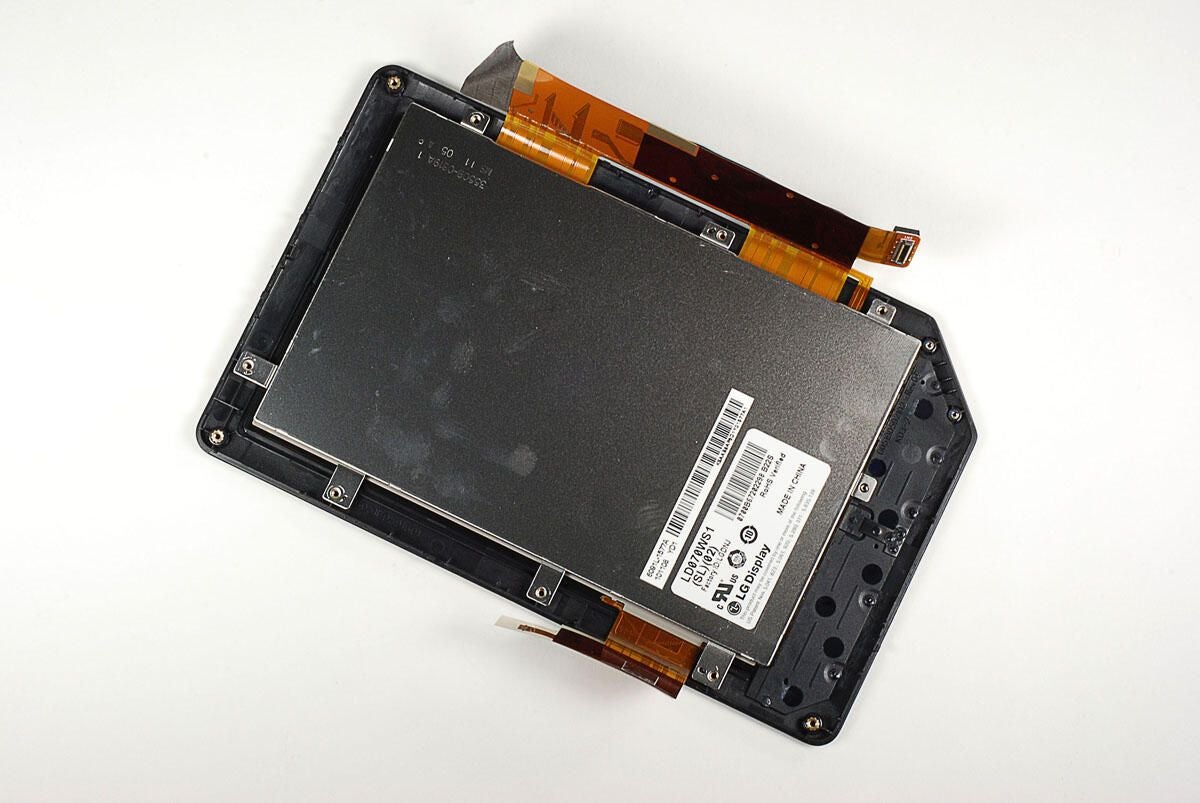
Photo by: Bill Detwiler / TechRepublic
Caption by: Bill Detwiler
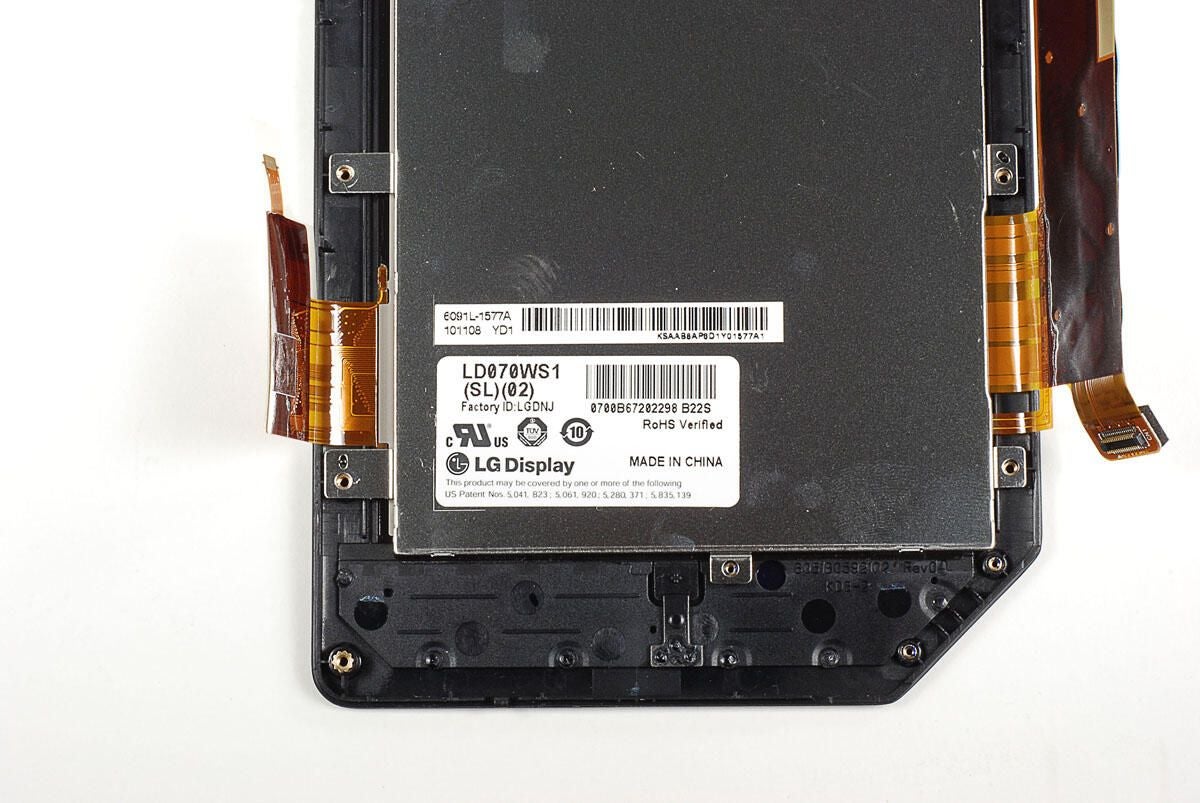
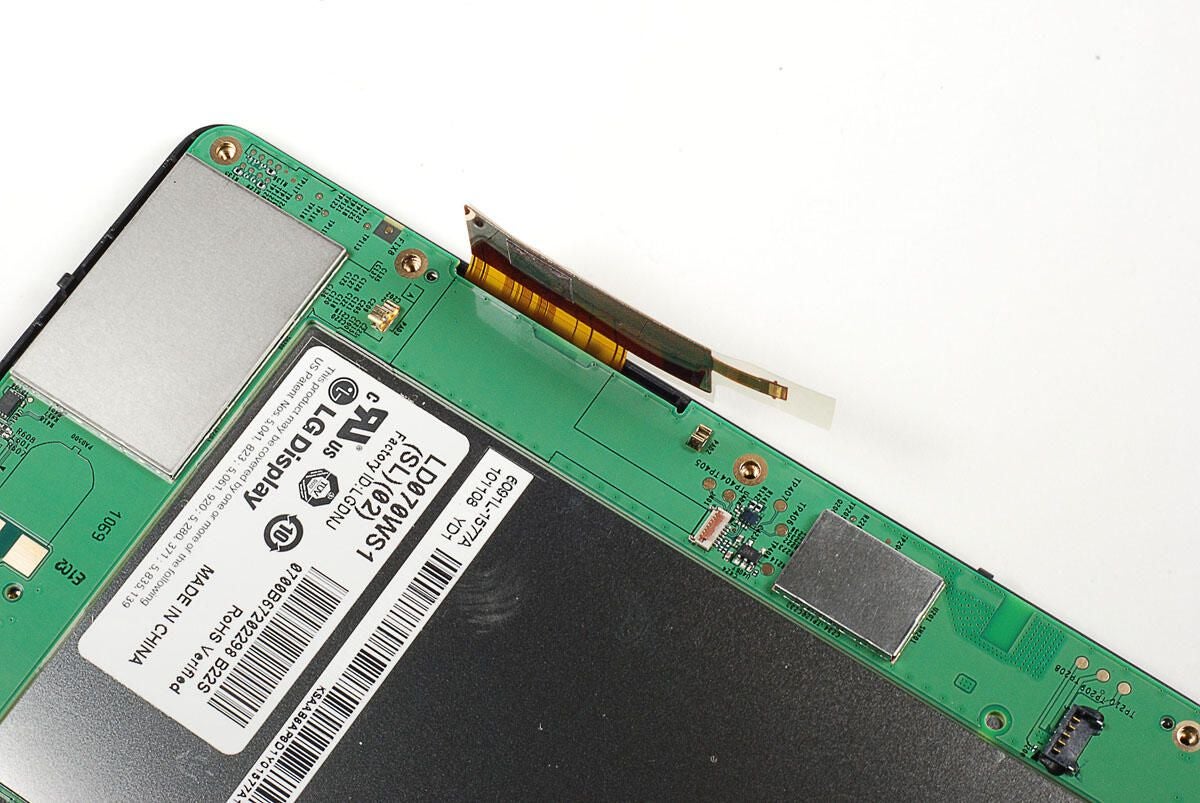
The NOOKcolor uses an LG Display LD070WS1 (SL)(02) to deliver the 1024 x 600 resolution at 169 PPI.
Photo by: Bill Detwiler / TechRepublic
Caption by: Bill Detwiler
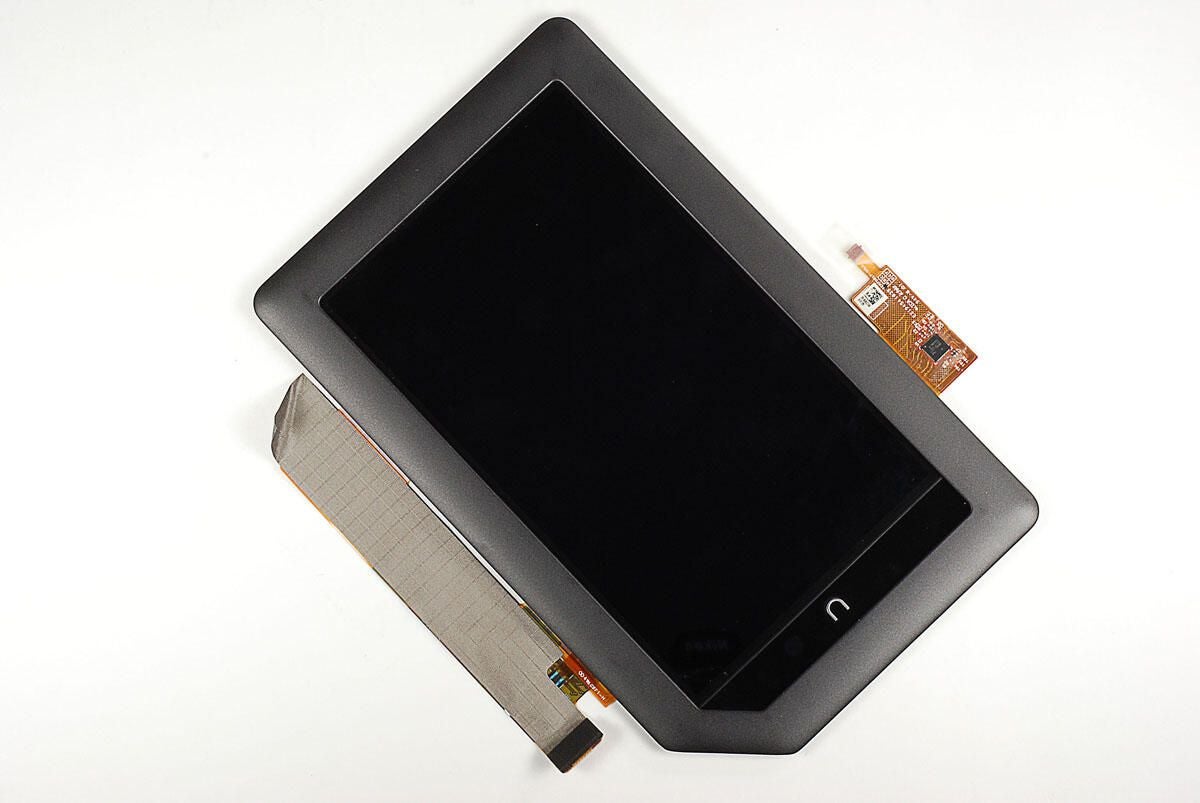
The NOOKcolor’s display appears to be held to the front frame with very strong adhesive. As I didn’t want to damage the display, I left the two components attached. We can however, take a closer look at the touchscreen controller and display connector.
Photo by: Bill Detwiler / TechRepublic
Caption by: Bill Detwiler
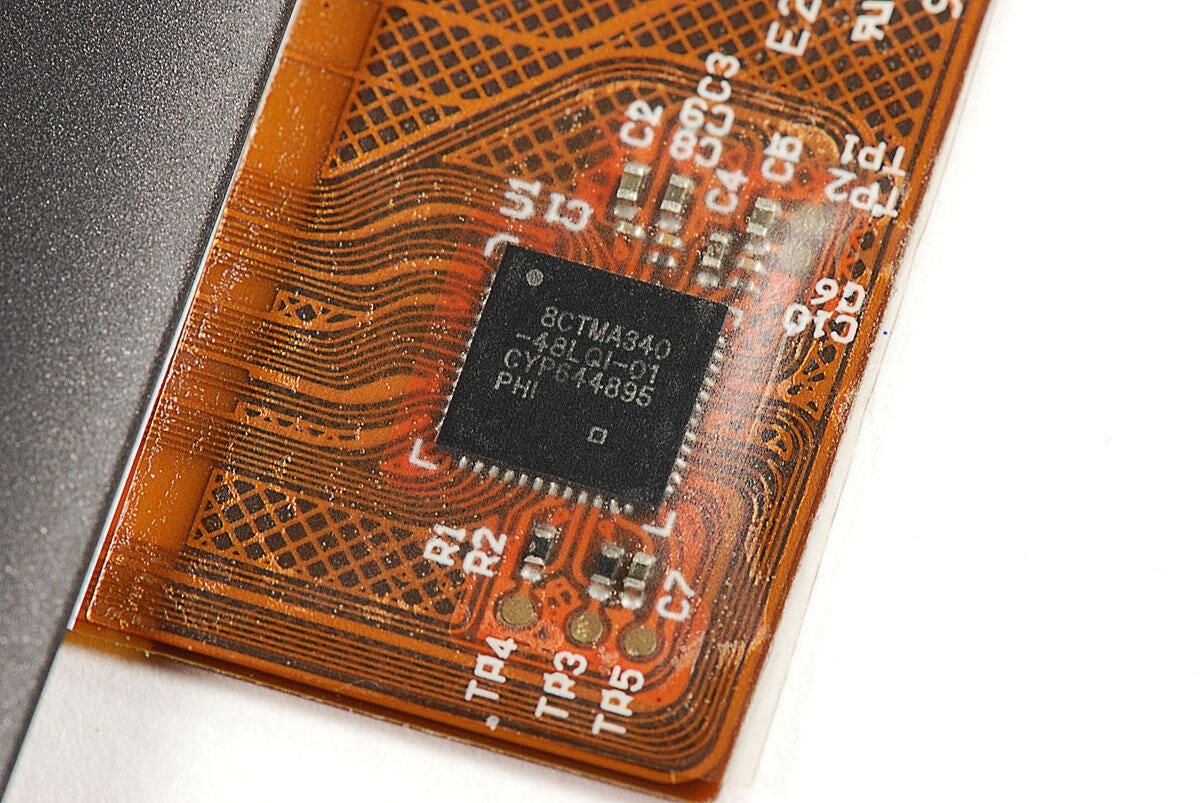
This chip is likely a Cypress Semiconductor TMA340 touchscreen controller. It has the following markings:
8CTM340-48LQI-01 CYP644895 PHI
Photo by: Bill Detwiler / TechRepublic
Caption by: Bill Detwiler
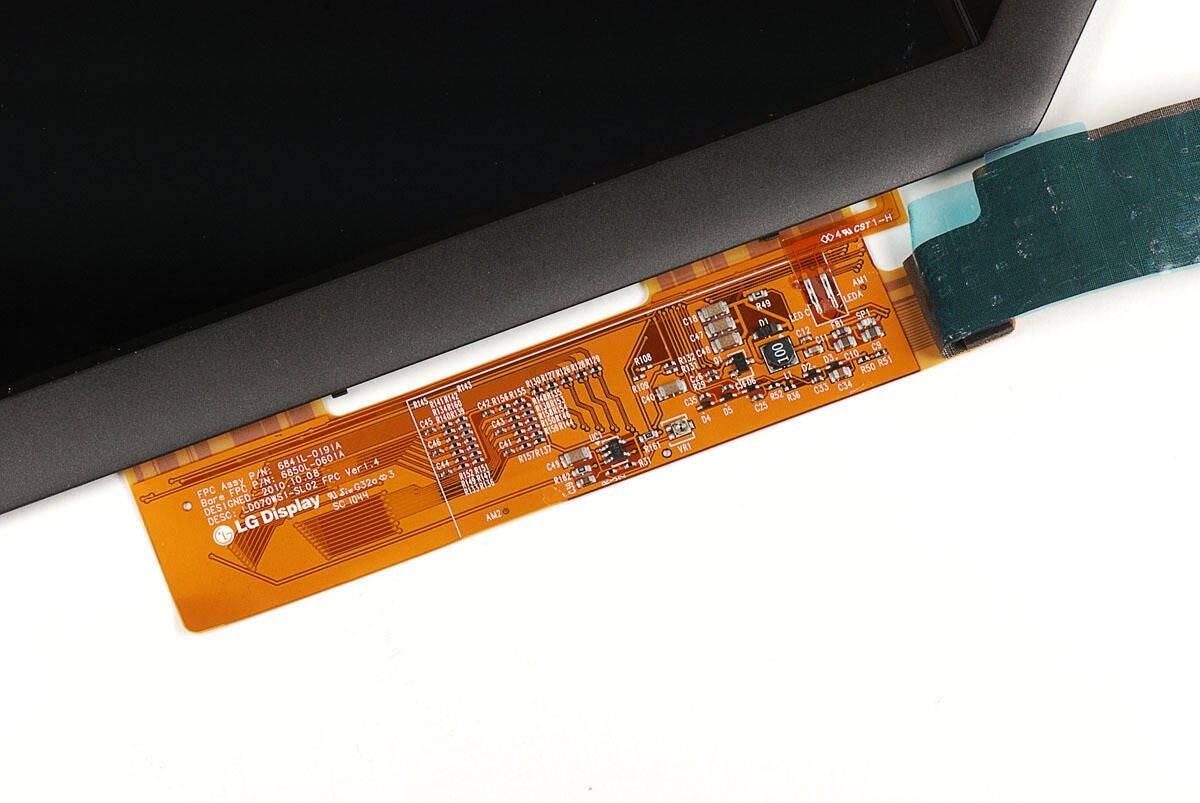
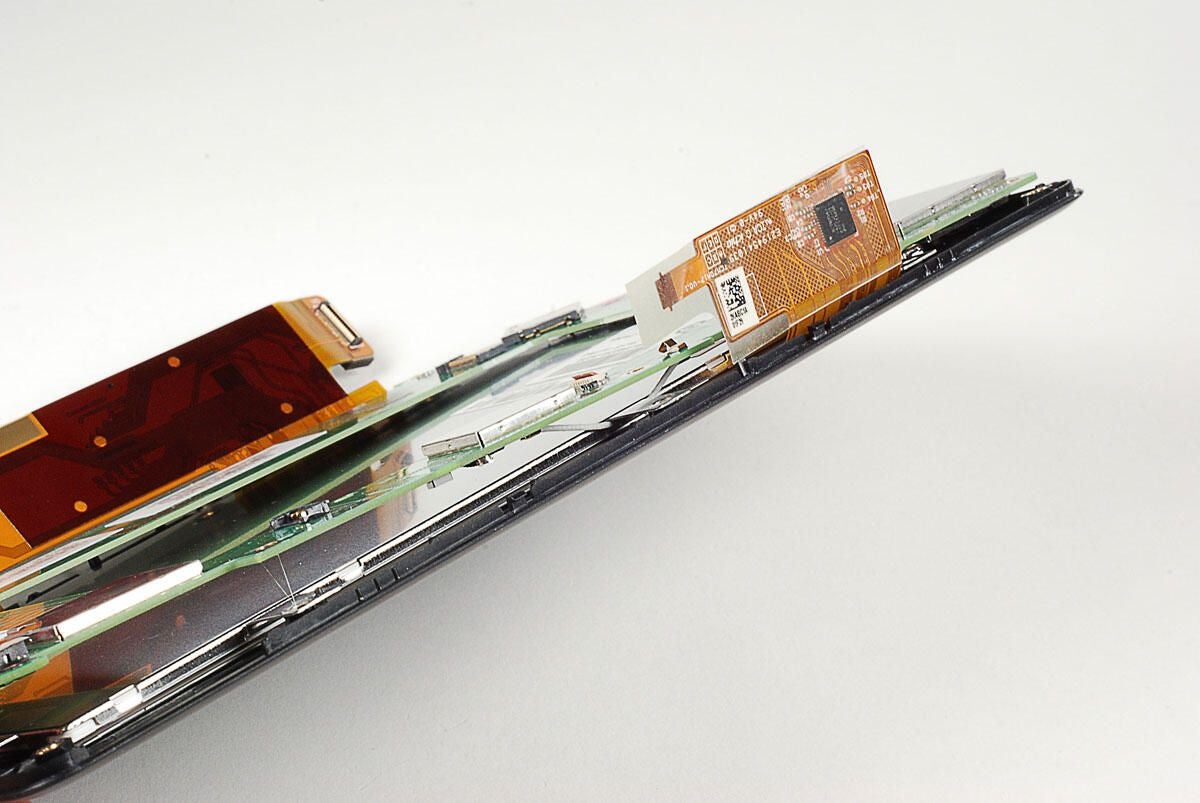
Removing the metal tape and translucent blue tape that cover the display connector, we can see the chips underneath and more LG markings.
Photo by: Bill Detwiler / TechRepublic
Caption by: Bill Detwiler
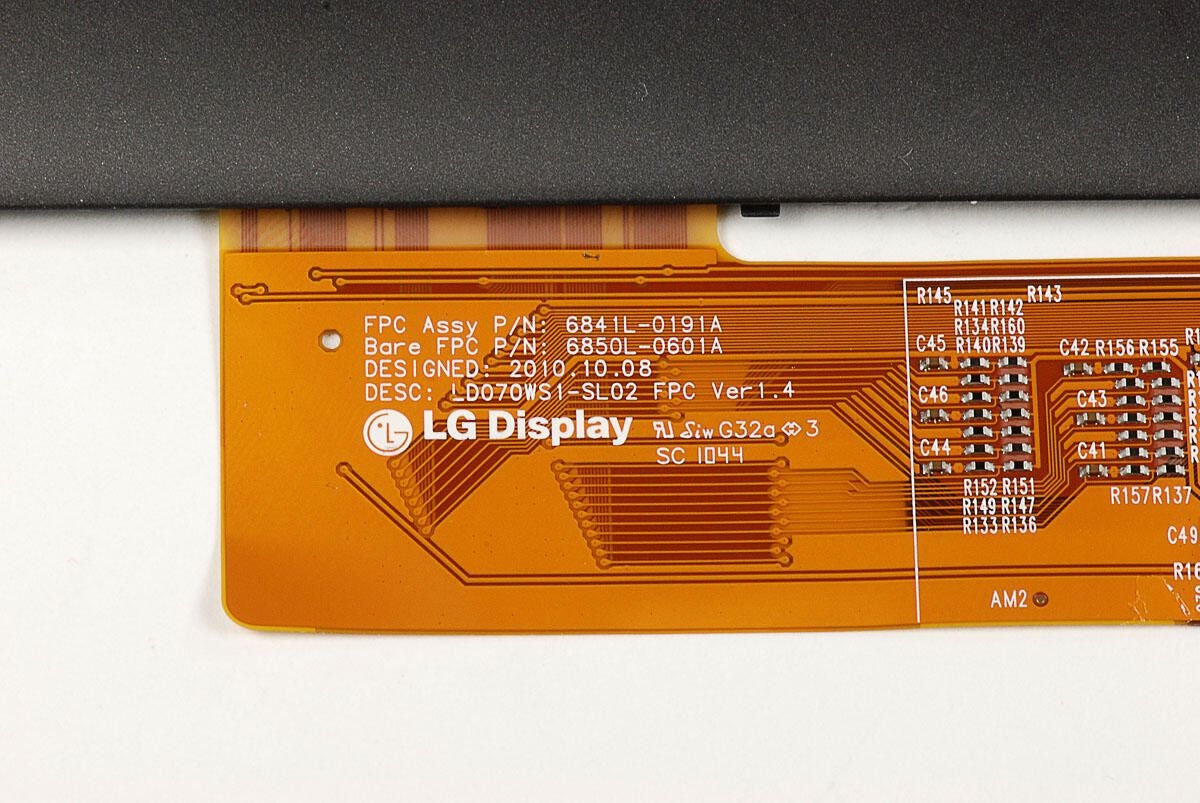
The NOOKcolor’s LG Display connector has the several markings, including the following:
FPC Assy P/N: 6841L-0191A
Bare FPC P/N: 6850L-0601A
DESIGNED: 2010.10.08
DESC: LD070WS1-SL02 FPC Ver1.4
Photo by: Bill Detwiler / TechRepublic
Caption by: Bill Detwiler
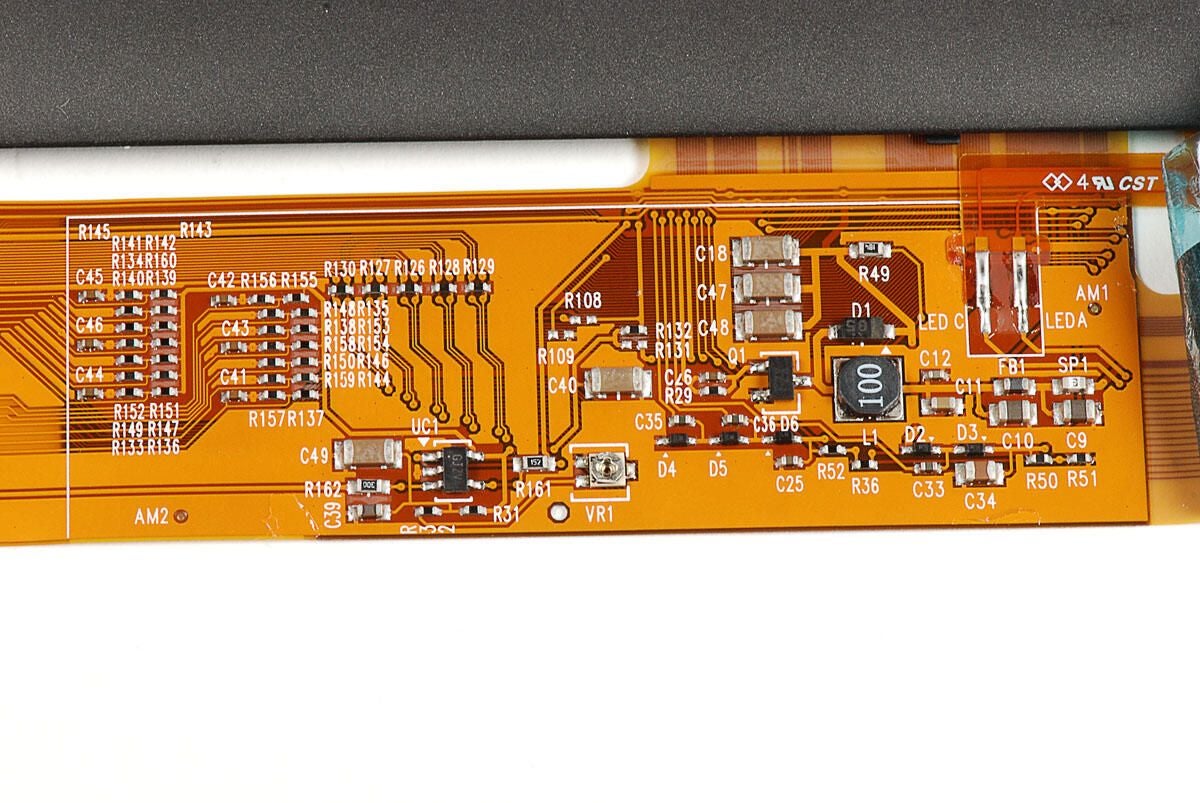
Photo by: Bill Detwiler / TechRepublic
Caption by: Bill Detwiler

Three EMI shields cover most of the interesting chips on the top of the NOOKcolor’s PCB.
Photo by: Bill Detwiler / TechRepublic
Caption by: Bill Detwiler
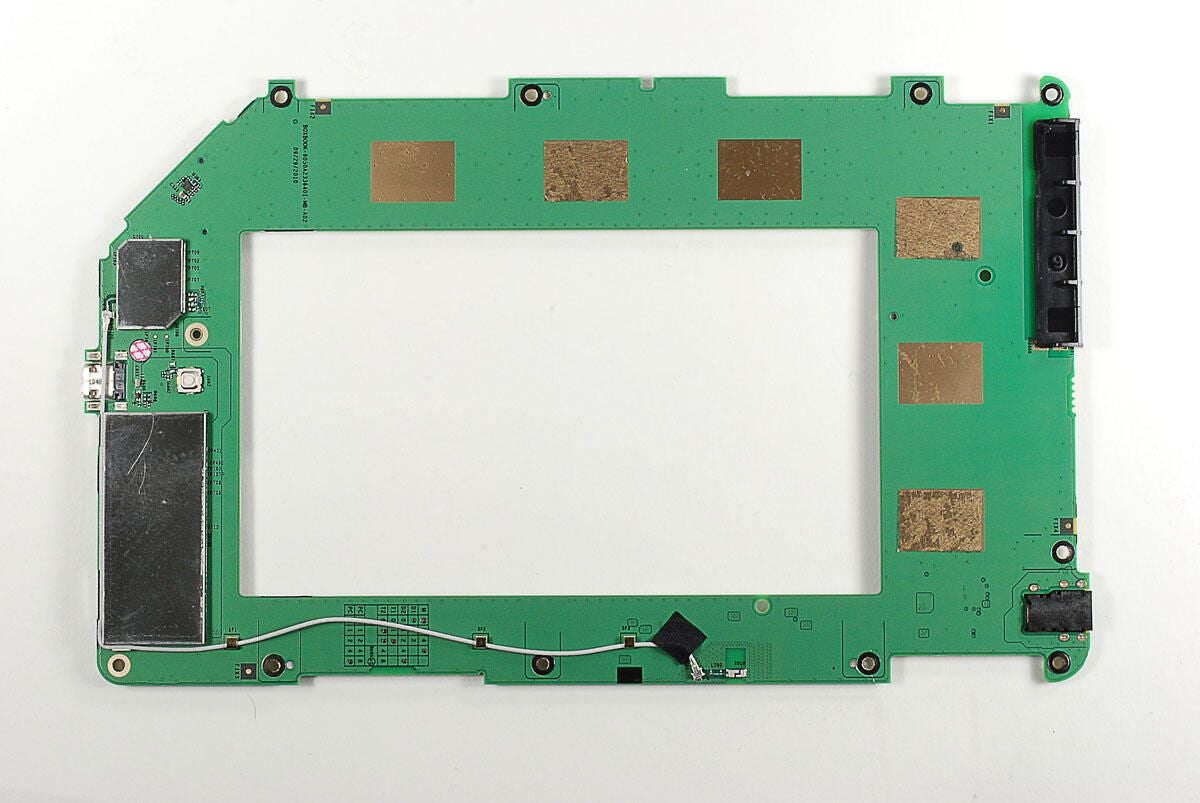
As on the top of the PCB, most of the chips on the bottom are also covered with EMI shields.
Photo by: Bill Detwiler / TechRepublic
Caption by: Bill Detwiler
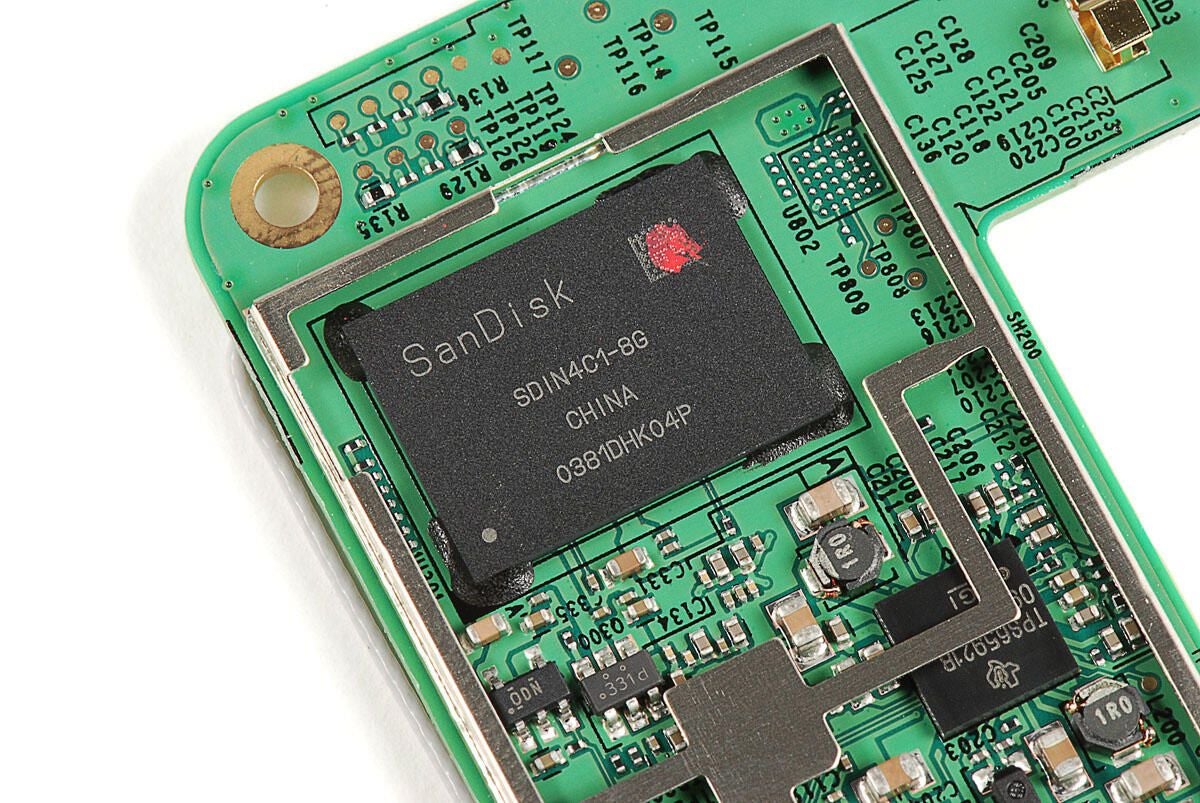
This SanDisk SDIN4C1-8G provides the NOOKcolor’s 8GB of built-in memory.
Photo by: Bill Detwiler / TechRepublic
Caption by: Bill Detwiler

Texas Instruments (TPS65921B) “Integrated Power Management IC with 3 DC/DC’s, 4 LDO’s, USB HS Transceiver”
Photo by: Bill Detwiler / TechRepublic
Caption by: Bill Detwiler
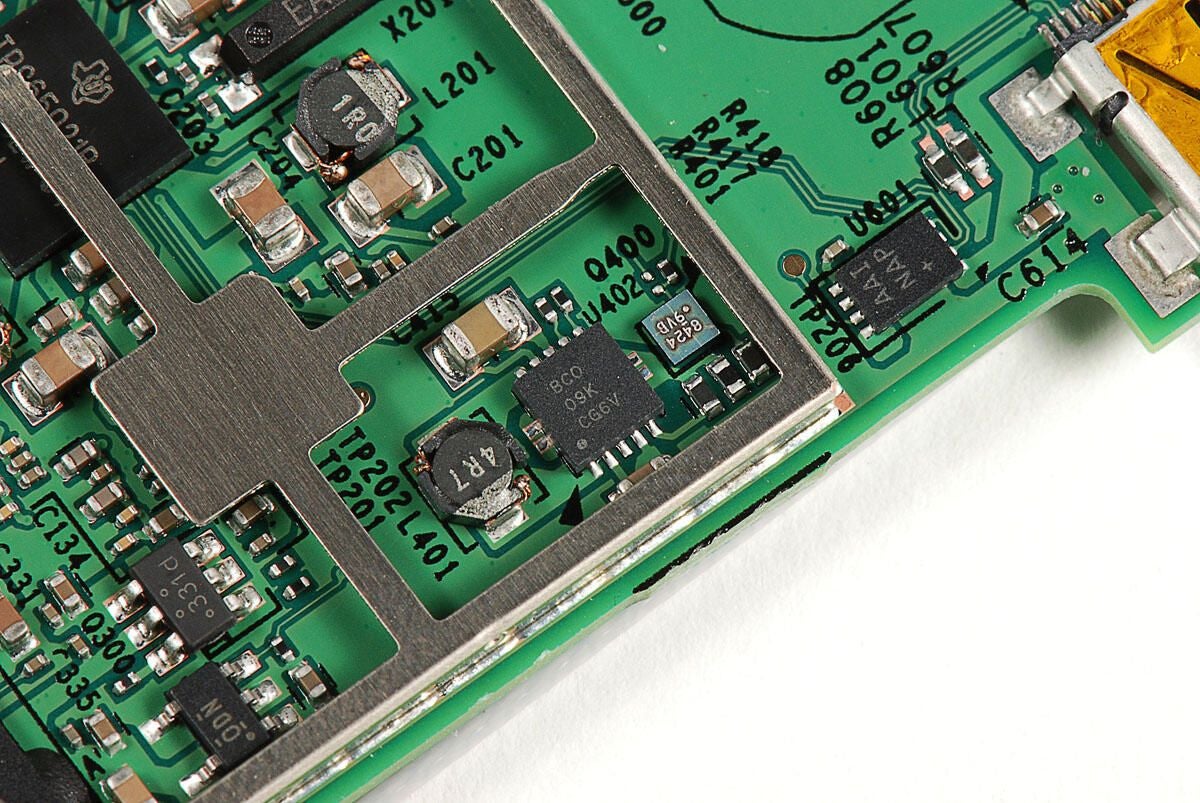
BC0 09K CG6V
Photo by: Bill Detwiler / TechRepublic
Caption by: Bill Detwiler
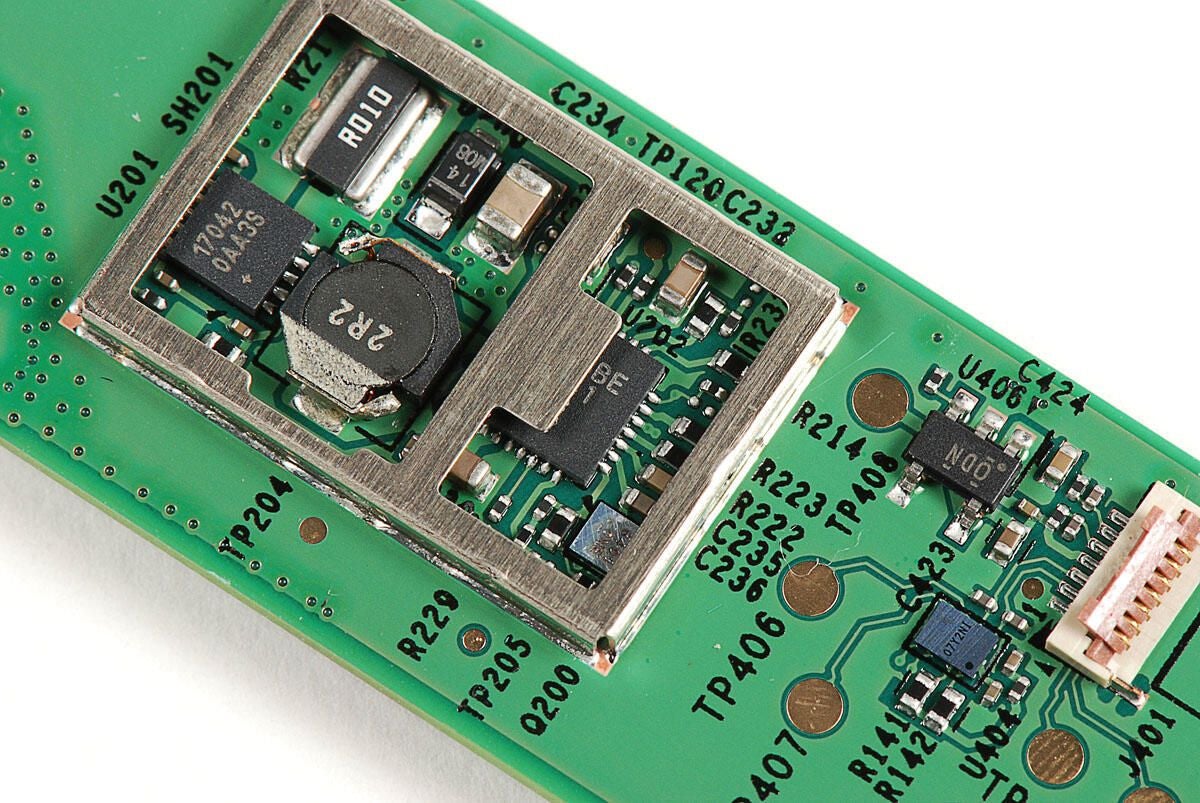
17042 0AA3S
2R2
Photo by: Bill Detwiler / TechRepublic
Caption by: Bill Detwiler
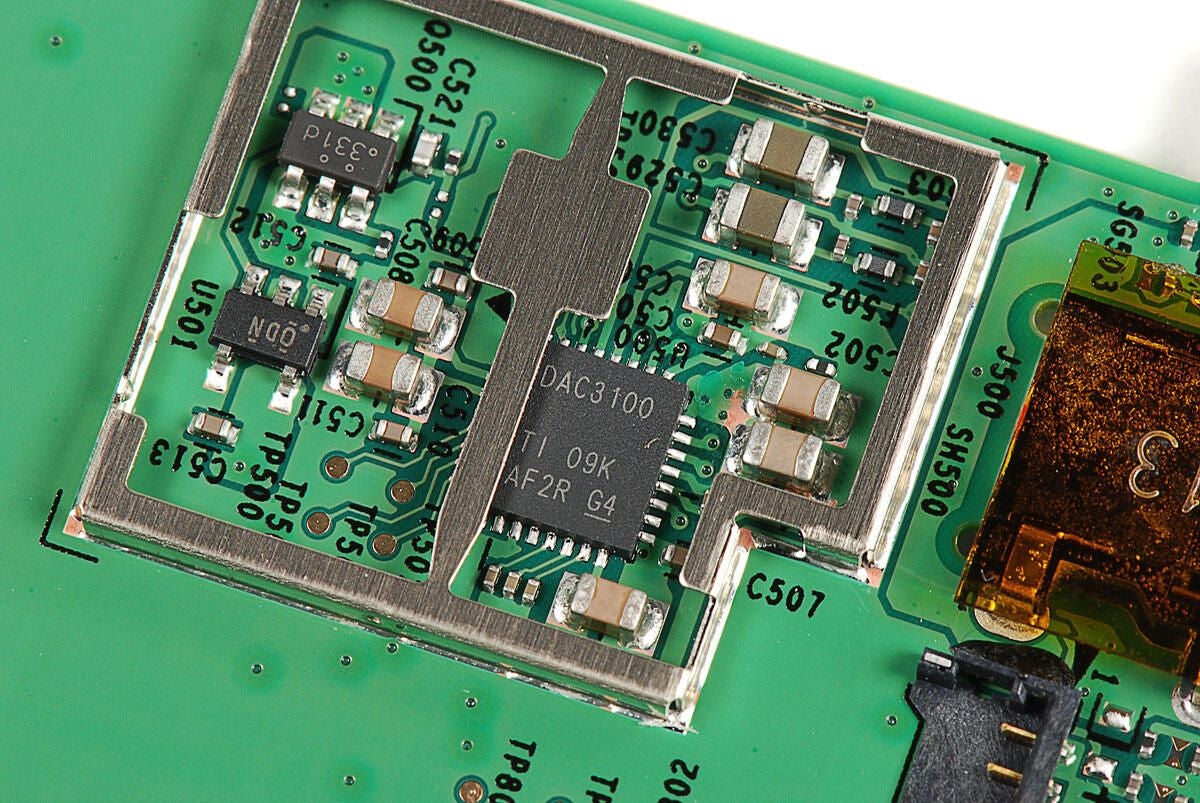
Although this chip’s marking are partially obscured by the EMI support bracket, it is likely a Texas Instruments audio codec.
Photo by: Bill Detwiler / TechRepublic
Caption by: Bill Detwiler
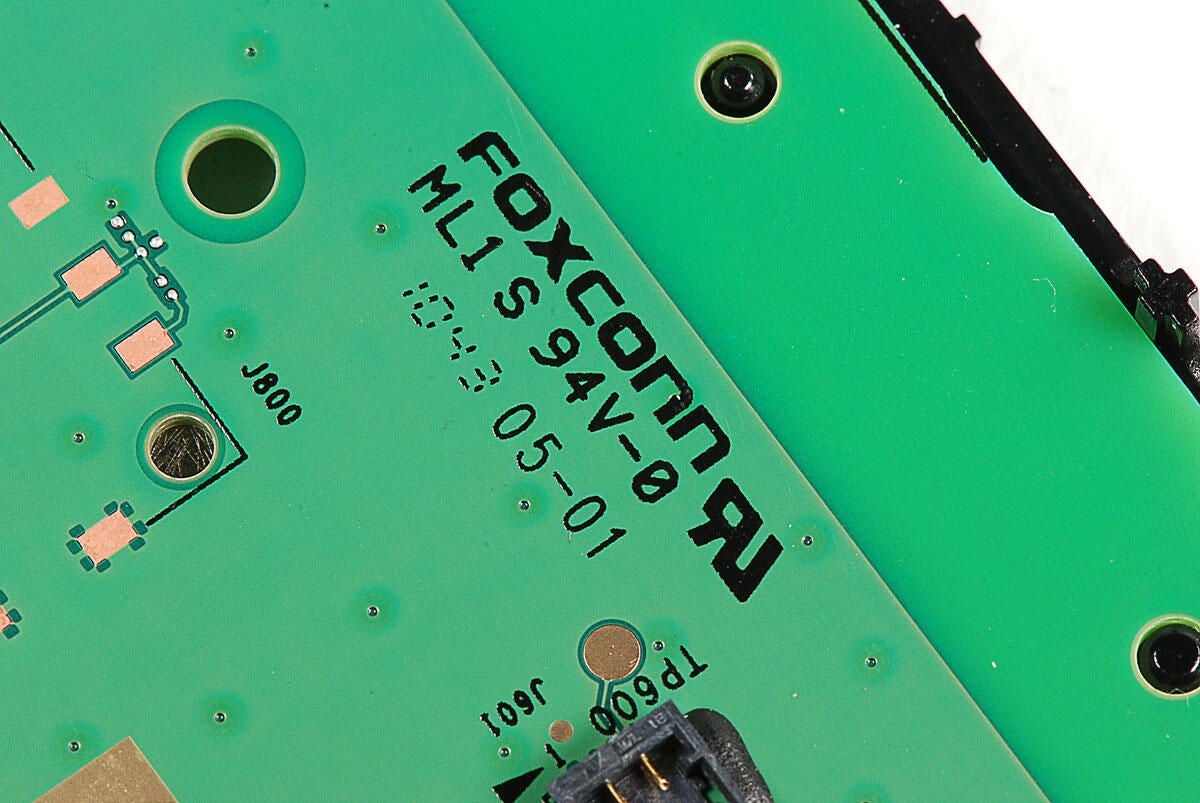
Given the markings on the NOOKcolor’s PCB, Foxconn appears to have assembled the device.
Photo by: Bill Detwiler / TechRepublic
Caption by: Bill Detwiler
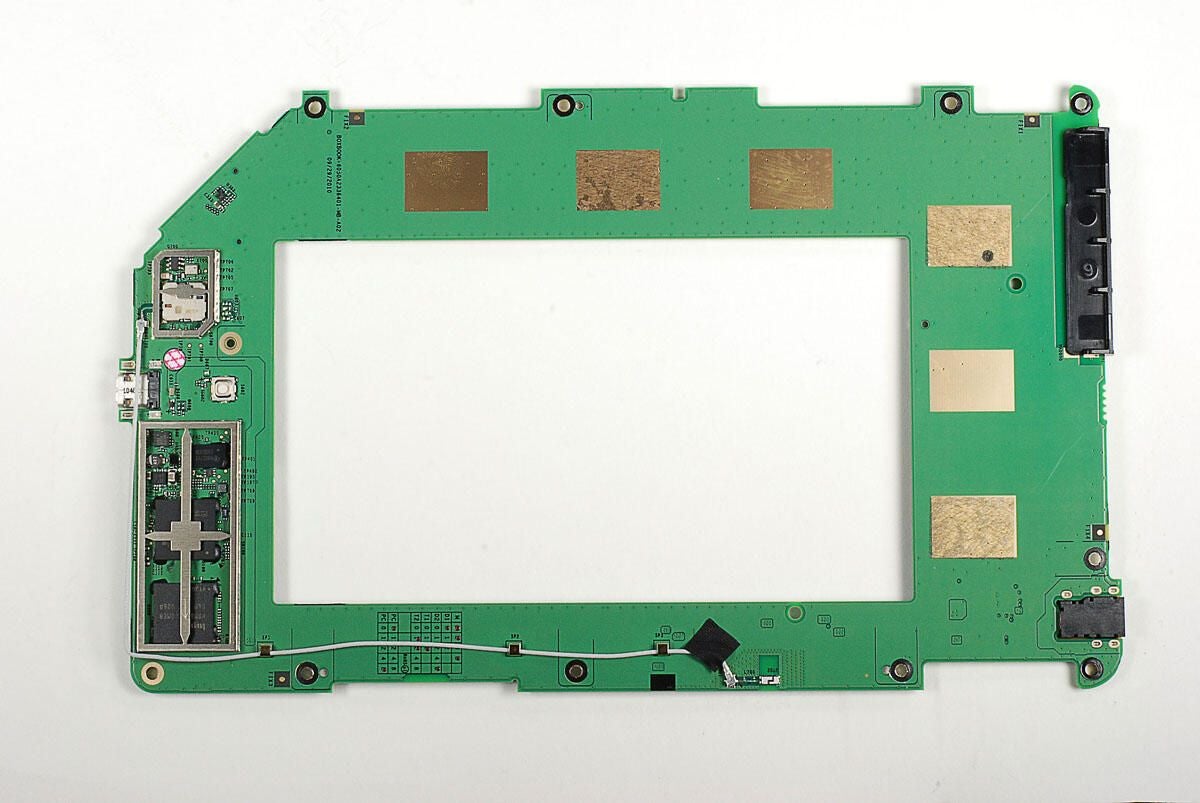
Now, let’s look at the chips on the bottom of the NOOKcolor’s PCB.
Photo by: Bill Detwiler / TechRepublic
Caption by: Bill Detwiler
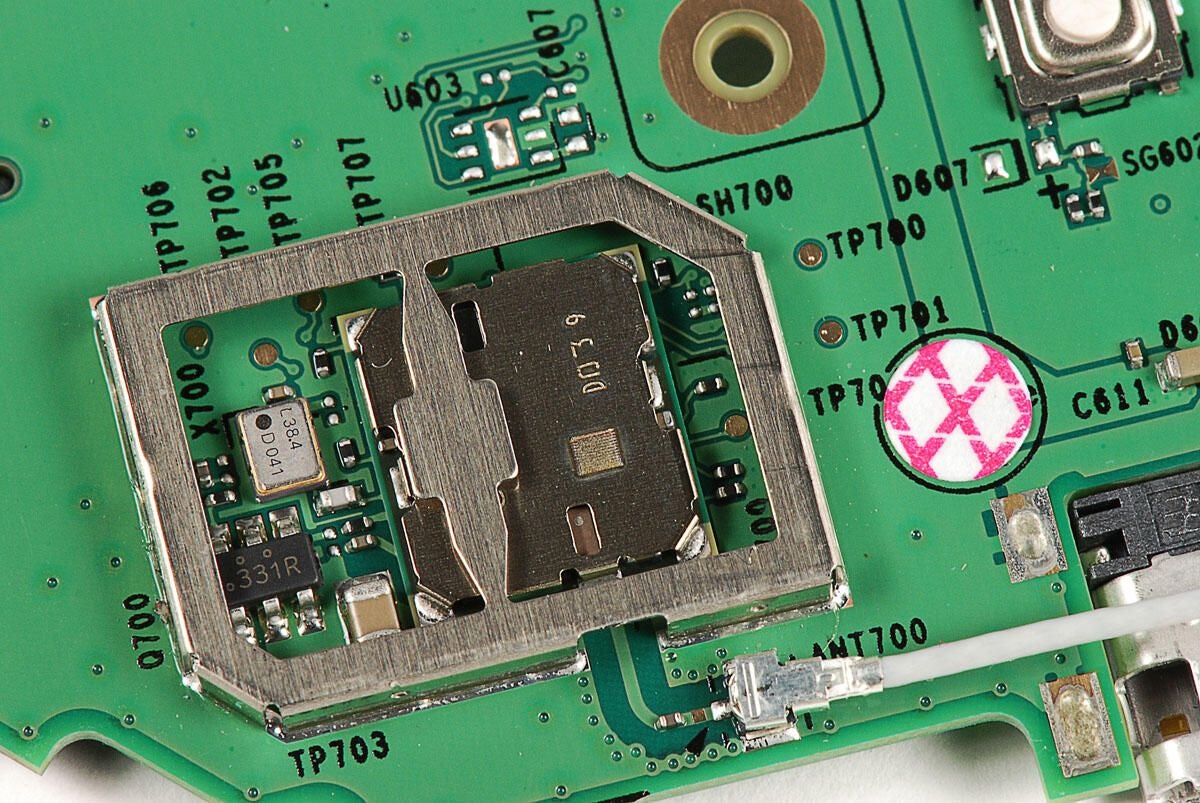
Given its proximity to the Wi-Fi antenna cable, extra shielding, and the traces from the the antenna connector to it, this chip likely provides the NOOKcolor’s Wi-fi support.
Photo by: Bill Detwiler / TechRepublic
Caption by: Bill Detwiler
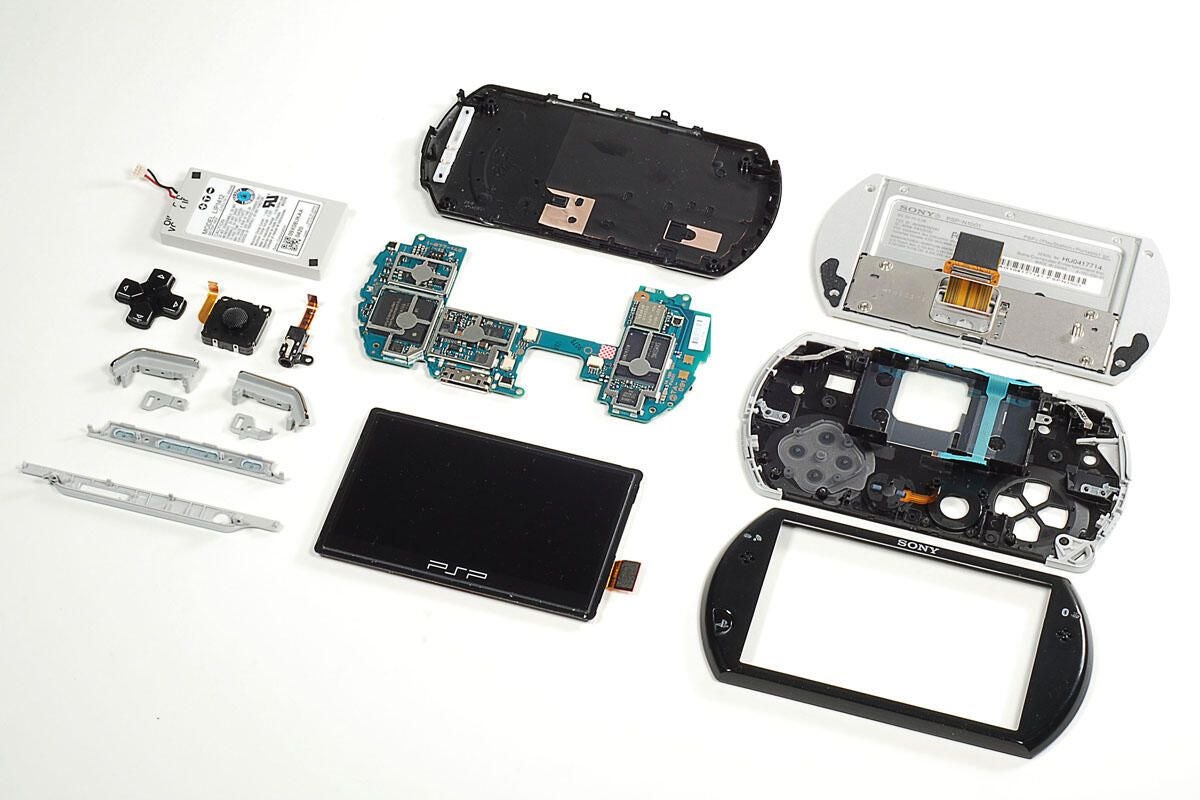
Photo by: Bill Detwiler / TechRepublic
Caption by: Bill Detwiler
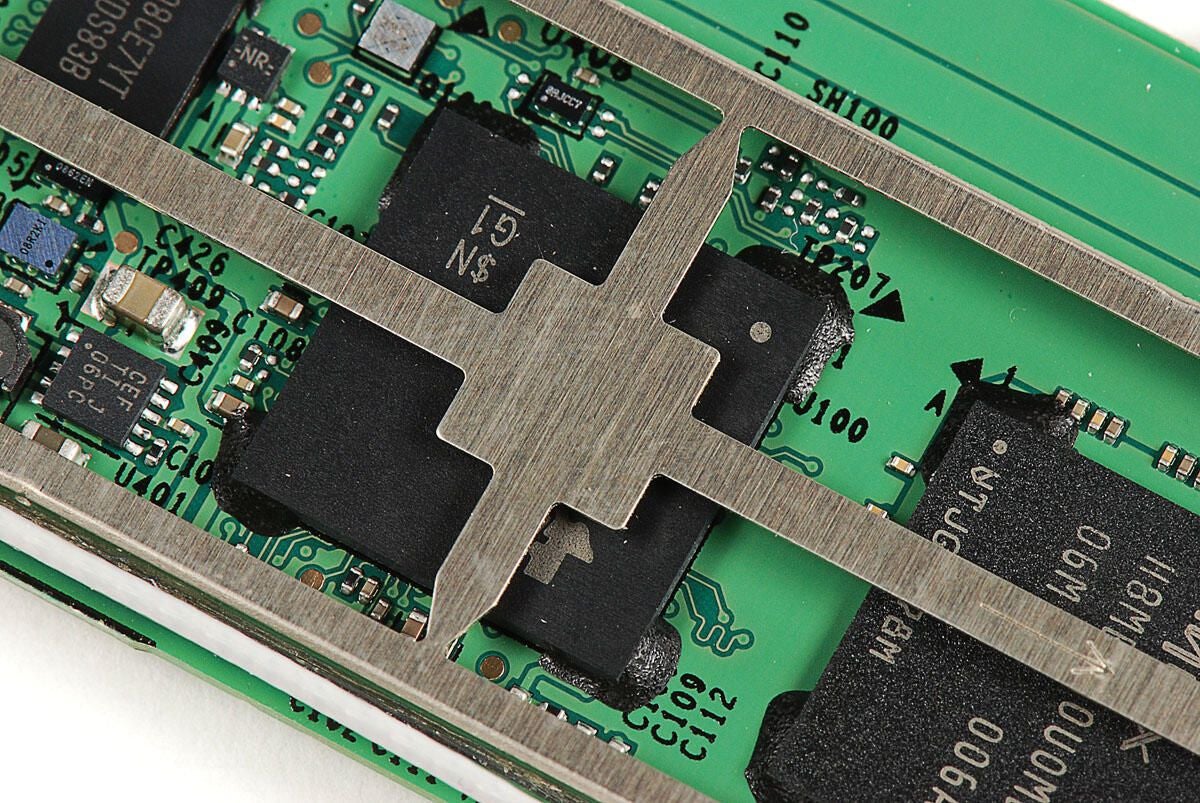
Photo by: Bill Detwiler / TechRepublic
Caption by: Bill Detwiler
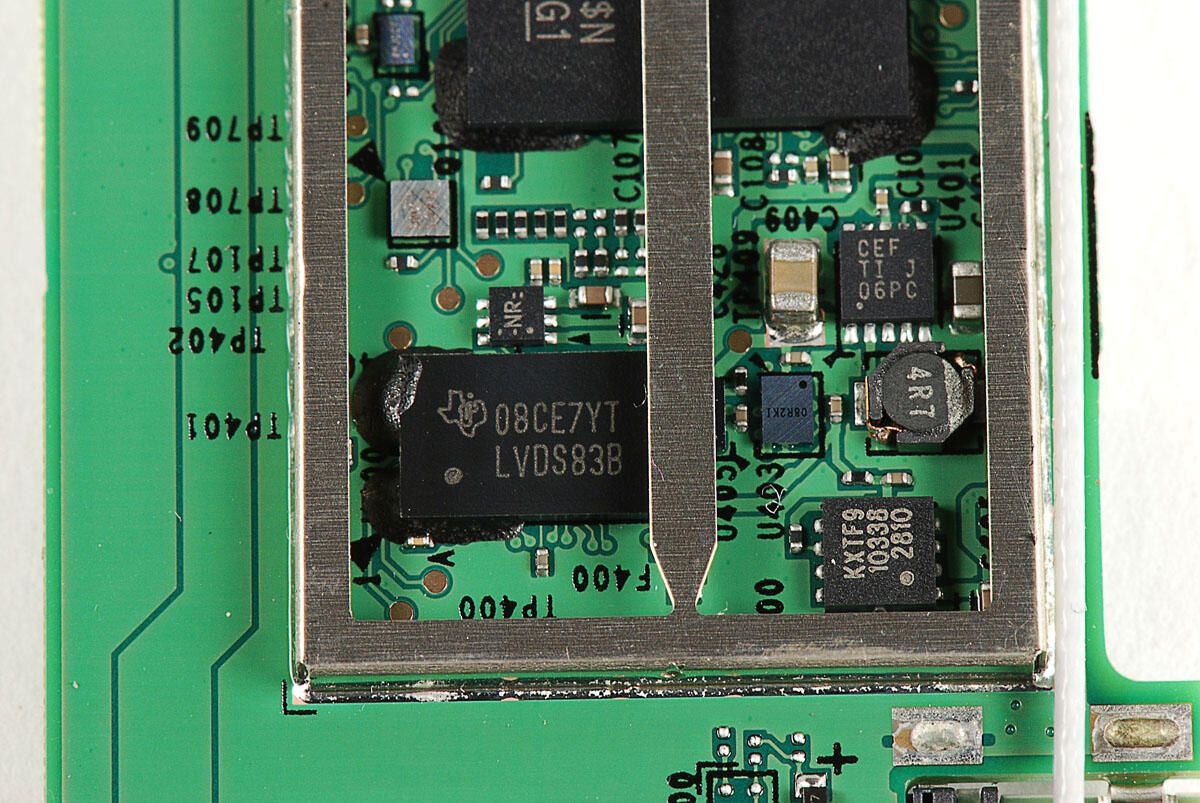
Texas Instruments 08CE7YT LVDS83B
Photo by: Bill Detwiler / TechRepublic
Caption by: Bill Detwiler
Bill Detwiler is the Editor for Technical Content and Ecosystem at Celonis. He is the former Editor in Chief of TechRepublic and previous host of TechRepublic's Dynamic Developer podcast and Cracking Open, CNET and TechRepublic's popular online show. Previously, Bill was an IT manager in the social research and energy industries. He has bachelor's and master's degrees from the University of Louisville, where he has also lectured on computer crime and crime prevention.
