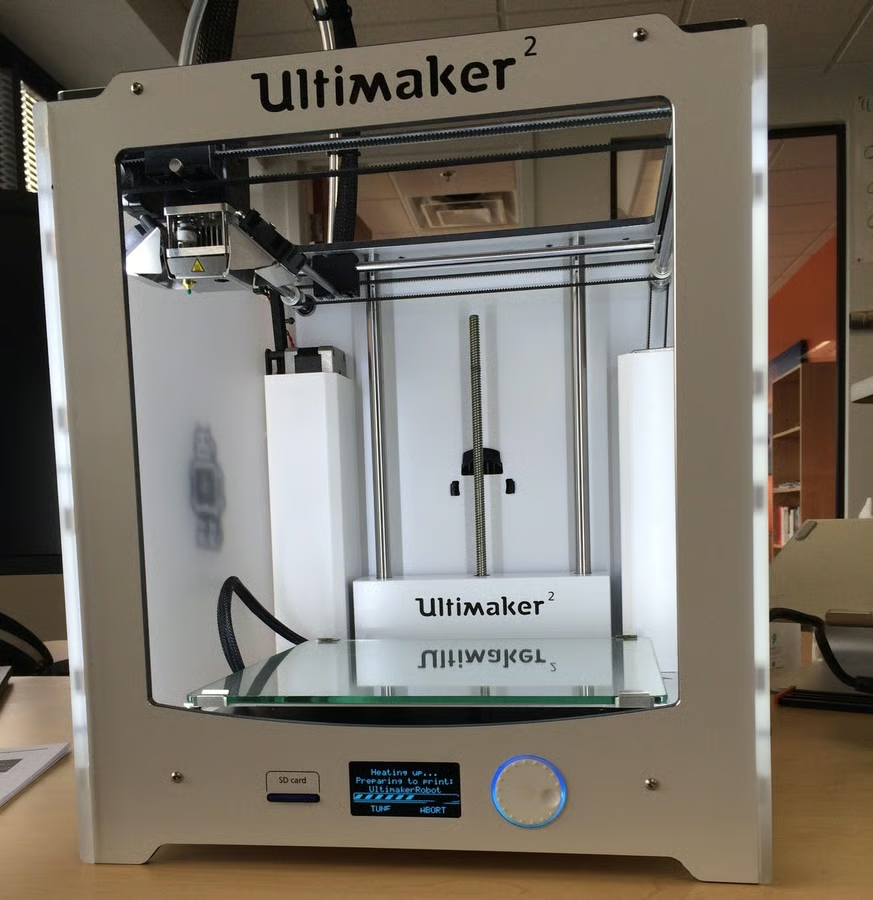
The Ultimaker 2 3D printer has a build volume of 9.1 x 8.9 x 8.1 inches.
SEE: Ultimaker 2 3D printer: What the professionals need to know
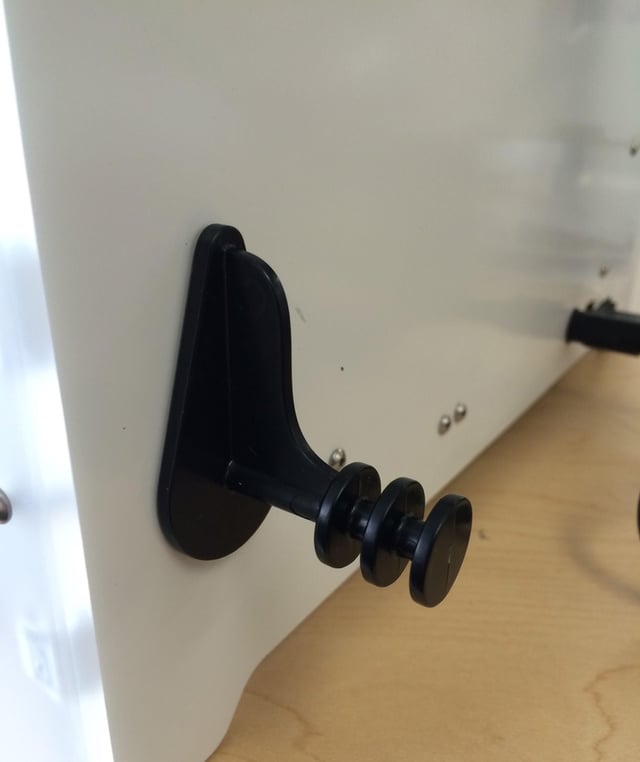
Putting this plastic part in the back of the printer proved to be the most difficult part of the process. My colleague Erin Carson and I had to shave down the end of one side with scissors to fit it in the hole.
SEE: Ultimaker 2 3D printer: What the professionals need to know
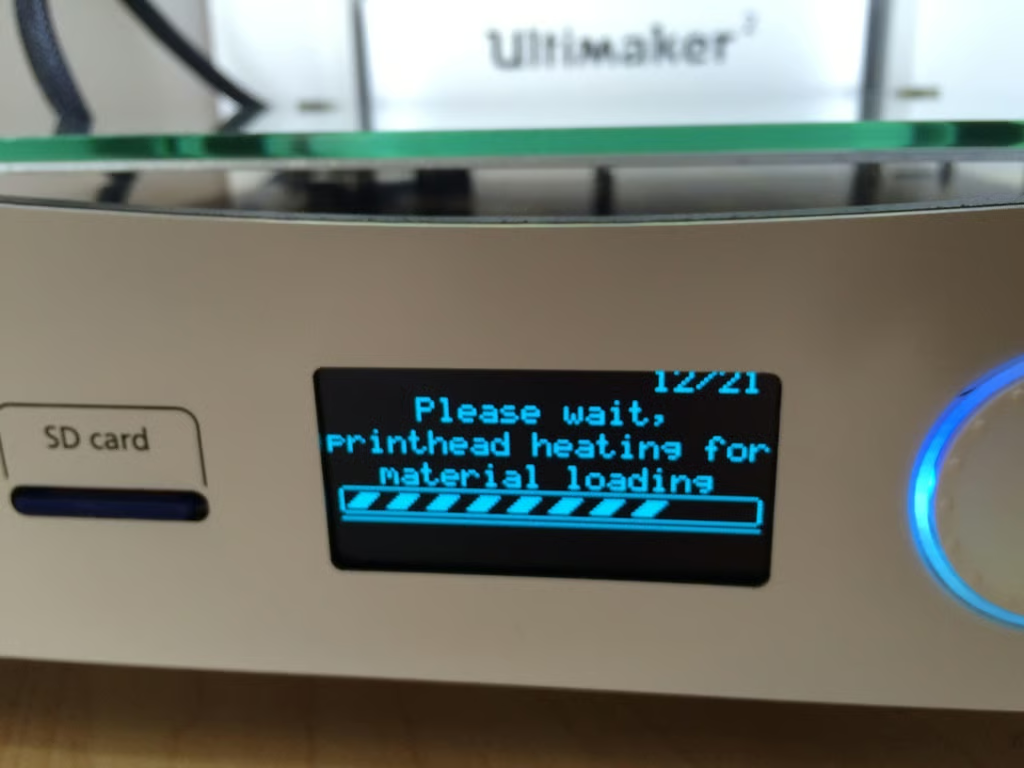
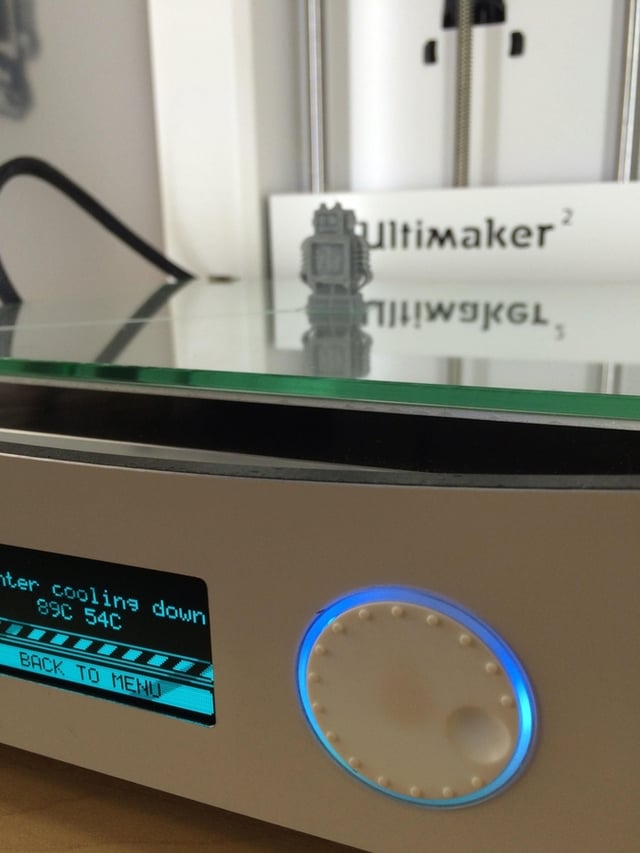
The Ultimaker 2 takes a few minutes to heat up, but the LCD screen does keep users updated on its progress.
SEE: Ultimaker 2 3D printer: What the professionals need to know
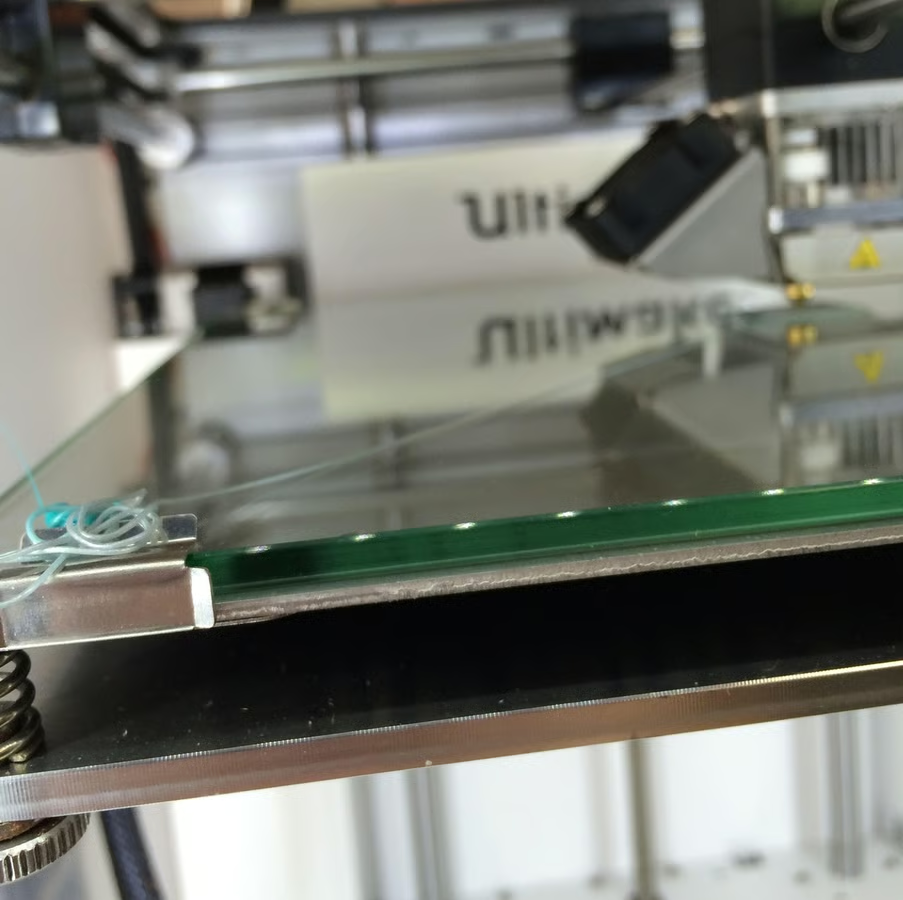
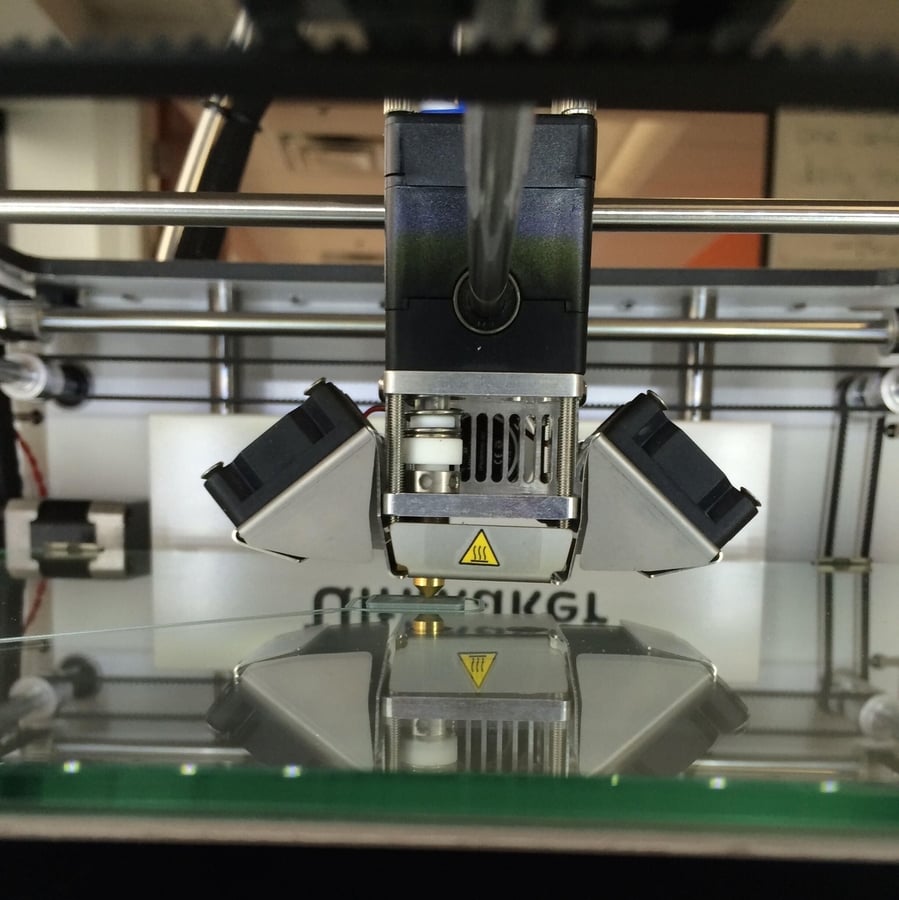
Before each print, the Ultimaker heats up the filament and then tests some of it on the corner of the build plate. It’s a waste of plastic, which is one of the biggest problems with 3D printers.
SEE: Ultimaker 2 3D printer: What the professionals need to know
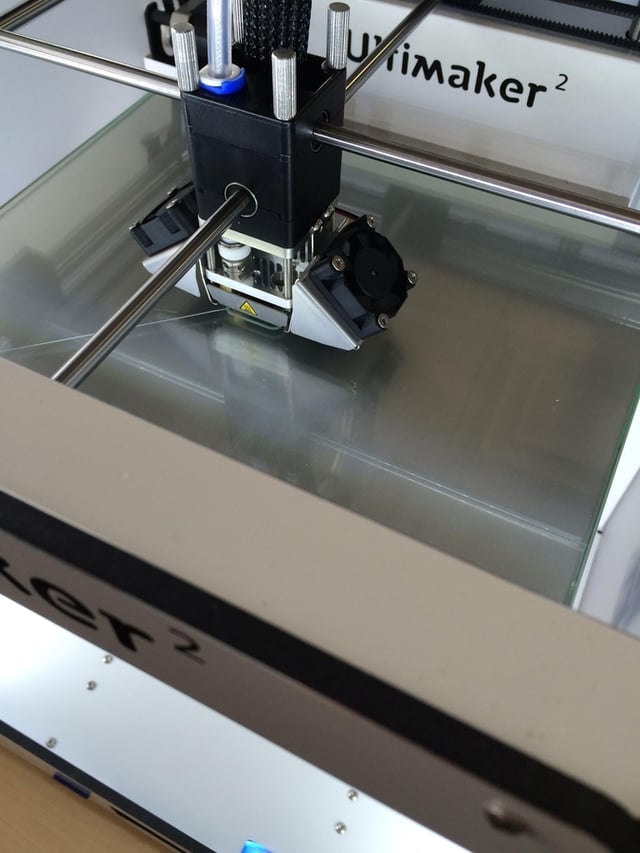
From the top, you can look directly down into the printer. The printer itself is very quiet.
SEE: Ultimaker 2 3D printer: What the professionals need to know
The extruder had to be calibrated at first, but that didn’t take long. The entire set up for the printer (besides the shaving of the plastic spool) only took about 30 minutes.
SEE: Ultimaker 2 3D printer: What the professionals need to know
This robot took about 30 minutes to print.
SEE: Ultimaker 2 3D printer: What the professionals need to know

After some time in the freezer, the Ultimaker robot popped right off. He now has a home on my desk.
SEE: Ultimaker 2 3D printer: What the professionals need to know
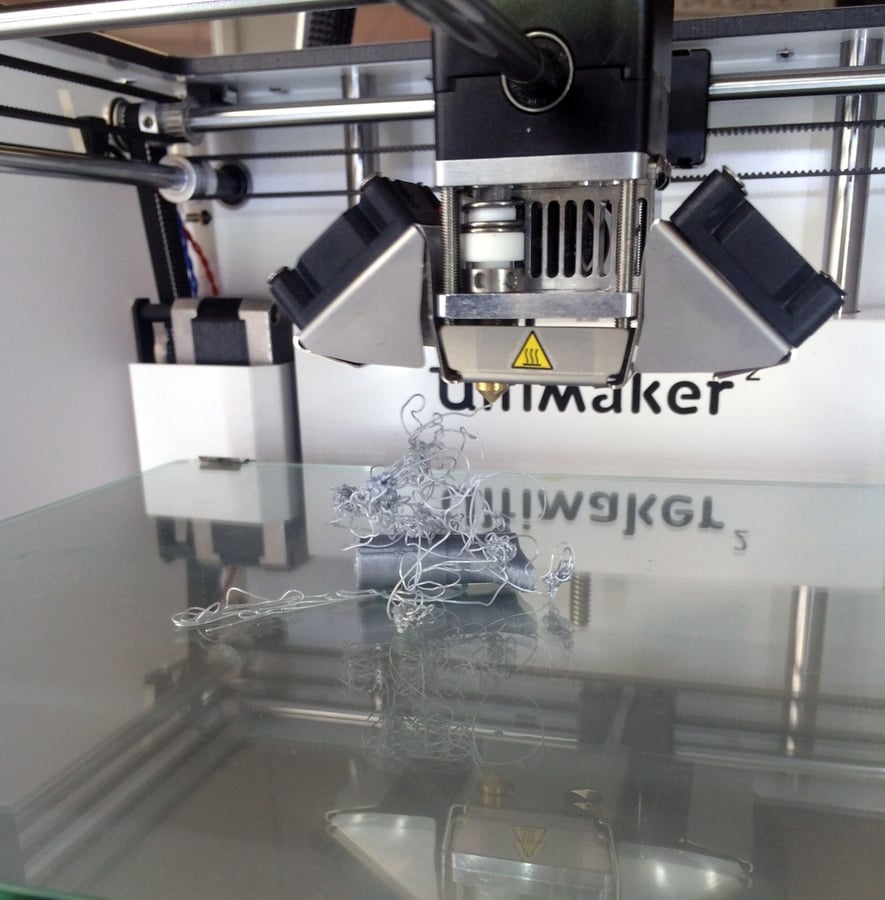
One of the problems with the printer is that when the extruder was knocked off course, or the plastic didn’t stick to the glass plate well enough, it continued to print. That problem could be fixed by some sort of sensor in the nozzle head.
SEE: Ultimaker 2 3D printer: What the professionals need to know
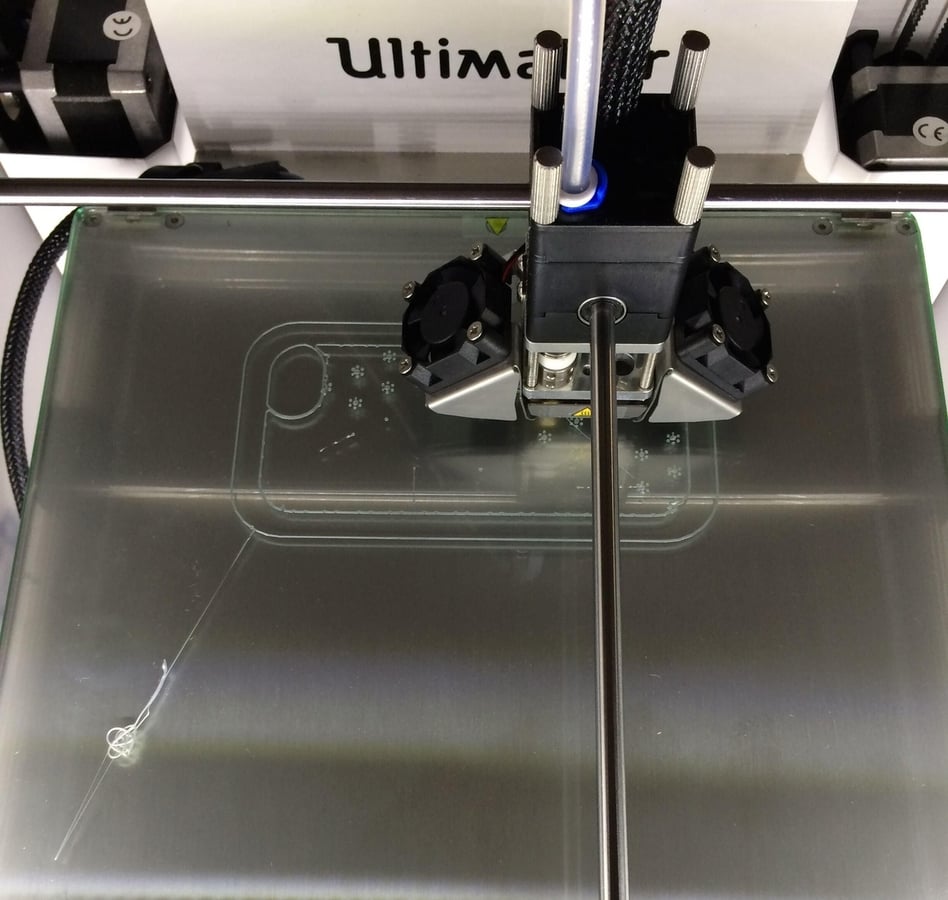
We decided to try to print some phone cases for the TechRepublic team. This is a design I chose from Thingiverse.
SEE: Ultimaker 2 3D printer: What the professionals need to know
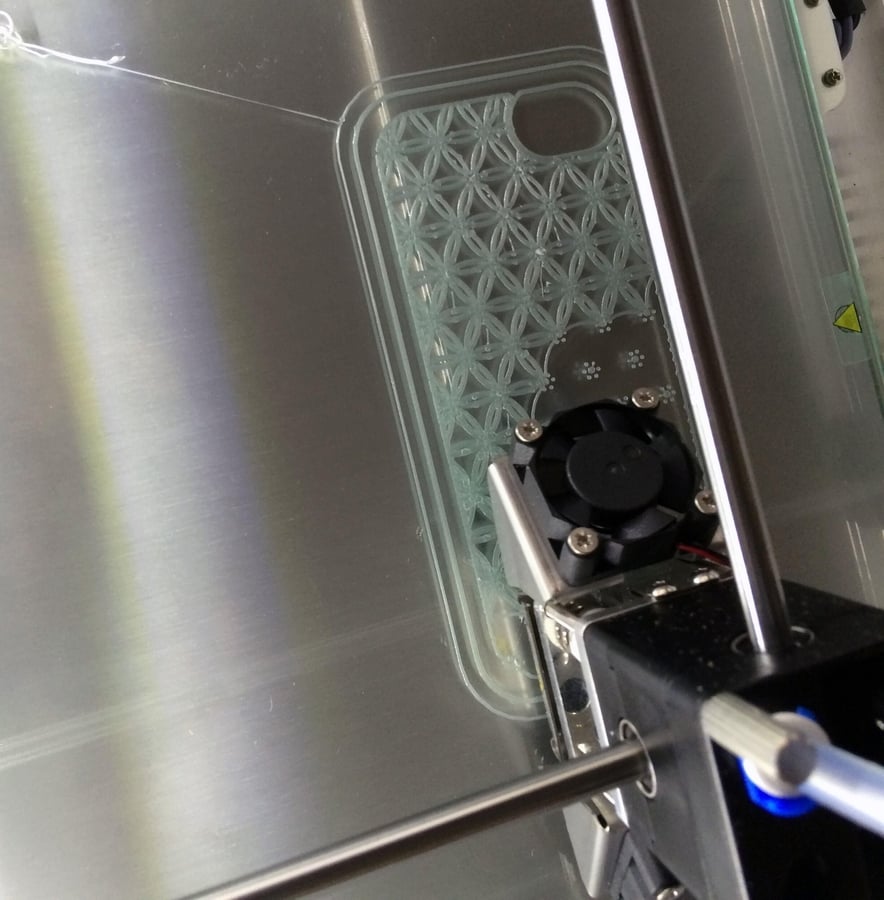
This print took about two hours to complete.
SEE: Ultimaker 2 3D printer: What the professionals need to know

Lyndsey Gilpin is a former Staff Writer for TechRepublic, covering sustainability and entrepreneurship. She's co-author of the book Follow the Geeks.


