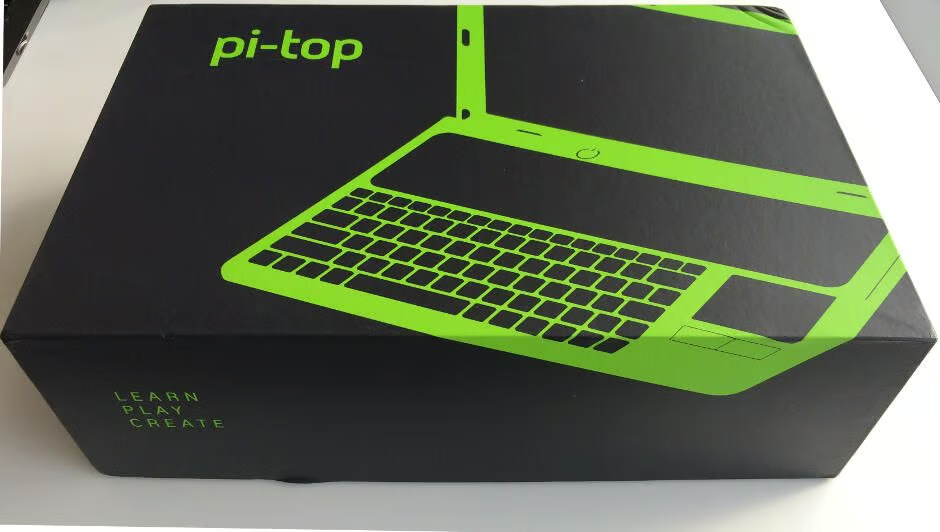
This is the Pi-Top – a laptop in a box that you build yourself.
Assembling a laptop sounds daunting but in reality the Pi-Top is about as easy to put together as a piece of flat-pack furniture. No soldering is required, as the parts just slot together, and with some patience it can be pieced together in an afternoon.
Here’s how it’s done.
Read our full review of the $299 Raspberry Pi 3-based kit.

The Pi-Top broken down into its various parts.
The laptop comes with a booklet that clearly labels each piece of case, cable and nut.
Pictures in the booklet provide a step-by-step on how to build the laptop.
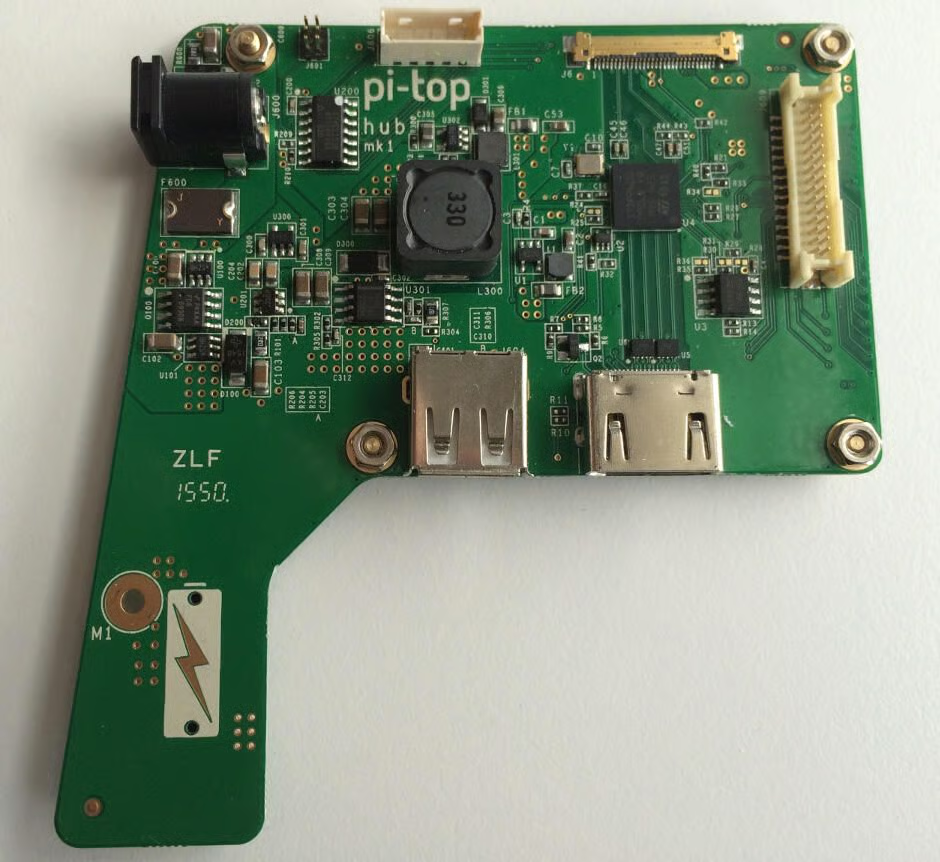
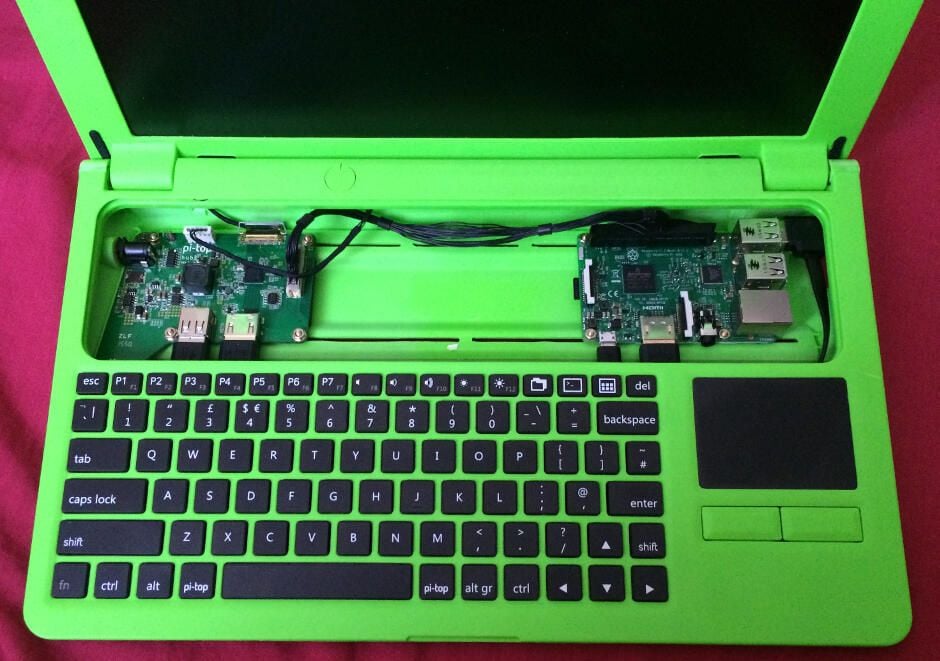
The Pi-Top’s hub board sits alongside the Raspberry Pi and handles the power management, the display and other functions.
The first step is to thread the spacers through the holes around the edge of the board and screw on the nuts, as seen here.
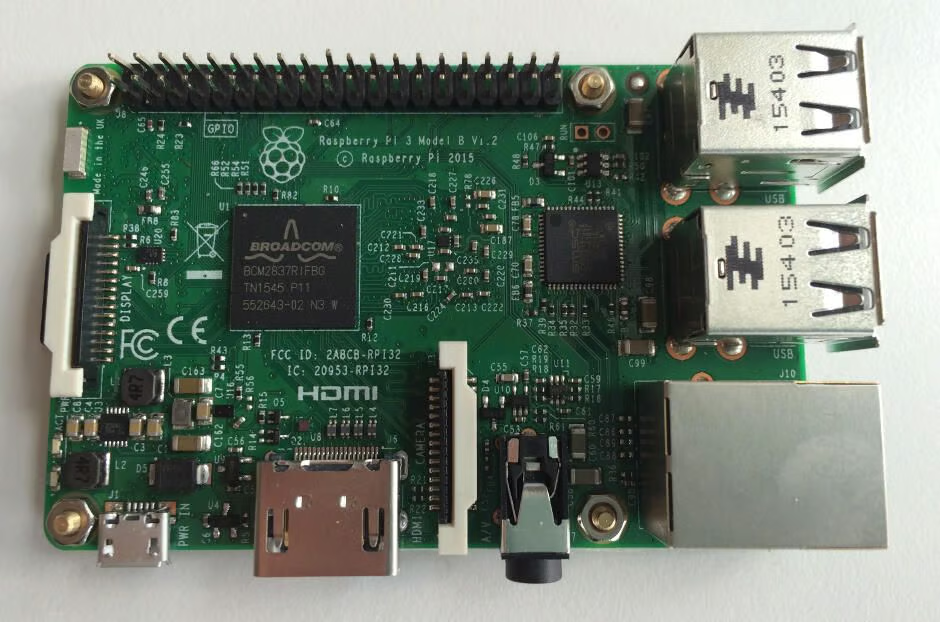
The Raspberry Pi 3′s 64-bit, quad-core 1.2GHz CPU – more commonly used in smartphones – powers the machine.
The $35 board is powerful enough to run a full desktop – albeit with limitations when it comes to heavy multi-tasking and software support – and can also be used to control custom-built hardware.
As with the hub, you add spacers and nuts to the holes around the board’s edge.
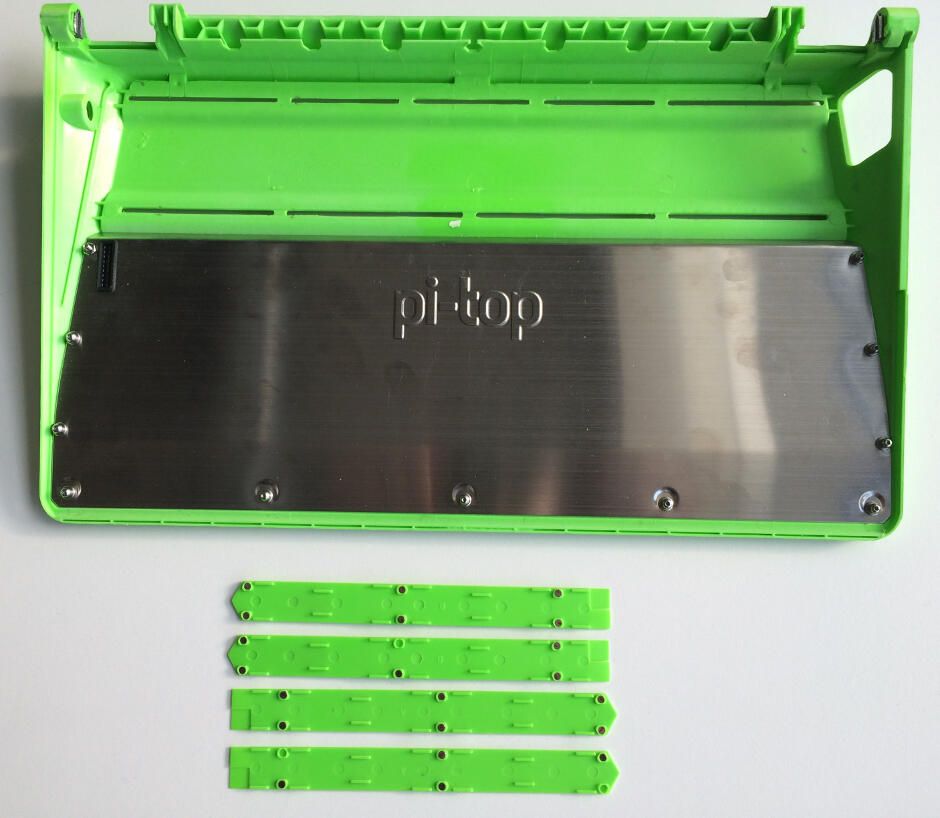
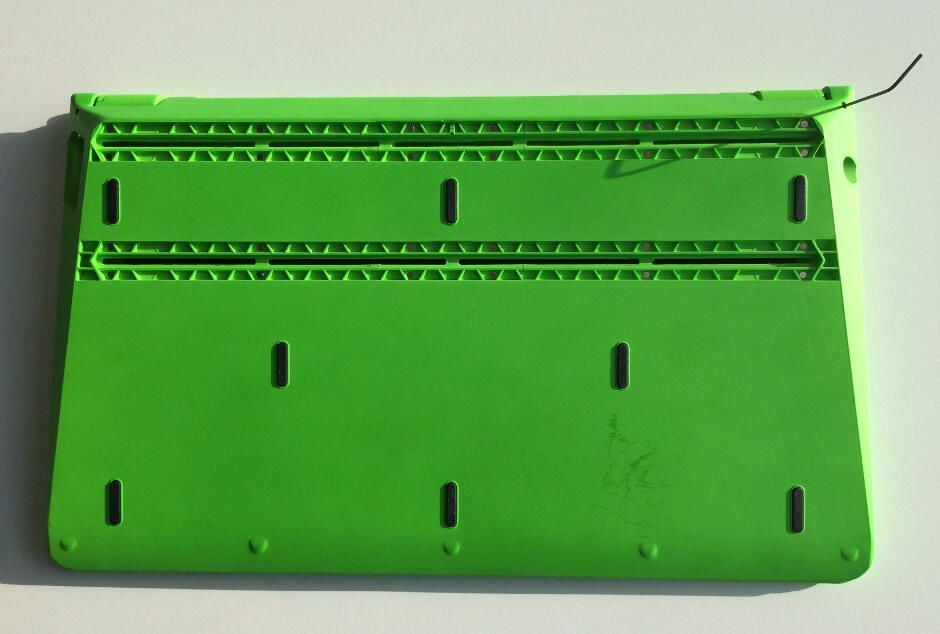
The base of the Pi-Top must now be prepared for the boards to be attached, requiring you to remove these green magnetic covers from the underside of the case.
This gives you access to the raised rails at the back of the case that the boards will sit on.
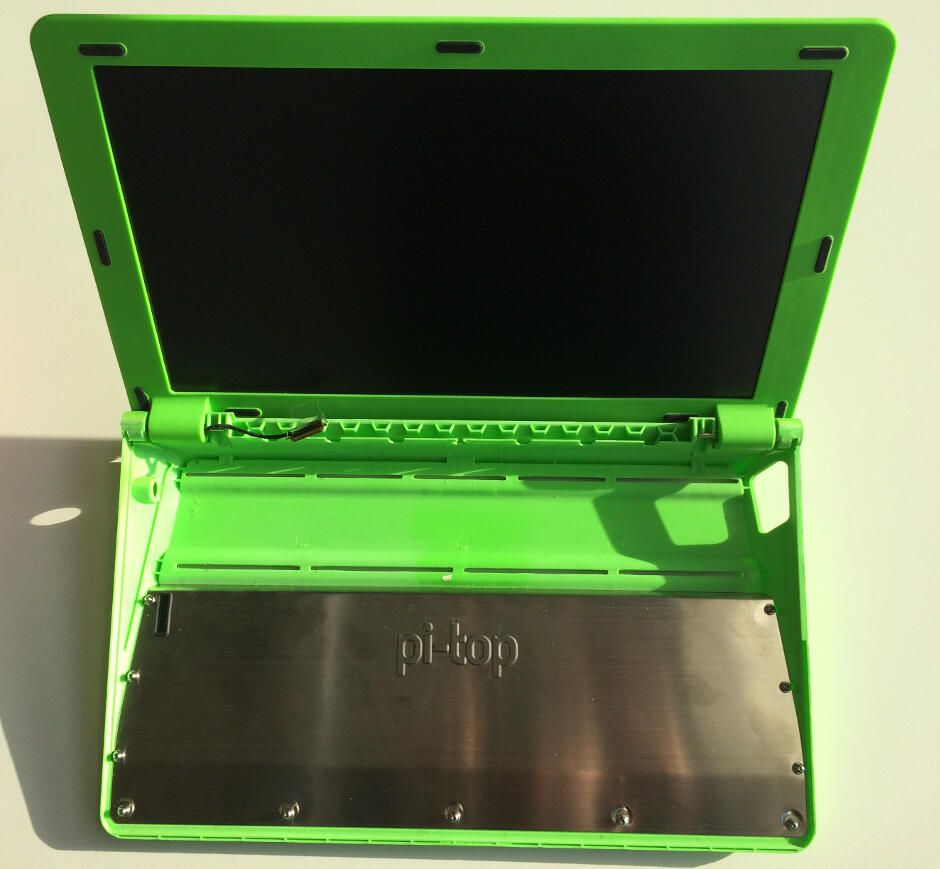
Next you add the screen and laptop lid by aligning the lid with the base and slotting the hinge on the lid into gaps in the base.
The lid is then attached to the base using tiny screws, which you tighten using the provided 1.25mm allen key, as seen here. Don’t lose this as they are very difficult to get hold of.
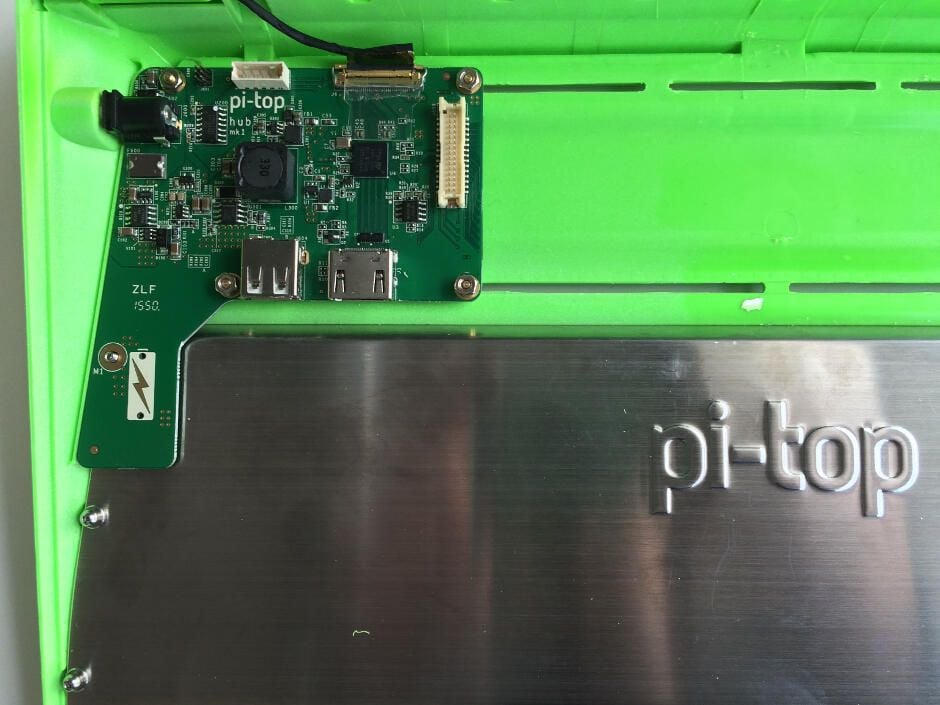
Now is time to add the hub board. First the board must be attached to the base by screwing it into the rails.
Underneath the metal panel is the laptop’s battery and on the underside of the hub are pins that push into a socket on the panel’s surface and connect with the battery.
Next the ribbon-like cable for the screen is attached to the hub, via the connector seen on the top right of the board, and locked in place by gently pushing down the locking bar until it clicks.

The hub and the Pi are fixed in place by screws that pass through the underside of rails in the case and into the spacers that sit at the edges of the boards.
I found this section to be particularly fiddly because I initially failed to properly tighten the nuts attaching the spacers to the boards. This meant the spacers were too loose to easily screw the boards in place.
Now the laptop is taking shape and the job becomes even simpler.
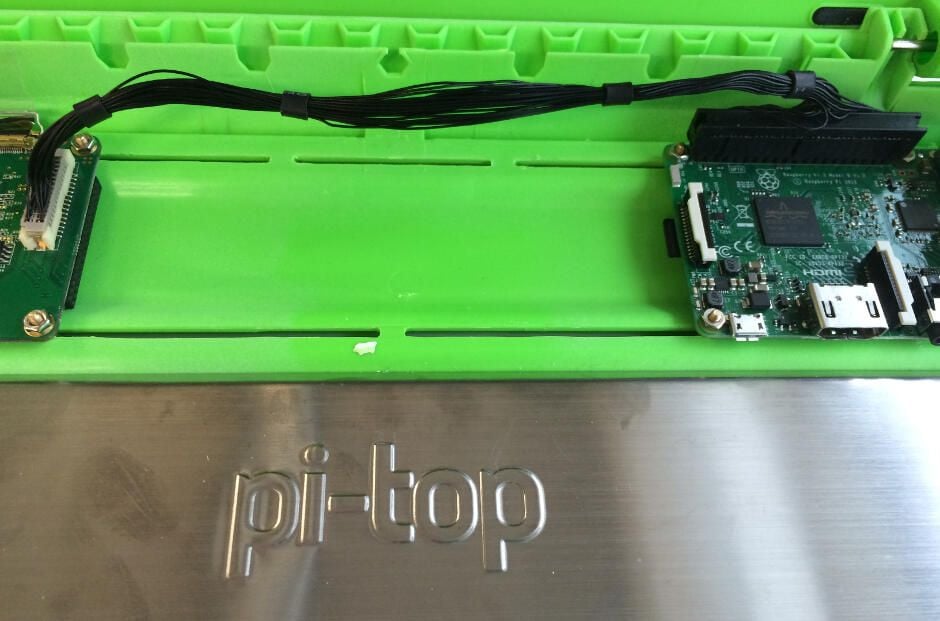
The next step is to attach the Pi to the hub, via the Pi’s general-purpose input/output pins.
The Pi can still be used to control other hardware, as the hub has its own connector for hooking up additional circuit boards. This black connector can be seen on the underside of the right edge of the hub.
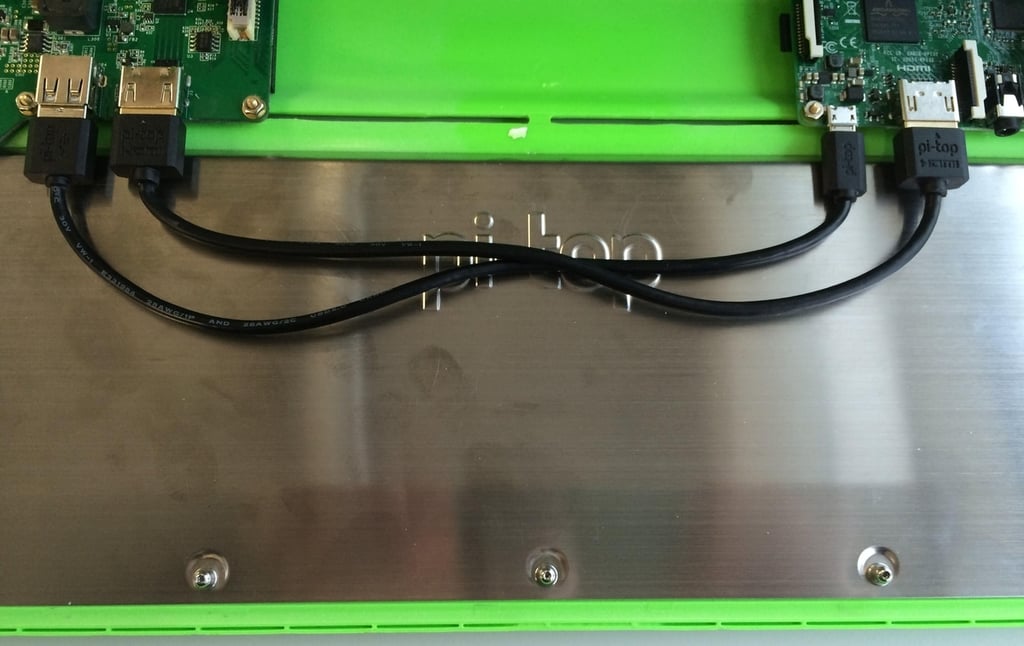
The next step is simply hooking up more cables between the hub board and the Pi.
To power the Pi a micro-USB cable is attached to the hub board’s USB and the display is hooked up via HDMI.
The Pi-Top comes with its own power adapter that plugs into the hub board.
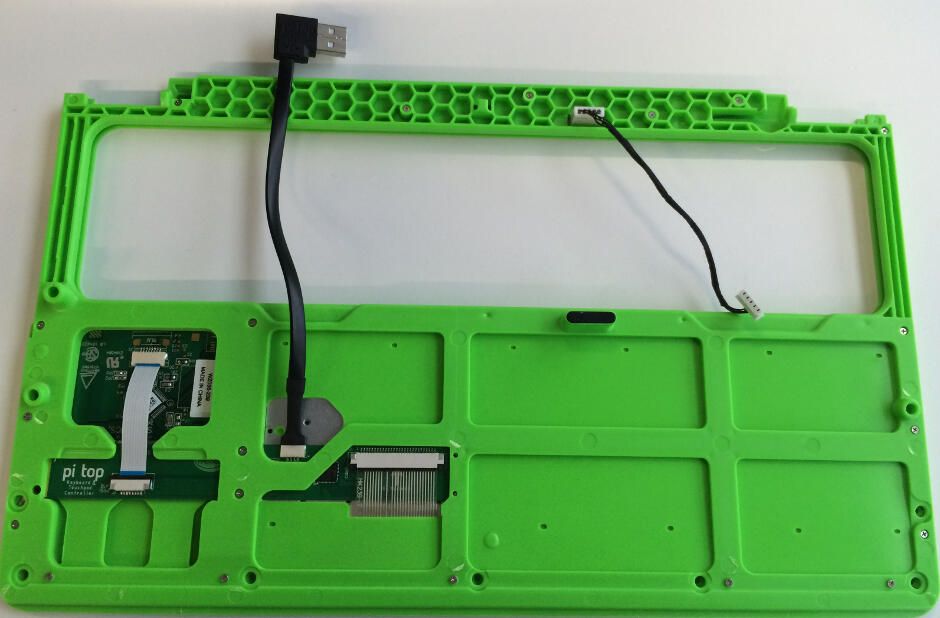
One of the last pieces to be added is the keyboard, which first needs cables to be added for data transfer and power.
The keyboard attaches to the Pi via USB.
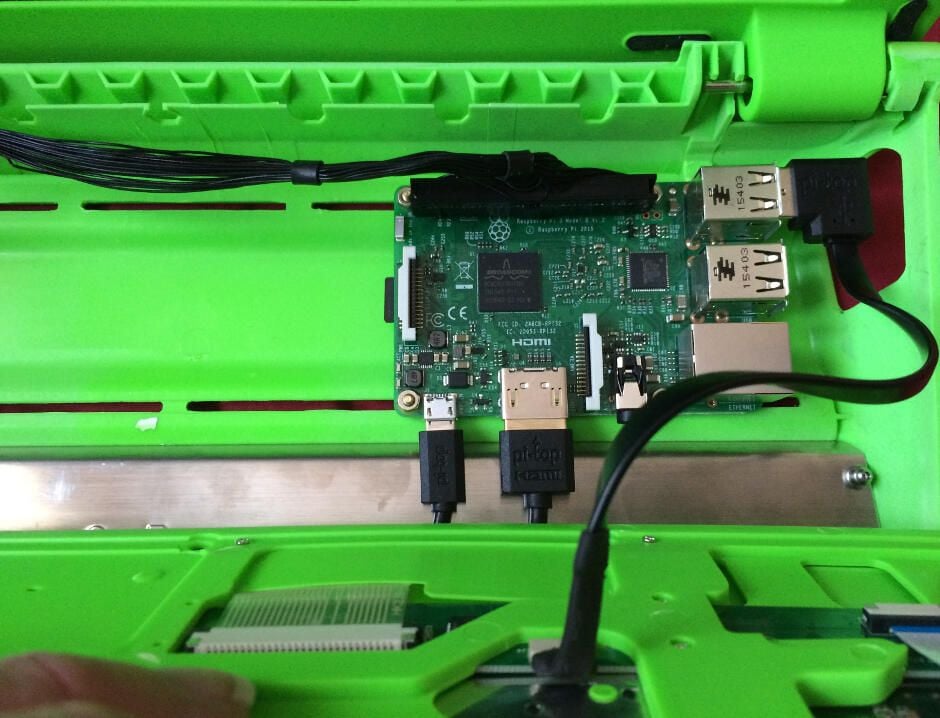
You need to leave enough space between the Pi and the edge of the case for the USB connector.
For me this meant the USB ports had to sit back from the edge of the case and were not really accessible from outside the laptop – despite there being a hole in the side to provide access. The ports remain accessible, however, as you can easily slide out the acrylic screen that sits on top of the boards.

The keyboard is then attached to the base by pushing it into the same gaps the hinges for the lid slotted into earlier.
You can also see the keyboard’s power connector hooked up at the top of the hub board.
Next the keyboard is clipped firmly in place by pushing along the edges of the board so it attaches to these ball headed screws at the edge of the battery.
With the keyboard and trackpad in place, the laptop is almost finished.
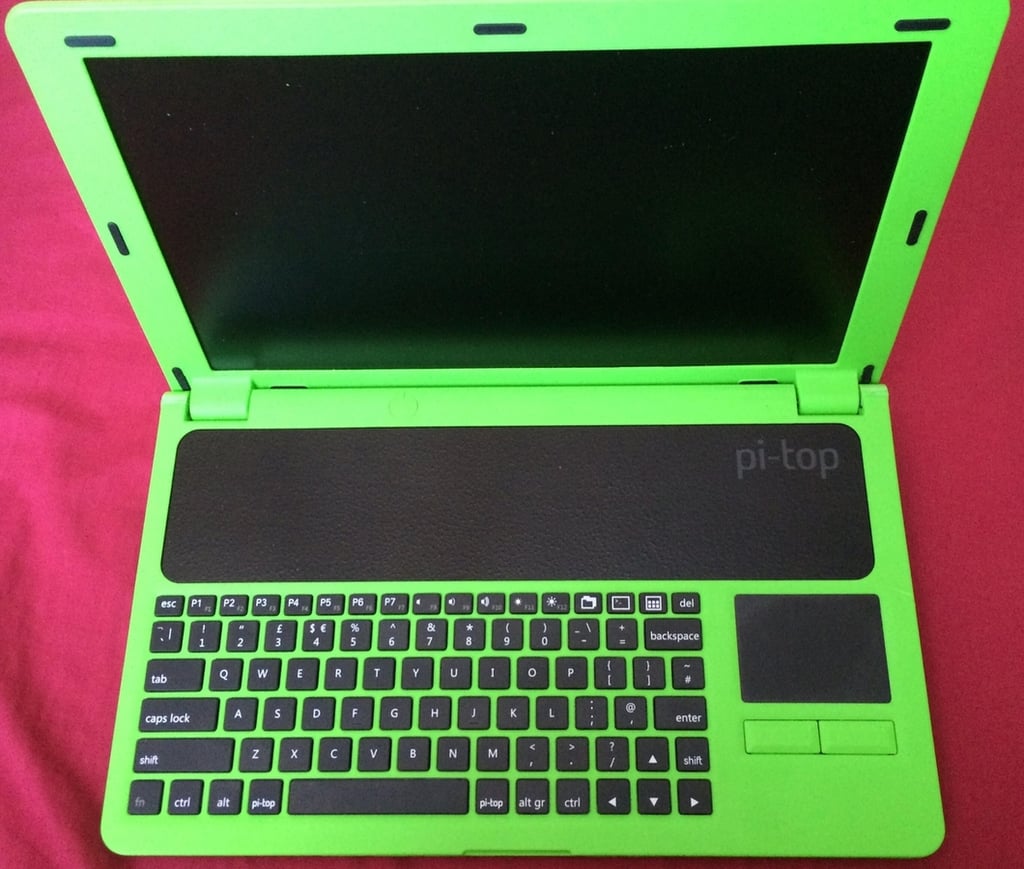
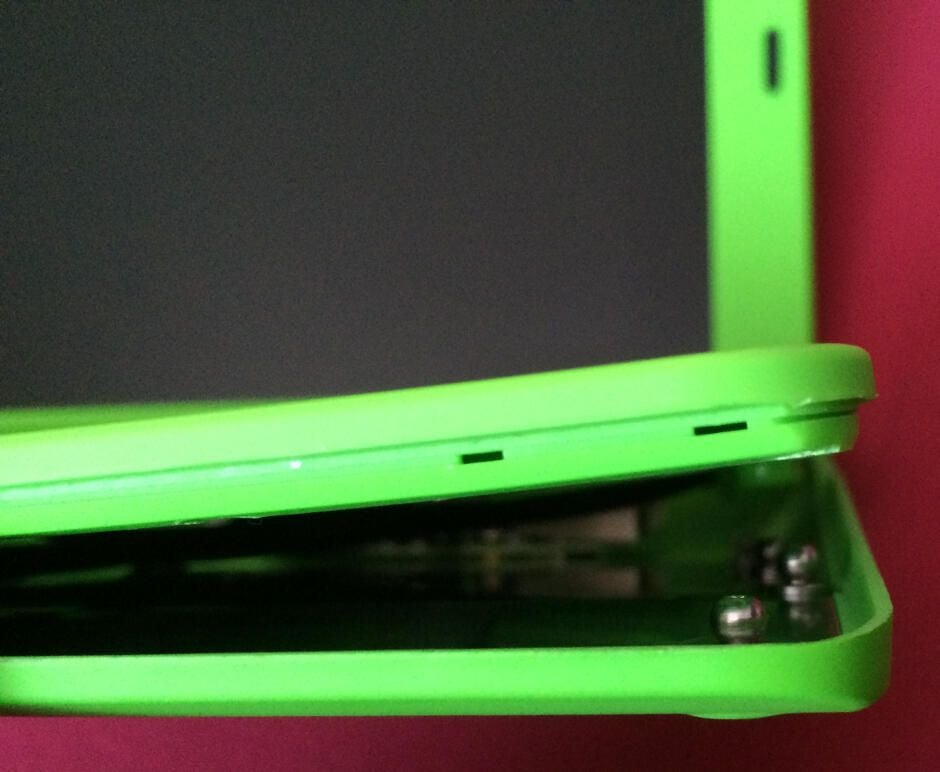
Next slide across the acrylic screen that covers the boards. This is easy to remove to get at the boards underneath.
The Pi-Top laptop is now complete and ready to use.
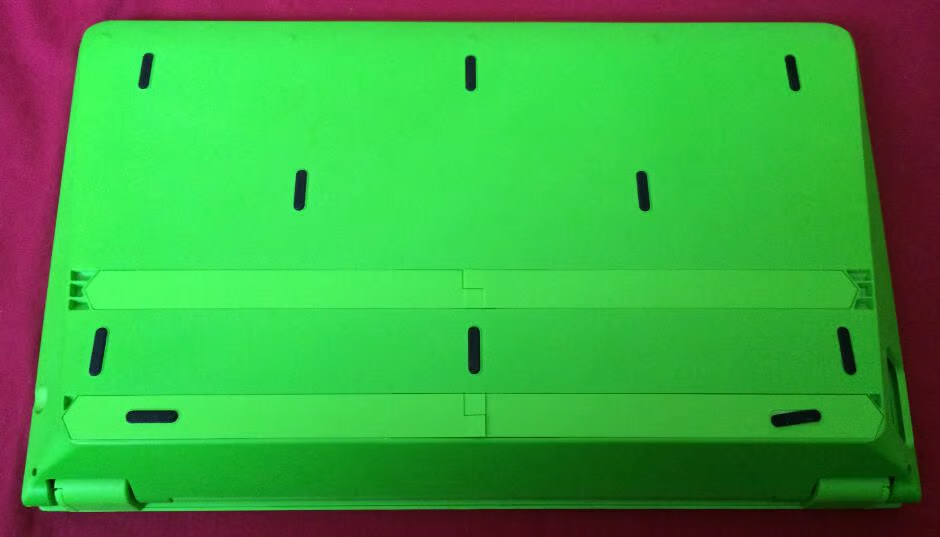
The underside of the finished laptop
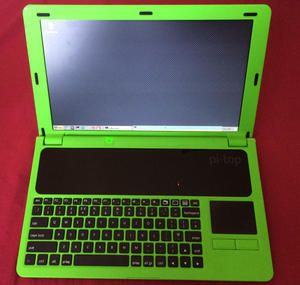
The reward for your handiwork. A Raspberry Pi you can use on the move running the pi-topOS – a version of the Pi’s official Raspbian operating system customised to make it simpler for novice computer users.

Nick Heath is a computer science student and was formerly a journalist at TechRepublic and ZDNet.


