
In September 2010, Sony released the PlayStation Move motion and navigation controllers–hoping to duplicate Nintendo’s success with the Wii’s motion control Remote. But unlike the “Wiimote,” the PlayStation Move controller works in conjunction with the PlayStation Eye camera, which tracks the movement of the controller’s large, LED-lit ball. Another difference is the PlayStation Move motion controller’s rechargeable Li-ion battery, compared to the Wii remote’s two AAs.
The PlayStation Move motion controller is very easy to disassemble. All you need it a Phillips #0 screwdriver. Unfortunately, most of the internal components are soldered to the controller’s main PCB. With the exception of the battery, the PlayStation Move motion controller doesn’t have many user-serviceable parts.
Check out our Cracking Open gallery of the PlayStation Move navigation controller.
Photo by: Bill Detwiler / TechRepublic
Caption by: Bill Detwiler
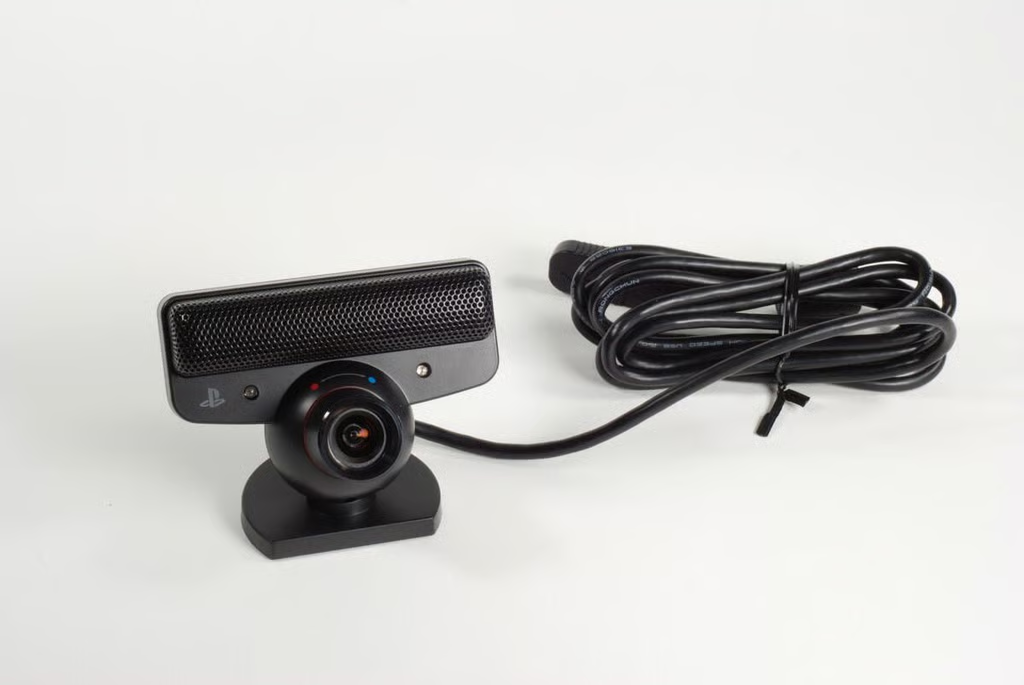
The PlayStation Eye camera tracks the PlayStation Move’s motion by watching the controller’s large, LED-lit ball. The ball will change colors if clothing or other colors in background cause the camera to have difficulty detecting the controller.
Photo by: Bill Detwiler / TechRepublic
Caption by: Bill Detwiler
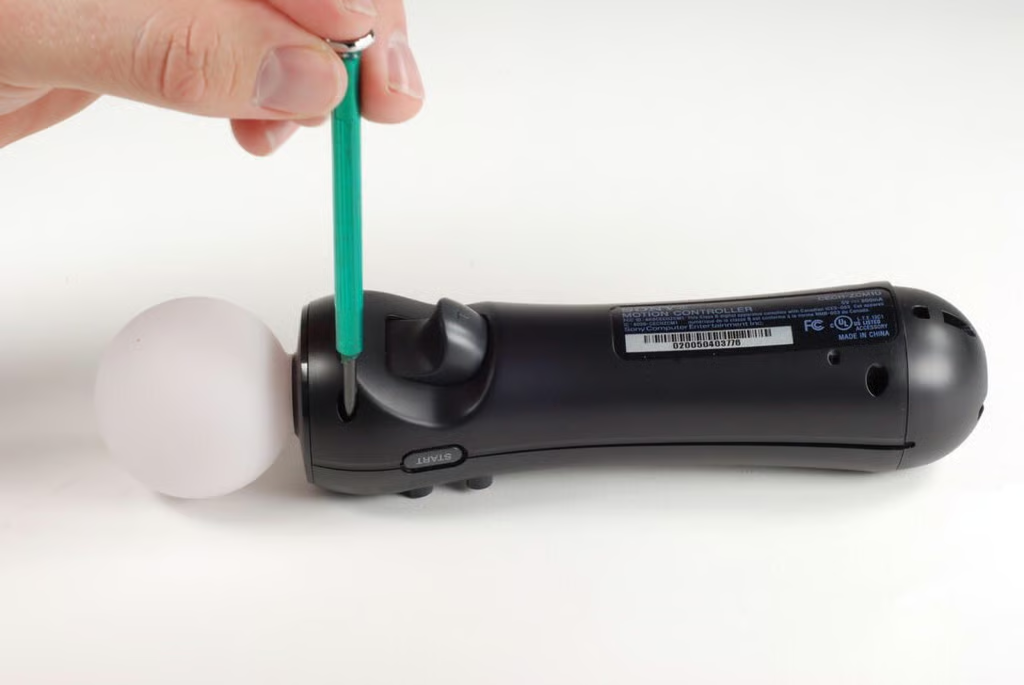
The PlayStation Move motion controller’s case is held in place by four Phillips #0 screws.
Photo by: Bill Detwiler / TechRepublic
Caption by: Bill Detwiler
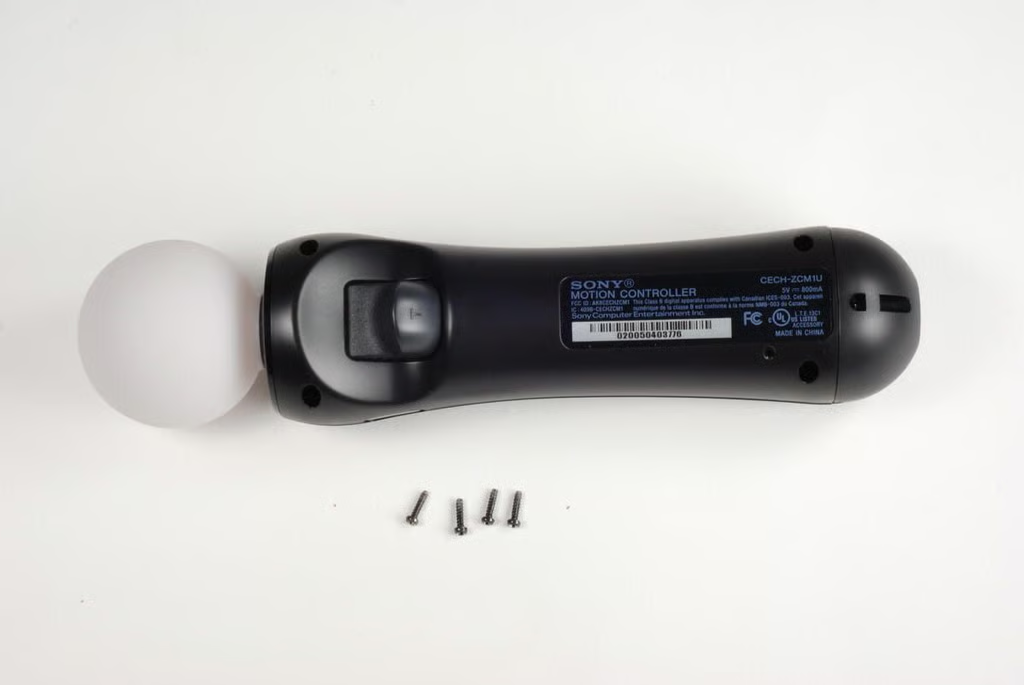
Photo by: Bill Detwiler / TechRepublic
Caption by: Bill Detwiler
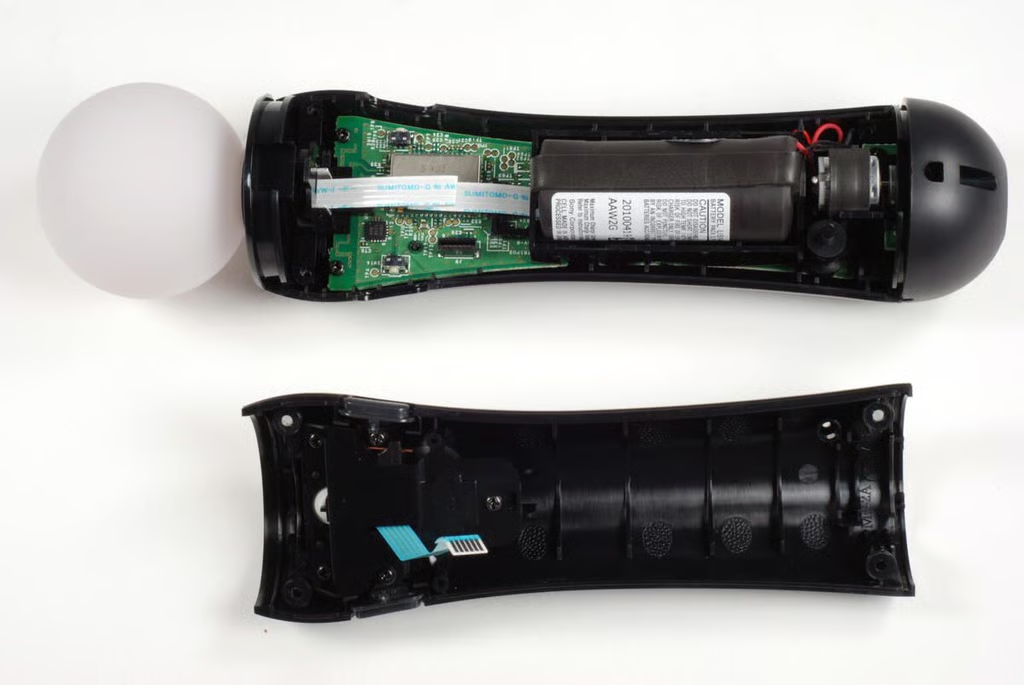
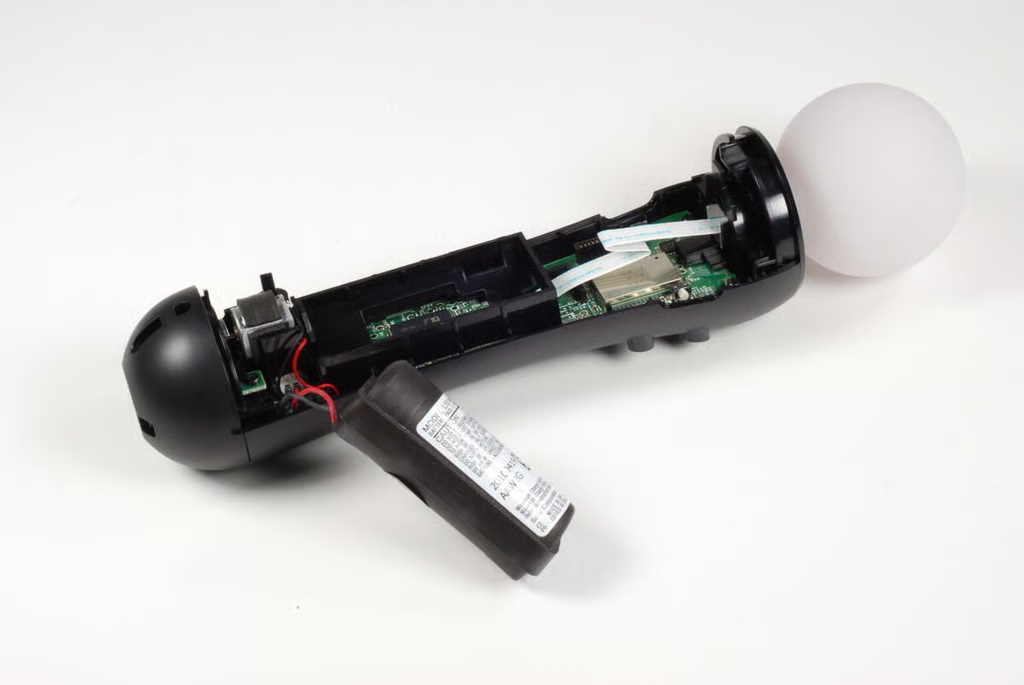
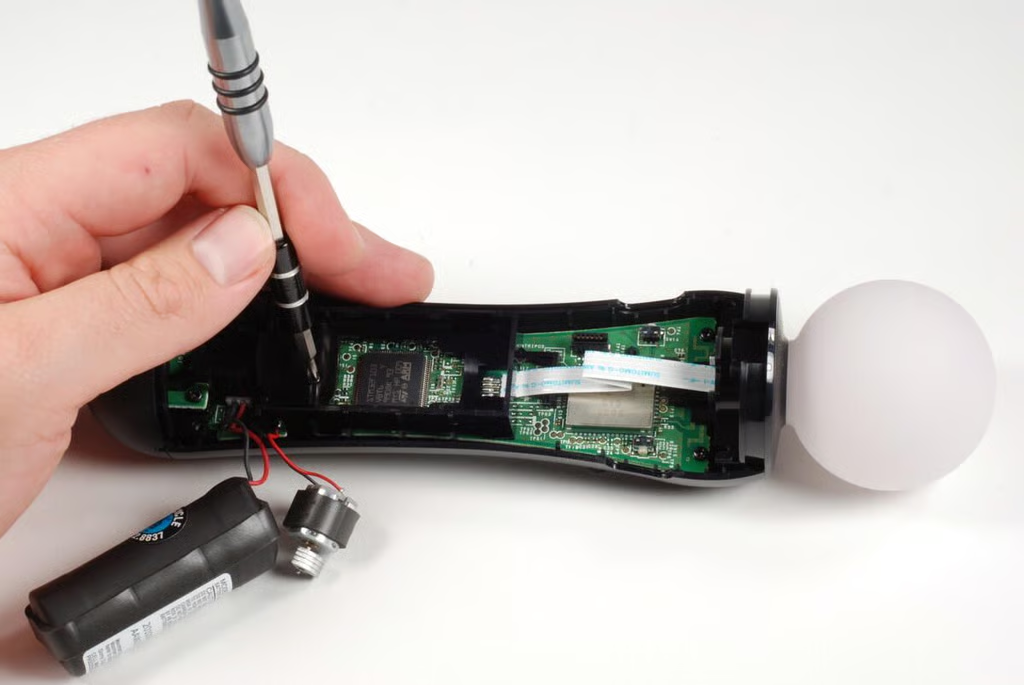
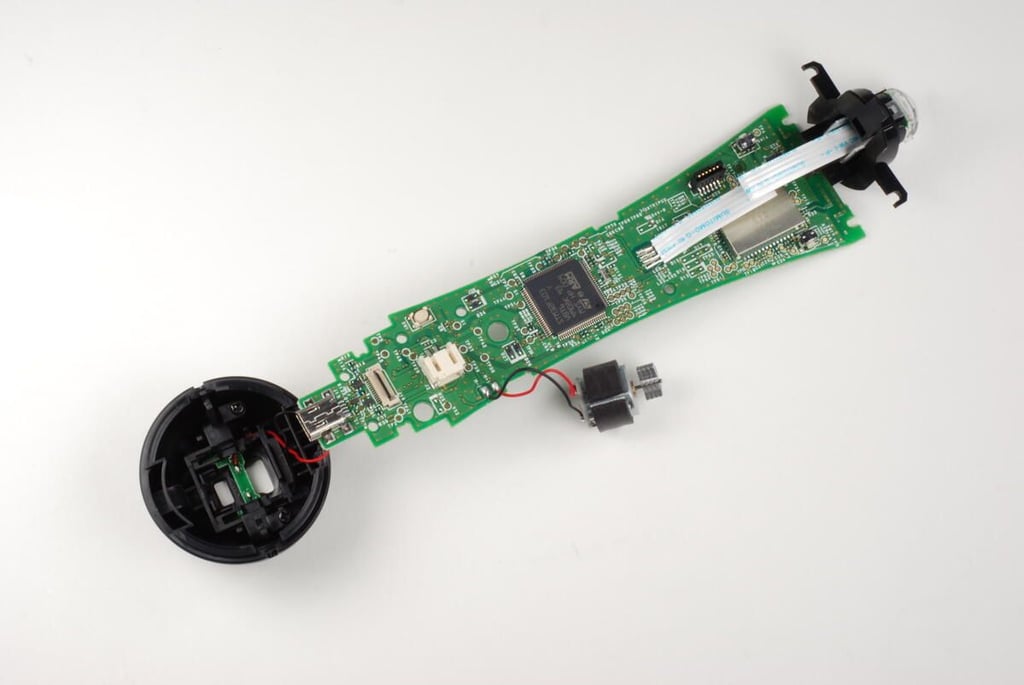
With the bottom half of the case removed, we get our first good look inside the PlayStation Move motion controller. The large Li-ion battery covers much of the main PCB.
Photo by: Bill Detwiler / TechRepublic
Caption by: Bill Detwiler
The T button (trigger), Select button, and Start button assembly is attached to the bottom half of the PlayStation Move motion controller’s case.
Photo by: Bill Detwiler / TechRepublic
Caption by: Bill Detwiler

Five Phillips #0 screws hold the button assembly to the bottom half of the case.
Photo by: Bill Detwiler / TechRepublic
Caption by: Bill Detwiler
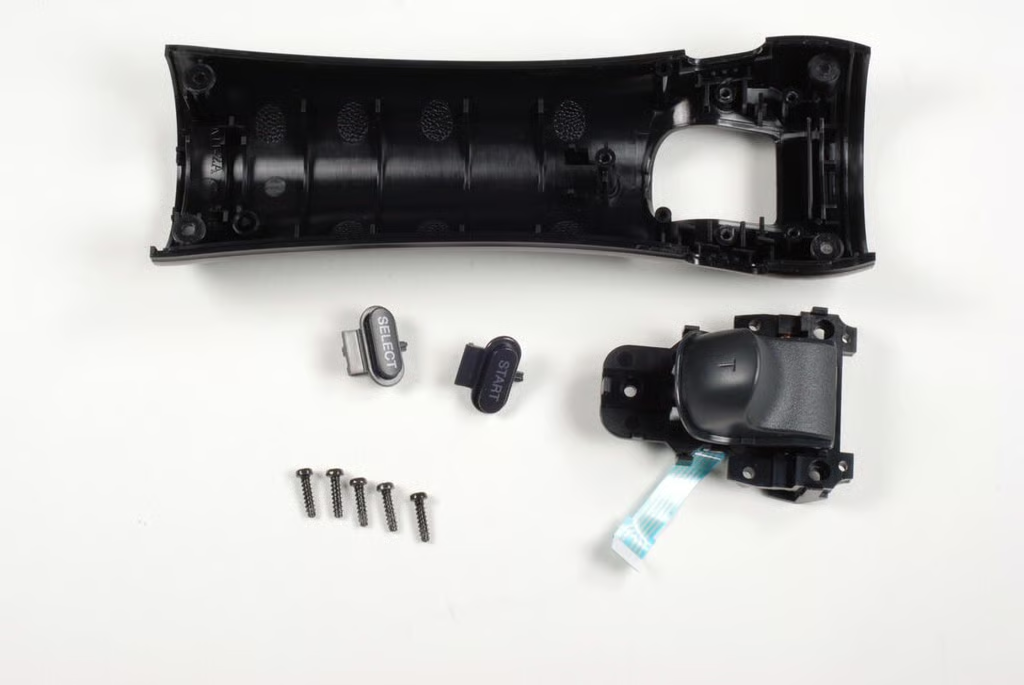
Photo by: Bill Detwiler / TechRepublic
Caption by: Bill Detwiler
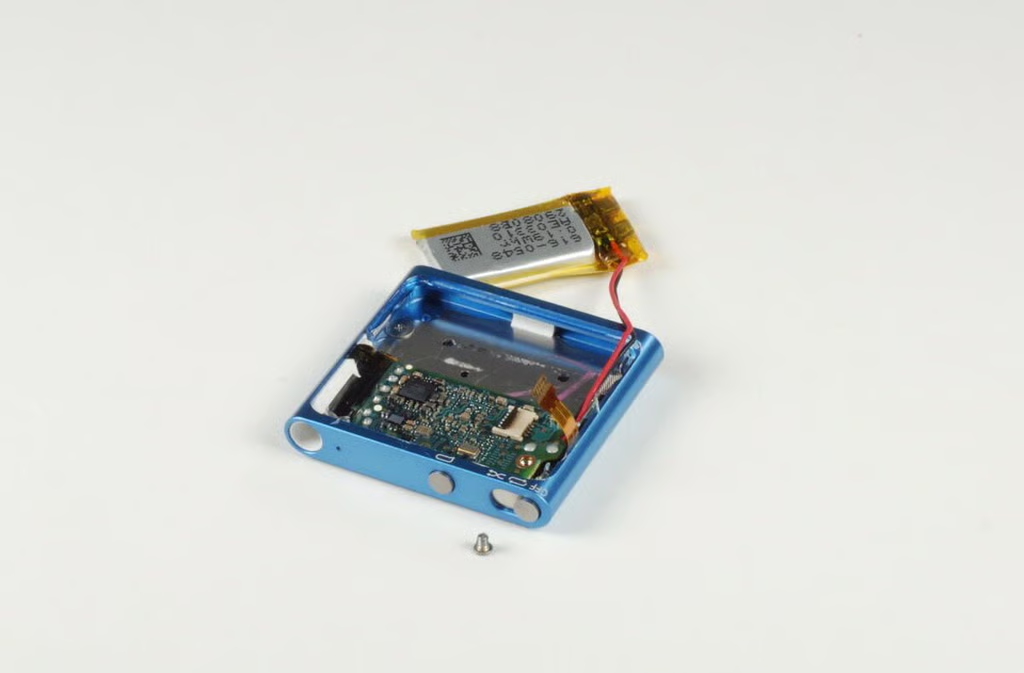
Photo by: Bill Detwiler / TechRepublic
Caption by: Bill Detwiler

The screws and ribbon cable make the PlayStation Move controller’s T button (trigger) an easily-replaceable part.
Photo by: Bill Detwiler / TechRepublic
Caption by: Bill Detwiler

To remove the main PCB from the top half of the PlayStation Move motion controller’s case, we’ll need to remove four Phillips #0 screws.
Photo by: Bill Detwiler / TechRepublic
Caption by: Bill Detwiler
The first screw hold the main PCB in place is under the PlayStation Move controller’s Li-ion battery.
Photo by: Bill Detwiler / TechRepublic
Caption by: Bill Detwiler
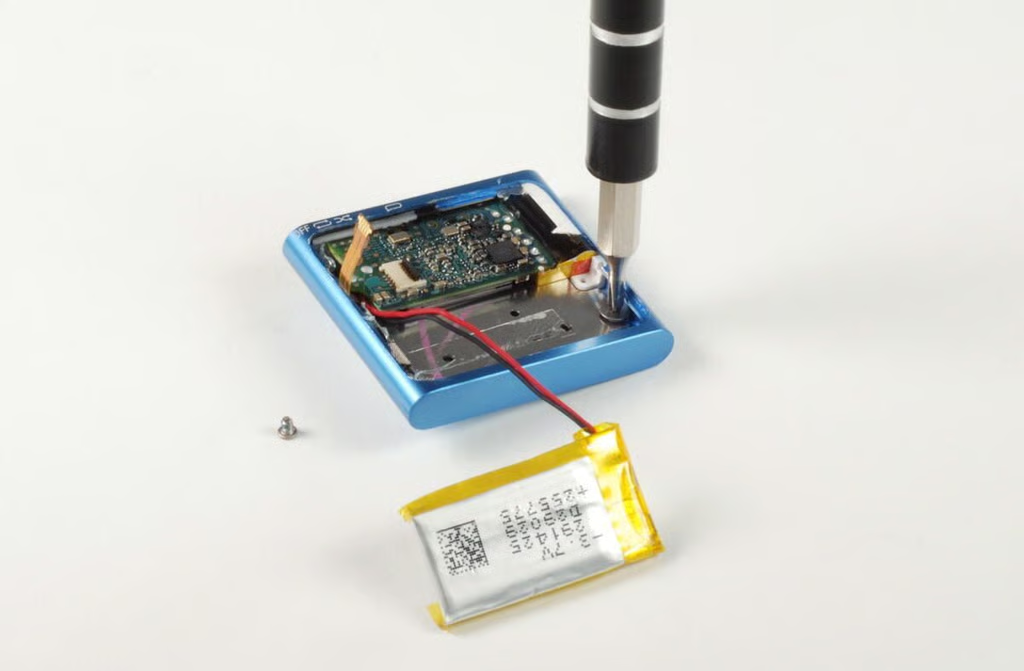
You should be able to gently pull the Li-ion battery and vibration motor away from the plastic housings without damaging the wires that connected them to the main PCB.
Photo by: Bill Detwiler / TechRepublic
Caption by: Bill Detwiler
This Phillips #0 screw holds the main PCB and this plastic housing in place.
Photo by: Bill Detwiler / TechRepublic
Caption by: Bill Detwiler
With the internal components removed, the buttons on the top half of the PlayStation Move motion controller should fall out of the case.
Photo by: Bill Detwiler / TechRepublic
Caption by: Bill Detwiler
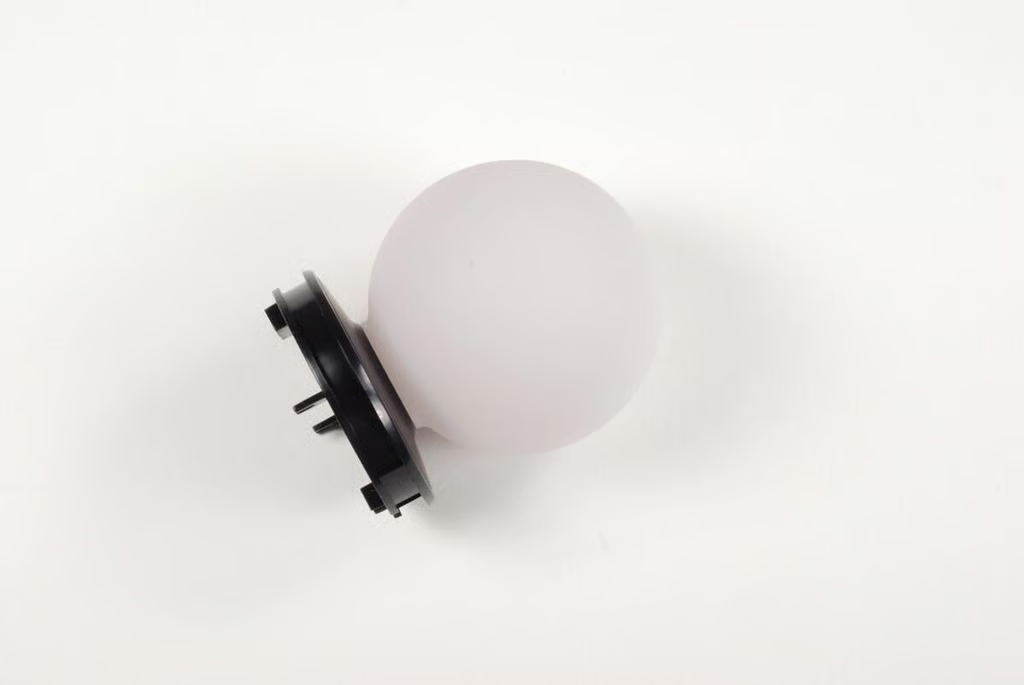
The PlayStation Move motion controller’s rubberized, translucent sphere is connected to the case with black plastic ring.
Photo by: Bill Detwiler / TechRepublic
Caption by: Bill Detwiler
The sphere is lit with an LED that can generate a variety of colors.
Photo by: Bill Detwiler / TechRepublic
Caption by: Bill Detwiler
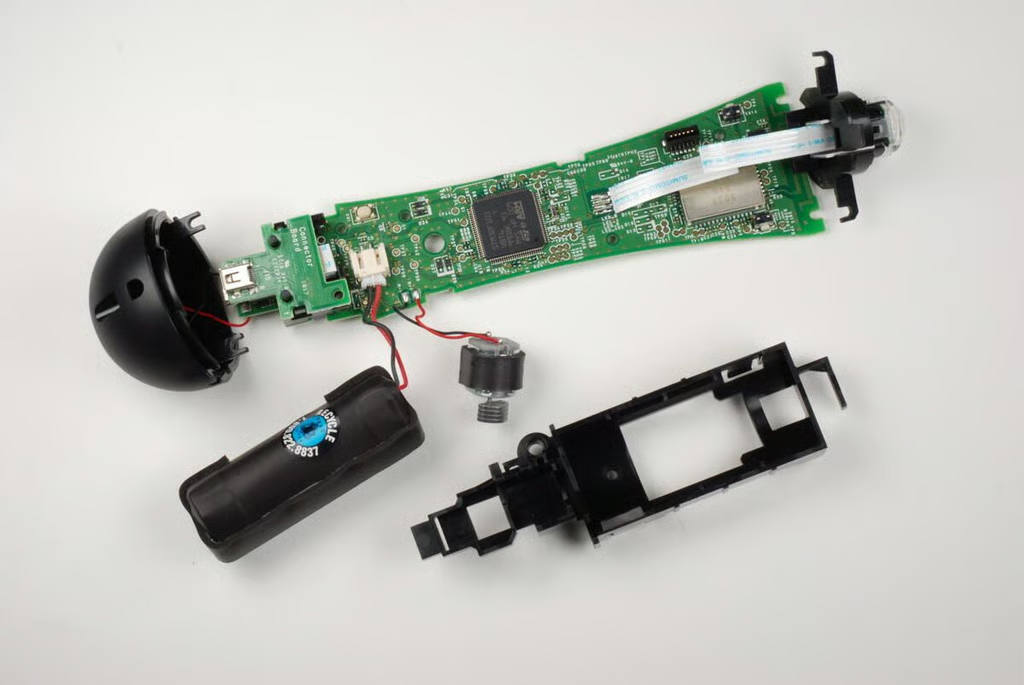
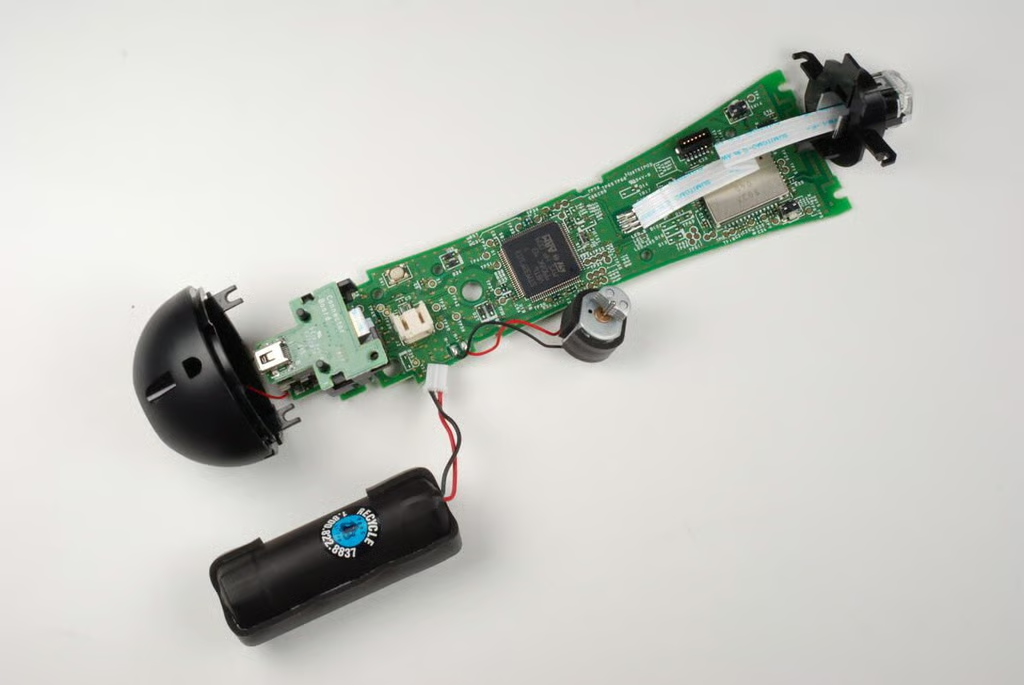
The battery, vibration motor, USB and extension connectors, plastic housing, and LED are still attached to the main PCB.
Photo by: Bill Detwiler / TechRepublic
Caption by: Bill Detwiler
A white rubber cushion sits near the top of the front of the main PCB–beneath the PlayStation Move motion controller’s main buttons.
Photo by: Bill Detwiler / TechRepublic
Caption by: Bill Detwiler

Photo by: Bill Detwiler / TechRepublic
Caption by: Bill Detwiler
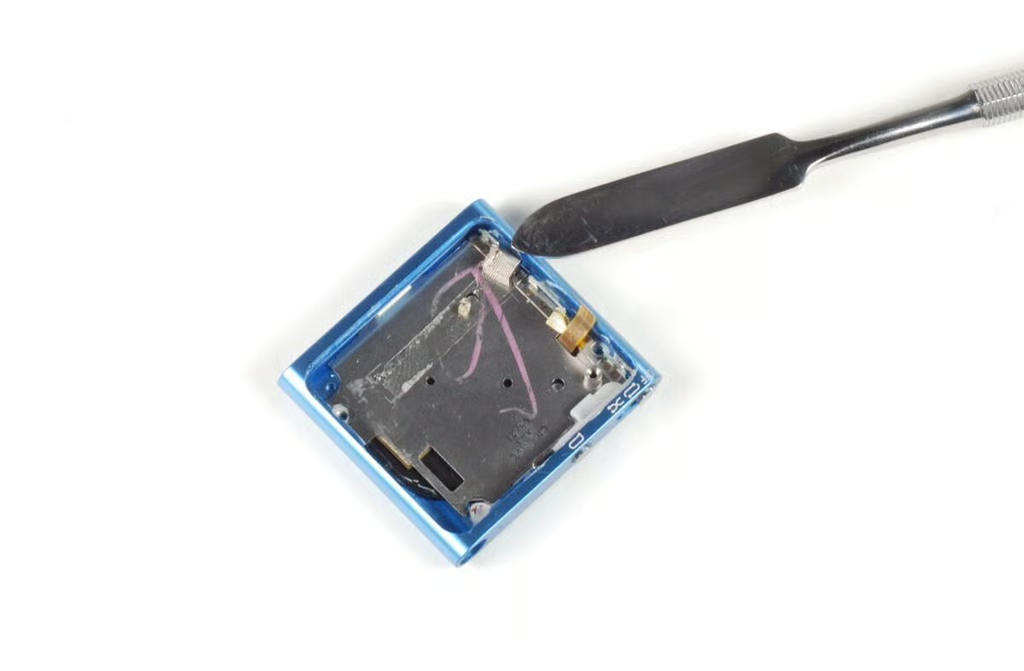
The PlayStation Move motion controller’s battery and vibration motor sit in a plastic housing. It is held to the main PCB with several tabs. You should be able to gently pry them away from the PCB and remove the housing.
Photo by: Bill Detwiler / TechRepublic
Caption by: Bill Detwiler
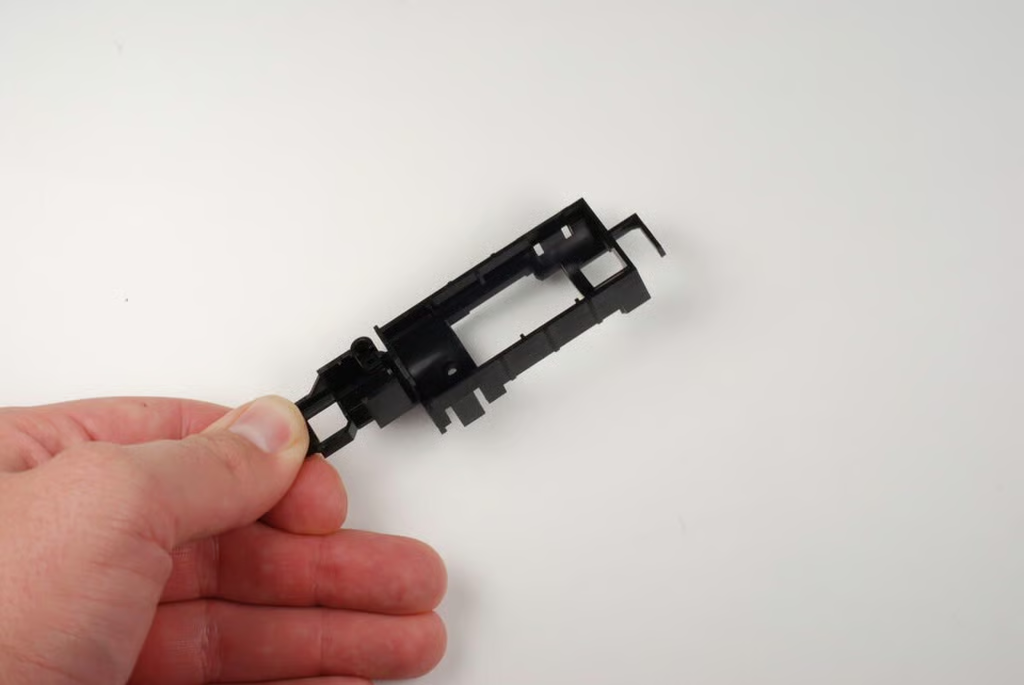
Photo by: Bill Detwiler / TechRepublic
Caption by: Bill Detwiler
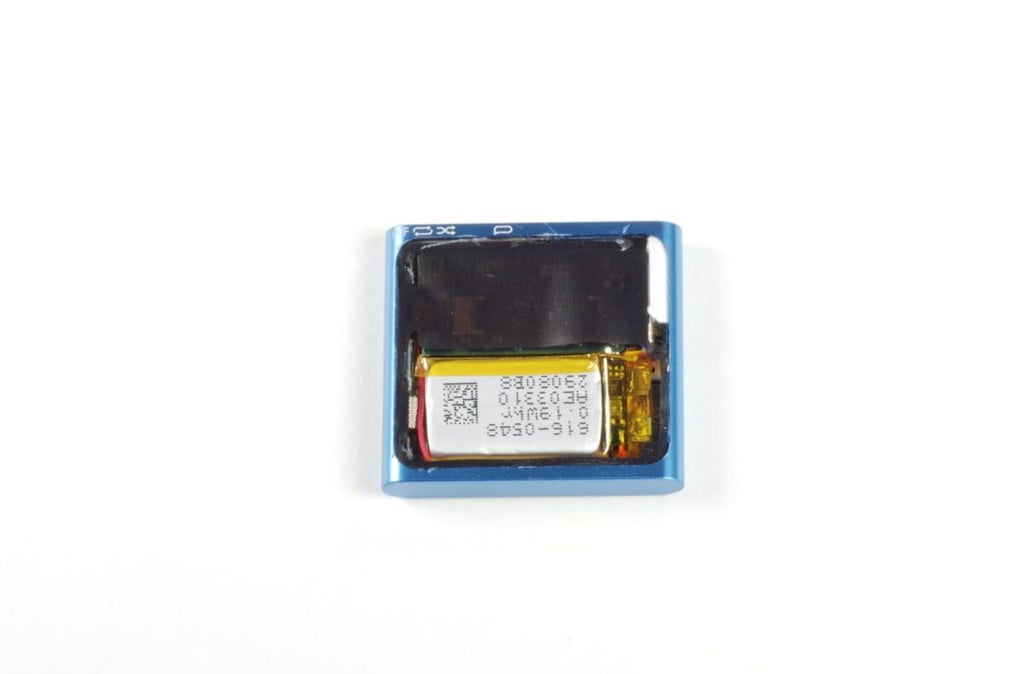
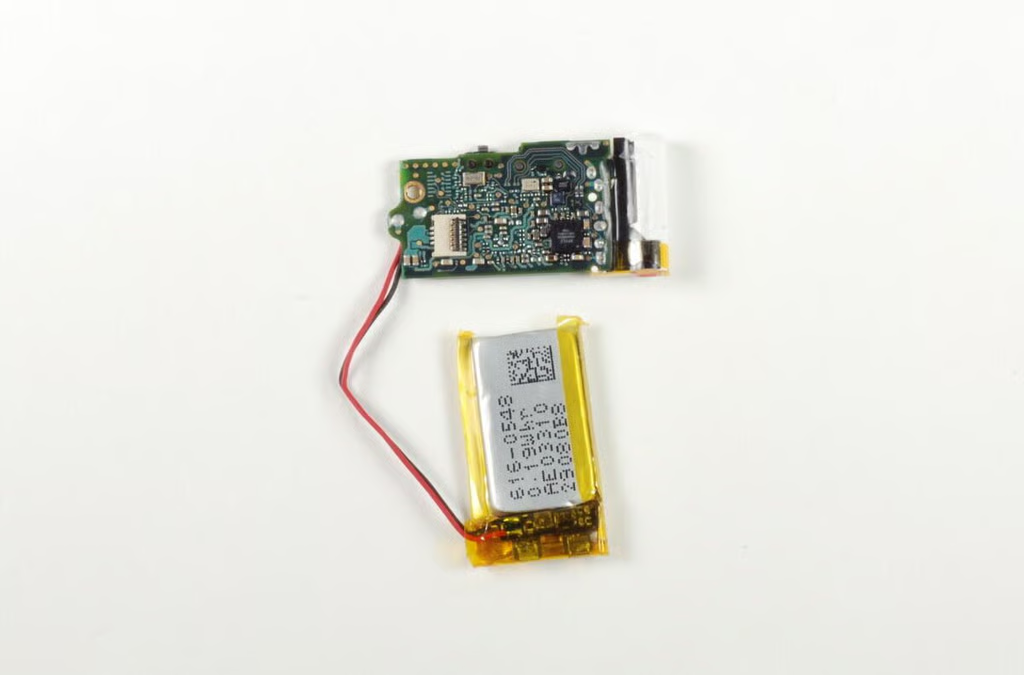
The PlayStation Move motion controller’s Li-ion battery is attached to the main PCB with a connector.
Photo by: Bill Detwiler / TechRepublic
Caption by: Bill Detwiler
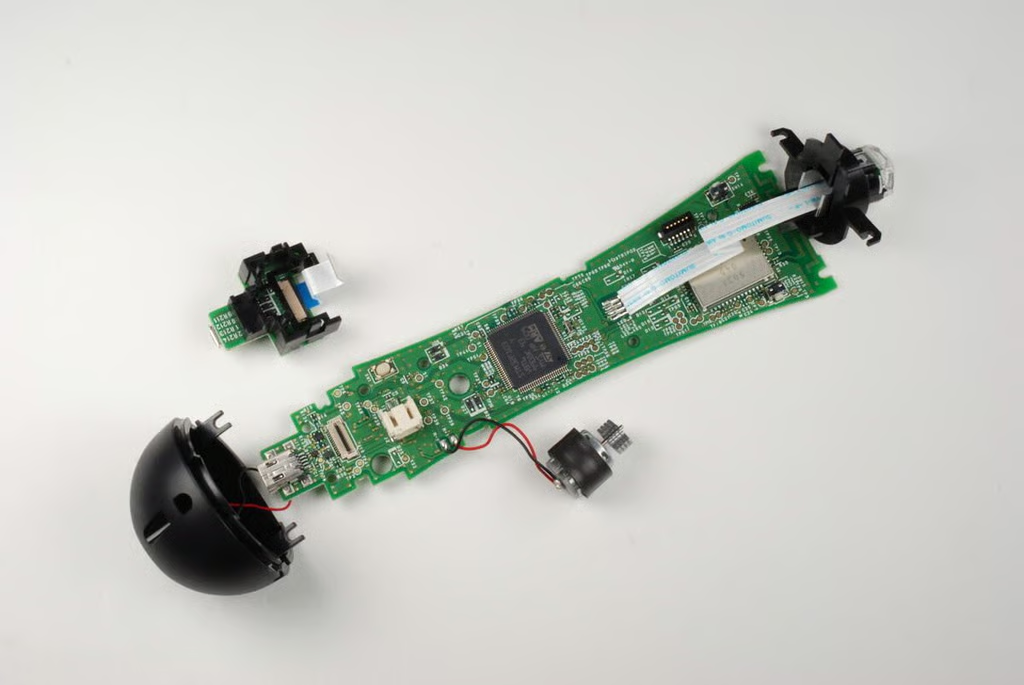
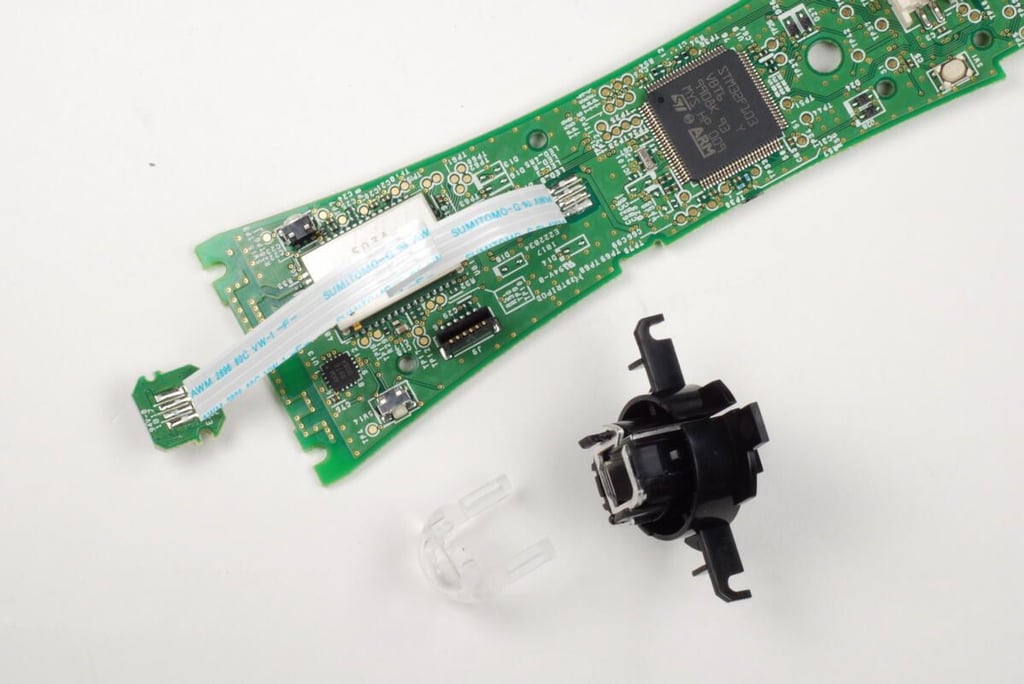
The PlayStation Move motion controller’s Extension connector is located on a small PCB that attached to the main PCB via a ribbon cable and black plastic tabs.
Photo by: Bill Detwiler / TechRepublic
Caption by: Bill Detwiler
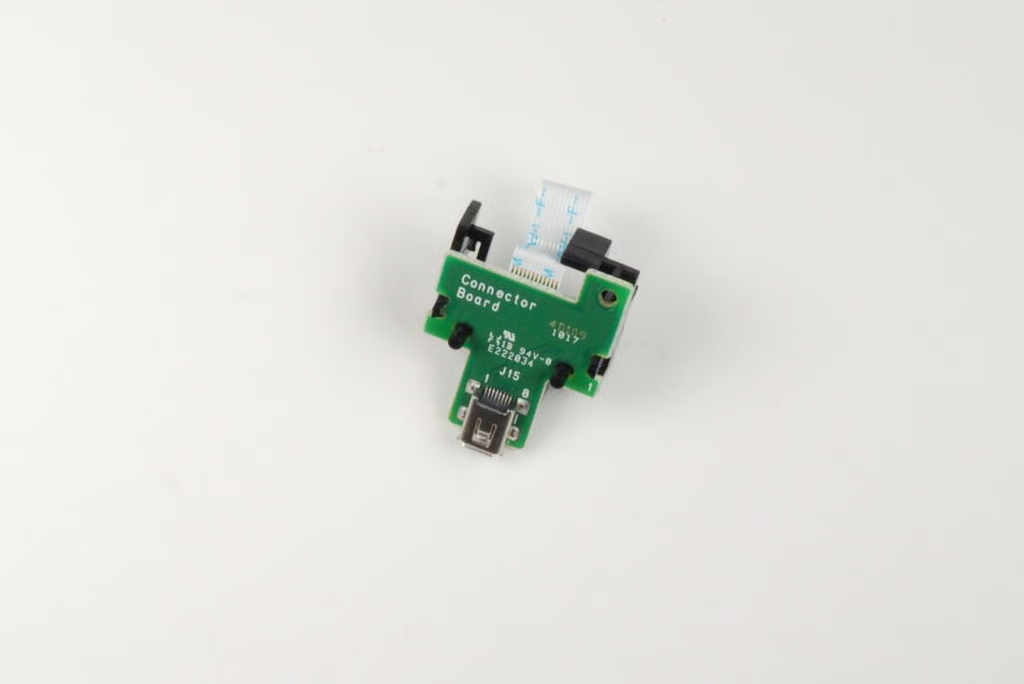
Photo by: Bill Detwiler / TechRepublic
Caption by: Bill Detwiler
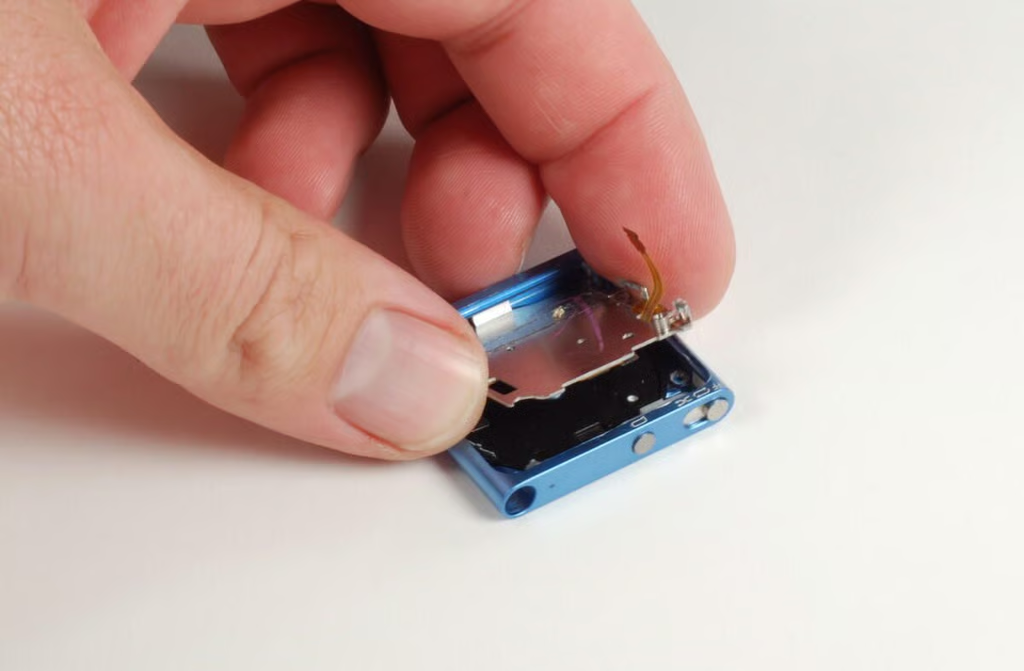
Two screws hold a small PCB to the case end cap. This PCB contains the PlayStation Move motion controller’s charging contacts. The small PCB’s wires are soldered to the main PCB.
Photo by: Bill Detwiler / TechRepublic
Caption by: Bill Detwiler
With the two screws removed, the charging contact PCB should come loose from the case end cap.
Photo by: Bill Detwiler / TechRepublic
Caption by: Bill Detwiler
The light assembly is composed of the LED (attached to the main PCB via a soldered ribbon cable), lens, and housing. The housing has metal insert that could help dissipate heat generated by the LED.
Photo by: Bill Detwiler / TechRepublic
Caption by: Bill Detwiler

A small plastic housing is attached to the charging contacts PCB.
Photo by: Bill Detwiler / TechRepublic
Caption by: Bill Detwiler
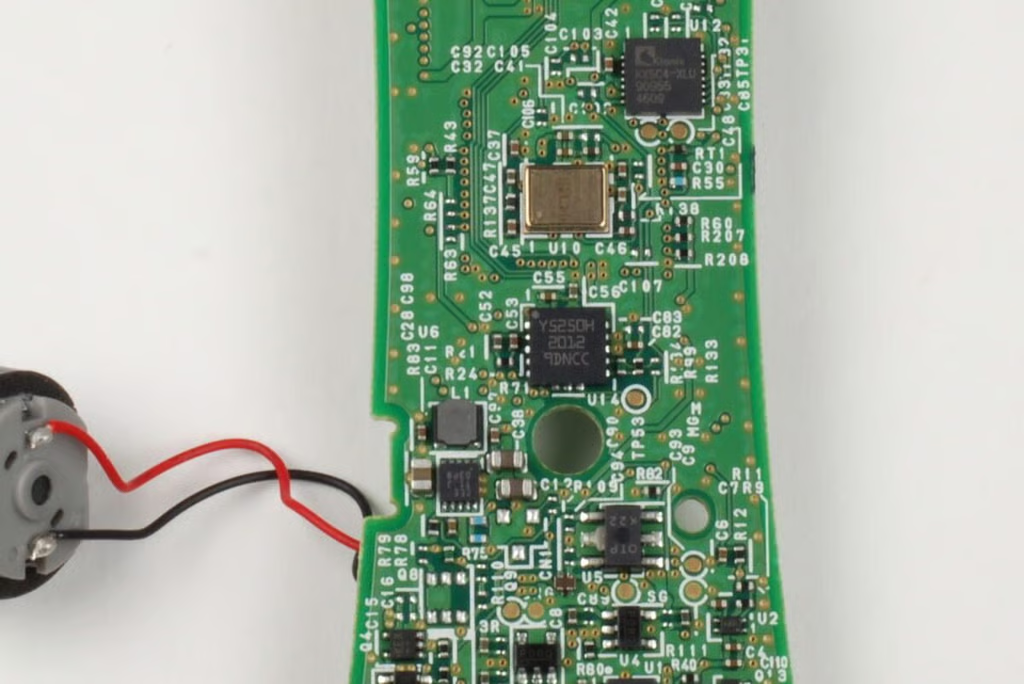
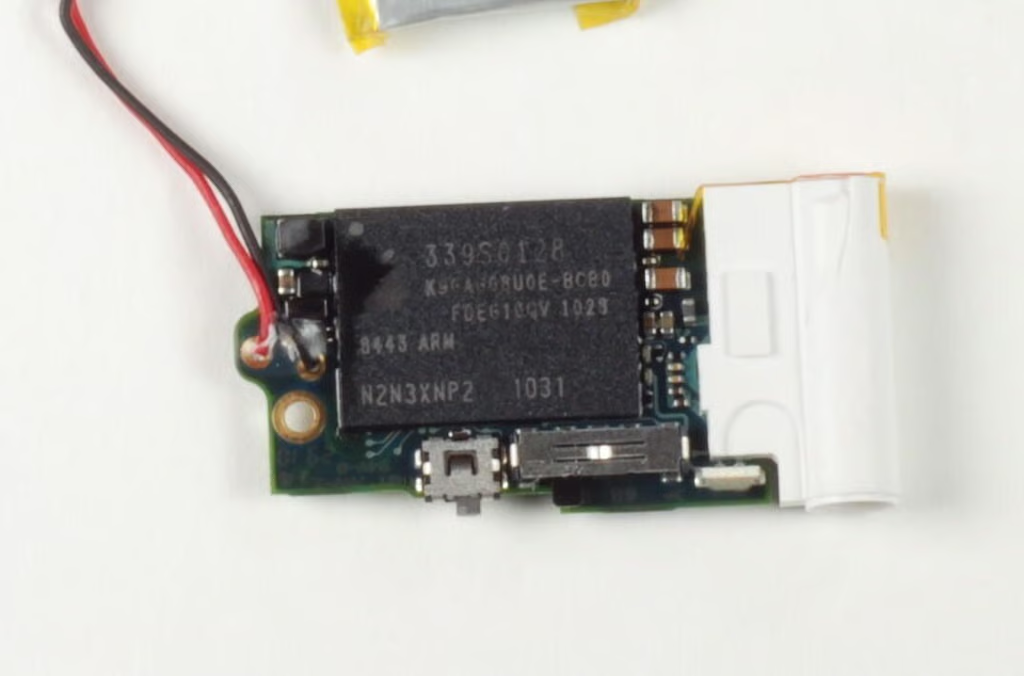
In this photo, you can see the Kionix KXSC4-XLU accelerometer and other chips.
Photo by: Bill Detwiler / TechRepublic
Caption by: Bill Detwiler
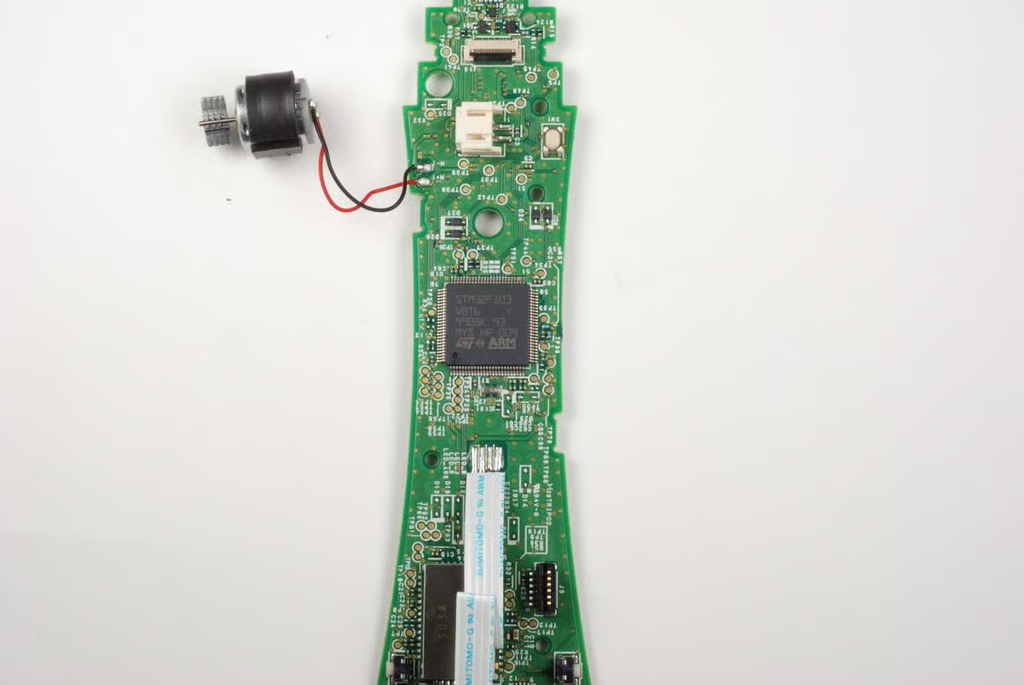
Photo by: Bill Detwiler / TechRepublic
Caption by: Bill Detwiler
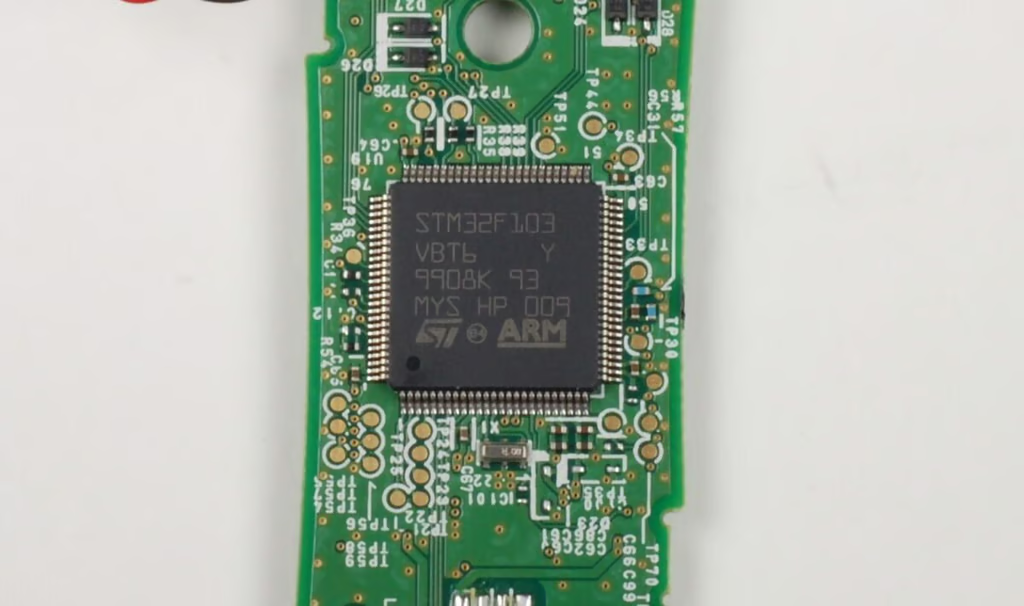
The PlayStation Move motion controller has a ST Microelectronics ARM-based 32-bit MCU (STM32F103VBT6). According to product documentation, the chip has 128 KB Flash, USB, CAN, seven timers, two ADCs, and nine communication interfaces.
Photo by: Bill Detwiler / TechRepublic
Caption by: Bill Detwiler
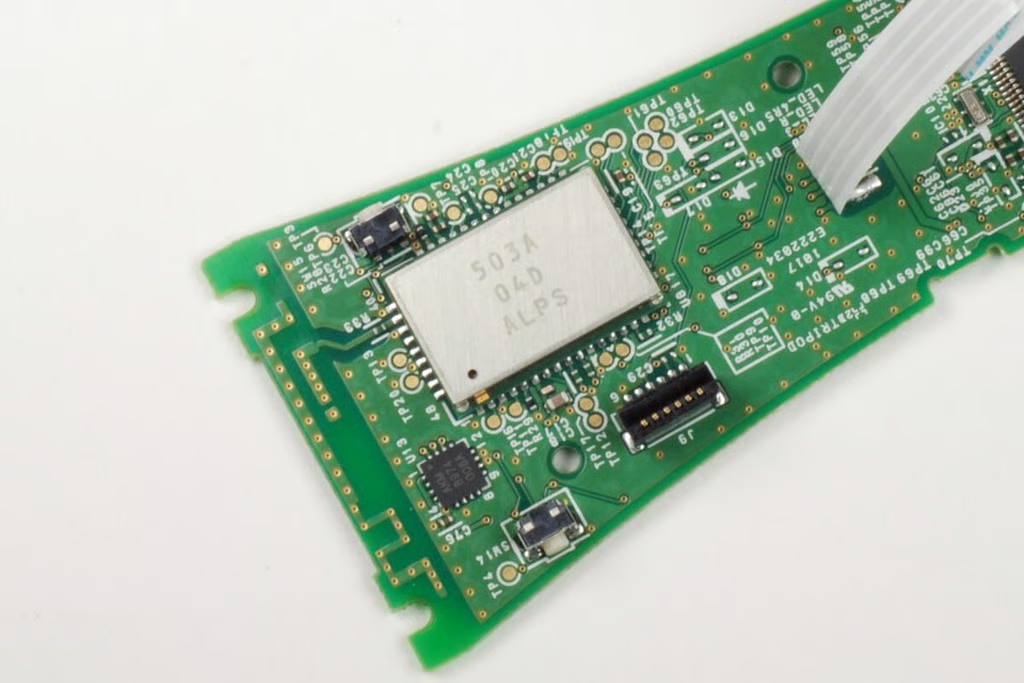
Under this metal shield is the Bluetooth transmitter. To the left of the shield is the AKM 8974 electronic compass.
Photo by: Bill Detwiler / TechRepublic
Caption by: Bill Detwiler
Bill Detwiler is the Editor for Technical Content and Ecosystem at Celonis. He is the former Editor in Chief of TechRepublic and previous host of TechRepublic's Dynamic Developer podcast and Cracking Open, CNET and TechRepublic's popular online show. Previously, Bill was an IT manager in the social research and energy industries. He has bachelor's and master's degrees from the University of Louisville, where he has also lectured on computer crime and crime prevention.


