PowerISO is a handy and effective tool for creating, burning and reading CD and DVD images. Using this tool, you can create images straight to file as well as create bootable floppy images. Learn how to create and edit CD/DVD images with PowerISO.
You may download a free, trial version of PowerISO from TechRepublic’s software library.
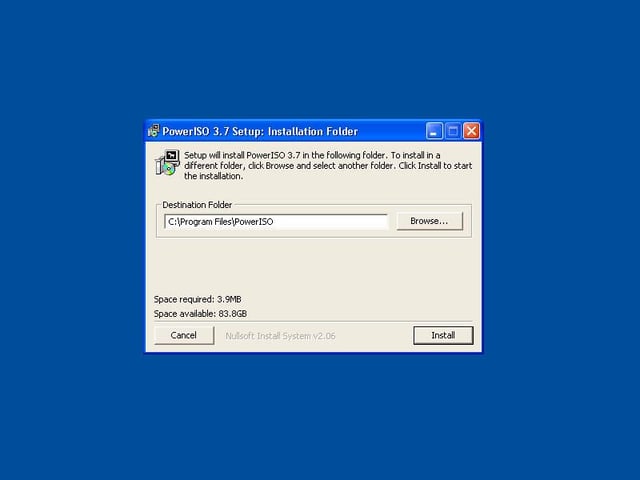
The installation process is simple and clean. Most users will be able to install it without problems. Choose a installation location and click ‘Install’. The next screen will simply track the installation progress. When it completes, click ‘Next’.
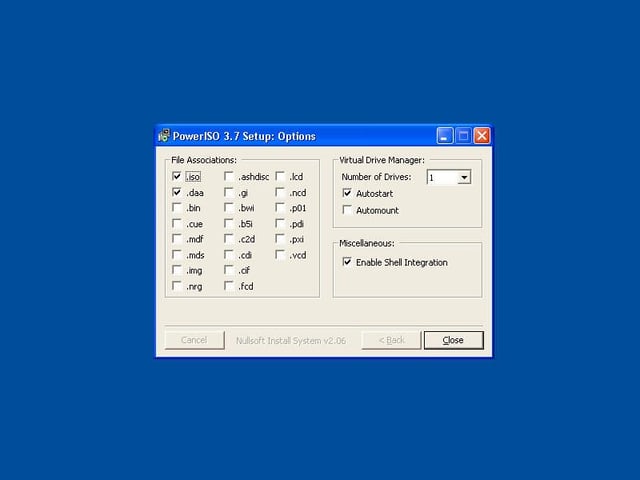
On this screen, you can select what file associations you would like to establish. These file types will open in PowerISO by default.
In addition, you can select the number of drives you want to emulate. Selecting ‘Autostart’ will cause the Virtual Drive Manager to load in the system tray when windows starts. Lastly, enabling shell integration will add PowerISO options to the context menu when you right click on files in Windows Explorer.
Selecting Close will end the installation, and you will be asked to reboot. Annoying as this is, it’s unavoidable. The application will not function properly until you do.
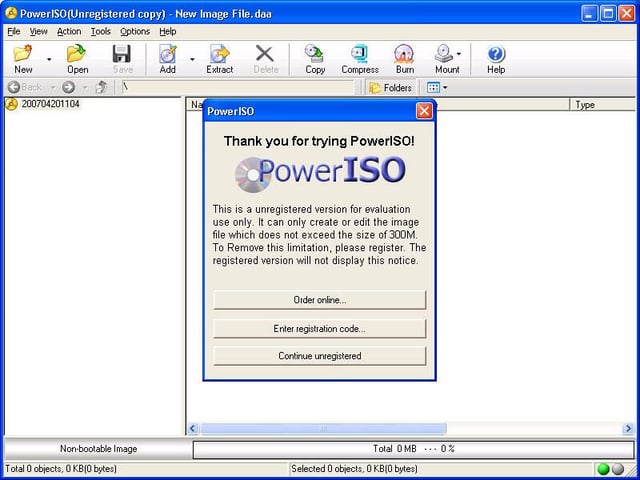
Because our version isn’t registered, we have to deal with the developer-imposed limitations. In this case, we cannot create or edit images greater than 300 megs in size. I did notice that I was able to mount larger images in the Virtual Drive Manager with no problems. Click Continue Unregistered to continue.
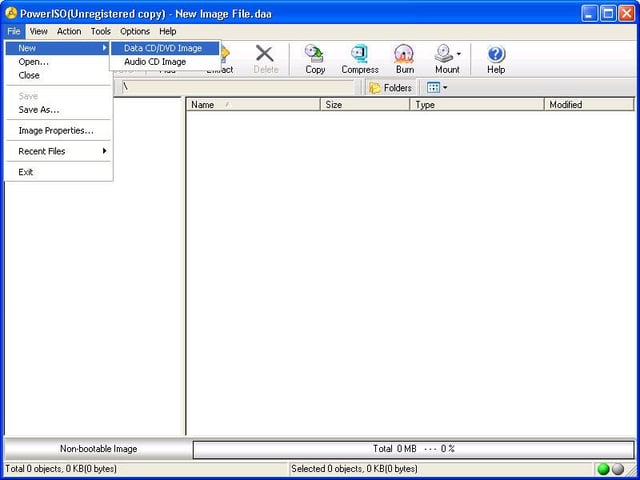
Now that we’ve got PowerISO installed and loaded, let’s get started. By default, PowerISO brings up a new data project. By selecting File | New, you may choose to start a new audio or data project. I created a data project for this review.
PowerISO includes some of the features that would be required for all burning software suites. Unfortunately it lacks a few important ones that many users will want. You cannot create video discs of any kind with PowerISO.
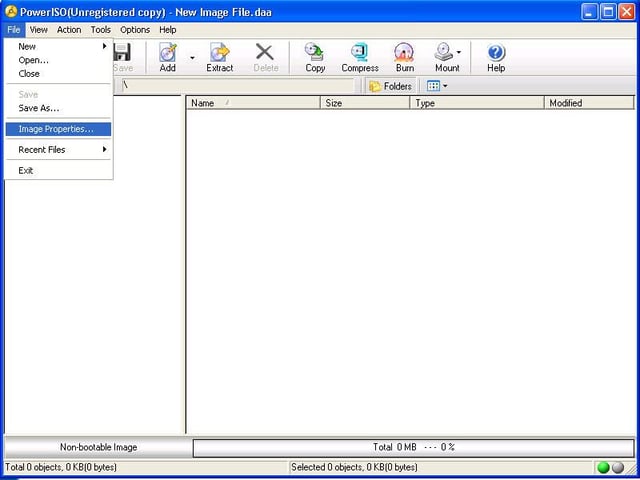
Moving forward with our data project, you can edit the project properties by selecting File | Image Properties.
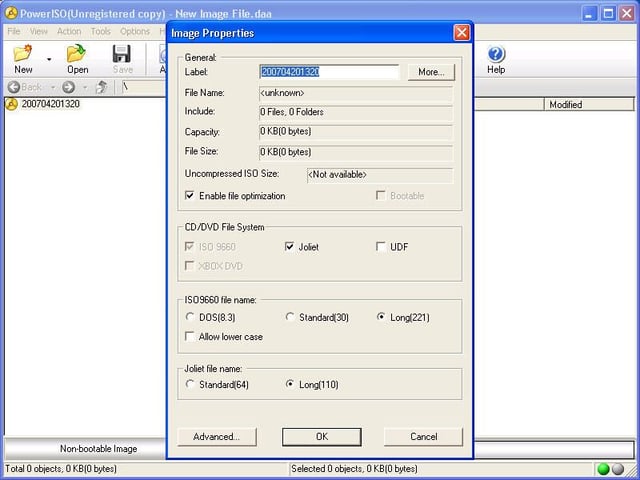
On the Image Properties screen you can modify a number of options including the label, file optimization, and file system. Some of these settings will effect filenames and compatibility with certain operating systems. The default settings will work fine for nearly all users. If a simple label isn’t adequate for your needs, click the More… button next to the label field.
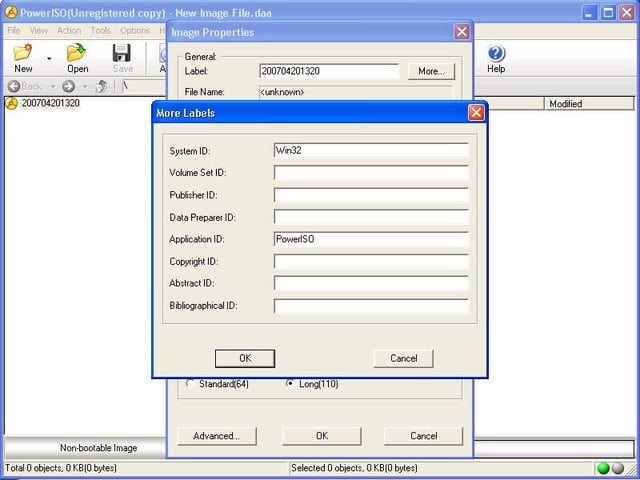
On the More Labels screen, you have room to add additional meta data if needed. When you are done with this screen, click OK, then click the Advanced button.
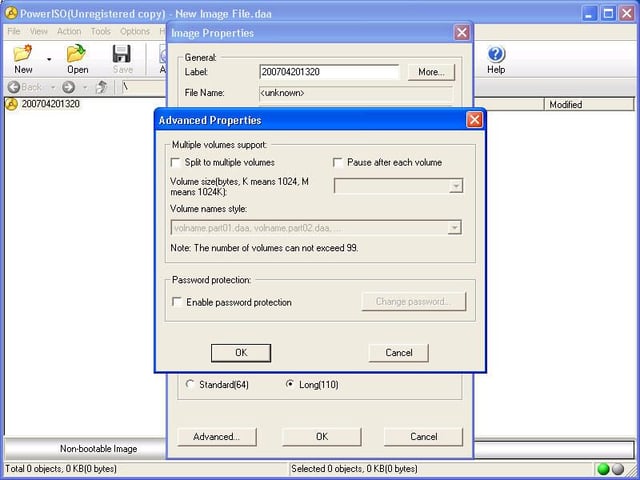
The advanced screen gives even more options to more courageous users.
Choose the DAA format when creating your image to span larger amounts of data over multiple images. The disadvantage to choosing the DAA format is that it is proprietary and can’t be read by any other software package. You may also specify a password for your image so that others cannot view your sensitive data.
When you’ve configured your image the way you want it, click OK, then OK again to return to the project browser screen.
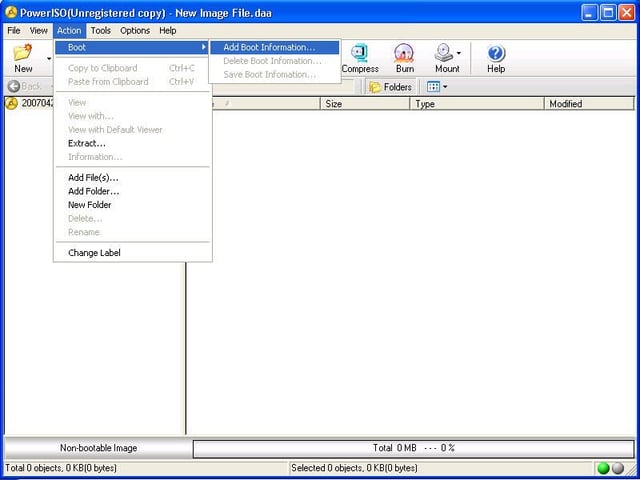
If you select Action | Boot | Add Boot Information, you will be presented with a screen where you may select boot information (.BIF) file. This will allow you to create a bootable CD. This is a very nice feature that many consumer burning suites lack.
What good is a CD image without some files?
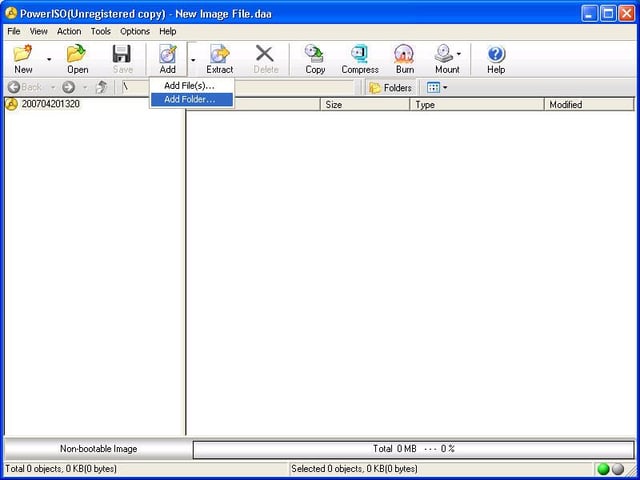
You may add files or folders to your image either through the Action menu or by selecting the drop down arrow next to the Add toolbar button. You can also add data by dragging and dropping files and folders into the left pane.
Let’s add some data to our project.
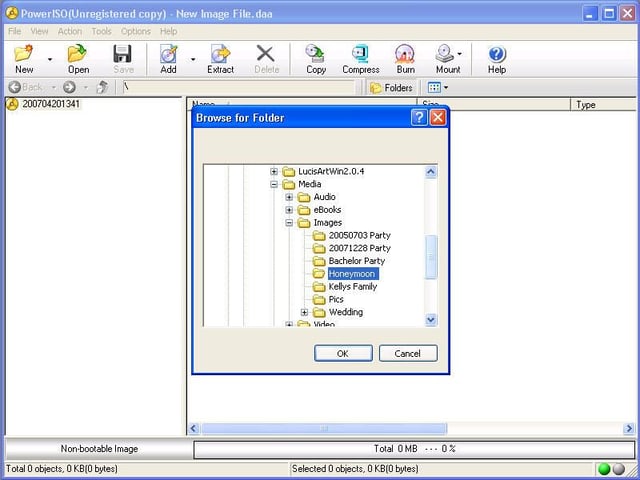
You may choose to add either files or folders. I chose to add a folder. Depending on which option you select, you’ll be presented with similar but slightly different dialog windows.
Select some data to add to your project and click OK.
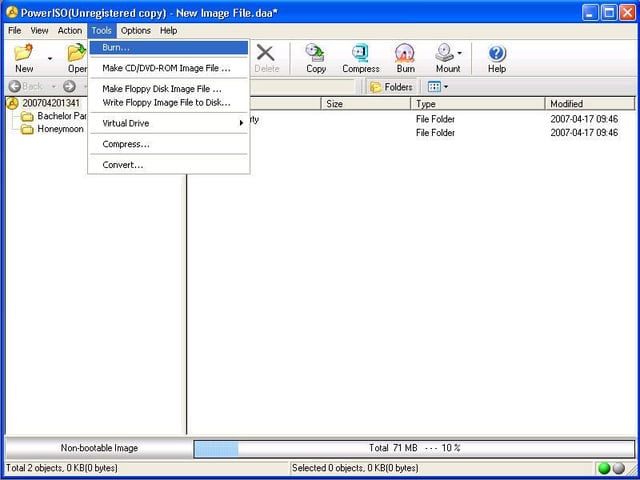
Once you’ve added all the data to your project, you must choose to either burn your image to some physical media or to create an image file on your local hard disk. I’ll walk through the options of each, starting with burning an actual CD.
Select Tools | Burn to burn your image to disc.
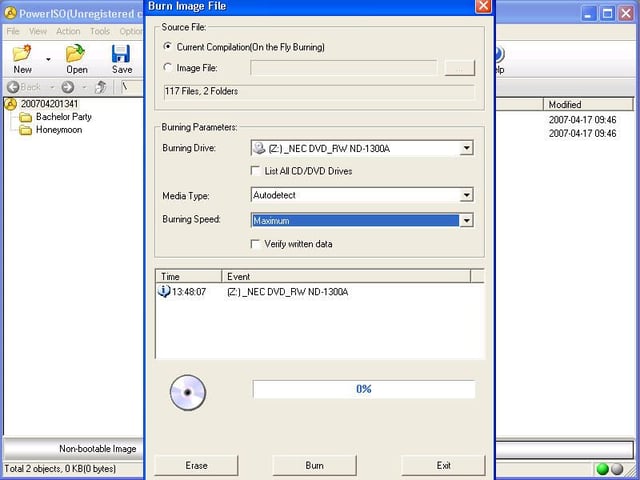
On the Burn Image File dialog you’ll see a few options that you can manipulate.
The Source File option is initially set to Current Compilation, choose this to write your new project to a CD. You would choose Image file to burn an existing image from your local hard disk.
Burning Parameters allows you to select a drive to write to as well as specify the media type and write speed.
Once you’ve set all your options, click the Burn button to start burning. This is where I ran into trouble. The first time I clicked burn, the application crashed to the desktop. It had been running for about an hour at this point as I walked through creating this gallery, creating screenshots and notating, so the crash may have been due to a memory problem. The second time I clicked it, after recreating my project, it burned a disc, but the disc was unreadable. Finally, on the third attempt, I got a disc that I was able to read properly in another machine.
There are a lot of variables in this test, not limited to the burner and operating system, so I can’t pin the burning problems on the software package for certain. However, it is cause concern.
The final option on this screen, the Erase button, allows you to erase a rewritable disc.
This is where this product shines. Many consumer burning suites don’t allow for creating images on the fly, or they limit image creation to ripping existing discs. PowerISO allows you to do the former or to simply create your own image from data or audio you have on your computer.
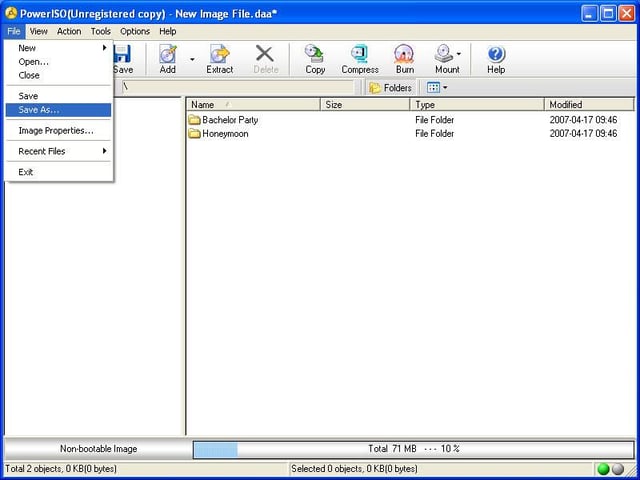
To save your project as an image to your local hard disc, simply select File | Save As.
I recommend choosing Save As for the sake of compatibility. Choosing Save will save the image in the proprietary PowerISO DAA format, and will not work properly in other CD/DVD emulation software packages.
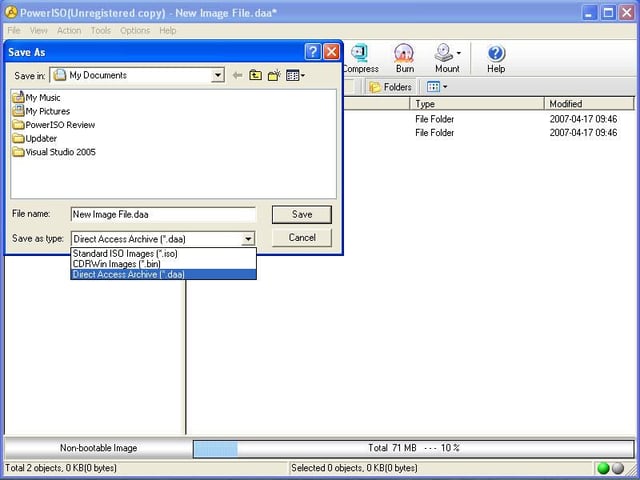
The familiar Save As dialog will pop up and allow you to chose a location and file name for your image. By default, PowerISO will save your image as a DAA file. If you need your image file to be compatible with other software packages, change the Save As type in the drop-down menu to .iso or .bin.
You have now created a CD/DVD image that can be loaded up on the fly or burned to a disc. Next, I’ll cover some of the remaining features of this product.
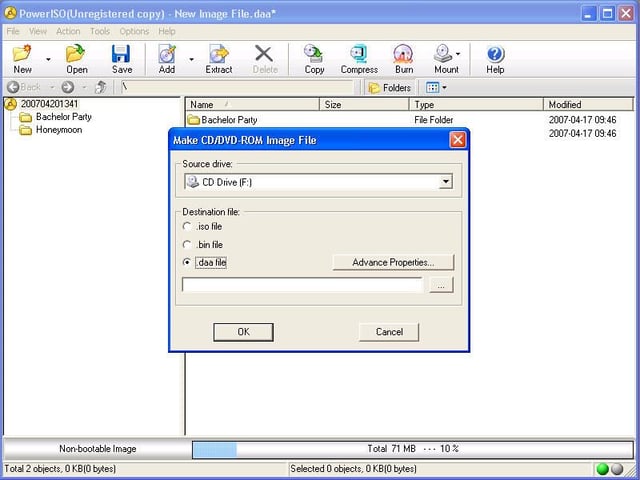
By choosing the Make CD/DVD-ROM image option from the Tools menu, you can create an image from an existing CD or DVD. Choose the Source Drive from the drop down and select the Destination file format and location.
If you choose the PowerISO DAA format, you’ll have some additional options to choose from. Click the Advanced Properties button or click OK and PowerISO will save the data from the source you selected to an image in the destination folder.
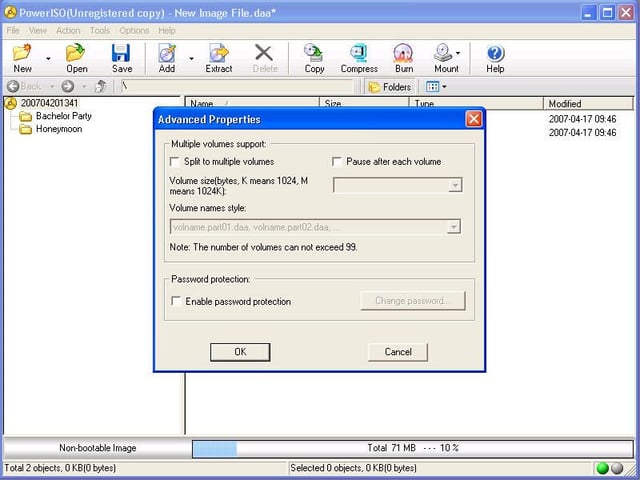
If you click the Advanced Properties button, you will see this screen. From here you can span large amounts of data over multiple images as well as supply a password to keep unwanted eyes from your sensitive data.
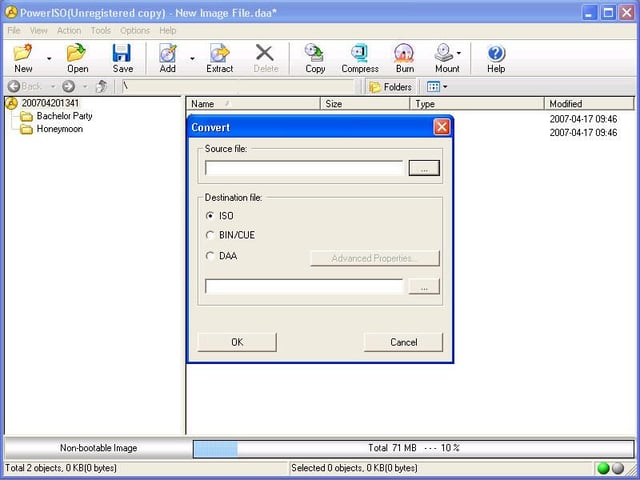
By choosing the Tools | Convert option, you can convert an existing image from one format to another. This feature seems useless to me but I suppose someone somewhere needs it. Simply select the image and the destination and click OK.
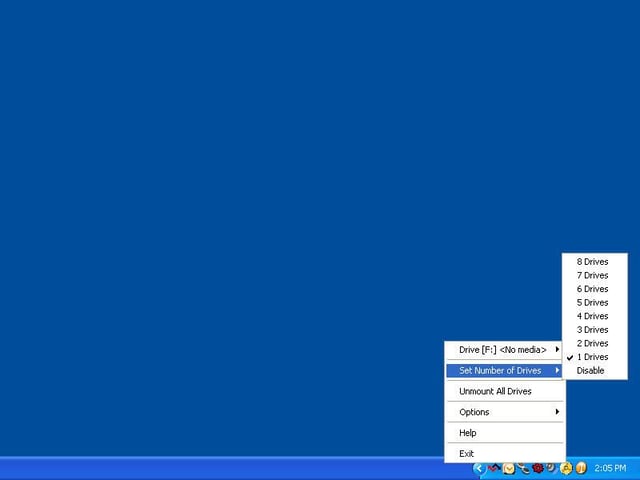
Once you’ve installed PowerISO and rebooted, you will see the Virtual Drive Manager (VDM) in the system tray. VDM allows for quick mounting and unmounting of images for you to use. This is a must for any tool of this type but is also identical to a tool that is available for free, Daemon Tools.
Right clicking on the icon and selecting Set Number of Drives allows you to change the number of drives that PowerISO will emulate on the fly.
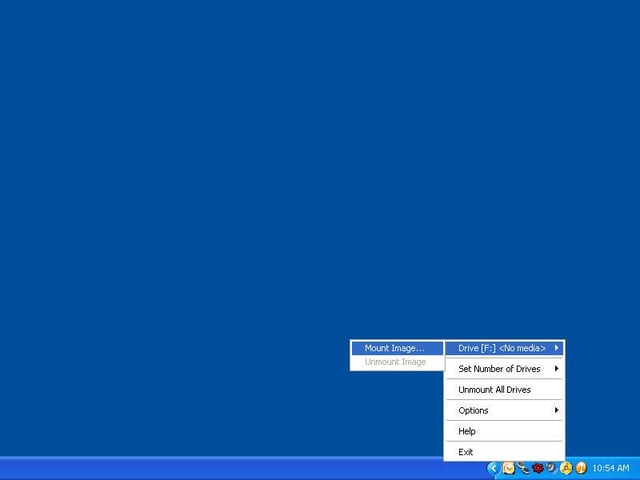
Using the selection shown, you can mount an image on the fly. When you click Mount Image you will see a dialog asking for an image file. Again, this mimics the functionality of the popular free software Daemon Tools.
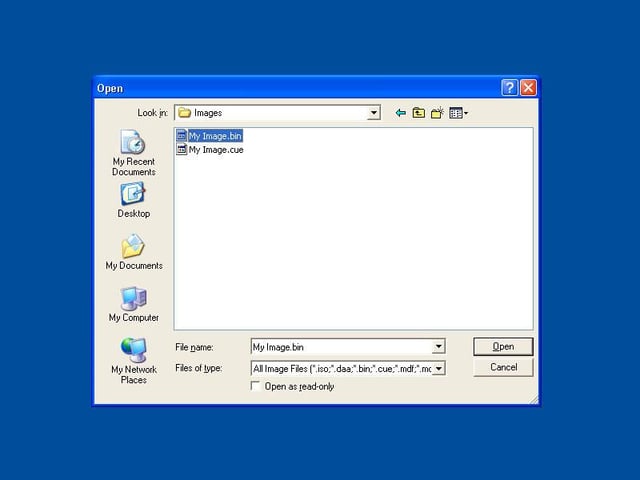
After selecting an image file and clicking OK, the image will load as though you placed the CD in the physical drive.
So, is PowerISO the Right Tool for the job? In the end, I found that PowerISO pretty much does what it says it will. I had some problems burning a disc, but I’m wary of putting that on PowerISO without more research. I will say that I wouldn’t be quick to recommend this software to the average user. Any user with a CD/DVD burner also has the burning software that came with it. And I found that, while PowerISO does burn CD/DVDs, it lacks many features that are common in the software packages that come with any retail burner worth its weight. The only features that I found PowerISO had that some packages lack are: 1) the ability to burn bootable discs; and 2) the ability to mount and unmount images to a virtual drive. The latter can be acquired for free with Daemon Tools. Couple these facts with PowerISO’s $29.95 price point and I find it hard to recommend this product.

ANTHONY SULLIVAN is a software developer working with primarily microsoft technologies. He has been developing web applications and software solutions for nearly 10 years using technologies such as C#, MSSQL, Oracle and ASP.NET. Currently he is a Senior Developer for Kindred Healthcare in Louisville, KY.
\
\
In addition, Anthony is currently working on a couple of projects involving XNA, the XBOX game development platform.
\
\
Anthony is also an accomplished photographer and spends a good deal of his downtime working on on artistic photography.


