Raspberry Pi: Essential add-ons for modders and everyday users
Image 1 of 12
TechRepublic has covered some pretty nifty hacks for the Raspberry Pi, the $40 credit card-sized Linux computer.
n
But the Pi ships as a bare board, and if you’re going to use the Pi to bark commands at a robot or sail an autonomous boat you’re going to need to invest in some extras.
n
To help you on your way TechRepublic has rounded-up the ultimate collection of add-ons for the Pi, from boards for controlling robots to keyboards and screens that let you use it on the move.
n
This round-up assumes you already have the basics – the power cables, memory card, basic keyboad and mouse and video leads – you need to get going with the Pi.
n
Note a lot of these accessories have been built by individuals or small teams, so expect a bit of a wait to receive them.
n
Gertboard
n
Before you build a mechanical butler you’re going to have to get to grips with the basics of using the Pi to control items in the real world.
n
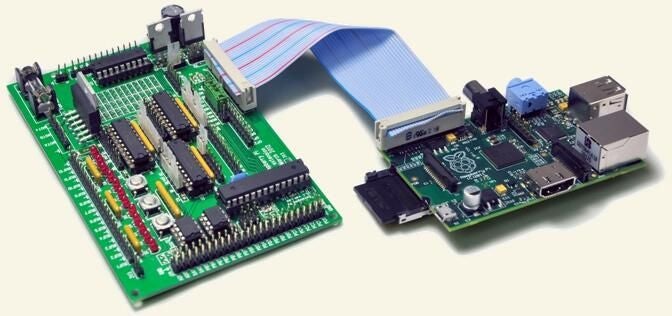
This is where the Gertboard comes in, a circuit board that not only allows your to use the Pi to interact with motors, sensors and lights but is designed to teach you how to do so.
n
The board has been designed to allow you to start with the simplest tasks when using the computer to control devices – beginning with reading whether a button on the board is pressed and flashing an LED, and working up to using the board to talk to items in the outside world.
n
Programmable directly from the Pi’s general purpose input-output port using the Atmel AVR software development kit, the board adds real-time sensing and control capabilities to the Pi.
n
As Liz Upton of the Raspberry Pi Foundation puts it, the Gertboard is great if you want to use your Raspberry Pi to drive motors, open doors, lift things, power robotics, sense temperature, switch devices on and off, flash lights or teach it to play the glockenspiel – basically to do anything really cool.
n
It comes with an assembly manual and a user manual, which also act as teaching guides, bundled with plenty of programs to show you how to put things together.
n
While the board ships with all of the components needed to connect to the Pi it does come in kit form, meaning you’re going to have to break out the soldering iron. No fear, as this guide points out, soldering is easy.
n
Gertboard is available through element14. Readers in the UK can order it here, Singapore and other Asia Pacific countries here; Australians here and Americans here.
n
Photo: Raspberry Pi Foundation
Pi-Face Digital
n
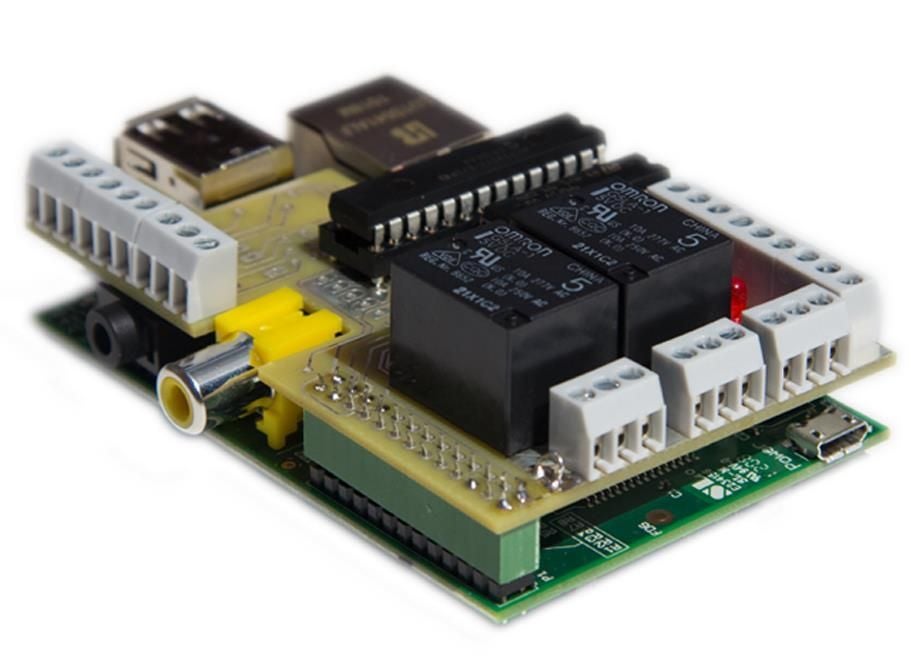
Another board designed to ease people into using the Pi to control the world around them is Pi-Face Digital.
n
The credit-card sized board allows users to write programs to control lights and motors, as welll as receiving data from sensors and switches.
n
Switches, LEDs and relays are already included on the board – so it can be used without soldering – and writing the code to control it is made easier by libraries in C and Python programming languages.
n
As an example of what the Pi-Face can do check out this video of a robot bird that reads the latest Tweets from a Twitter feed.
n
One word of warning, at present the board’s makers say users need to be familiar with coding if they want to use the board. However they are working on making it easier to control the board using Scratch, the simple drag and drop programming language designed by MIT for kids.
n
Mini-keyboard
n
This diminutive Pi is perfect for slipping in your pocket and hooking up to a TV or monitor.
n
But while video leads might be trivial to carry with you, lugging around a mouse and a keyboard to control the Pi is more of a hassle.
n
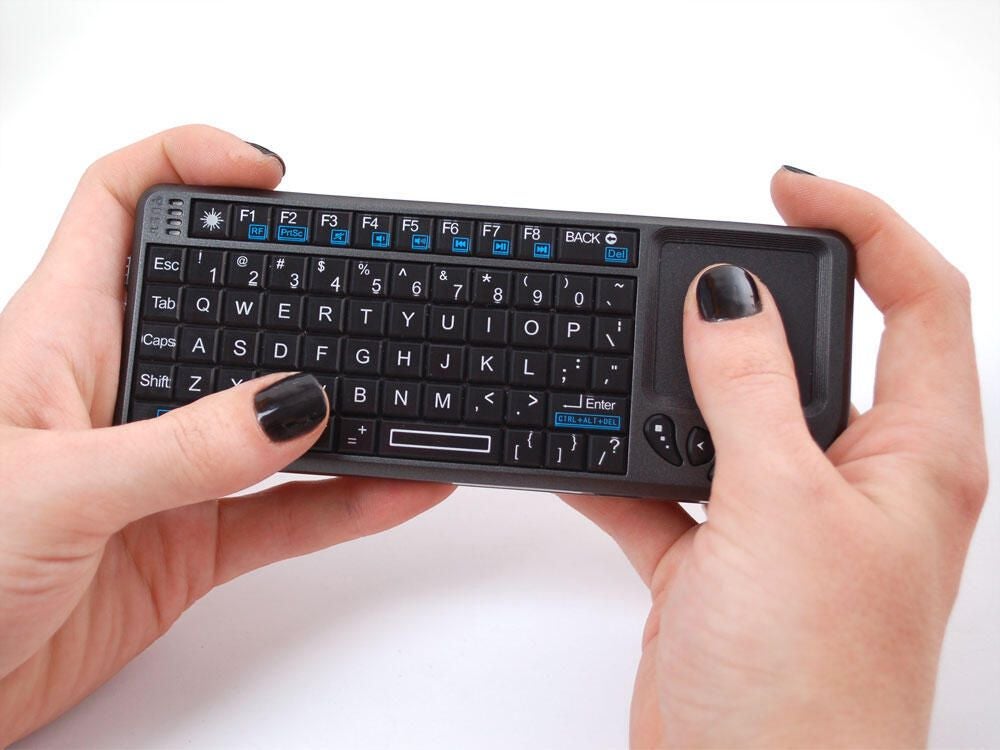
This is where this miniature controller comes in, a wireless keyboard and touch pad just six inches across that plugs into the Pi’s USB port.
n
The keyboard is battery powered and recharges via the USB.
n
Photo: Adafruit
Camera
n
Link the Pi to a camera and you can make anything from autonomous vehicles to wearable computers that observe the world around them.
n
An official camera module is expected to launch within the next couple of months, so keep an eye on the Raspberry Pi Foundation website for availability.
n
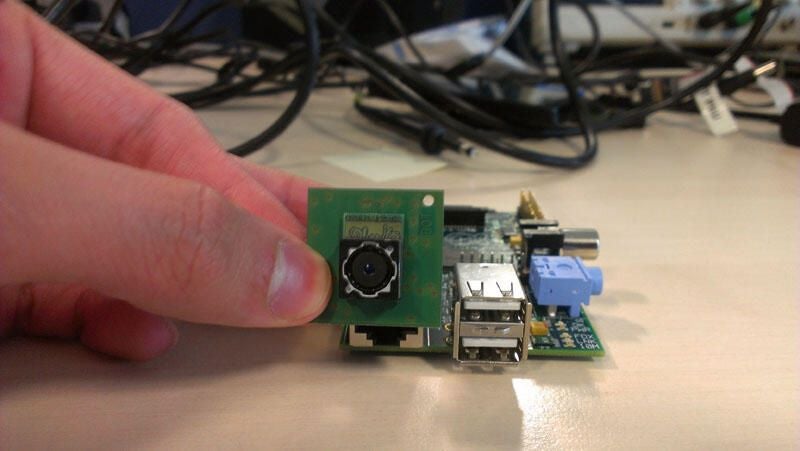
The finished camera is expected to be around five megapixels, capable of capturing stills and video and cost about $20 – $25.
n
The module should be able to capture 1080p video at 30 frames per second, as it will use the GPU for encoding. Users should be able to exert fine control over a wide range of image settings, including ISO and white balance, via software.
n
The tiny size of the module – a prototype of which is seen here – makes it ideal for some of the robotics and home automation applications people are working on.
n
While you wait for its release you might want to check out this list of USB webcams that work with the Pi, although their video will likely have a lower frame rate and be of a lower resolution than that captured by the module.
n
Photo: Raspberry Pi Foundation
Case
n
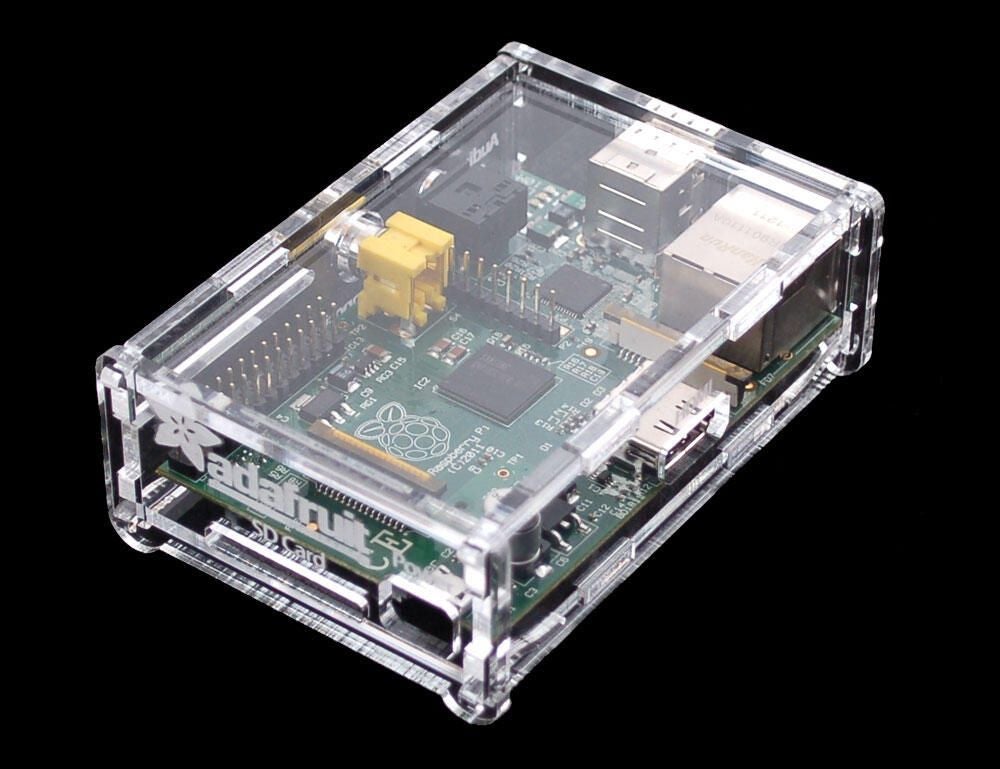
If you’re planning on carrying the Pi around or if those exposed chips make you nervous then you’ll probably want a case.
n
This clear acrylic case fits together with no screws and leaves space for all of the Pi’s various connectors.
n
The top of the case can be removed to connect additional boards to the Pi.
n
Photo: Adafruit
Portable display
n
What if you’ve got your Pi but no display to use with it.
n
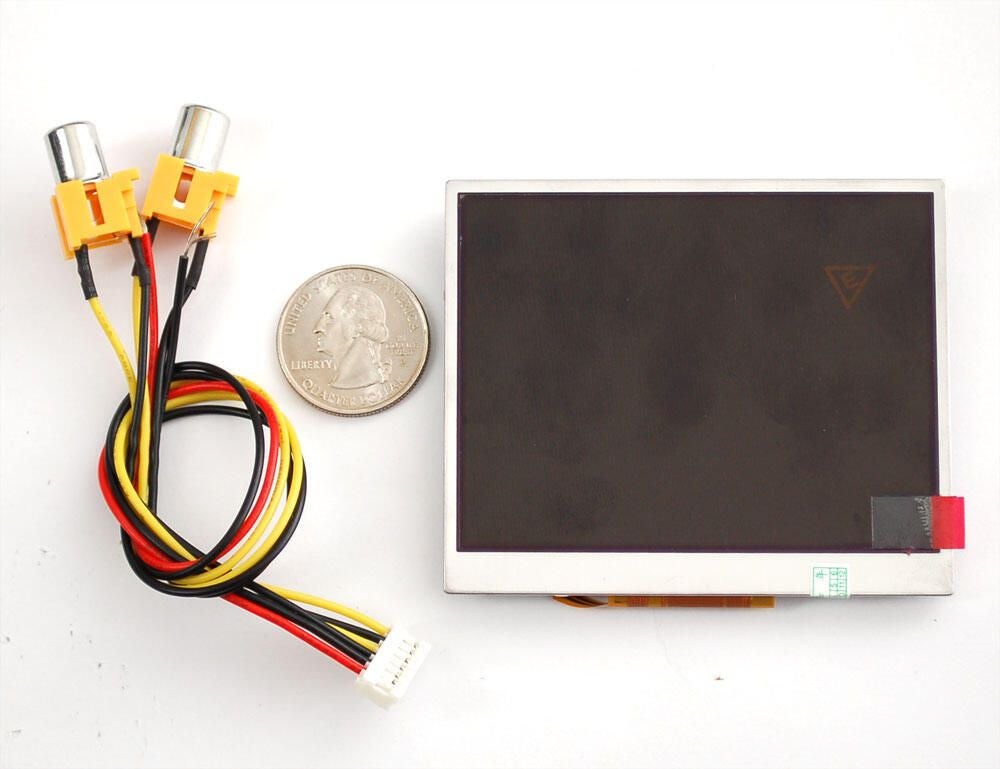
This tiny, 3.5 inch TFT screen can be hooked up to the Pi via composite – providing a pocket-sized display.
n
The display, which needs a separate power source, comes with three buttons for adjusting brightness, colour and contrast. The screen is rather delicate, however, so if you’re heavy-handed it might not be one for you.
n
Photo: Adafruit
Home automation kit
n
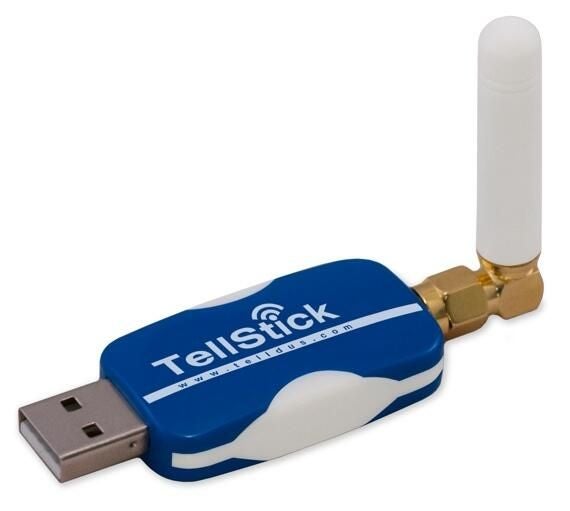
If you want a reasonably simple way to experiment with using the Pi to control your home check out the Tellstick.
n
The Telldus Tellstick is a USB transmitter that can be used to control electronics and lights around your home.
n
It works by sending a radio signal to wall-plugs with built-in receivers to switch them on and off.
n
With some coding it’s possible to set items around your home to turn on and off at certain times or power items up and down over the internet.
n
Code for setting up the Tellstick on the Pi – running Raspbian “Wheezy” 3.1.9+ – can be found here.
USB hub
n
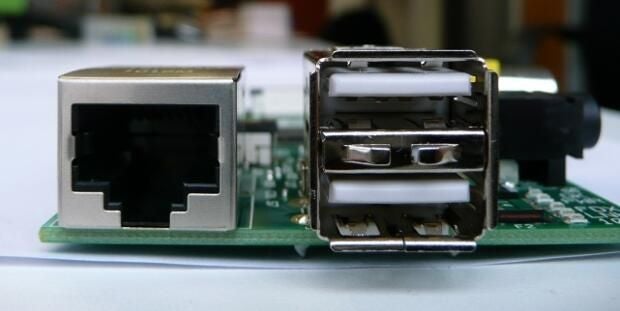
The Raspberry Pi only has two usable USB ports, so once you’ve plugged in a mouse and keyboard you will have used them all up.
n
A powered USB hub allows you to at least double the number of USB ports, and also to run certain power hungry USB peripherals that reportedly need a hub to work with the Pi.
n
Certain hubs have been found to cause the Pi problems but a list of hubs that are verified as working with the Pi can found here.
n
Photo: Nick Heath/TechRepublic
GPS receiver
n
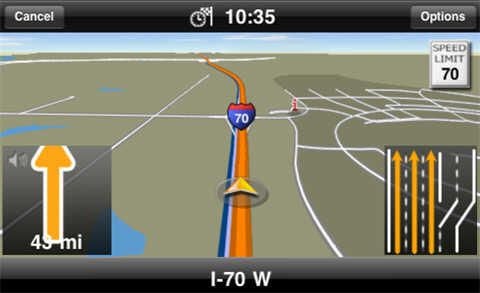
Hooking up a GPS to the Pi opens up a whole new avenue of opportunities, not least of which is building autonomous planes.
n
However getting a GPS to work with the Pi has proved problematic for many users.
n
Using a USB GPS receiver with a powered USB hub has worked for some users, rather than plugging it directly into the Pi, and there is a list of working GPS receivers here.
n
For anyone struggling to get one set up, this Raspberry Pi forum post contains tips on setting up a Bluenext GPS dongle with Linux, as well as a Python script for pulling co-ordinates from it.
Wi-fi adapter
n
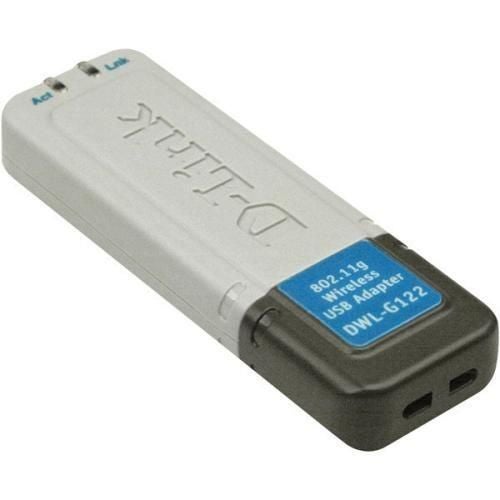
If you, or your significant other, isn’t a big fan of ethernet cabling snaking through the house you’ll want to hook the Pi up to wi-fi.
n
However getting wireless connectivity for the Raspberry Pi hasn’t been straightforward for some users.
n
Here is a list of wi-fi adapters that work with the board. If those don’t work try plugging the adapter into a powered USB hub, rather than directly into the Pi’s USB sockets, which has helped some users.
n
Others have complained about the complexity of setting up a wireless connection. There are guides for getting wi-fi working on Linux Debian – one of the most common Linux distros for the Pi – here and here. If you’re looking to get Bluetooth working with the Pi there’s also a list of working USB adapters here.
Missile launcher
n
A USB missile launcher is not an essential Pi add-on by any stretch of the imagination, but more of a why not?
n
Code to control these pocket-sized WMDs is available from a number of sources, for a Python script type apt-get install pymissile in the LX Terminal or for code written in C visit this project home page.
n
This particular rocket launcher is from KlearGear.com.
-
Account Information
Contact Nick Heath
- |
- See all of Nick's content
