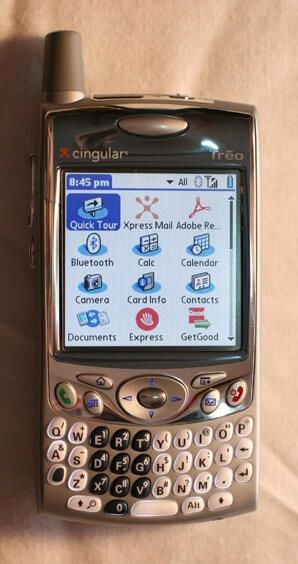
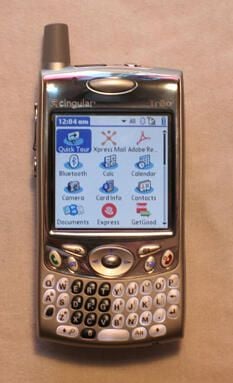
This $400 Palm Treo handheld was dropped once. Note the cracked case around the LCD. While minor, the crack was perfectly placed to scratch one’s cheek whenever talking on the phone.
In addition to the cracked faceplate, the phone also suffered a broken antenna. A genuine replacement housing from Mobile Brando (Hong Kong) cost $50, but retained every detail from the factory unit (including the Cingular logo).
By Erik Eckel
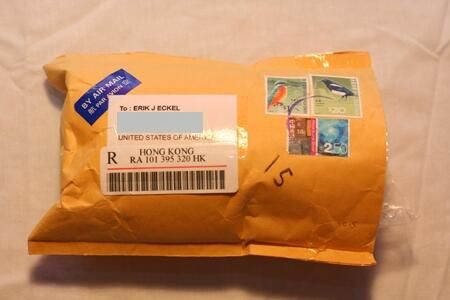
I was skeptical three-dollars shipping could cover postage all the way from Hong Kong, but it did. The replacement housing arrived well packaged and without incident.
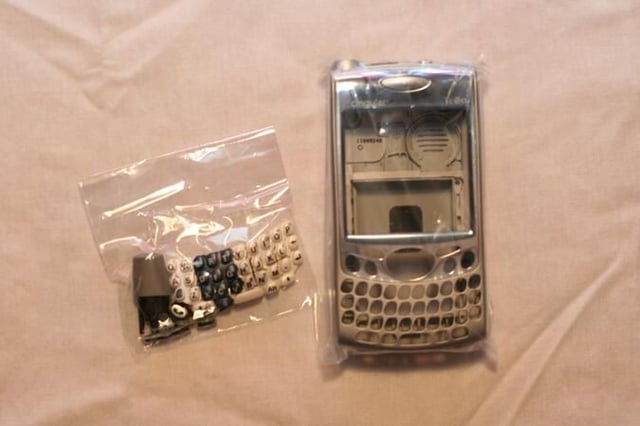
The replacement Palm Treo handheld’s housing included one front cover, one back cover, one battery cover, one middle chassis, a replacement antenna and keypads.
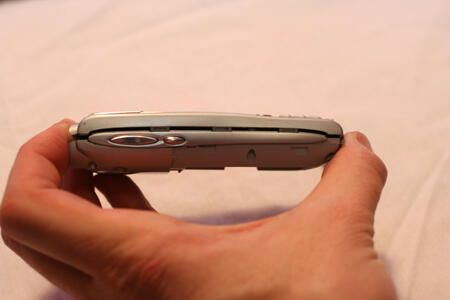
Out of the packaging, you can see the keyboard is actually a one-piece keypad. The same is true with the dialing/mouse controls.
Volume controls, shown below the antenna, are also included.
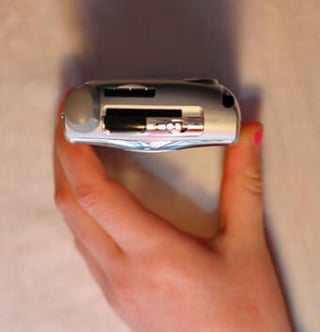
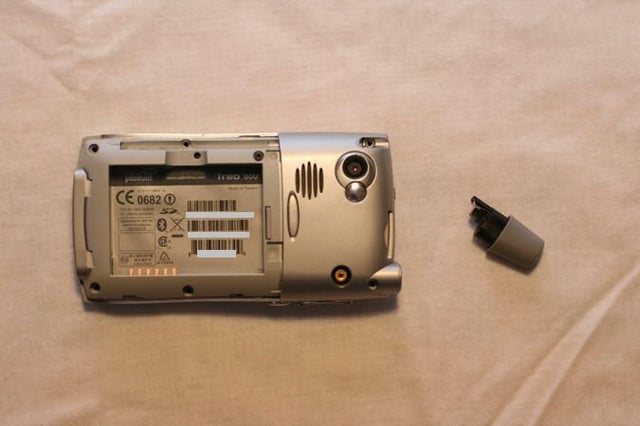
To replace the broken Palm Treo handheld’s housing, the first step involves removing the existing SIM card, stylus and memory card.
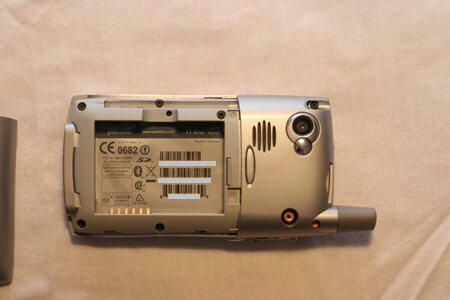
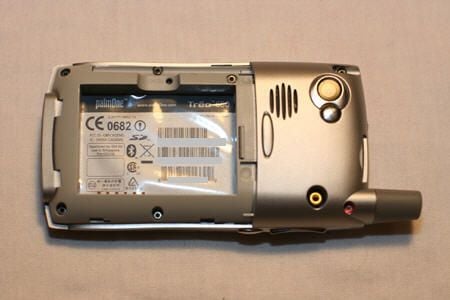
Next, remove the battery cover from the back of the unit.
With the battery removed, you’re ready to remove the seven screws that hold the front and back covers together. The screw removal requires a precision Torx bit or screwdriver.
Once the Torx screws are removed, the unit appears still fastened together. Internal clips, at this point, are all that bind the two covers. Separate them by sliding a fingernail between the seams.
Once the clips are freed, the front and back covers separate, with the middle chassis still attached to the back cover.
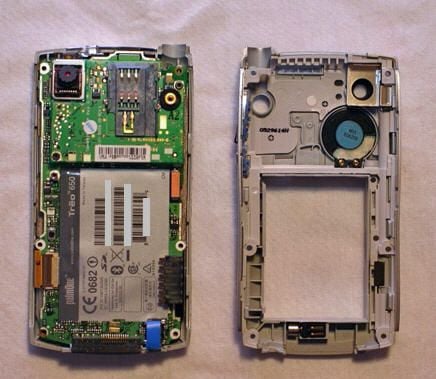
Here the front cover, with the phone’s internal circuitry, appear on the left, while the rear cover with its built-in vibrator and speaker, appear on the right.

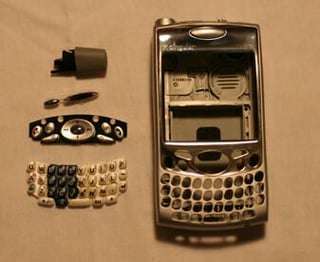
The old Palm Treo handheld’s housing appears on the left. The new Palm casing, awaiting transfer of the internal circuitry and installation of the new keypad and control keys, is pictured on the right.
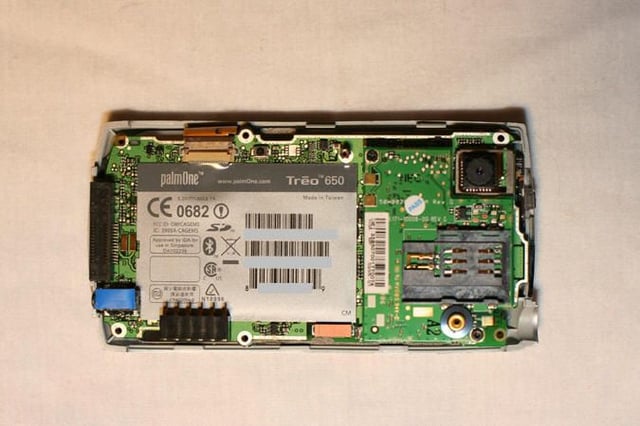
The old unit’s internal circuit board and LCD must be removed from the front cover in order to install them in the new casing.
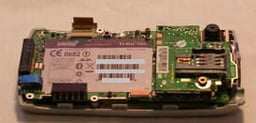
Begin the disassembly by disconnecting the flat ribbon cable (shown here at the top left of the image) from the circuit board. This ribbon cable connects the keypads to the main board, incidentally.
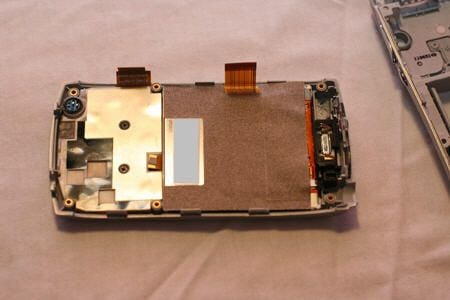
Once the flat ribbon cable is removed from above the batter compartment, the main board can be flipped over. Doing so reveals the backsides of the keypads and LCD screen.
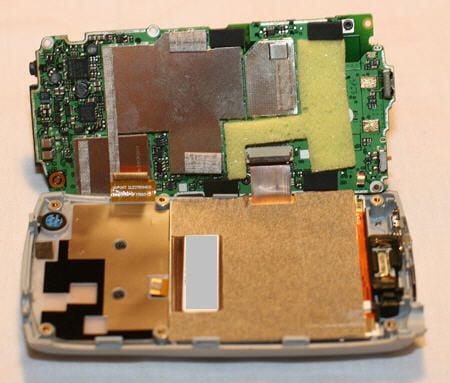
To separate the board from the LCD, you again have to remove a flat ribbon cable, which here is the cable connecting the main board to the LCD (pictured toward the middle right in this image).
Once the flat ribbon cables connecting the keypads and LCD screen are removed, the main board comes free.
Using a small precision Philips head screwdriver, remove the two screws that fasten the keypads to the front cover.
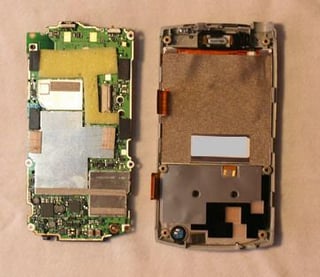
Place the internals from the old front cover inside the new replacement housing. Once the main board’s seated properly, refasten the ribbon cable that connects the keypads.
Pop out the old speaker/vibrator and LCD, place them in the new unit, then sandwich the halves back together. Insert and tighten the screws (saved from the old unit). Then pop the new antenna in place, taking care to secure it with the longest screw used in the assembly.
Following the installation of the replacement housing, the old Treo is like new. Gone are the irritating cracked faceplate and broken antenna.

Erik Eckel is a managing partner at Louisville Geek and president of Eckel Media Corp. He previously served as Executive Editor at TechRepublic. He received Microsoft Engineer accreditation from Sullivan University and earned his Bachelor's Degree in English from the University of Louisville. He's earned Network+, Windows NT 4.0 MCP+I and MCSE, and Windows 2000 Professional MCP accreditations.


