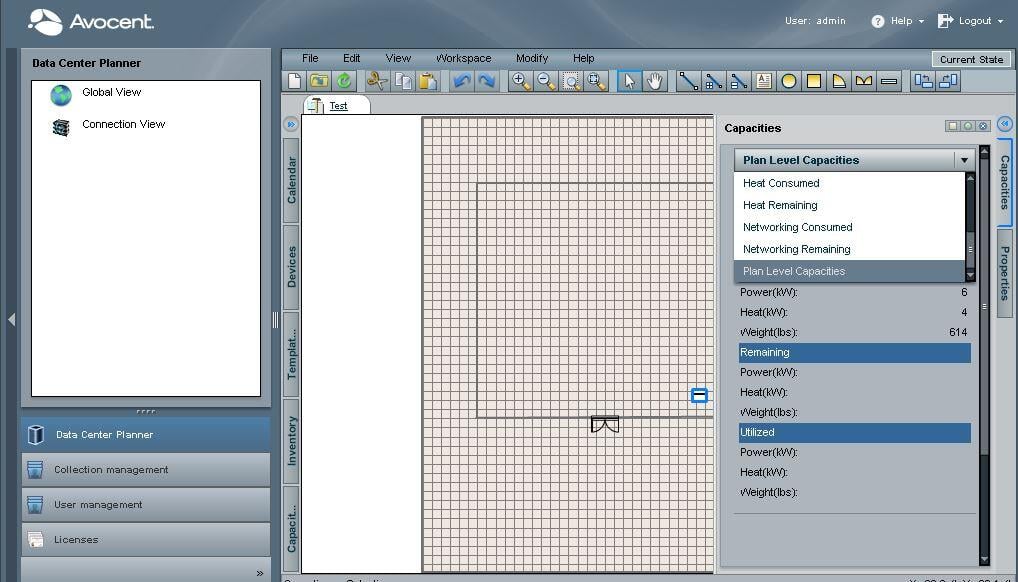
\n\tData Center Planner starts with a simple grid of a size of your choosing. There are tools to draw lines, rectangles, and circles as well as tools to add doors and windows. Once you have finished that, you can drop racks, PDUs, and other objects that take up space in a data center.

\n\tAfter placing racks in the floor space, you can double-click on a rack to view the contents of that rack. Other objects are available to drop into the rack such as switches, servers, and battery units.
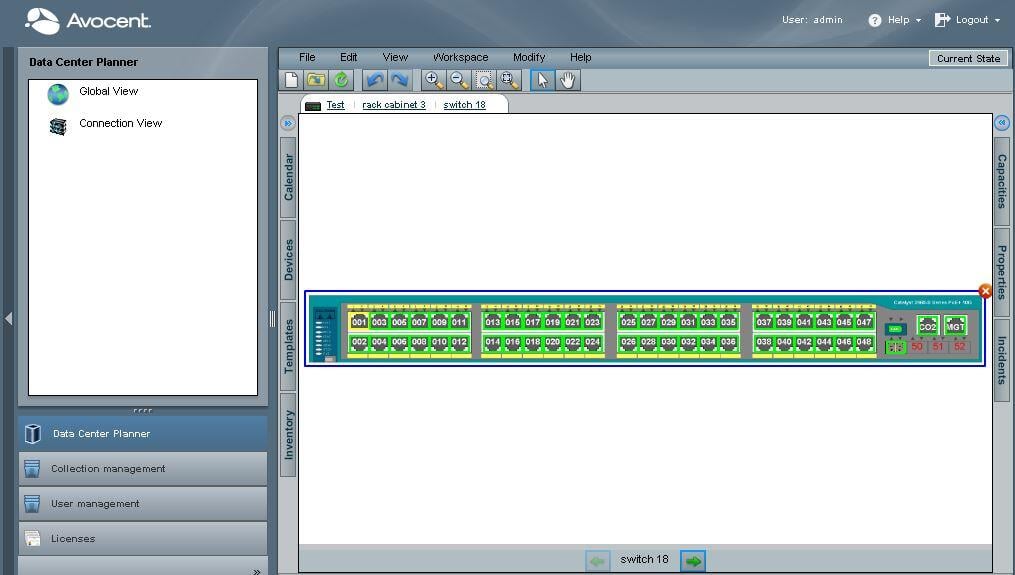
\n\tNext, double-clicking on a device will bring it to focus. Devices that contain empty bays, such as this Cisco 2960 switch, have further devices available, such as GBICs for ports 49-52.
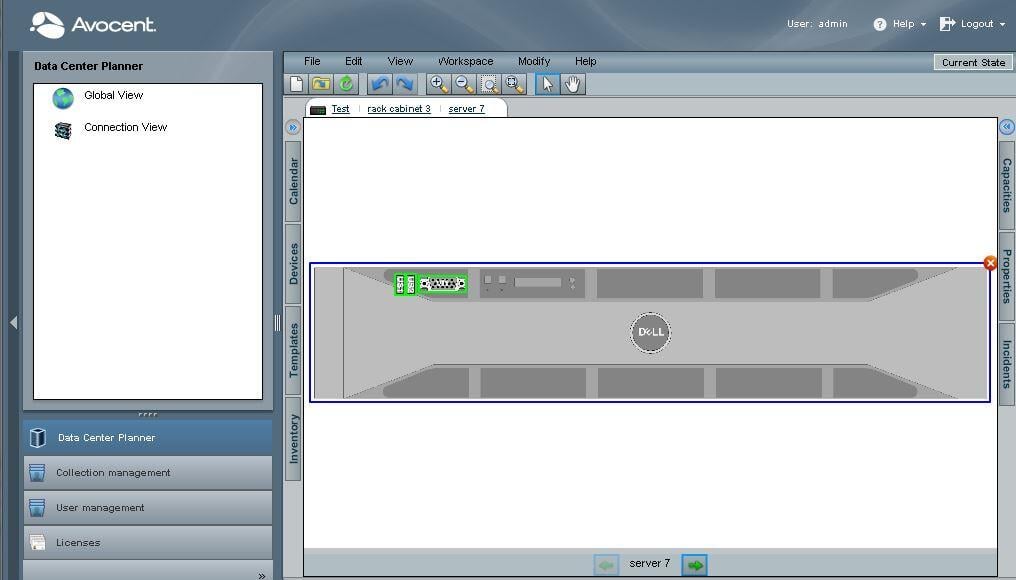
\n\tServers, such as this Dell server are rather sparse on the front but still have a couple of ports that are of interest. I was surprised that there did not appear to be a way to remove the faceplate within the software.
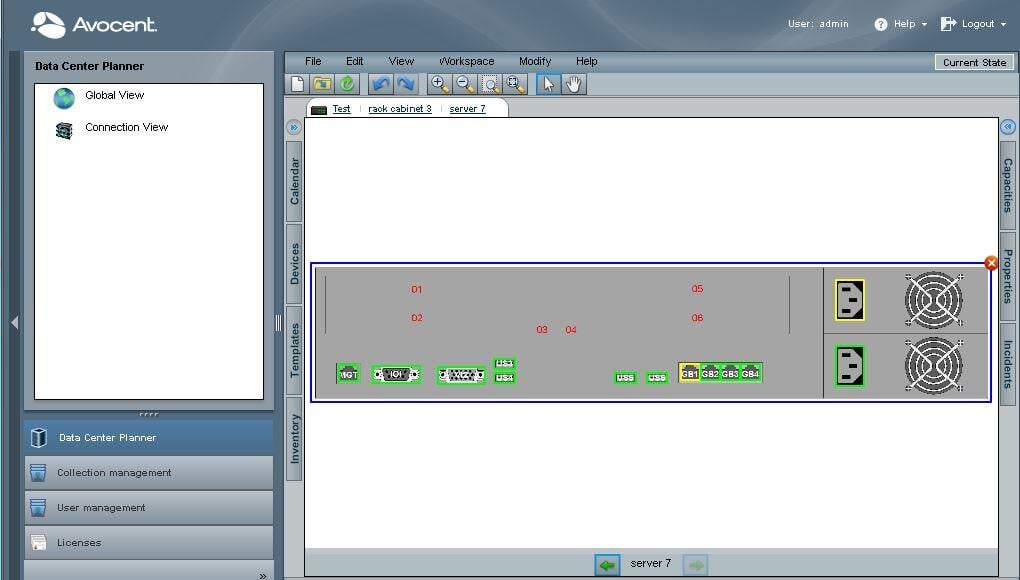
\n\tYou can, however, flip to the rear of the server (and other devices) to view the ports and other connections available there.
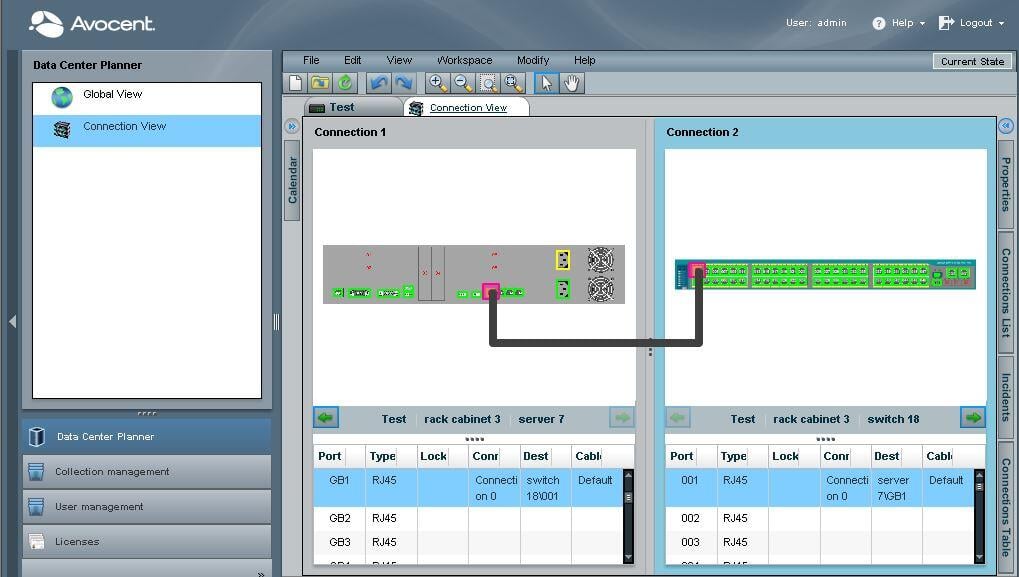
\n\tData Center Planner also allows you to draw the connections between the various devices. Ports involved in the currently-focused on connection are highlighted in red. Ports that are involved in other connections are yellow, alerting you that the port is spoken for.