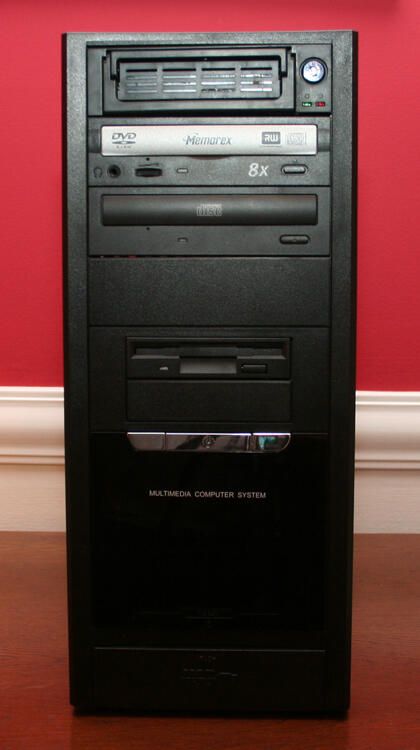
When deploying an Iomega ATAPI Rev Drive, the first decision you must make is where the drive will physically be installed. Select either a vacant 5.25 or 3.5 inch bay.
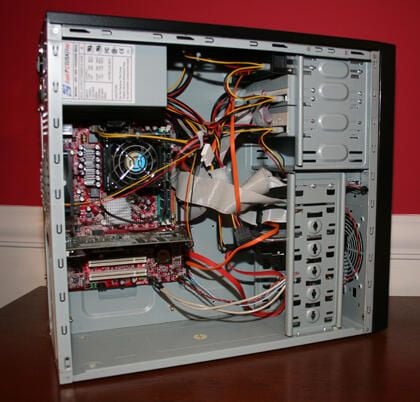
Once you’ve selected the drive bay location that will house the Iomega ATAPI Rev Drive, you must ensure a standard four-pin Molex power connector and IDE port are available.
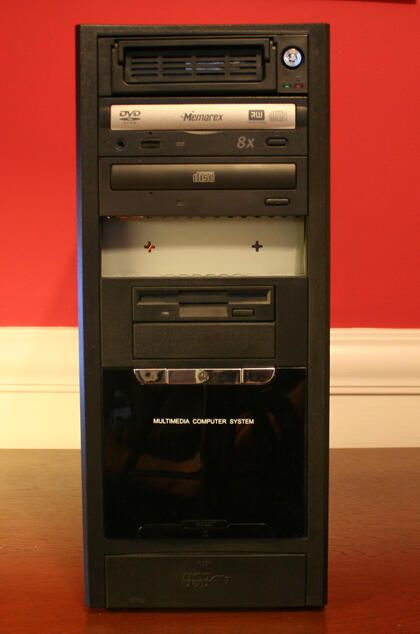
Once the drive bay location is determined, you’ll need to remove any decorative panel or bezel from the system.
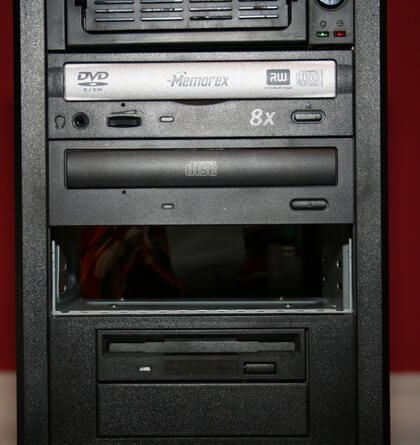
Once the decorative cover is removed, you’ll also need to remove the case’s metal plate. Upon removing the plate, the bay is empty and ready for the Iomega ATAPI Rev Drive.
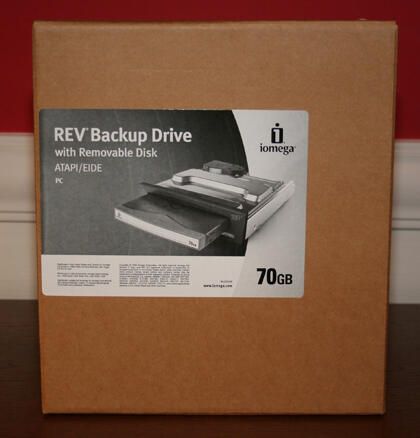
Iomega ATAPI Rev Drives ship in nondescript boxes. But everything you need is inside: the Rev drive, application software, mounting hardware and even a Rev disk.
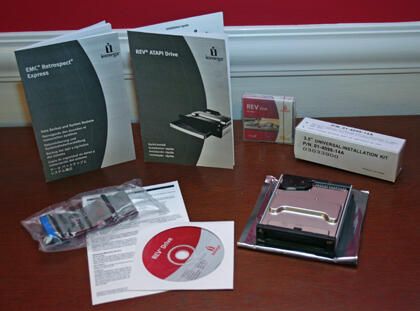
Here’s everything that ships with the Rev Backup drive (note Iomega even includes an IDE cable).

The Rev disk’s actual size makes it readily portable. Here you can see how big the Rev disk is in comparison to a common Treo.
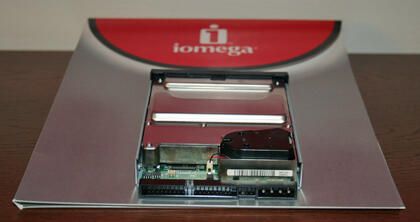
The ATAPI Rev drive contains a set of jumpers (Iomega recommends using the Cable Select setting), a four-pin Molex power port and a space for inserting an IDE cable.
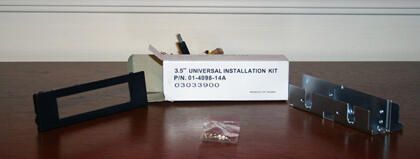
Iomega includes this 5.25-inch conversion kit for installing the Rev drive inside a 5.25-inch bay. No kit is required when installing the Rev drive in a 3.5-inch bay.
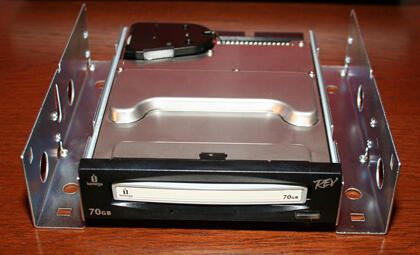
To place the Rev drive inside a 5.25-inch bay, begin by installing the supplied side rails.
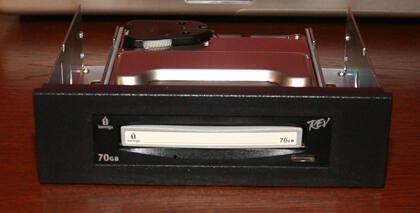
Once the side rails are installed, you’re ready to attach the face plate, as shown here.
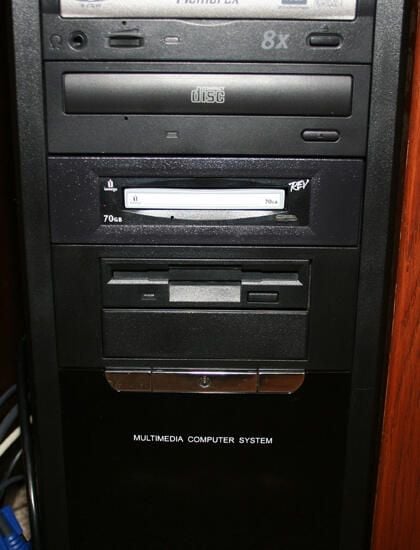
When installation is complete, the Rev drive, with Rev disk inserted, sits flush inside your PC or server’s tower case.
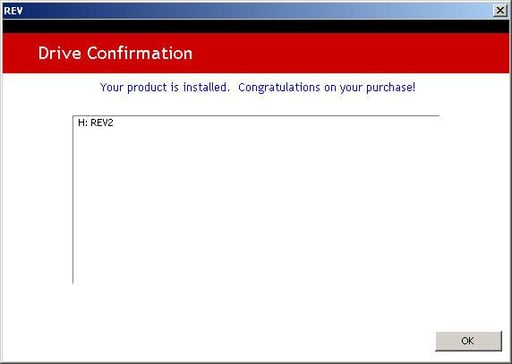
Upon rebooting, if the installation is completed properly the Iomega installation completes with this window. If the installation software cannot detect the Rev drive, a troubleshooting screen appears in place of this confirmation page.
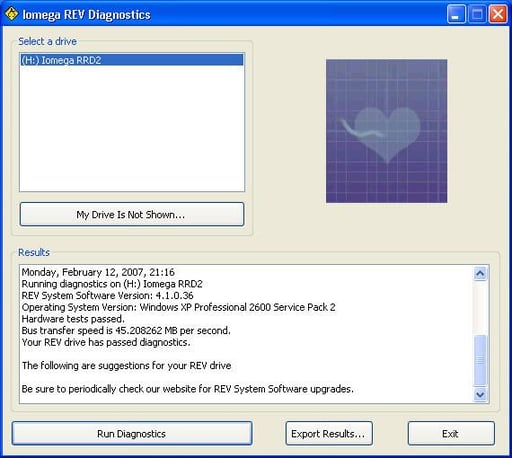
The included Iomega Rev Diagnostics tool to test Rev drives and associated media. The program also makes it possible to create log files that tabulate test results. This information proves valuable in troubleshooting errors and failures.

Erik Eckel is a managing partner at Louisville Geek and president of Eckel Media Corp. He previously served as Executive Editor at TechRepublic. He received Microsoft Engineer accreditation from Sullivan University and earned his Bachelor's Degree in English from the University of Louisville. He's earned Network+, Windows NT 4.0 MCP+I and MCSE, and Windows 2000 Professional MCP accreditations.


