
Users can create a free virtual machine-, Web-based environment for testing, demonstration, training and other purposes using CloudShare Pro. To create a new virtual environment, users need only click the Create A New Environment button found on the right side of the window shown here.
For a full review of CloudShare Pro, check out the TechRepublic Product Spotlight Blog.
Image created by Erik Eckel for TechRepublic.
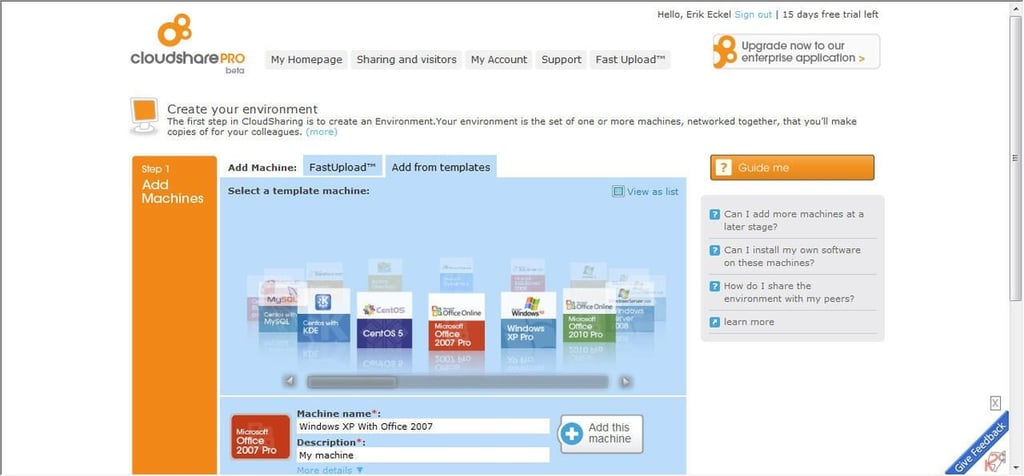
Users can load pre-existing virtual machines using the FastUpload option. Alternatively, CloudShare Pro members can create new virtual machines using predefined templates.
For a full review of CloudShare Pro, check out the TechRepublic Product Spotlight Blog.
Image created by Erik Eckel for TechRepublic.
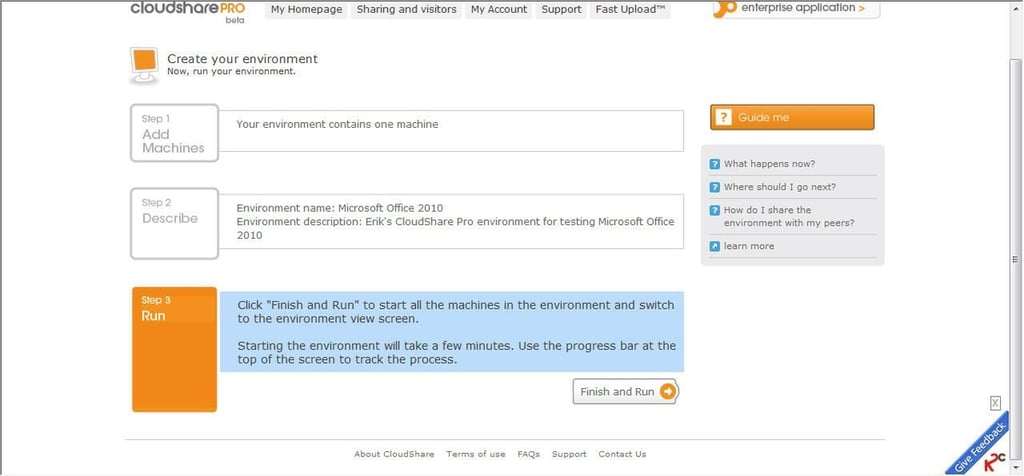
Once a user has selected a template or uploaded a virtual machine and provided a name and a description for the environment, the next step is to click the Finish & Run button, which can be seen here.
For a full review of CloudShare Pro, check out the TechRepublic Product Spotlight Blog.
Image created by Erik Eckel for TechRepublic.
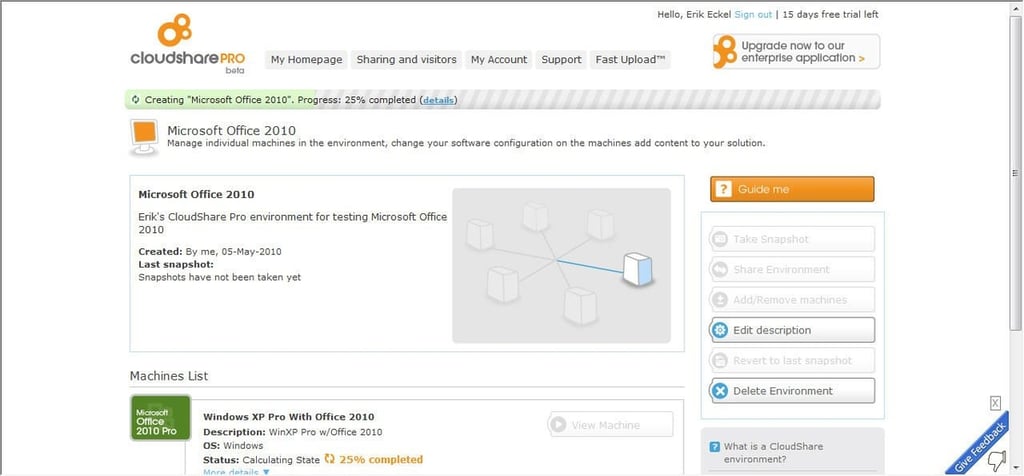
Once the user clicks the Finish & Run button, CloudShare Pro begins creating the virtual machine environment.
For a full review of CloudShare Pro, check out the TechRepublic Product Spotlight Blog.
Image created by Erik Eckel for TechRepublic.
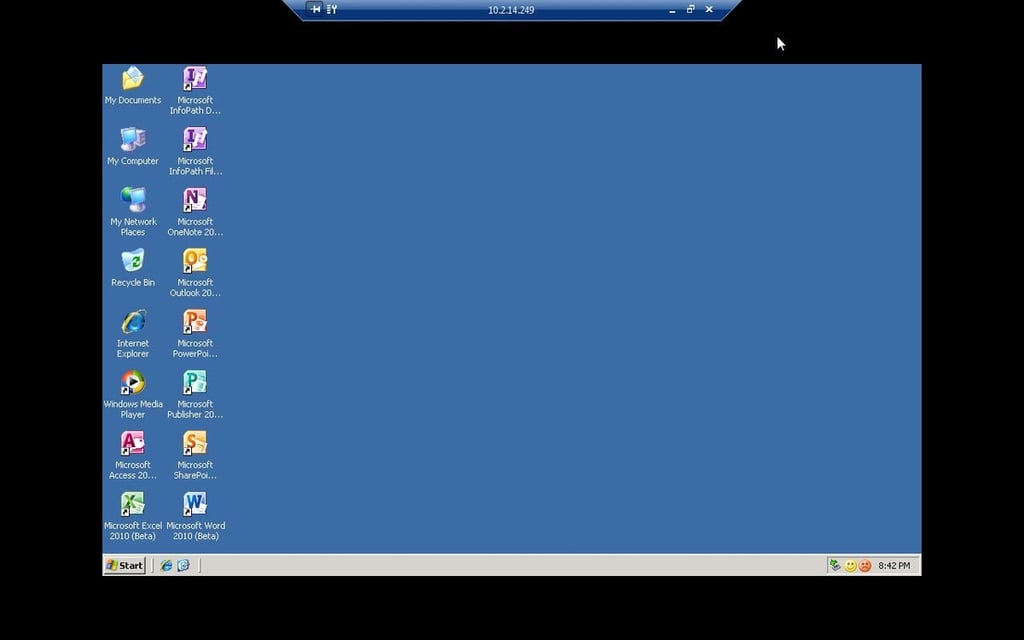
Once the virtual machine is complete, users can access the desktop as if connecting using RDP. Here you can see a Windows XP Professional (Service Pack 3) environment, from a preexisting template, that includes Microsoft Office 2010.
For a full review of CloudShare Pro, check out the TechRepublic Product Spotlight Blog.
Image created by Erik Eckel for TechRepublic.

Erik Eckel is a managing partner at Louisville Geek and president of Eckel Media Corp. He previously served as Executive Editor at TechRepublic. He received Microsoft Engineer accreditation from Sullivan University and earned his Bachelor's Degree in English from the University of Louisville. He's earned Network+, Windows NT 4.0 MCP+I and MCSE, and Windows 2000 Professional MCP accreditations.


