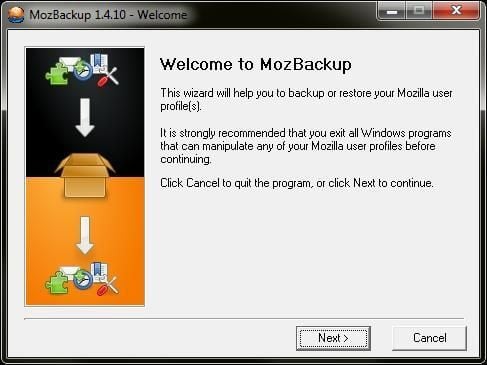
Download, install and run the MozBackup 1.4.10 file and you will see the Welcome screen.
For a full review of MozBackup, check out the TechRepublic Product Spotlight Blog.
Image created by Alan Norton for TechRepublic.

Select the operation to perform, Backup a profile or Restore a profile. The installed applications that MozBackup supports will be listed. Select the application that you want to backup or restore. In this example I will back up a profile for Thunderbird.
For a full review of MozBackup, check out the TechRepublic Product Spotlight Blog.
Image created by Alan Norton for TechRepublic.
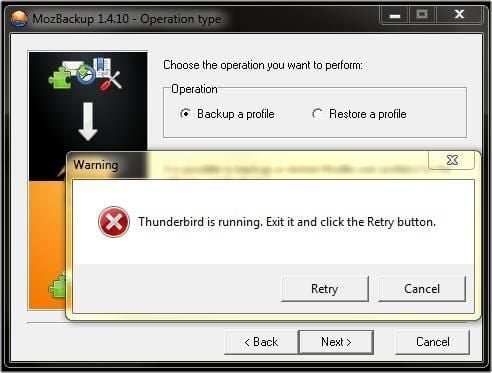
If the application is open you must close it before backing up or restoring a profile.
For a full review of MozBackup, check out the TechRepublic Product Spotlight Blog.
Image created by Alan Norton for TechRepublic.
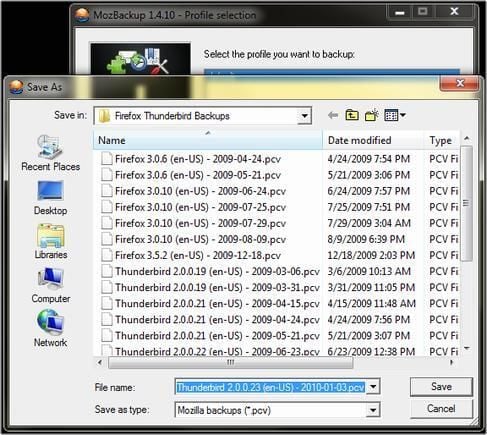
Click the Browse… button to choose the backup directory. The default file name will be the application name, version and current date. Modify the default file name if wanted. Click the Save button. Click the Next> button when done.
For a full review of MozBackup, check out the TechRepublic Product Spotlight Blog.
Image created by Alan Norton for TechRepublic.
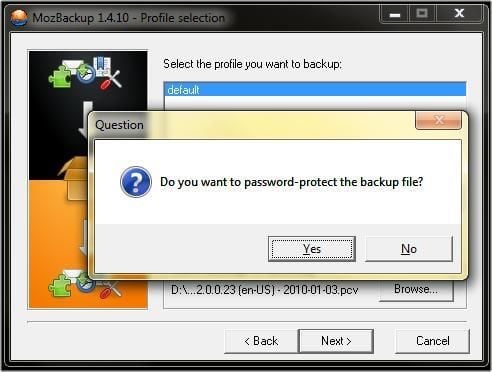
You can password protect the saved file. This requires, of course, the additional safe keeping of the password you choose.
For a full review of MozBackup, check out the TechRepublic Product Spotlight Blog.
Image created by Alan Norton for TechRepublic.
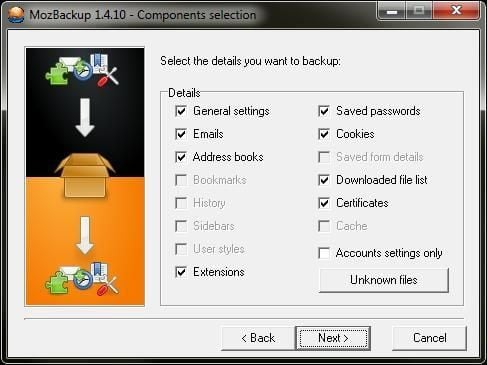
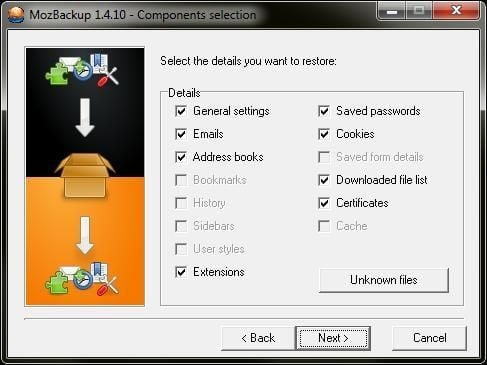
Note: This screen may be different depending on the application chosen in the ‘Operation type’ screen. The details will be enabled or disabled depending on the application that you are backing up.
All enabled items will be selected by default except for Accounts settings only. Uncheck any components that you do not want to backup.
For a full review of MozBackup, check out the TechRepublic Product Spotlight Blog.
Image created by Alan Norton for TechRepublic.
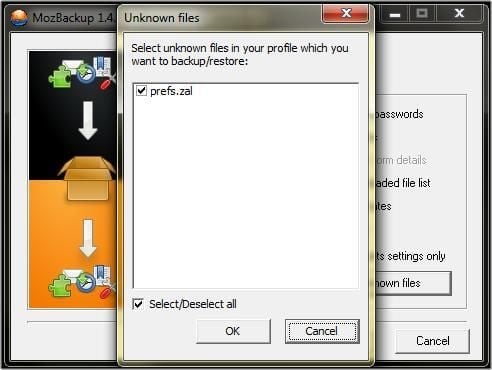
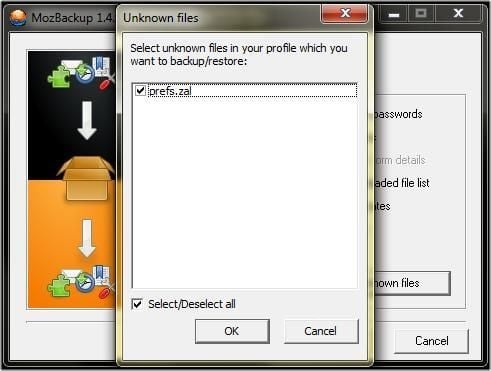
If there are additional files that you want to add to the backup click the Unknown files button and this window will open. Click OK to add the files in the list or Cancel to abort. The Unknown files window should close. Clicking the Next> button on the Components selection screen will start the backup process.
For a full review of MozBackup, check out the TechRepublic Product Spotlight Blog.
Image created by Alan Norton for TechRepublic.

Note: Before restoring a profile you should have the application (Firefox, Thunderbird, etc.) already installed and should have run it at least once.
Now let’s restore a profile. Select the Restore a profile radio button and select the application. Please note that like the backup operation, the application you select cannot be running. I will be restoring a Thunderbird profile in this example. Click the Next> button when done.
For a full review of MozBackup, check out the TechRepublic Product Spotlight Blog.
Image created by Alan Norton for TechRepublic.
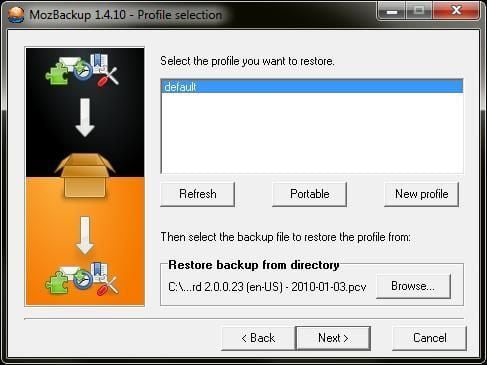
Select the profile to backup, normally default. I was unable to create a new profile using the New profile button. Refer to the Mozilla Profile Manager Web page for instructions how you can create a new profile.
Important! If you have multiple profiles, be sure that you select the appropriate profile before moving to the next screen.
For a full review of MozBackup, check out the TechRepublic Product Spotlight Blog.
Image created by Alan Norton for TechRepublic.
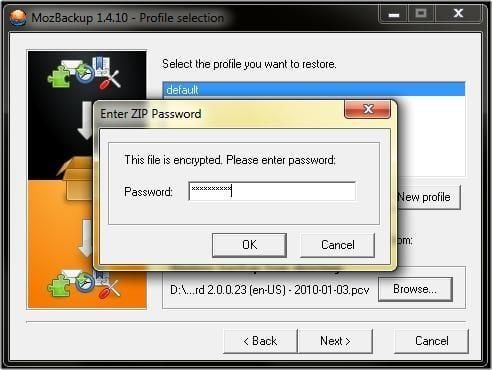
If the PCV file is password protected you will be asked to provide the password before you can continue.
For a full review of MozBackup, check out the TechRepublic Product Spotlight Blog.
Image created by Alan Norton for TechRepublic.
Note: This screen may be different depending on the application chosen in the ‘Operation type’ screen. The details will be enabled or disabled depending on the application profile that you are restoring.
All enabled items will be selected by default. Uncheck any components that you do not want to restore.
For a full review of MozBackup, check out the TechRepublic Product Spotlight Blog.
Image created by Alan Norton for TechRepublic.
If there are additional files that you want to select click the Unknown files button. Click the Next> button when done.
For a full review of MozBackup, check out the TechRepublic Product Spotlight Blog.
Image created by Alan Norton for TechRepublic.
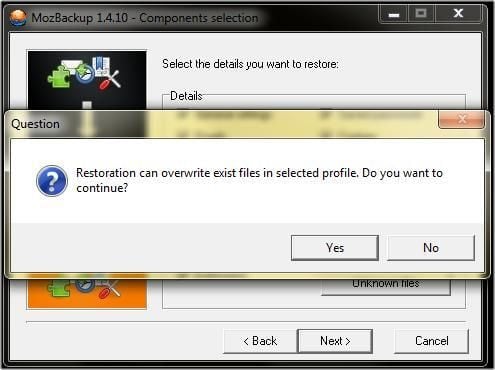
As mentioned earlier, restoring a profile will overwrite existing profile information including emails and bookmarks, if selected and applicable. Be sure you understand the consequences before clicking the Yes button!
For a full review of MozBackup, check out the TechRepublic Product Spotlight Blog.
Image created by Alan Norton for TechRepublic.
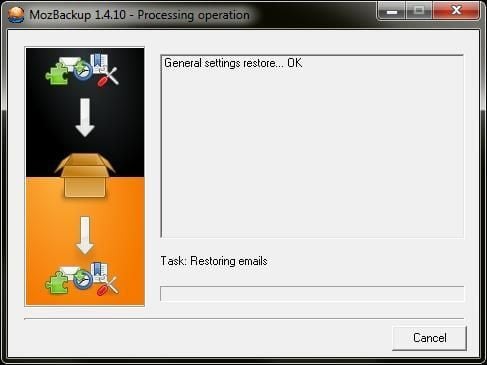
A list showing the components that are being restored will be shown. The status will be shown in the status bar at the bottom of the screen.
For a full review of MozBackup, check out the TechRepublic Product Spotlight Blog.
Image created by Alan Norton for TechRepublic.
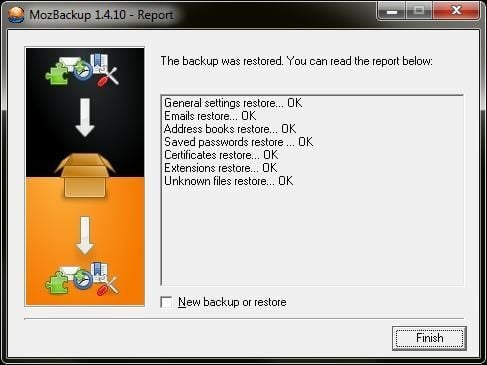
A status of the previous operation will be listed. Click the Finish button when the installation is complete or check the New backup or restore check box.
For a full review of MozBackup, check out the TechRepublic Product Spotlight Blog.
Image created by Alan Norton for TechRepublic.
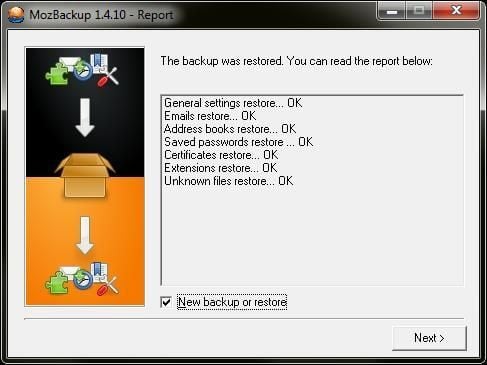
Click the New backup or restore check box to perform another operation and click the Next button.
For a full review of MozBackup, check out the TechRepublic Product Spotlight Blog.
Image created by Alan Norton for TechRepublic.

You can contact me at mail@pecos-softwareworks.com. I began my career as little more than a data retrieval and reporting person. Early in my career I did whatever I could to be productive, creating spreadsheets in Framework and charts in GraphWriter. I was PC oriented and soon learned how to tap into the data on the mainframe to produce the charts via a data download to the PC. I found a niche building client/server systems where I was responsible for each phase of the project life cycle. \ \ I am fortunate to have enjoyed a broad background in IT including interfacing PC's and shop floor insertion machines to the mainframe database. I have also been an independent contractor, perhaps the most satisfying part of my career. I transitioned several mid-frame systems to a PC network based Access/Visual Basic system in the contract position and learned what it takes to be successful on your own. \ \ My last position was an analyst/programmer for a large IT service provider in support of their global help desk reporting team including a role as project lead. \ \ I consider myself lucky to have been in at the beginning of the personal computer revolution. I am currently semi-retired and learning a new skill, professional writing.


