The top 10 projects to try out with your Raspberry Pi 3
Image 1 of 10
\N
If you snapped up one of the more than 200,000 Raspberry Pi 3’s available at launch, you might be wondering just what you can do with a $35 computer.
Here are 10 projects to get you going with the Pi 3 – some that make the most of the board’s more capable hardware, some that are classic uses for the Pi and others that are just plain fun.
1. Build a classic games emulator
The Pi has always been home to a large number of arcade and console emulators and with the Pi 3’s leap in power, the machine can now serve up the finest games of the late 90s.
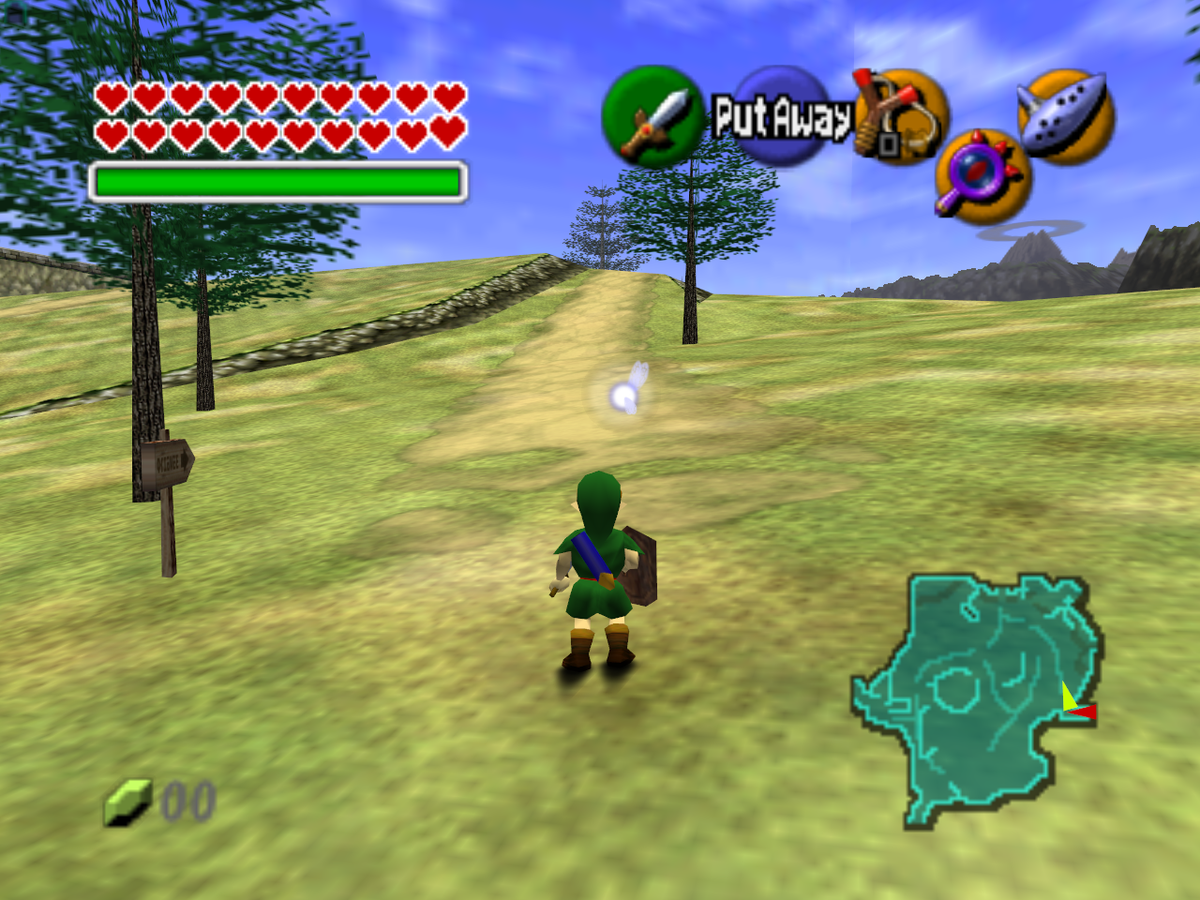
The Pi 3 reportedly has the chops to comfortably run beloved 3D titles like the Zelda RPG Ocarina of Time on the N64, Soul Caliber on the Dreamcast and Tekken 3 on the Playstation 1.
It’s not just console, arcade games such as N.A.R.C and SmashTV are apparently running at 100 percent performance on the Pi 3, as are venerable LucasArts PC hits X-Wing and X-Wing vs Tie Fighter.
Numerous emulators are available for the Pi but you can get started with something like the RetroPie – the Raspberry Pi version of the multi-system emulator RetroArch – for emulating Playstation 1, N64, Atari and classic PC titles and Reicast for emulating the Sega Dreamcast.

2. Build a network of Raspberry Pis
2. Build a network of Raspberry Pis
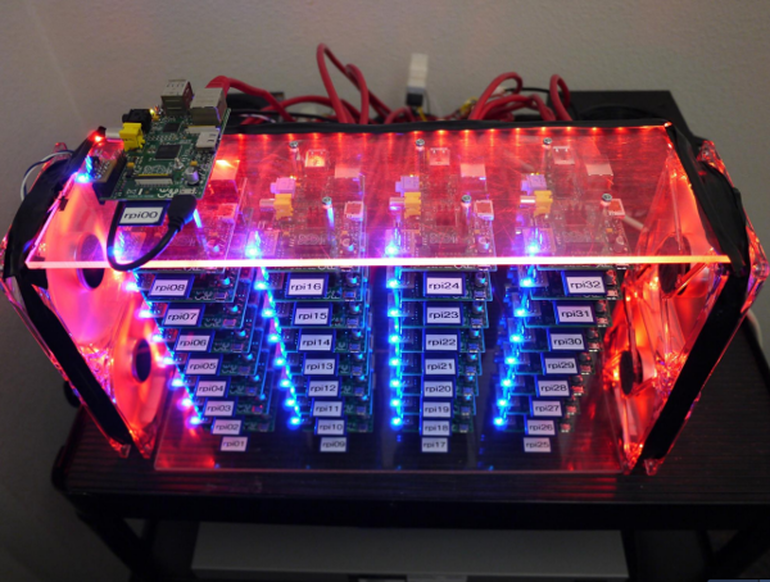
The process of managing a network of Pi machines – say to use as thin client desktops – is about to get a lot easier with the Pi 3.
The Pi 3 adds the ability to boot directly from USB-attached or network-attached storage, without requiring boot information on the microSD card.
The addition of network booting will make it simpler to troubleshoot and reconfigure large numbers of Pis from a central hub.
The Pi 3’s ability to boot from USB and network-attached storage will be enabled by a future firmware update.


3. Get the full version of Minecraft up and running
3. Get the full version of Minecraft up and running
With a bit of tweaking here and overclocking there, the Raspberry Pi 2 could run the full version of Minecraft but not terribly well.
With the release of the Pi 3 – the full fat version of the wildly popular craft-em up – can run comfortably on the Pi.
While the Pi runs a cut-down version of Minecraft – known as Minecraft Pi – following this guide will let you get the unfettered version of Minecraft up and running.
Users have been showing off this version of Minecraft running at a perfectly playable 30 FPS on the Pi 3.

4. Boot up Android or Chrome OS' open source cousin
4. Boot up Android or Chrome OS' open source cousin
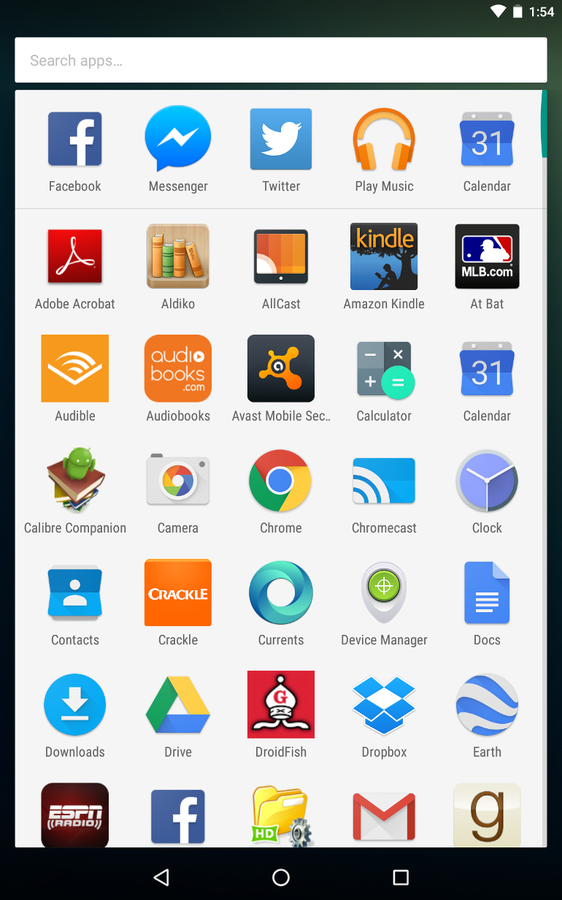
From Android to Chromium OS, the Pi 3 looks destined to run a broader range of operating systems than its predecessors.
The Pi already runs a suite of Linux-based operating systems but is seemingly on the cusp of getting versions of Chromium OS – the open source version of Chrome OS – and Android Marshmallow that are comfortable to use.
The reasons are twofold – both the increased power and more modern architecture of the Pi 3 and a new open-source 3D graphics driver for the board that will make it easier to implement hardware-accelerated versions of these systems. Together these changes should help deliver operating systems that until now have been hampered by poor performance on the Pi.
While still at an early stage, there is a working version of Chromium OS on the Pi 3 and work-in-progress versions of Android KitKat and Android Marshmallow available to try.
5. Build a media center
Even if the following projects have been possible on the Pi for years, they’re still pretty cool ways to use a $35 board.
There are two main media centers available for the Pi – OpenElec and OSMC. Each system has its fans and the two have similar performance and features but differ in looks and how easy they are to tweak.
Both can be set up to play video and music stored locally or – with a bit of tweaking and additional outlay – on services such as Amazon Prime and Netflix.
The Pi 3 has the added advantage of a slightly faster graphics processor, which the Raspberry Pi Foundation has said is able to play local H.264-encoded video recorded at 1920×1080 resolution and 60 frames per second. Another advantage is built-in support for wi-fi makes it easier to stream content to the Pi, while native Bluetooth simplifies the hooking up peripherals.
Setting up either media center on the Pi is simple. Just download the image above and follow the Raspberry Pi Foundation’s official instructions for installing an operating system on the Pi. Another option is to set up OSMC or OpenElec on your Pi using the official NOOBS installer, following the instructions here.

6. Build your own virtual assistant
6. Build your own virtual assistant
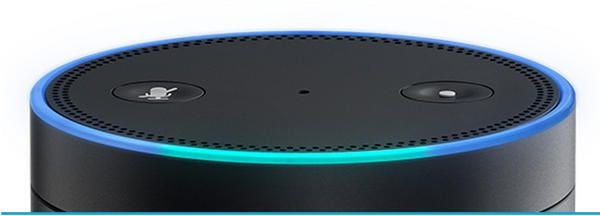
Forget Siri, with some dedication you can turn the Pi into a digital helper to answer your questions and obey your commands.
One approach is to use Amazon’s Alexa service, which provides the smarts for its Amazon Echo and Amazon Tap smart speakers, and which can be used to control smart homes, to play music, set appointments and answer simple queries.
There are some caveats, unlike the Echo this DIY setup requires you to push a button before issuing a voice command, but if you want to get started – and have the necessary microphone and USB adapter – you can follow this guide and check out this GitHub page.
Another option is to use the open-source platform Jasper, which also allows you to set up your Pi for voice-controlled computing.
Like Alexa, Jasper can be configured to read weather forecasts, Facebook notifications, play a track from Spotify or control a host of online services. If you’re interested, a complete guide covering the hardware you’ll need, installation and configuration is available online.
7. Build a mobile phone
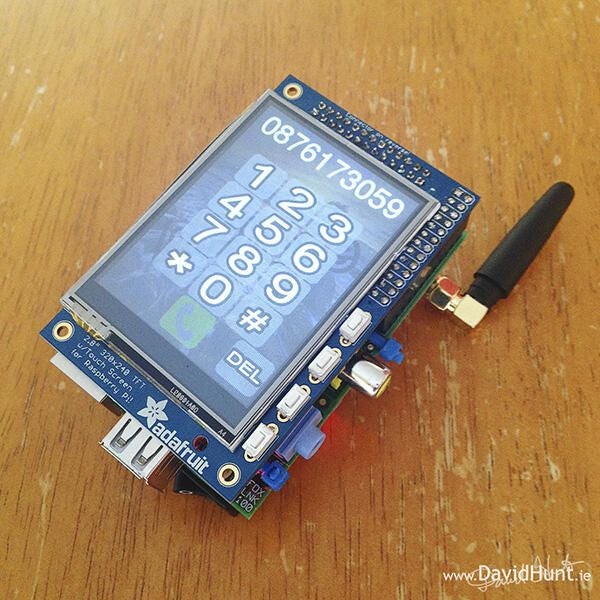
Using the Pi to build a mobile phone is by no means a new idea, but remains a fun way to start hacking on the Pi.
For those wanting a bit more of a challenge, building a mobile will require you both to delve into the command line to tweak the operating system and break out the soldering iron. Here’s a guide that’ll walk you through the nitty gritty.
The end result will be a mobile phone that can make and receive calls – including in hands-free mode.
If you’re hankering after a handset that can do more, this guide steps through how to create a touchscreen, Pi-based smartphone that can call, text and take photos. Bear in mind, however, that it is for the Raspberry Pi A+, which has lower power consumption and fewer parts on the board than the Pi 3 Model B.

8. Build a Raspberry Pi laptop
8. Build a Raspberry Pi laptop
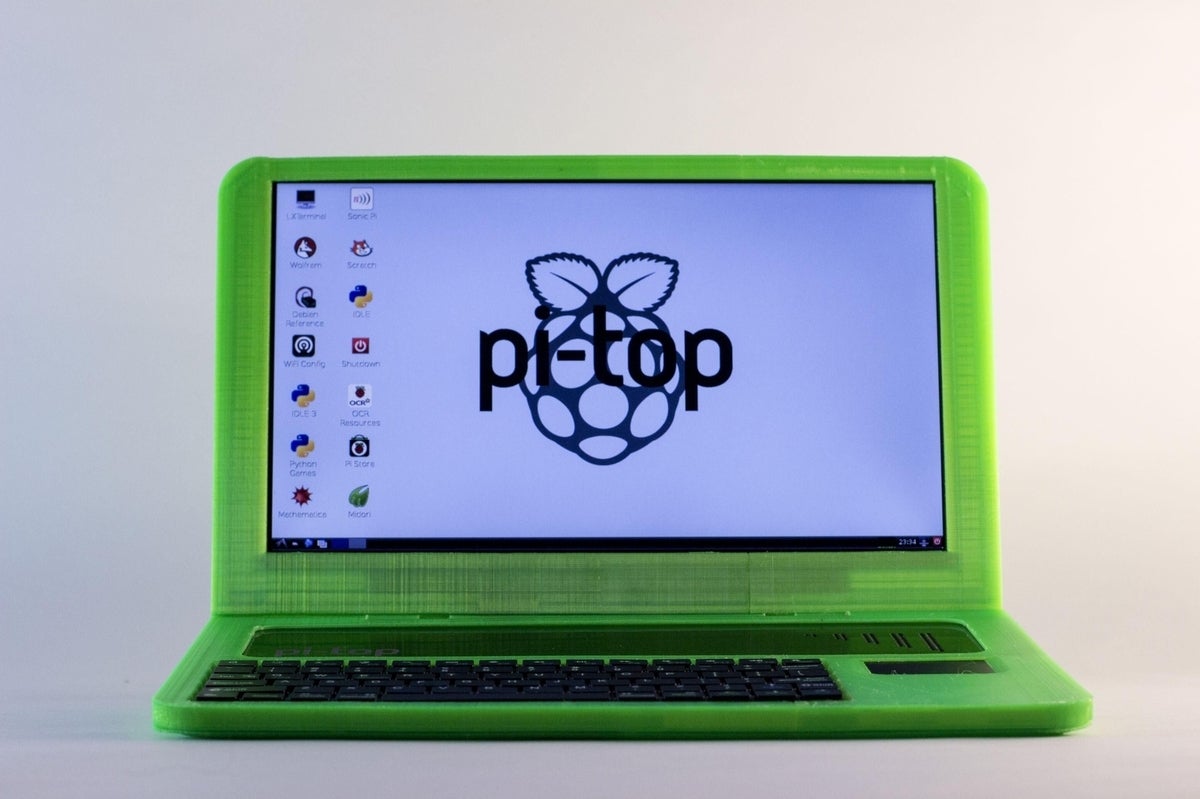
For those who don’t mind shelling out a bit more cash, it’s even possible to build your own laptop using the Pi.
Kits such as the Pi-Top make it relatively simple to slot together the Pi, a keyboard, screen and injection-moulded case to make a 13.3-inch laptop. The kit is aimed at beginners, so no soldering required, comes with full instructions and is designed to be pieced together in an afternoon.
If you don’t mind doing a bit more work to put together a simpler and more portable machine, then this guide will tell what you need to do to build Raspberry Pi notebook with a 3.5-inch screen and mini-keyboard.

9. Wirelessly control your hi-fi
9. Wirelessly control your hi-fi
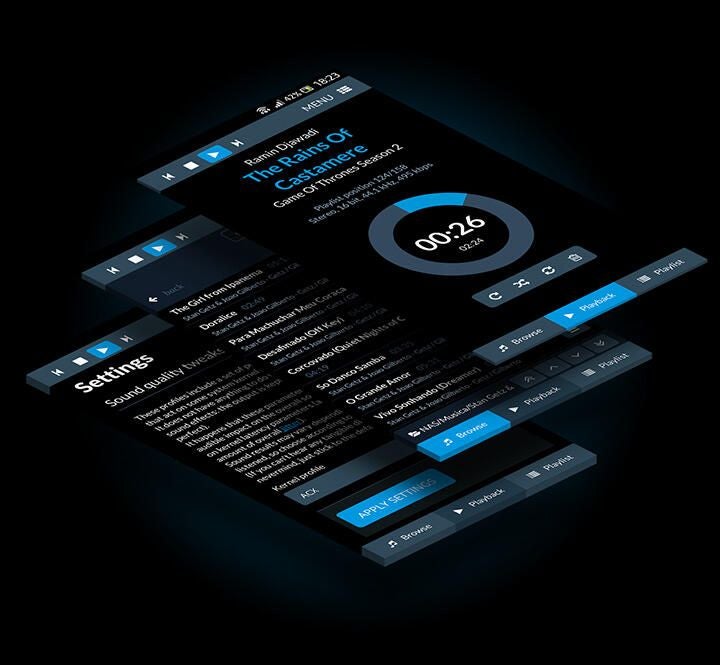
The Pi can also offer a cost effective way to pipe your music collection to your stereo.
Install RuneAudio on the Pi and you can stream music from local or remote drives to your hi-fi, easily search and organise your music library, as well as listening to tracks using your smartphone, tablet or via the browser.
Setting it up is relatively straightforward – just follow this walkthrough, though it’s worth bearing in mind that a few compatibility issues are being worked out with the Pi 3 and some audio equipment.

10. Build a wi-fi extender
10. Build a wi-fi extender
Why not take advantage of the Pi 3’s built-in wi-fi and use it to help get a better wi-fi signal in your house.
This step-by-step guide will walk you through how to turn your Pi into a wireless access point, which can be used for a variety of purposes beyond extending your wi-fi’s range – such as providing a firewalled network for guest access.
-
Account Information
Contact Nick Heath
- |
- See all of Nick's content
