DHCP is a vital service on networks today to centrally control TCP/IP addresses on a network. You can configure Windows Server 2003 to act as a DHCP server. This Screen By Screen walks you through the process of how to do so.\r\n
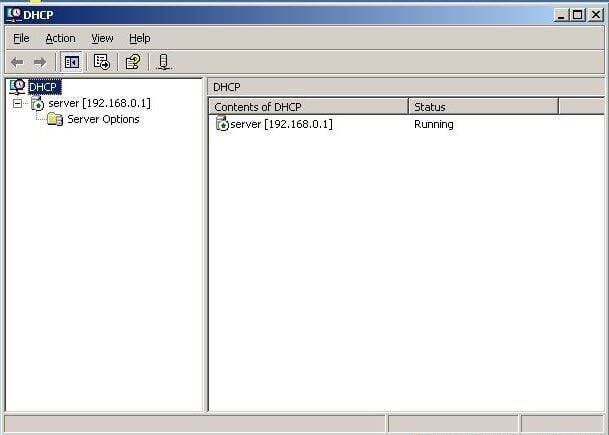
\r\nBegin by clicking Start | Administrative Tools | DHCP. When the DHCP console starts, start by selecting the DHCP server in the left pane of the DHCP console.
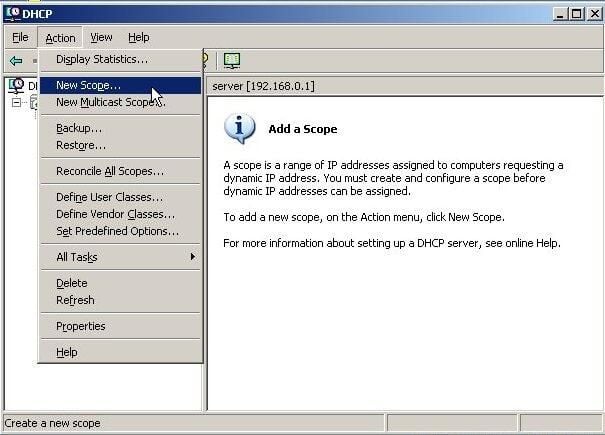
Create a new scope by clicking Action | New Scope.
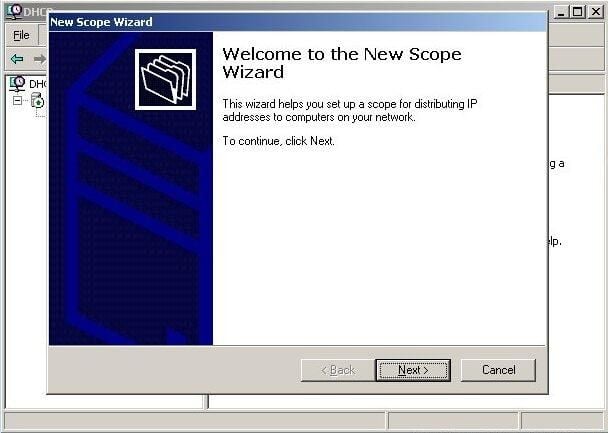
When the New Scope Wizard appears, click Next to continue.
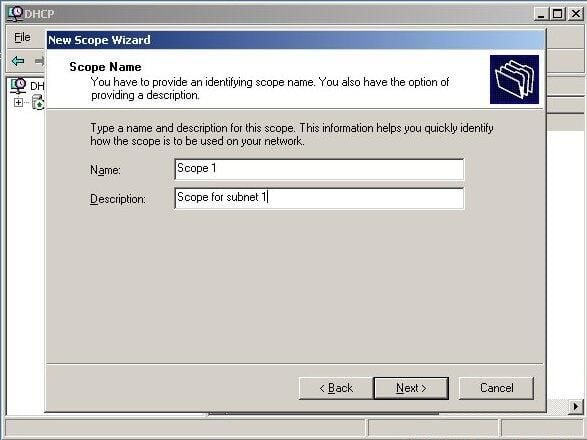
Type in a name and optional description for the scope and click Next.
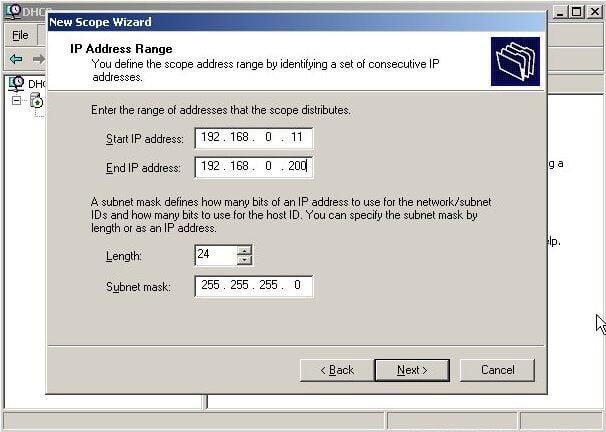
Type in the start and end IP addresses to define the range of IP addresses in the scope. Click Next.
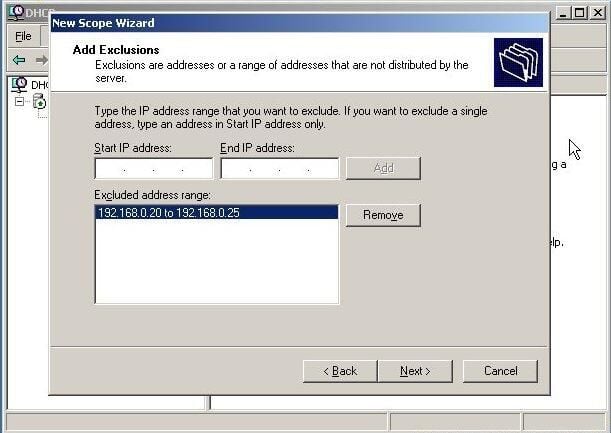
Type in the IP addresses you want to exclude from the scope and click Add. Repeat this step if necessary. Click Next.
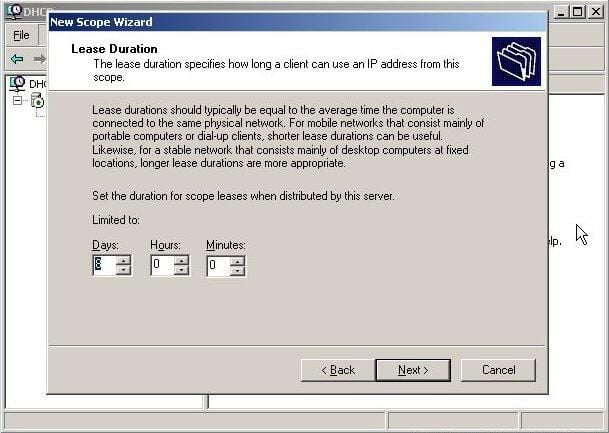
Use the arrows to increase or decrease the lease duration for the scope. Click Next.
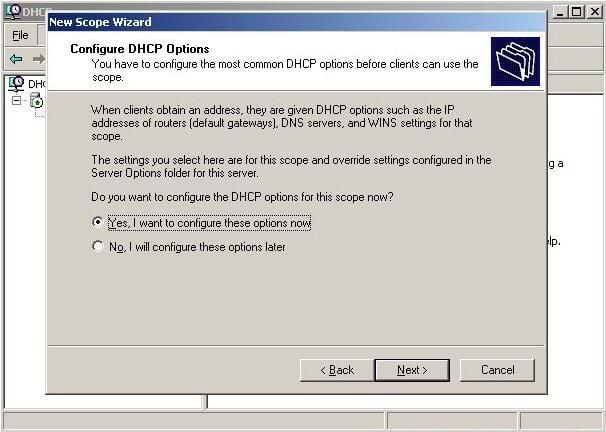
To configure DHCP Options, click Next. Alternatively, they can be configured later by selecting No, I will configure these options later.
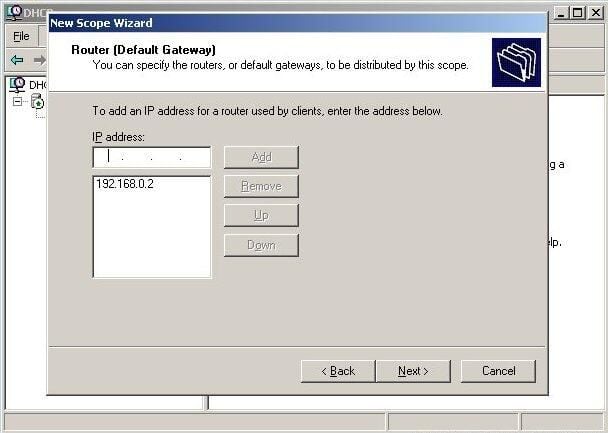
Type in the IP address of the default gateway and click Add. Repeat the process for additional routers. Click Next.
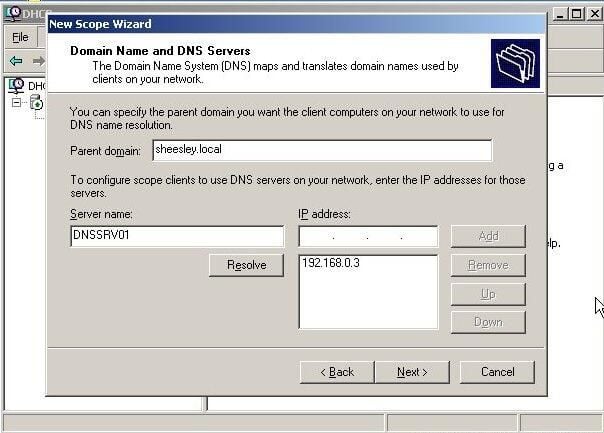
Speficy the DNS information for the scope including the name and IP address of any DNS servers. Click Next.
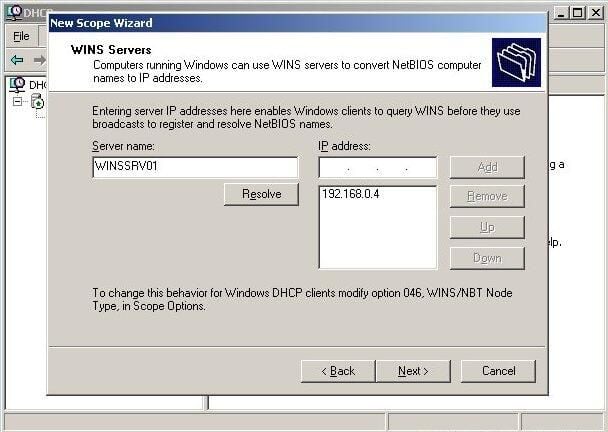
Enter in the name and IP address of the WINS server and click Add. Repeat this step if there are multiple WINS servers. Click Next to continue.
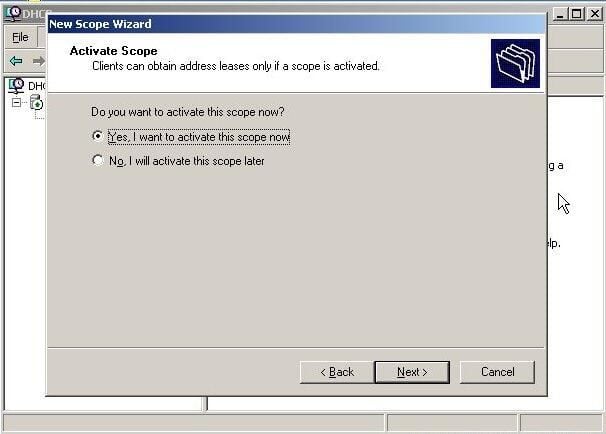
Click Next to activate the scope. Conversely, you can select No, I Will Activate This Scope Later.
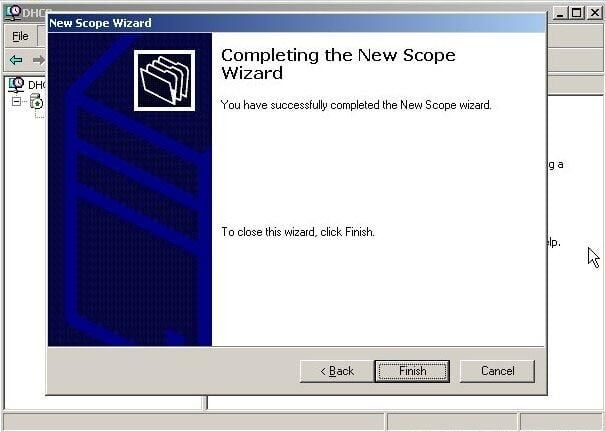
Click Finish to complete the New Scope Wizard.
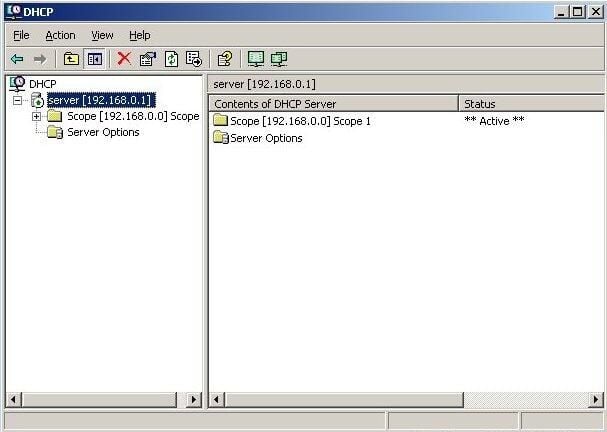
The new scope will now appear in the right pane of the DHCP console under Contents of DHCP Server.
Bill Detwiler is the Editor for Technical Content and Ecosystem at Celonis. He is the former Editor in Chief of TechRepublic and previous host of TechRepublic's Dynamic Developer podcast and Cracking Open, CNET and TechRepublic's popular online show. Previously, Bill was an IT manager in the social research and energy industries. He has bachelor's and master's degrees from the University of Louisville, where he has also lectured on computer crime and crime prevention.


