To help improve security on the ThinkPad X41 Tablet PC, Lenovo has included an integrated fingerprint reader. With it, you can use fingerprint scans in place of Windows XP’s traditional user id/password combination. This Screen By Screen shows you how to set up and configure it.
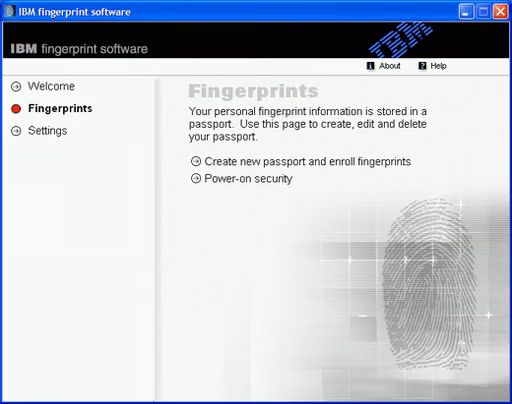
\r\n\r\nWhen your system starts, you’ll see the IBM Fingerprint Software Welcome screen appear. Select Fingerprints and click Next.
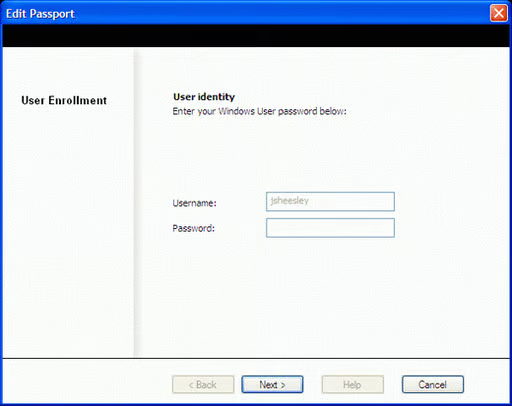
When the User Enrollment screen appears, enter your regular Windows User ID and password in the appropriate fields and click Next.
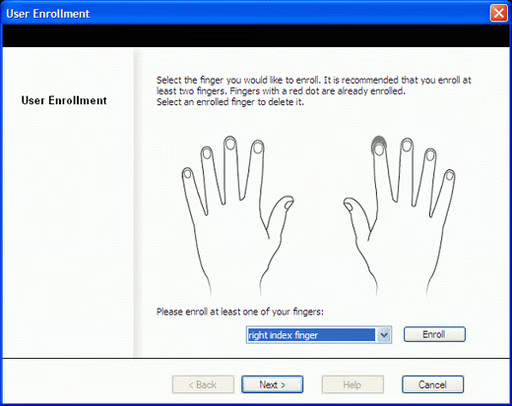
You then must select which fingers to enroll. You should set up at least two fingers. Select the finger to enroll from the drop down list box and click Enroll.
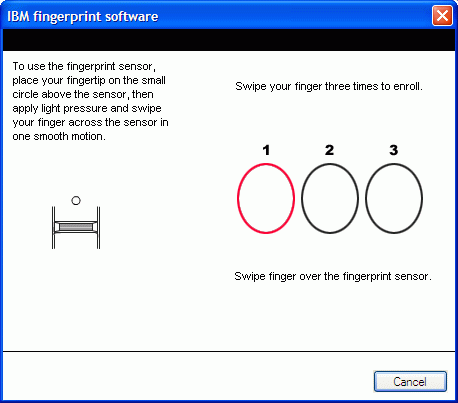
You must scan the same finger three times so that the software gets a good image of your fingerprint. You’ll return the previous screen where you can enroll another finger or click Next to continue.
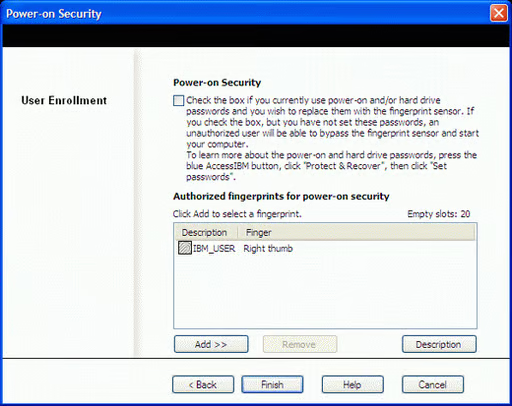
Here you can set Power-on Security for your laptop. This will allow you to use the fingerprint scanner to start your system. Select the checkbox and click Finish.
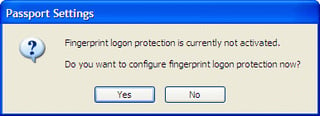
Next, the Passport will warn you that you haven’t configured log-on security. To enable it, click Yes.
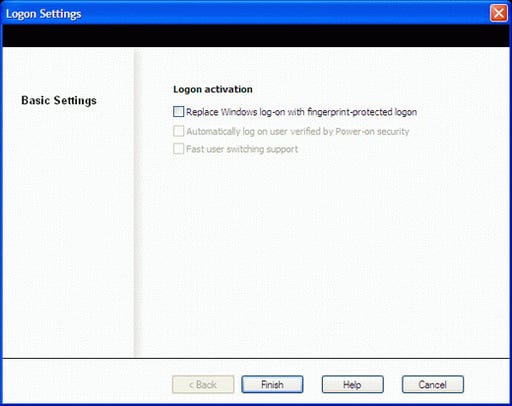
You’ll then see the Basic Settings screen. Select Replace Windows Logon.
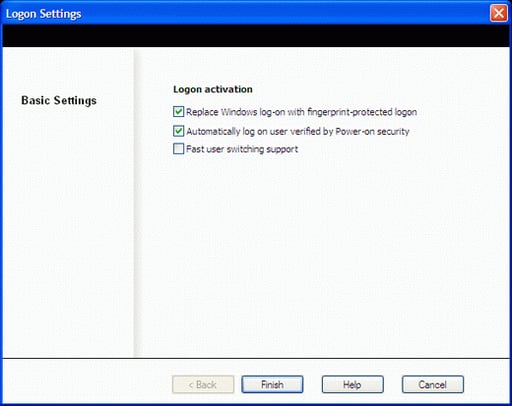
Next, select Automatically Log-on. This will allow Windows to load after you scan your fingerprint.
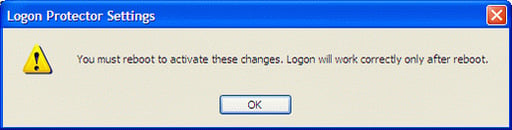
The software then indicates you must restart your computer to make the changes take effect. Click Ok.
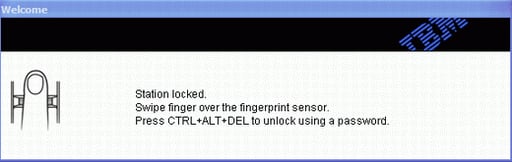
When Windows restarts, you’ll see a new logon screen. You can either log-on traditionally by pressing [Ctrl][Alt][Del] or by swiping your finger.
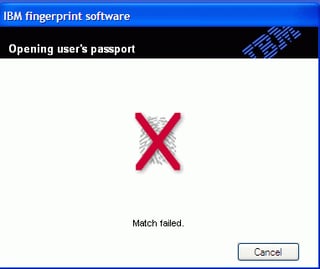
If you use the wrong finger or aren’t registered with the system, you’ll see this screen.
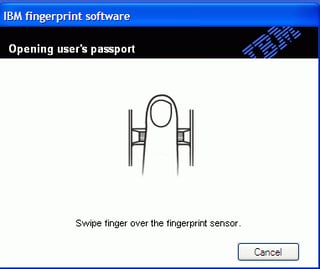
You then will see this screen to allow you to rescan your finger.
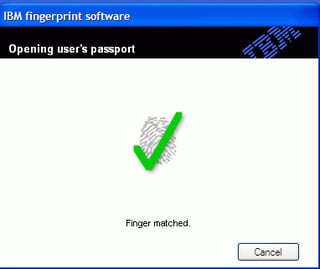
Once you’ve scanned the proper finger, you’ll see this screen. Windows XP will then load.
Bill Detwiler is the Editor for Technical Content and Ecosystem at Celonis. He is the former Editor in Chief of TechRepublic and previous host of TechRepublic's Dynamic Developer podcast and Cracking Open, CNET and TechRepublic's popular online show. Previously, Bill was an IT manager in the social research and energy industries. He has bachelor's and master's degrees from the University of Louisville, where he has also lectured on computer crime and crime prevention.


