

According to CNET’s review, the redesigned Xbox 360 S is about 17 percent smaller than previous Xbox 360 versions.
Photo credit: Bill Detwiler / CBS Interactive
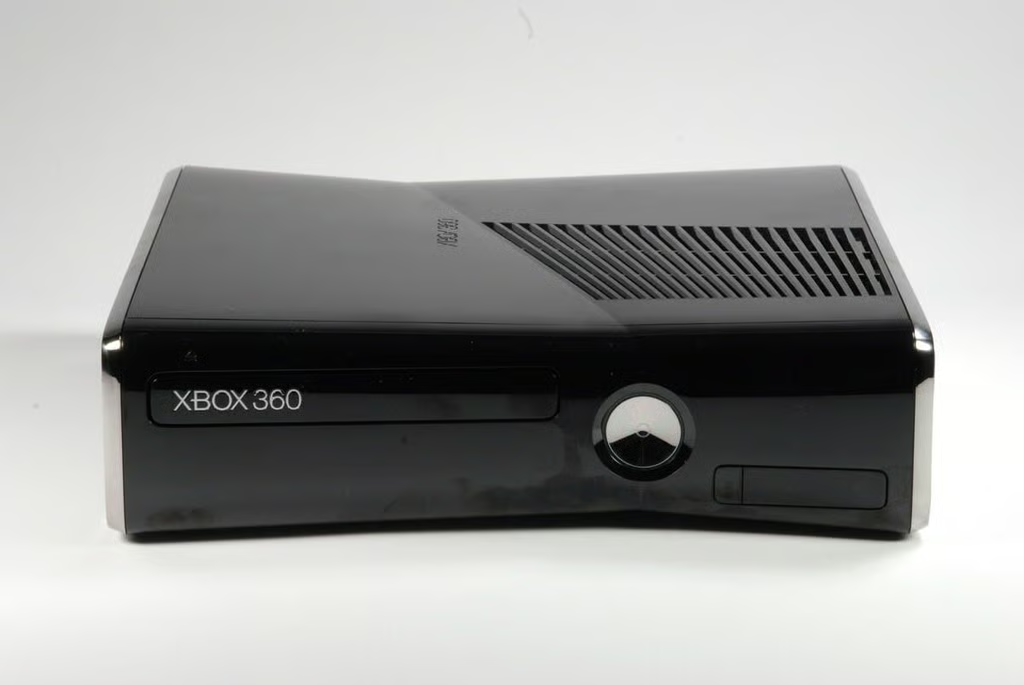
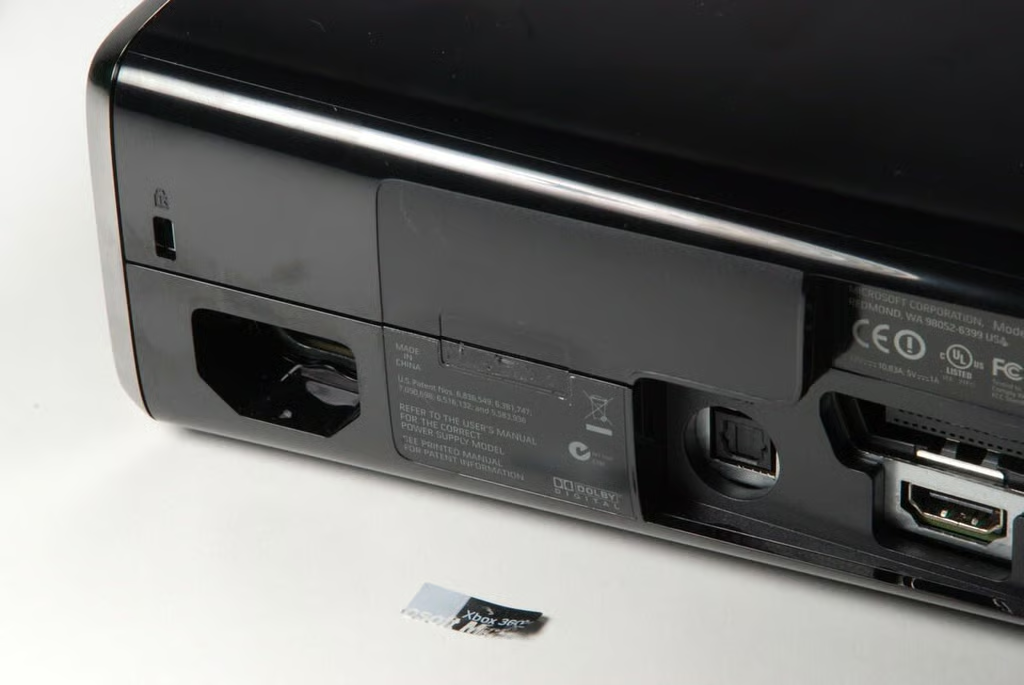
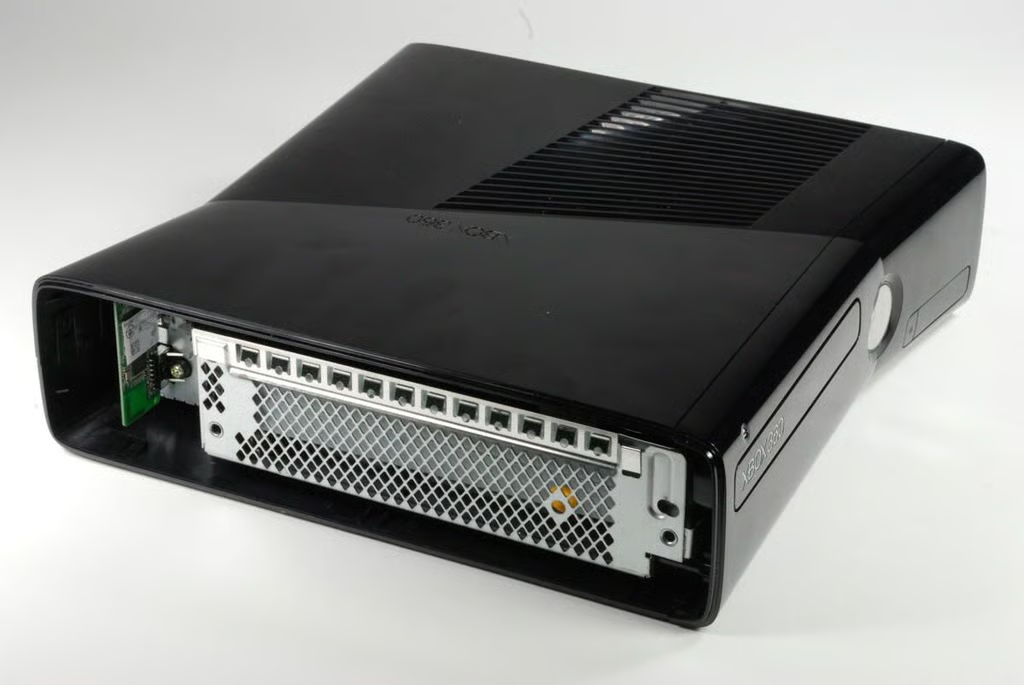
Looking at the front of the Xbox 360 S, there are no visible entry points. I’ll need to move around to the right side to begin disassembling the game console.
Photo credit: Bill Detwiler / CBS Interactive
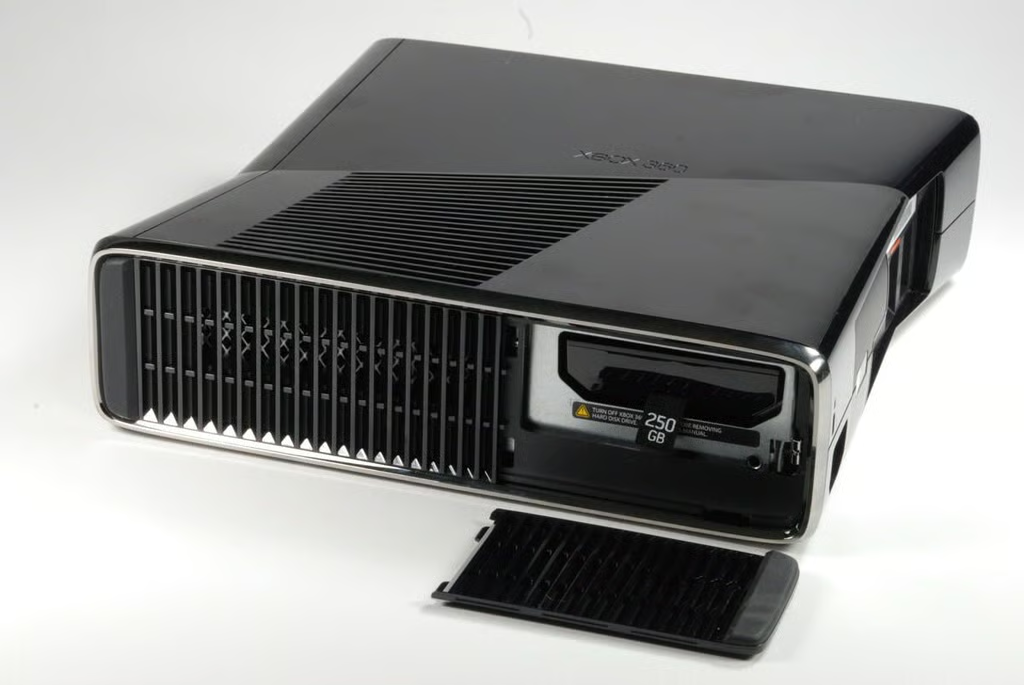
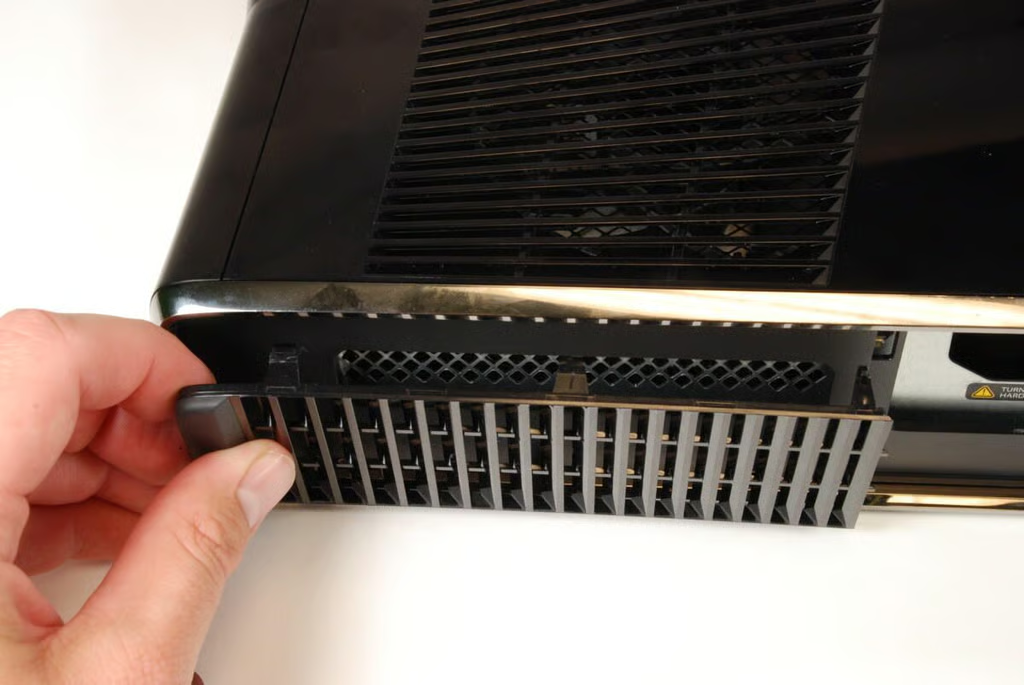
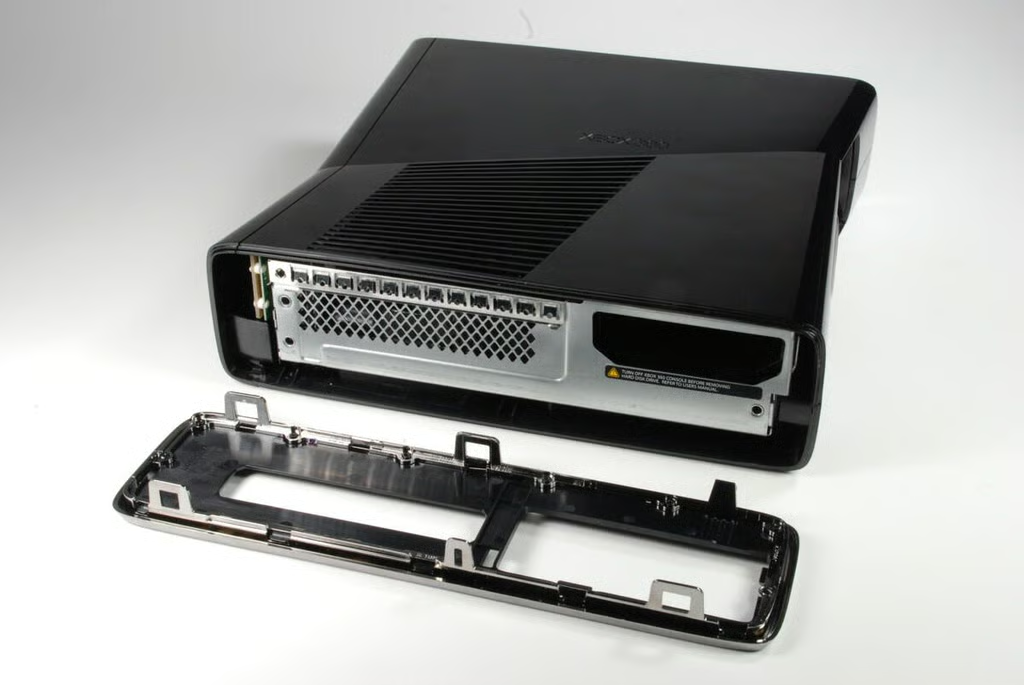
The Xbox 360 S features a 250GB removable hard drive. To access the hard drive, you pop off this small, vented plate on the console’s right side (or bottom if you sit the machine upright).
Photo credit: Bill Detwiler / CBS Interactive
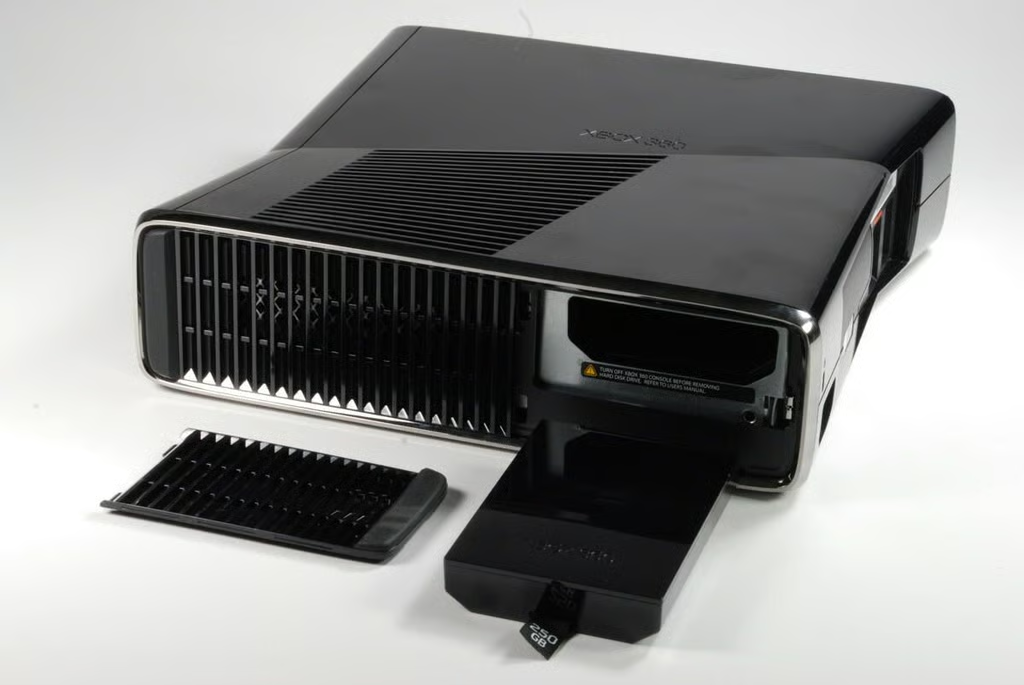
Firmly pulling the hard drive’s nylon tab should remove it from the chassis.
Photo credit: Bill Detwiler / CBS Interactive
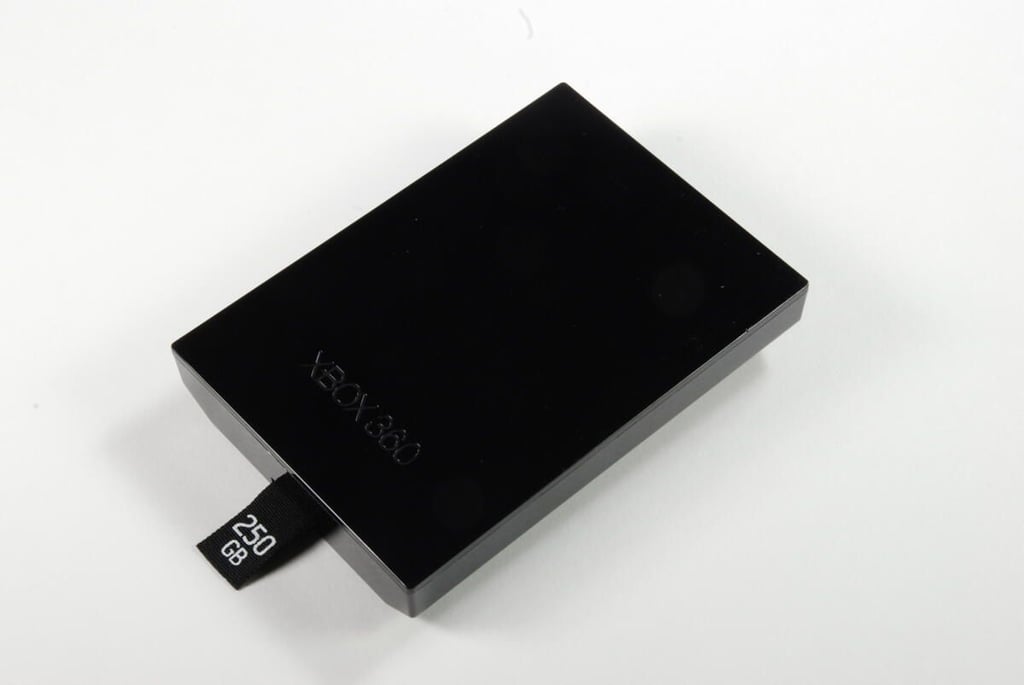
Photo credit: Bill Detwiler / CBS Interactive

Photo credit: Bill Detwiler / CBS Interactive
This small sticker is placed over the crack between the console’s upper and lower plastic shells.
Photo credit: Bill Detwiler / CBS Interactive
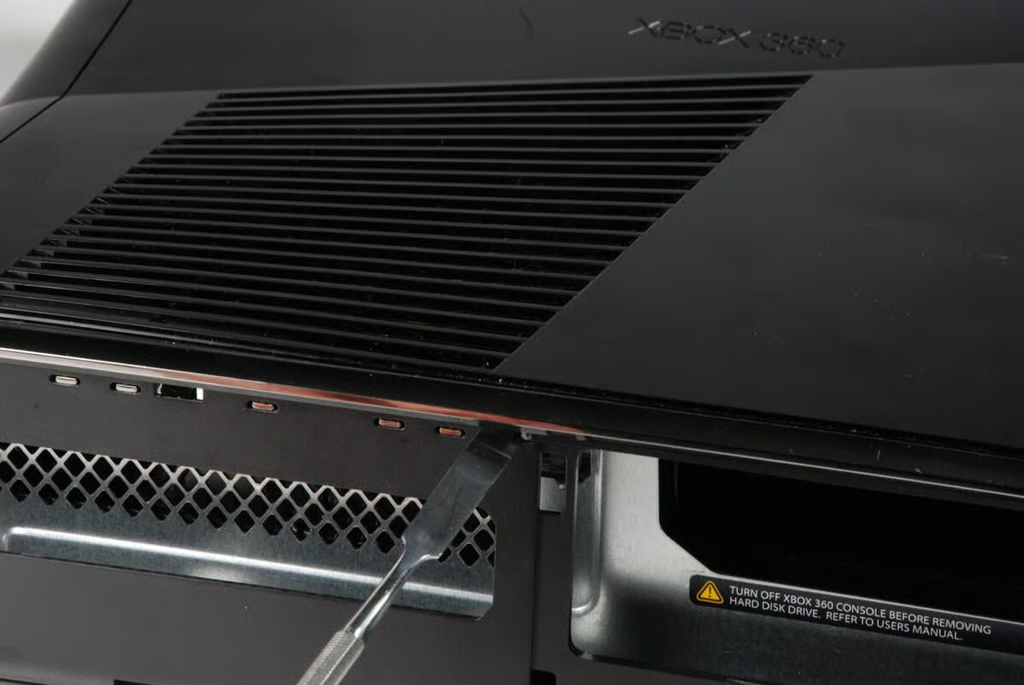
After removing the hard drive, gently pry loose the remaining vented panel. This is best done by inserting a thin metal blade or spludger between the vent panel and right side panel and gently prying loose each tab.
Photo credit: Bill Detwiler / CBS Interactive
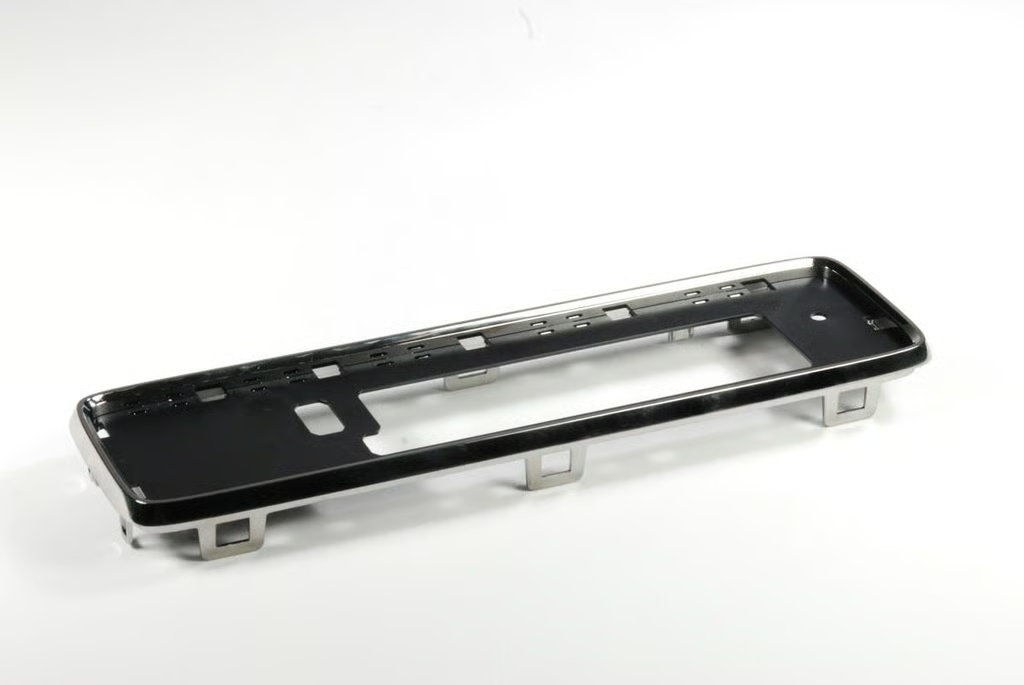
After removing the vented panel from the console’s right side, we can remove the right side plastic shell panel. Insert a thin metal blade or spludger into the small square holes and gently release the plastic catches.
Photo credit: Bill Detwiler / CBS Interactive
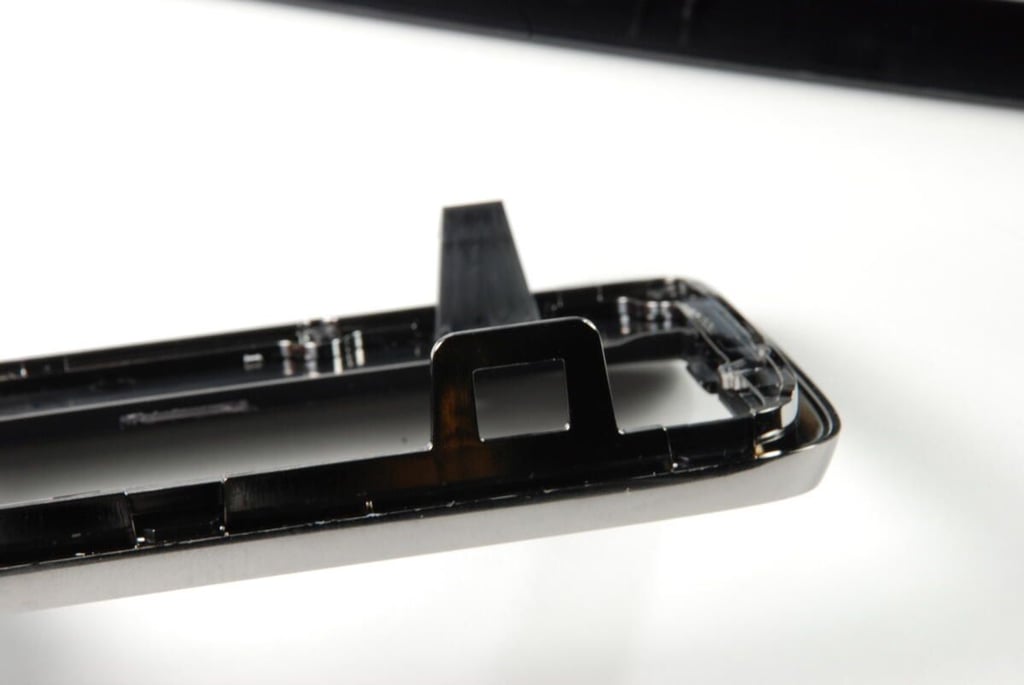
There are five catches and one tab that you must release before the panel will come free.
Photo credit: Bill Detwiler / CBS Interactive
With the right side panel removed, we get our first real look at the metal case on the redesigned Xbox 360 S.
Photo credit: Bill Detwiler / CBS Interactive
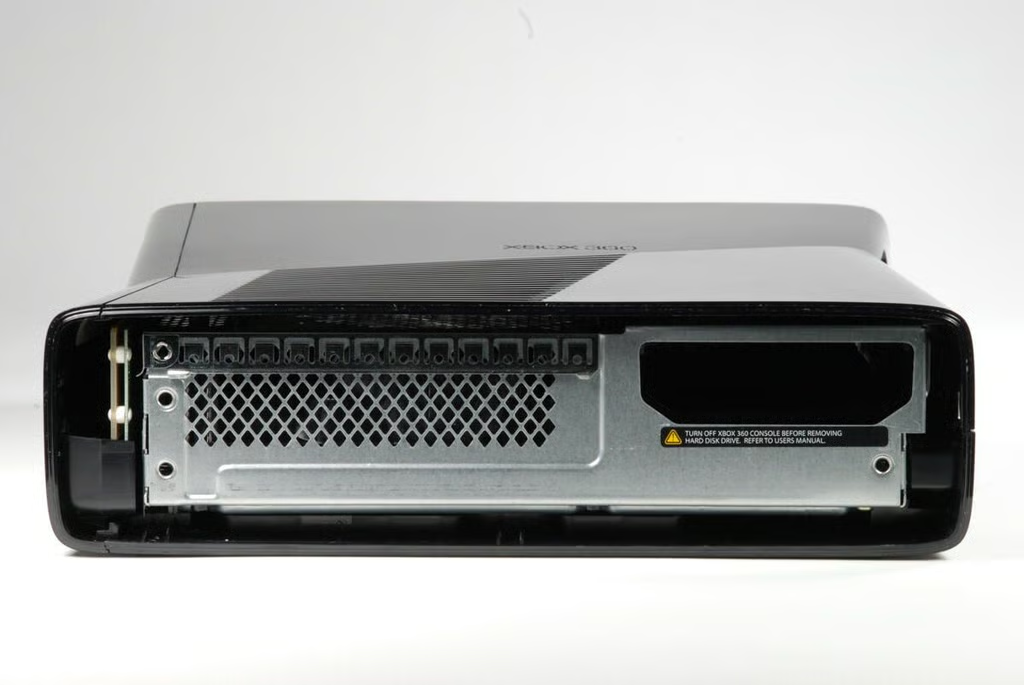
Photo credit: Bill Detwiler / CBS Interactive

We’ll now move to the left side of the Xbox 360 S, and remove the vented panel that run along the entire side.
Photo credit: Bill Detwiler / CBS Interactive
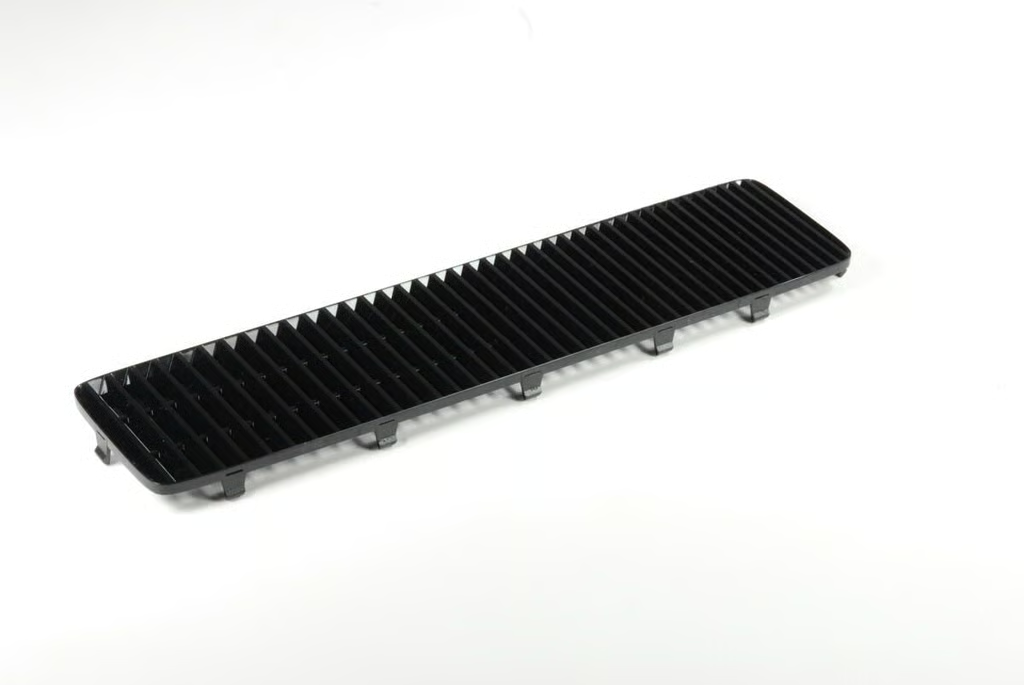
Photo credit: Bill Detwiler / CBS Interactive

As with the right side, removing the left side vented panel reveals the left side shell panel. You should be able to remove this panel in the same method as the right side shell panel.
Photo credit: Bill Detwiler / CBS Interactive
Take care when removing the side shell panels not to break any of the plastic catches or tabs.
Photo credit: Bill Detwiler / CBS Interactive
With the left side shell panel removed, we can see the left side of the metal case on the Xbox 360 S.
Photo credit: Bill Detwiler / CBS Interactive
The hardest part of tearing down the Xbox 360 S was separating the upper and lower halves of the machine’s outer plastic shell. There are multiple tabs along the back of the machine that must be released.
Photo credit: Bill Detwiler / CBS Interactive

Photo credit: Bill Detwiler / CBS Interactive
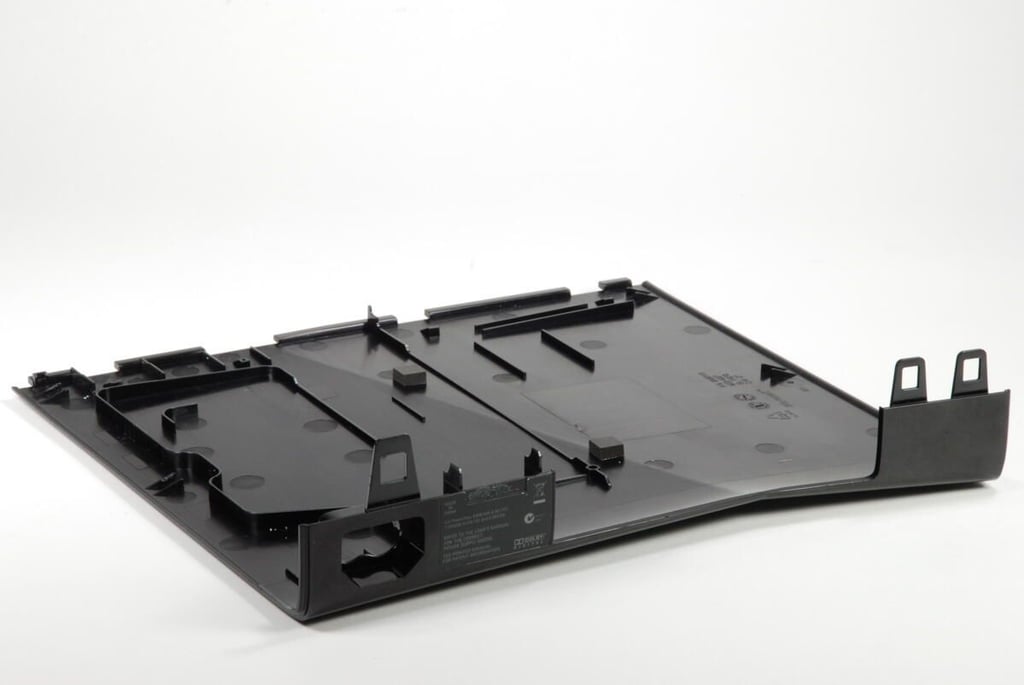
Photo credit: Bill Detwiler / CBS Interactive
With the lower half of the outer shell removed, we can see the bottom of the metal case.
Photo credit: Bill Detwiler / CBS Interactive
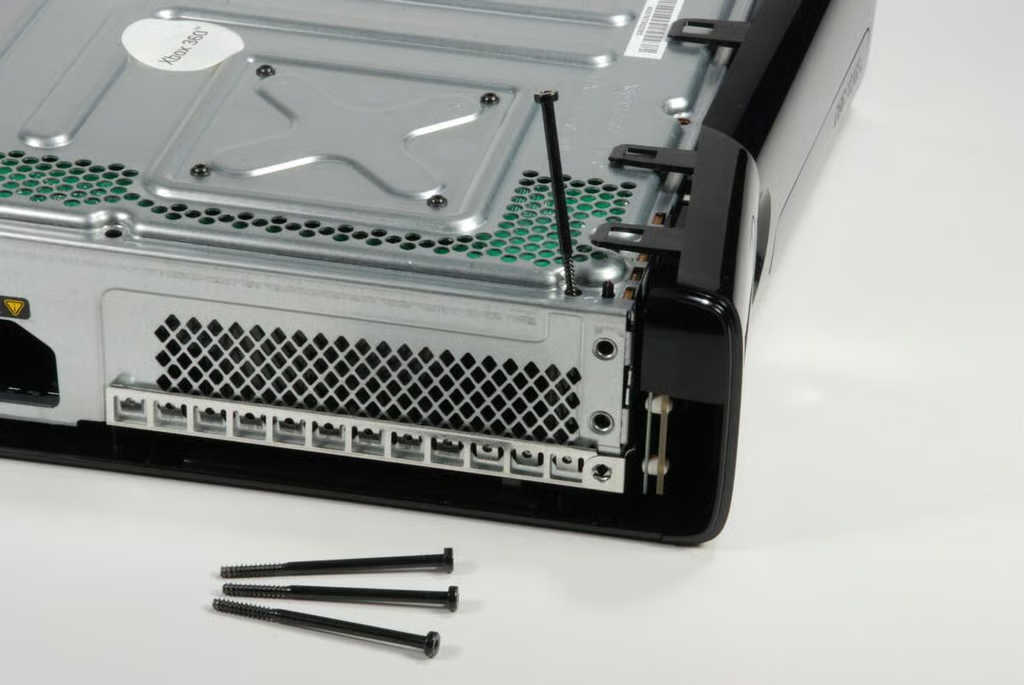
There are five screws holding the upper half of the outer shell to the metal case. you’ll need to remove all of these screws with a T10 Torx bit. Four are visible, and the fifth is hidden under the white “Xbox 360” sticker in the center of the metal case.
Photo credit: Bill Detwiler / CBS Interactive
With the first four large, outer shell screws removed, you should be able to release the catches on the front panel.
Photo credit: Bill Detwiler / CBS Interactive
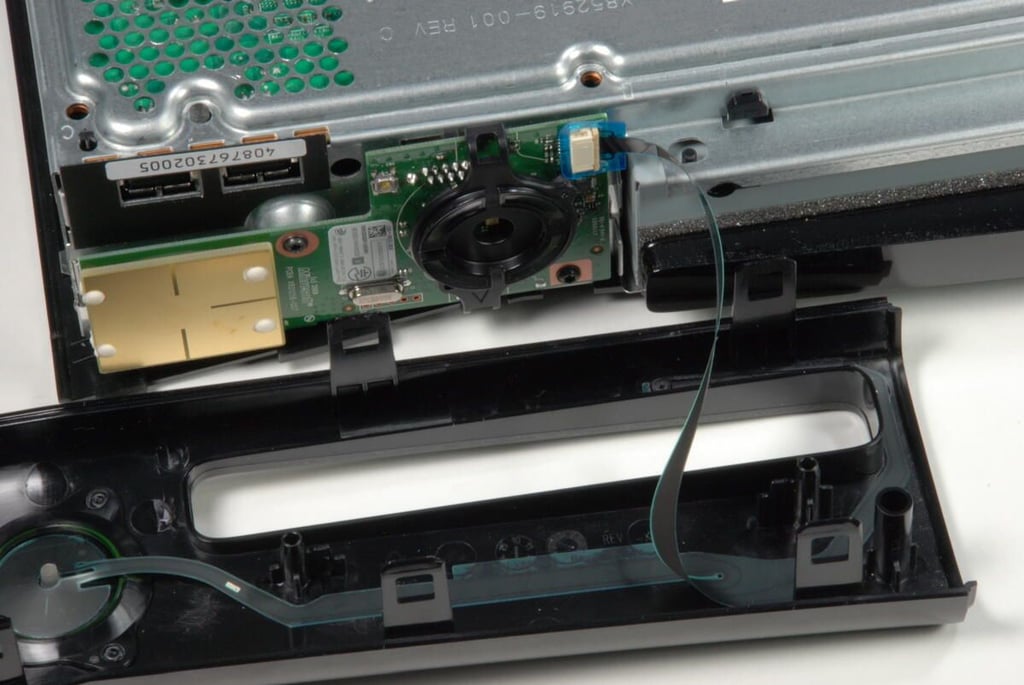
A thin ribbon cable connects the front panel to a small circuit board at the front of the Xbox 360 S.
Photo credit: Bill Detwiler / CBS Interactive
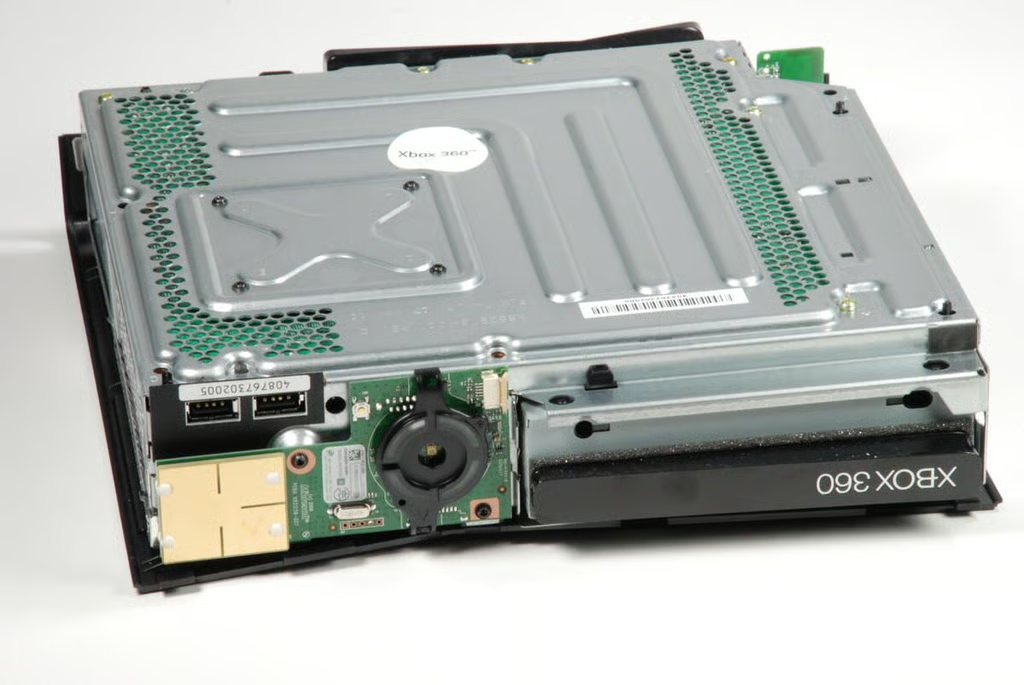
Photo credit: Bill Detwiler / CBS Interactive
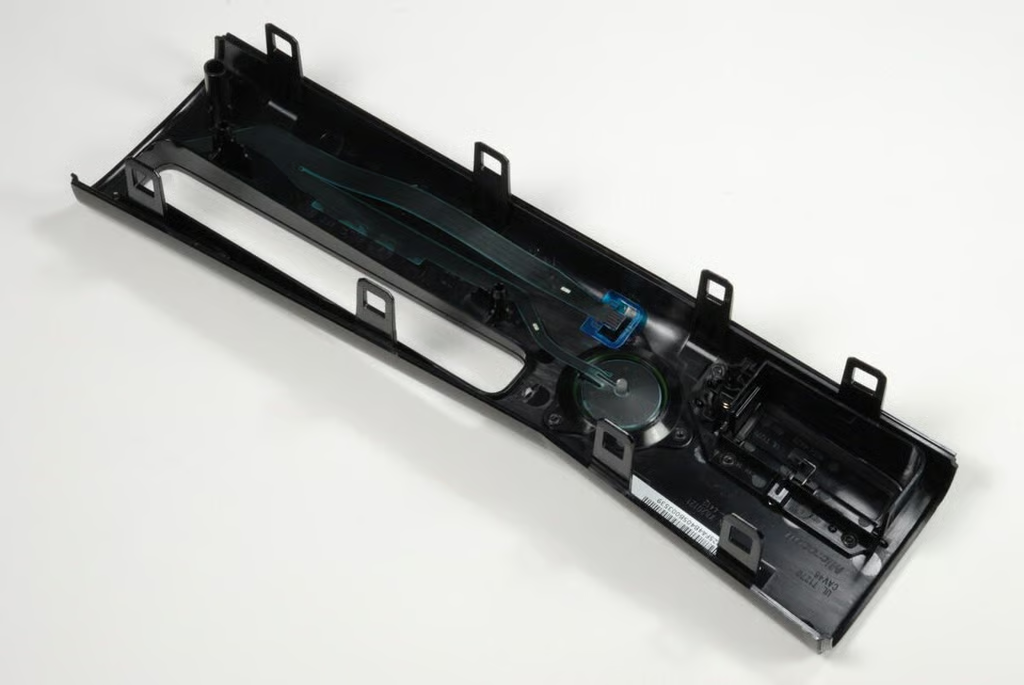
Photo credit: Bill Detwiler / CBS Interactive
The fifth screw holding the outer shell to the metal case is hidden under the white “Xbox 360” sticker.
Photo credit: Bill Detwiler / CBS Interactive
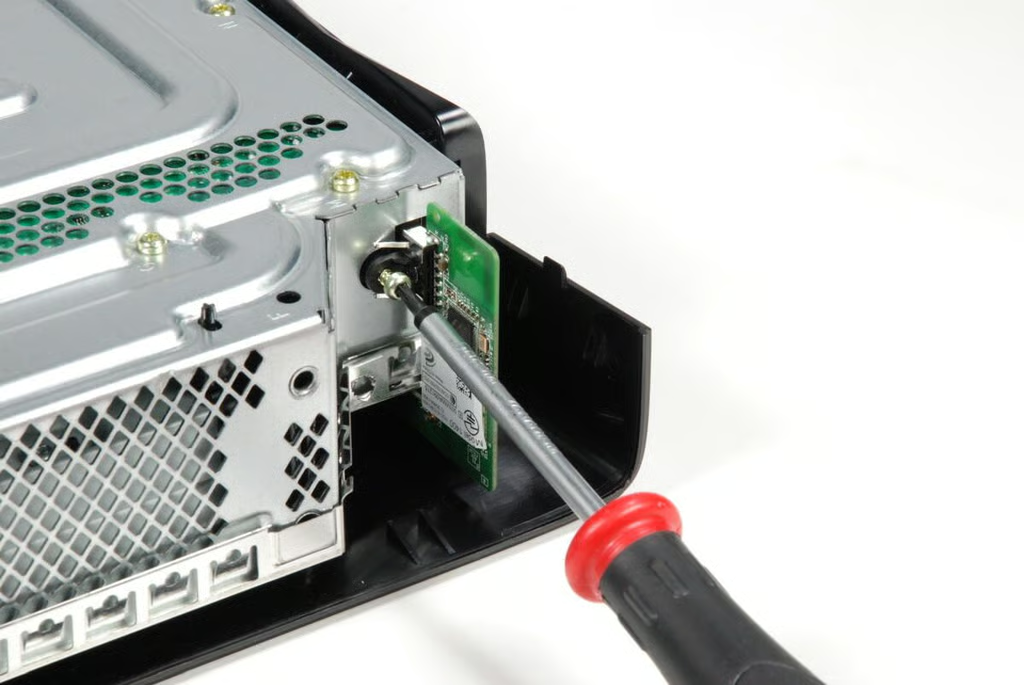
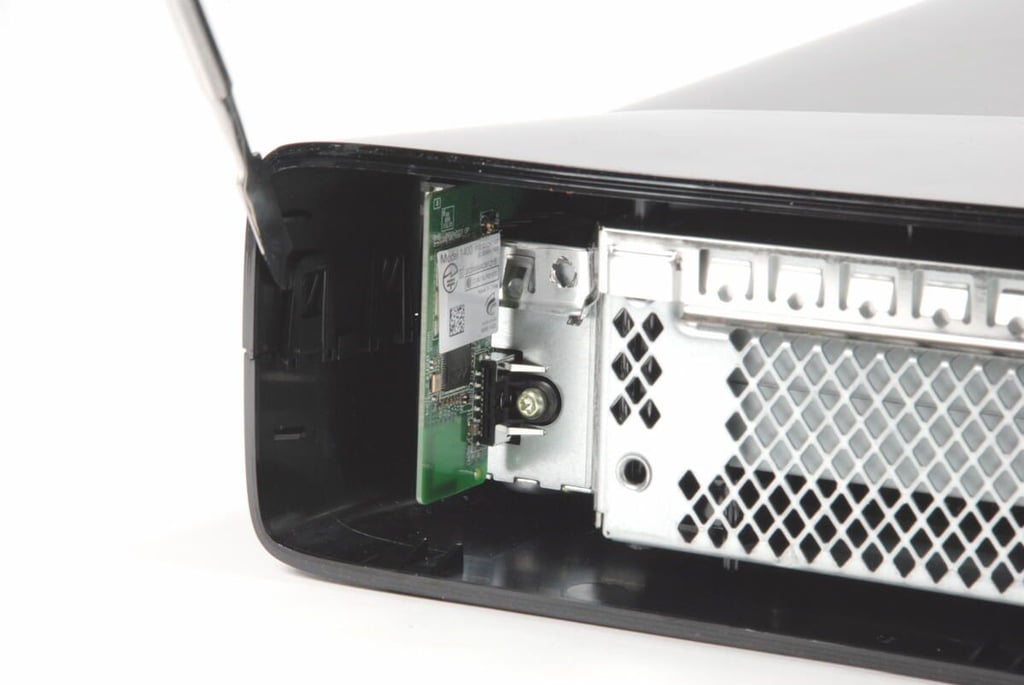
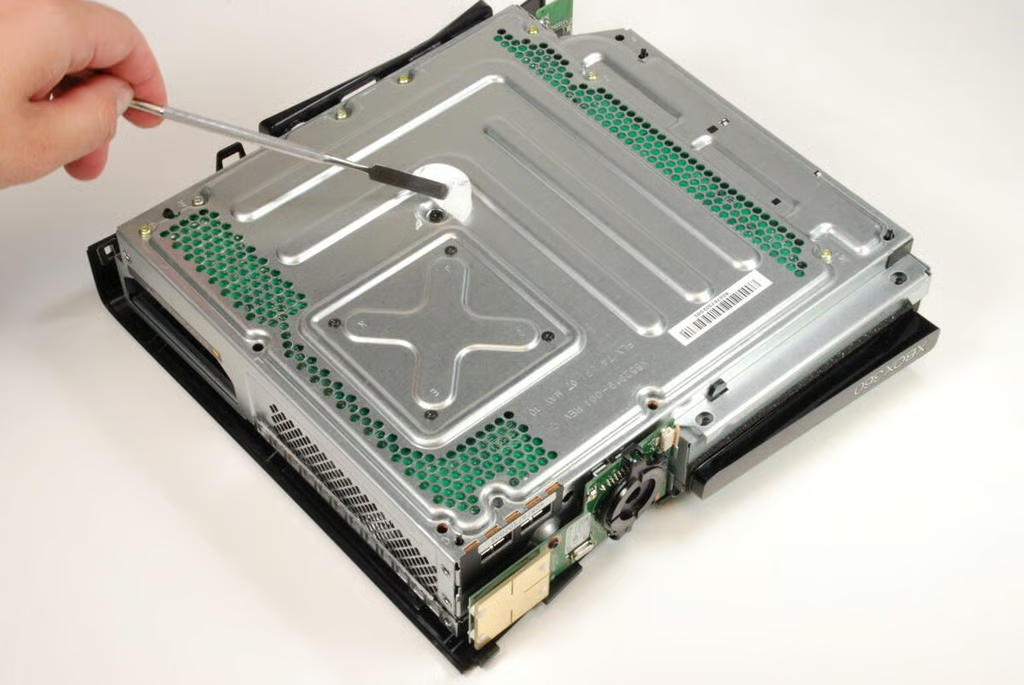
Before removing the upper shell panel, you should remove the integrated Wi-Fi card. A single T10 screw holds the built-in Wi-Fi card to the metal case.
Photo credit: Bill Detwiler / CBS Interactive
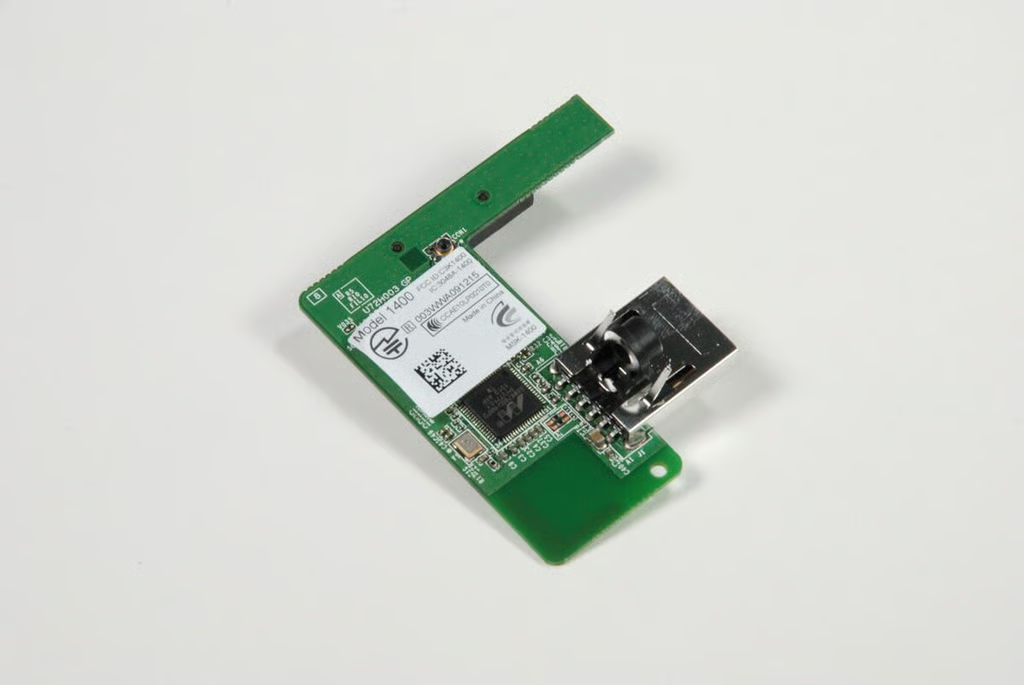
The Xbox 360 uses the Marvell 88W8786U ?Integrated MAC/Baseband/RF system-on-chip (SoC) to provide 802.11 B, G, and N wireless access.
Photo credit: Bill Detwiler / CBS Interactive
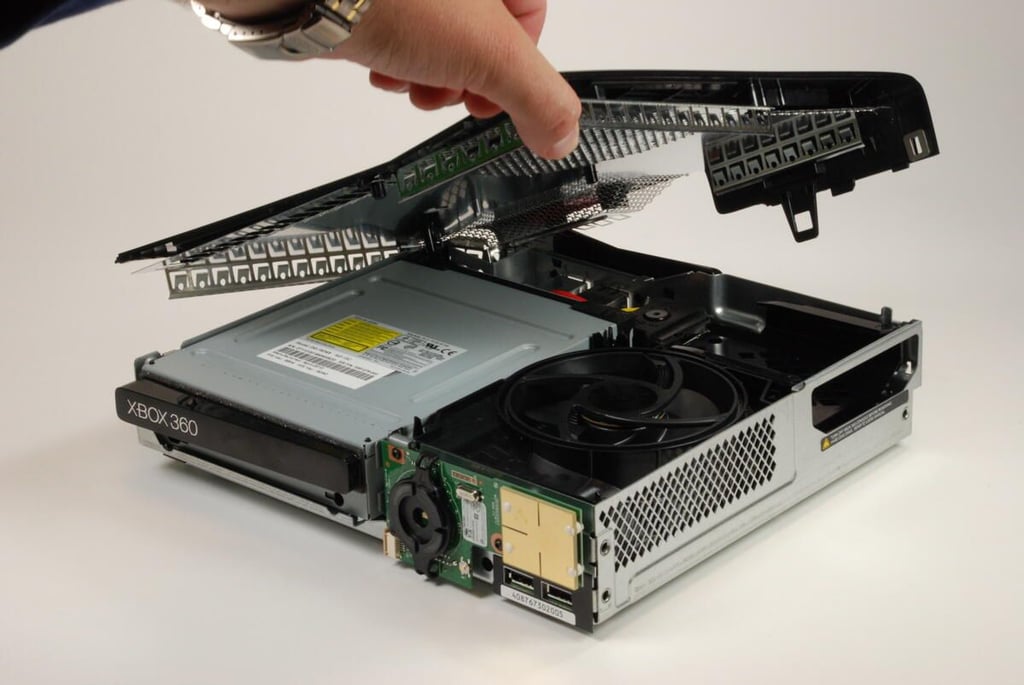
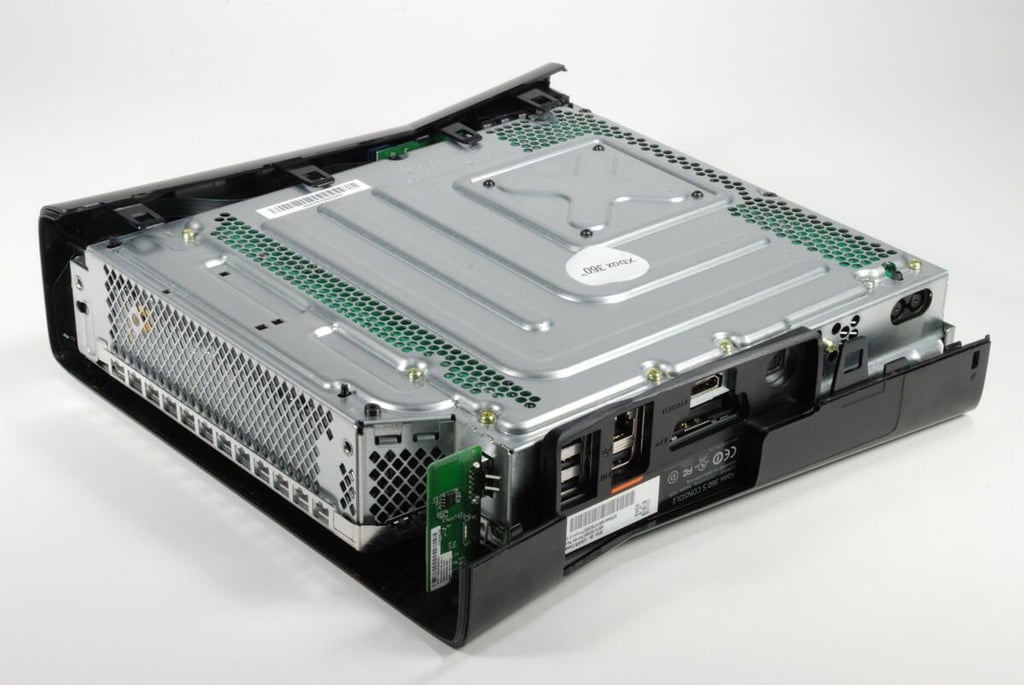
With the the five large, black screws and Wi-Fi card removed, the upper shell panel should lift free from the metal case. Note that metal case’s upper cover is actually attached to the plastic panel.
Photo credit: Bill Detwiler / CBS Interactive
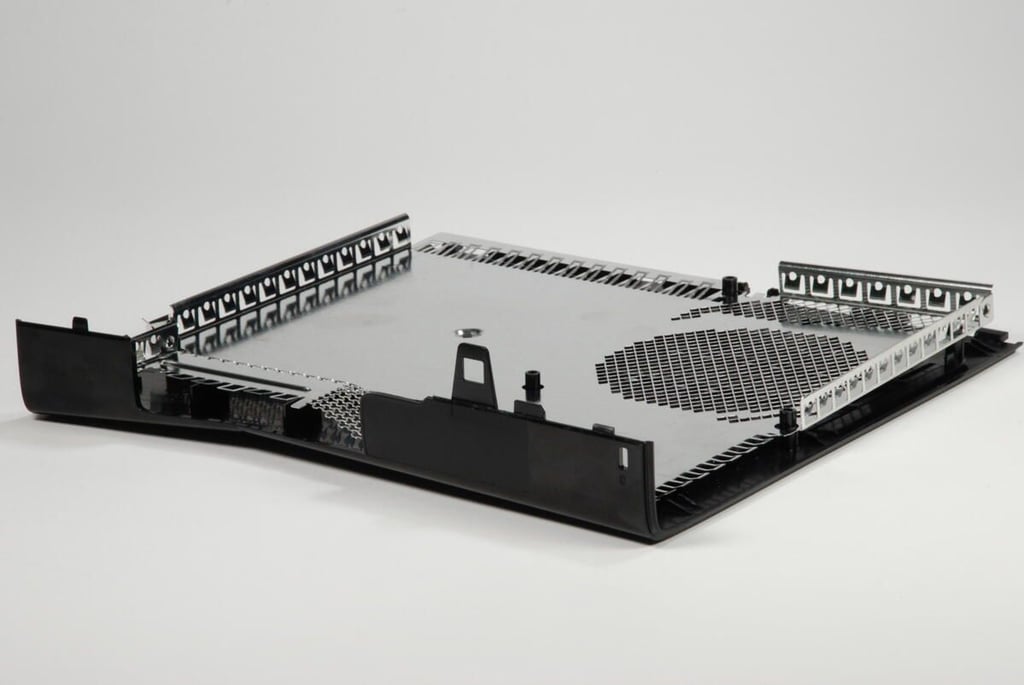
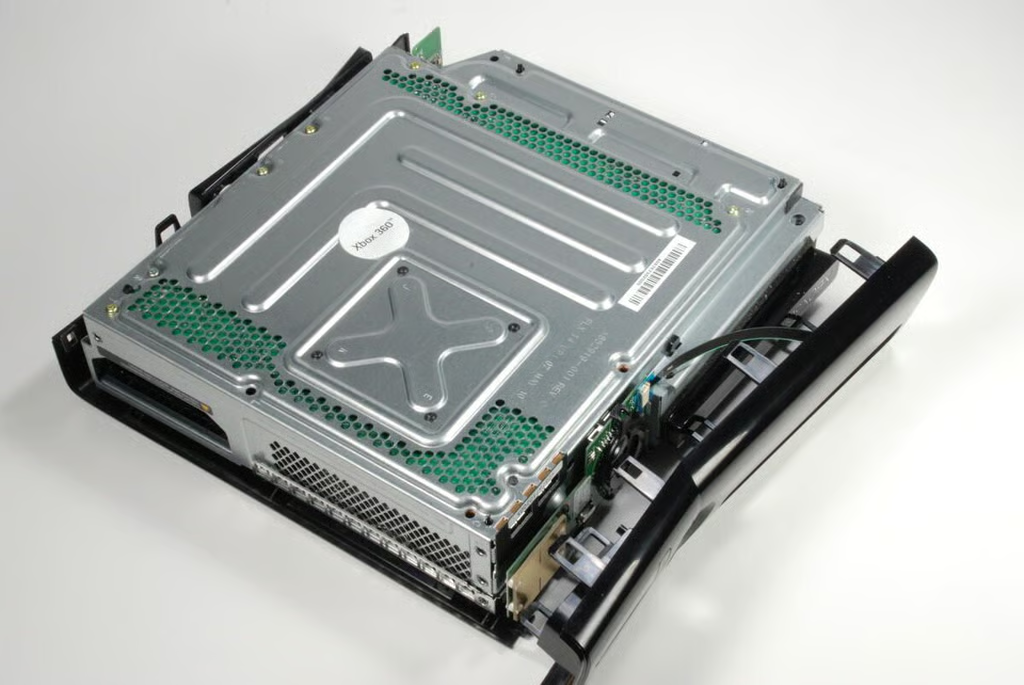
The upper half of the outer shell on the Xbox 360 S also serves as the top of the console’s internal metal case.
Photo credit: Bill Detwiler / CBS Interactive
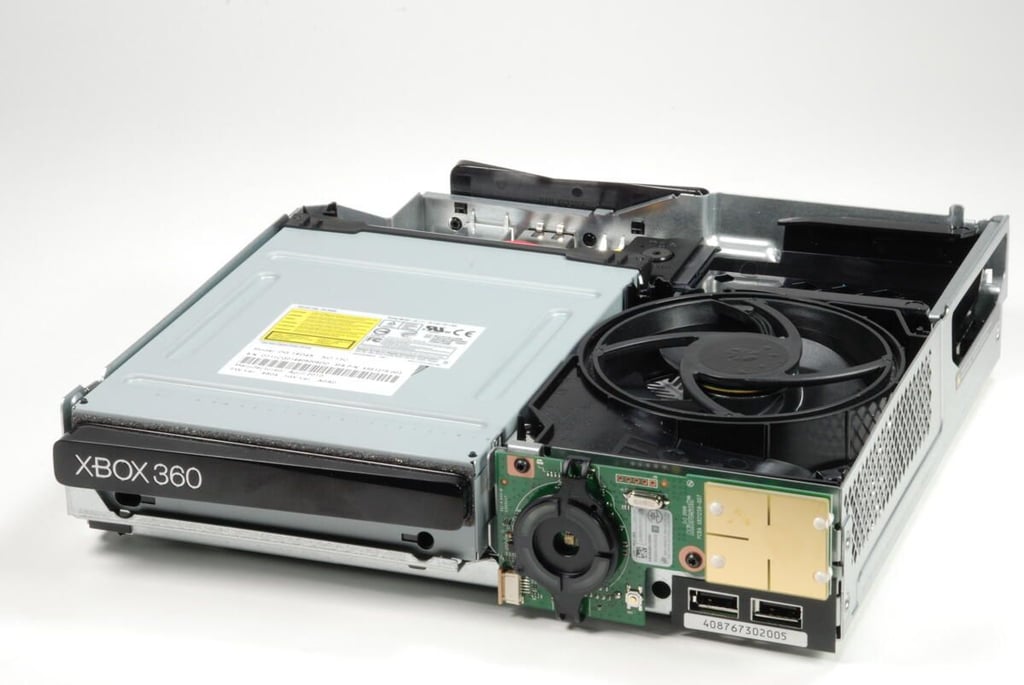
With the upper panel removed, we get our fist good look inside the redesigned Xbox 360 S. One key difference is immediately noticeable–the large single cooling fan.
Photo credit: Bill Detwiler / CBS Interactive
The DVD drive takes up much of the space inside the redesigned Xbox 360 S.
Photo credit: Bill Detwiler / CBS Interactive
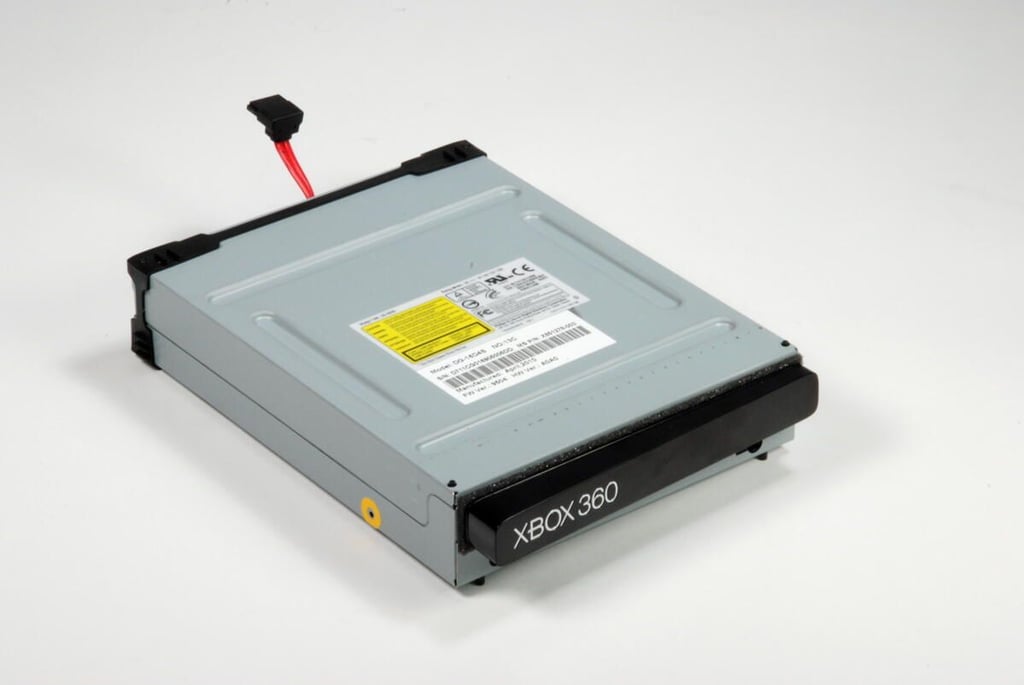
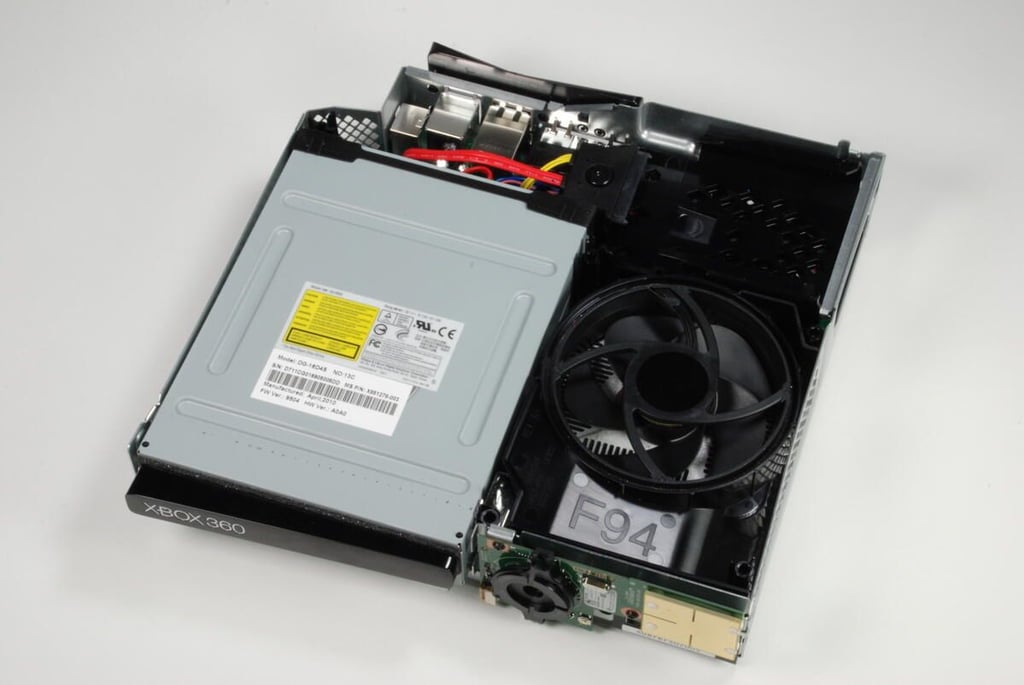
The Xbox 360 S has a Phillips & Lite-on DVD drive. It is easily removed by disconnecting the two cables that connect it to the main circuit board.
Photo credit: Bill Detwiler / CBS Interactive
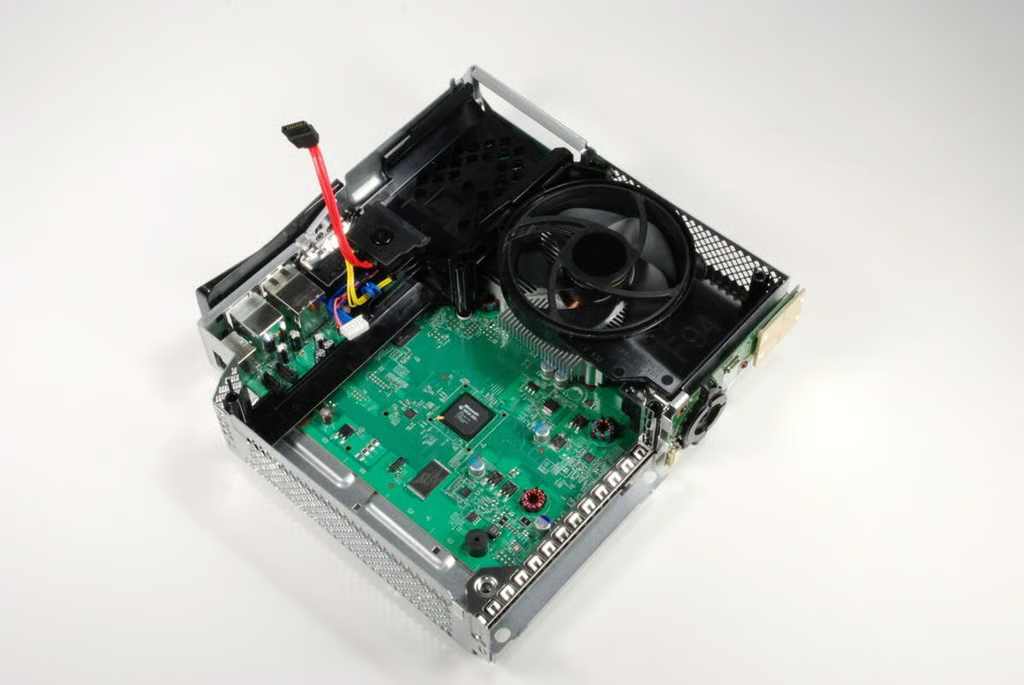
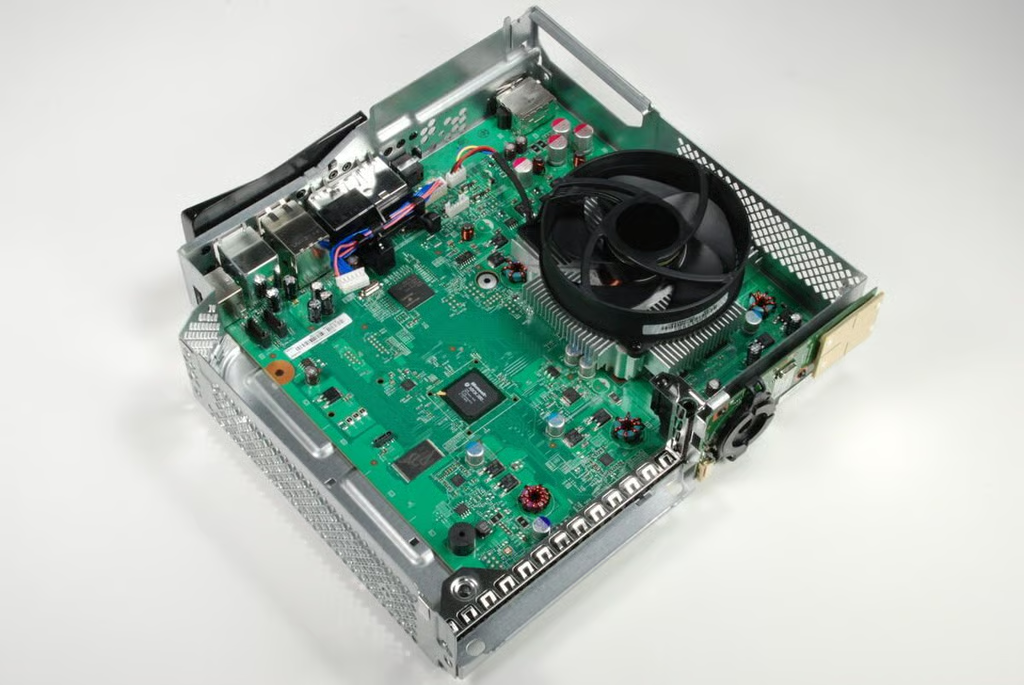
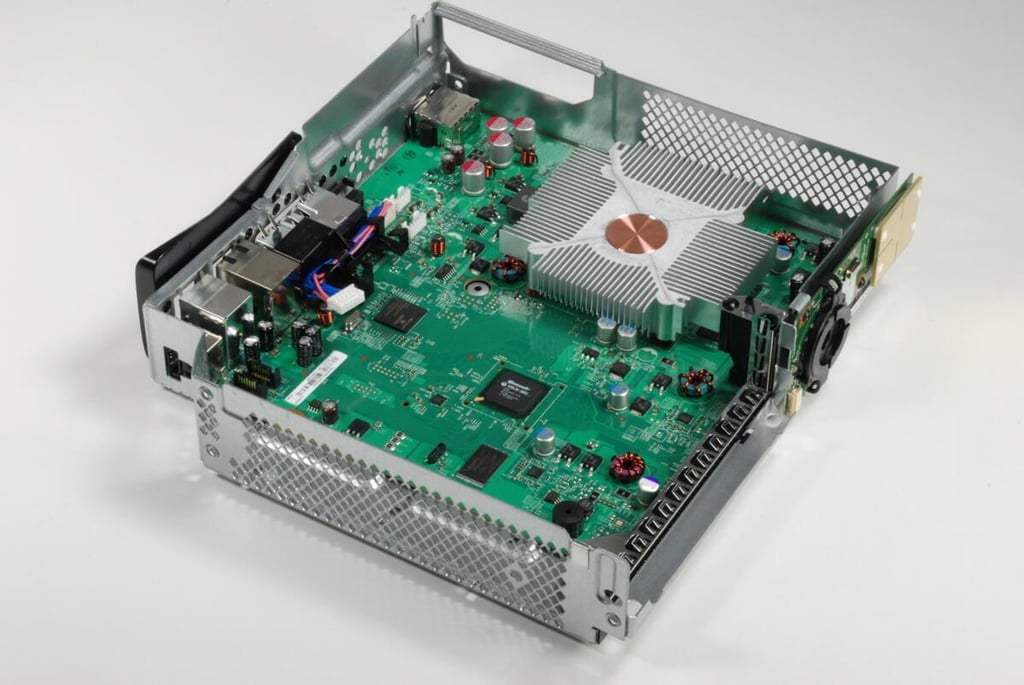
With the DVD drive removed, we can see more of the main circuit board on the Xbox 360 S.
Photo credit: Bill Detwiler / CBS Interactive
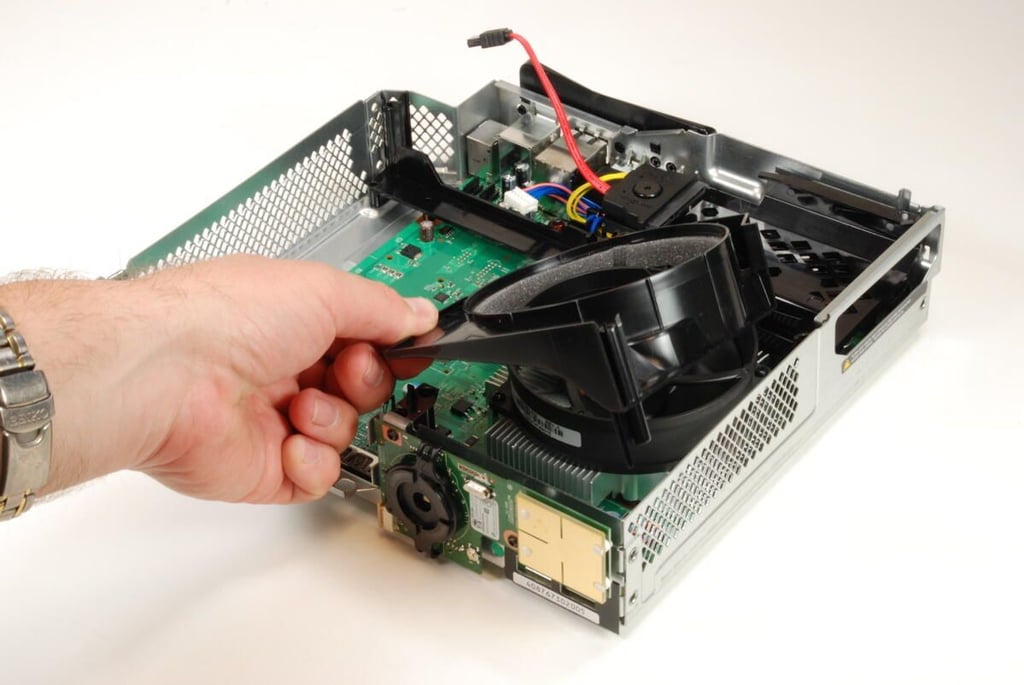
The large cooling fan is surrounded by a plastic cowling that likely helps to direct airflow across the heatsink and helps reduce noise. You can remove the cowling by gently lifting up on it and sliding it past the fan’s outer ring.
Photo credit: Bill Detwiler / CBS Interactive
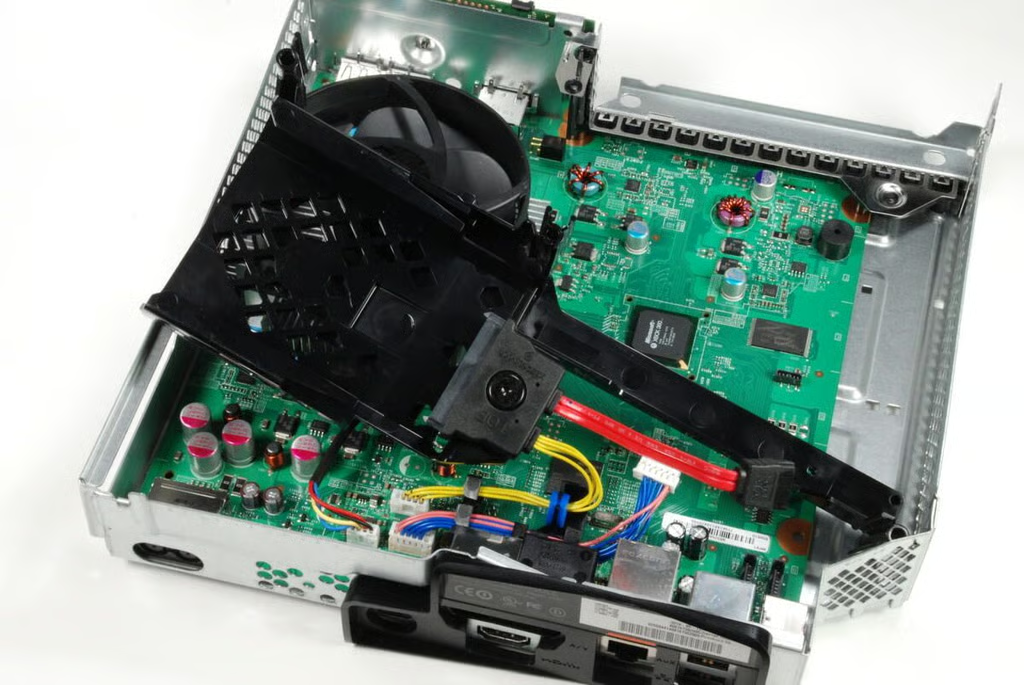
You can remove the plastic hard drive stand by disconnecting the cables and gently lifting it away from the main logic board and metal case.
Photo credit: Bill Detwiler / CBS Interactive
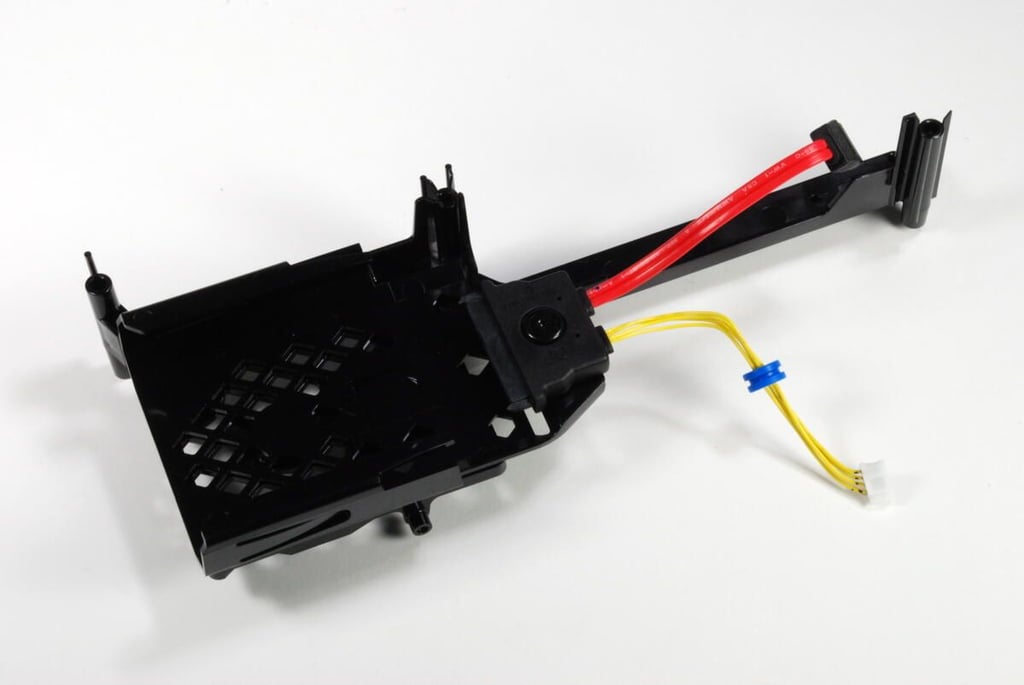
The Xbox 360 S 250GB hard drive sits on this plastic stand when it’s inside the machine. The stand also contains the cables needed to connect the hard drive to the main circuit board.
Photo credit: Bill Detwiler / CBS Interactive
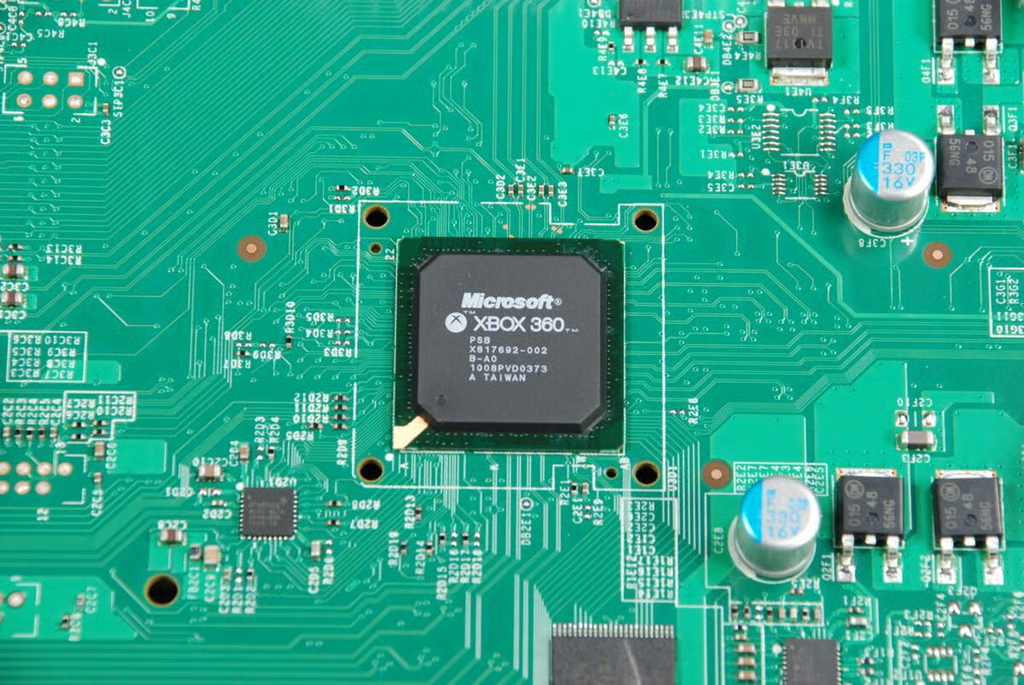
This Microsoft branded chip has the following markings:
XBOX 360
PSB
X817692-002
B-A0
1008PVD0373
A TAIWAN
Photo credit: Bill Detwiler / CBS Interactive
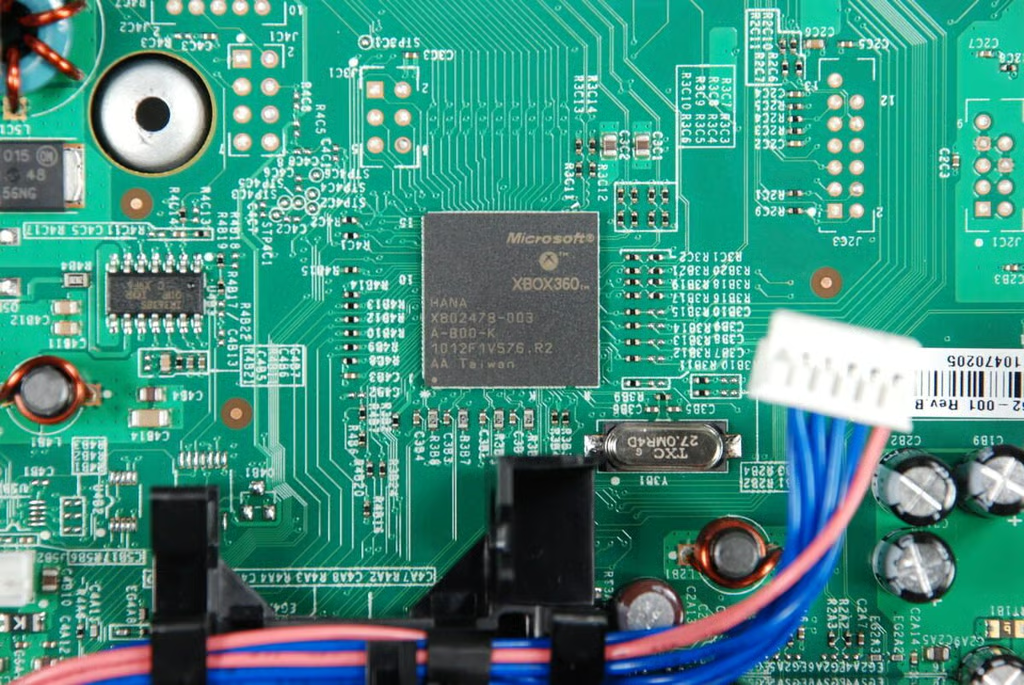
This Microsoft branded chip has the following markings:
XBOX360
HANA
X802478-003
B-B00-K
1012F1V576.R2
AA Taiwan
Photo credit: Bill Detwiler / CBS Interactive
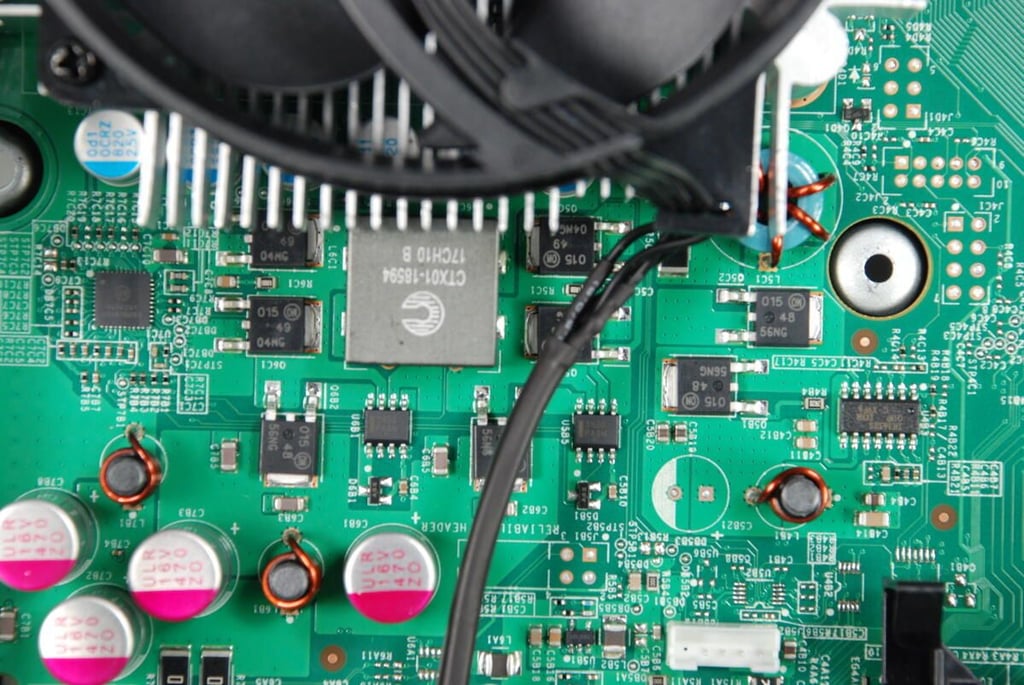
Photo credit: Bill Detwiler / CBS Interactive
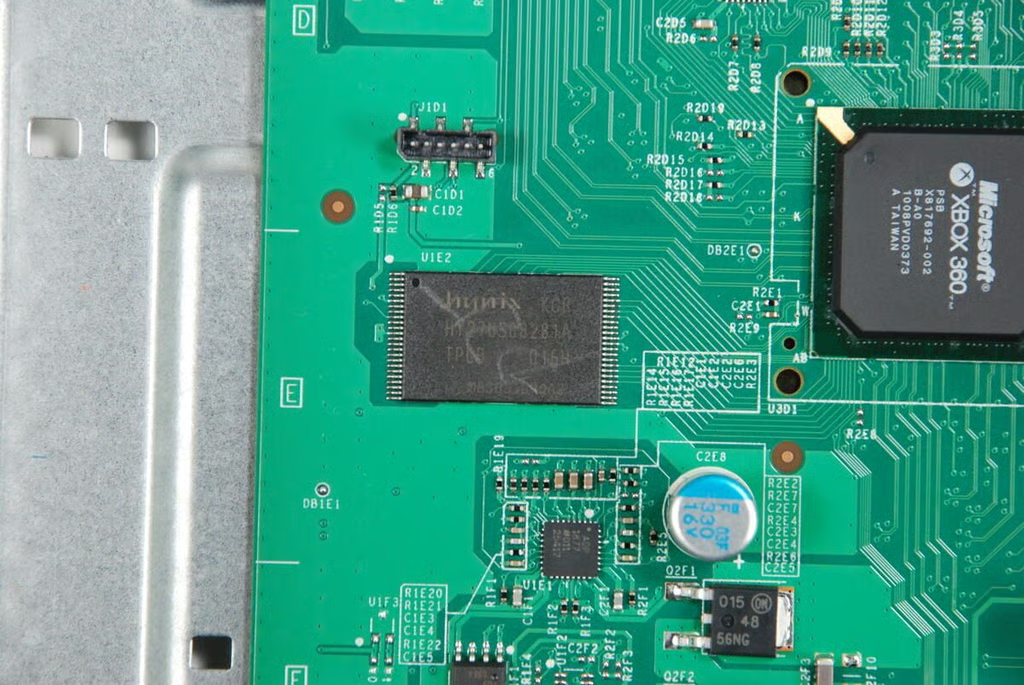
This is a HYNIX HY27US08281A 16M X 8bit NAND flash memory chip.
Photo credit: Bill Detwiler / CBS Interactive
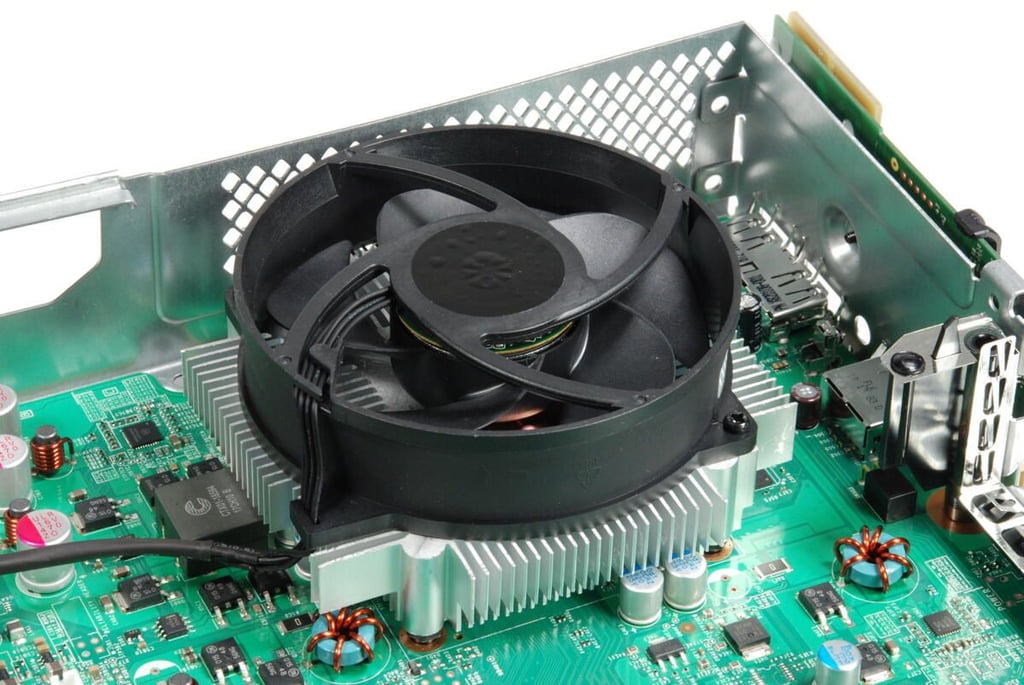
Previous Xbox 360 designs used two cooling fans, but the Xbox 360 S uses a single large attached to the top of the heatsink.
Photo credit: Bill Detwiler / CBS Interactive
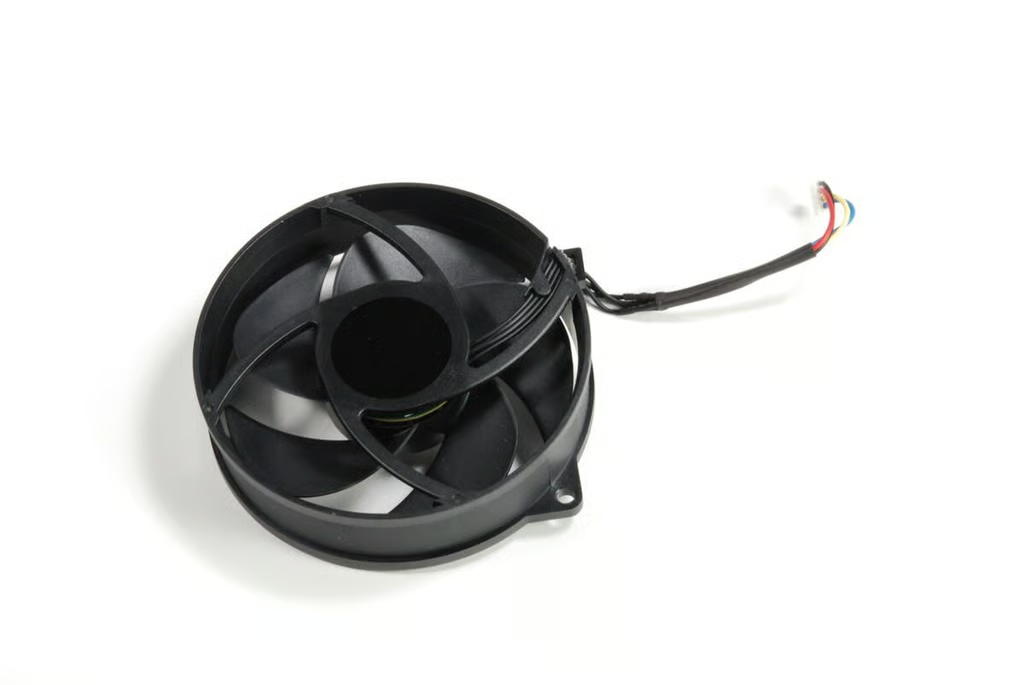
Photo credit: Bill Detwiler / CBS Interactive
With the cooling fan removed, we can we have an unobstructed view of the heatsink.
Photo credit: Bill Detwiler / CBS Interactive
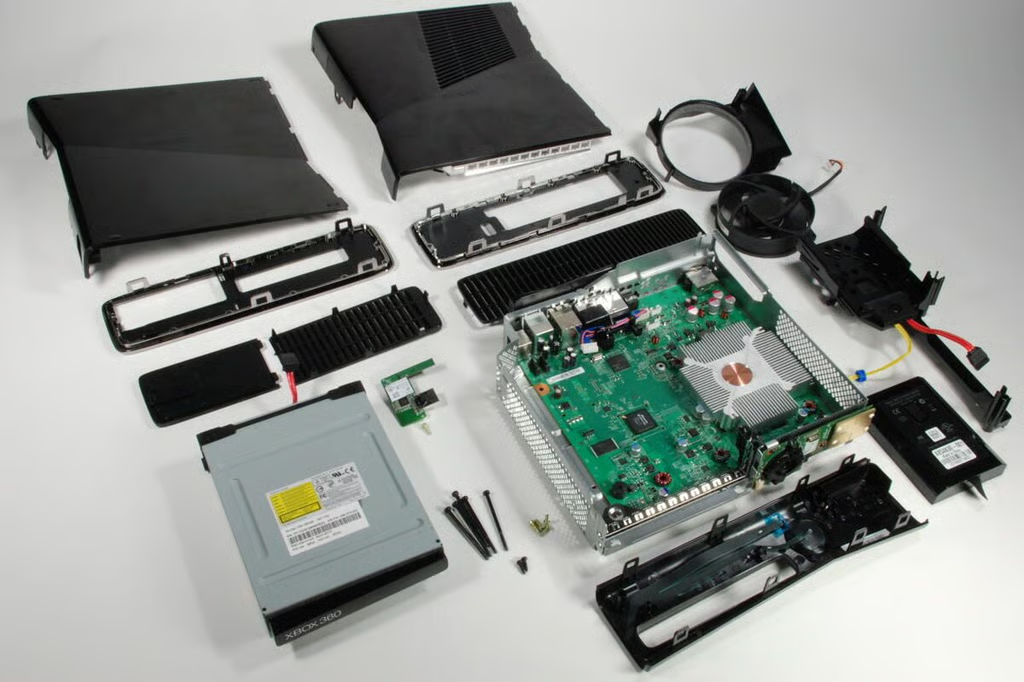
Removing the plastic shell was the most difficult step in disassembling the Xbox 360 S. But after that, the process went very quickly.
Photo credit: Bill Detwiler / CBS Interactive
Bill Detwiler is the Editor for Technical Content and Ecosystem at Celonis. He is the former Editor in Chief of TechRepublic and previous host of TechRepublic's Dynamic Developer podcast and Cracking Open, CNET and TechRepublic's popular online show. Previously, Bill was an IT manager in the social research and energy industries. He has bachelor's and master's degrees from the University of Louisville, where he has also lectured on computer crime and crime prevention.


