

Now that Nextcloud has stabilized into what very well might be the future of in-house file sync/share technology, you’re probably left wondering what to do about a desktop client. As of yet, a desktop client hasn’t surfaced for Nextcloud.
Will chaos ensue? Will cats and dogs live together with both casts of Ghostbusters?
No, and no.
What we’re going to do is install the ownCloud desktop client and connect it to a Nextcloud server. On the surface, that seems a bit wrong to install the competition’s software, for now that’s the only option.
SEE: Speculations on why ownCloud’s founder forked its popular product into Nextcloud
Installing the ownCloud desktop client
The installation will vary depending upon your platform; I’ll demonstrate installing on Ubuntu 16.04. If Ubuntu or Linux isn’t your thing, you can install the client on Windows, Mac, and Linux (CentOS, Debian, Fedora, openSUSE, RHEL, SLE, and Ubuntu).
To install the client on Ubuntu, follow these steps.
- Open a terminal window.
- Add the necessary repository with the command sudo sh -c “echo ‘deb http://download.opensuse.org/repositories/isv:/ow…. /’ >> /etc/apt/sources.list.d/owncloud-client.list”
- Update apt with the command sudo apt-get update.
- Install the client with the command sudo apt-get install -y owncloud-client.
- Allow the installation to complete.
Connect the client to the server
I assume you have a Nextcloud server up and running, and that you know the server’s address; with that said, locate the ownCloud client software in the Unity Dash (or your desktop menu of choice) and click to run.
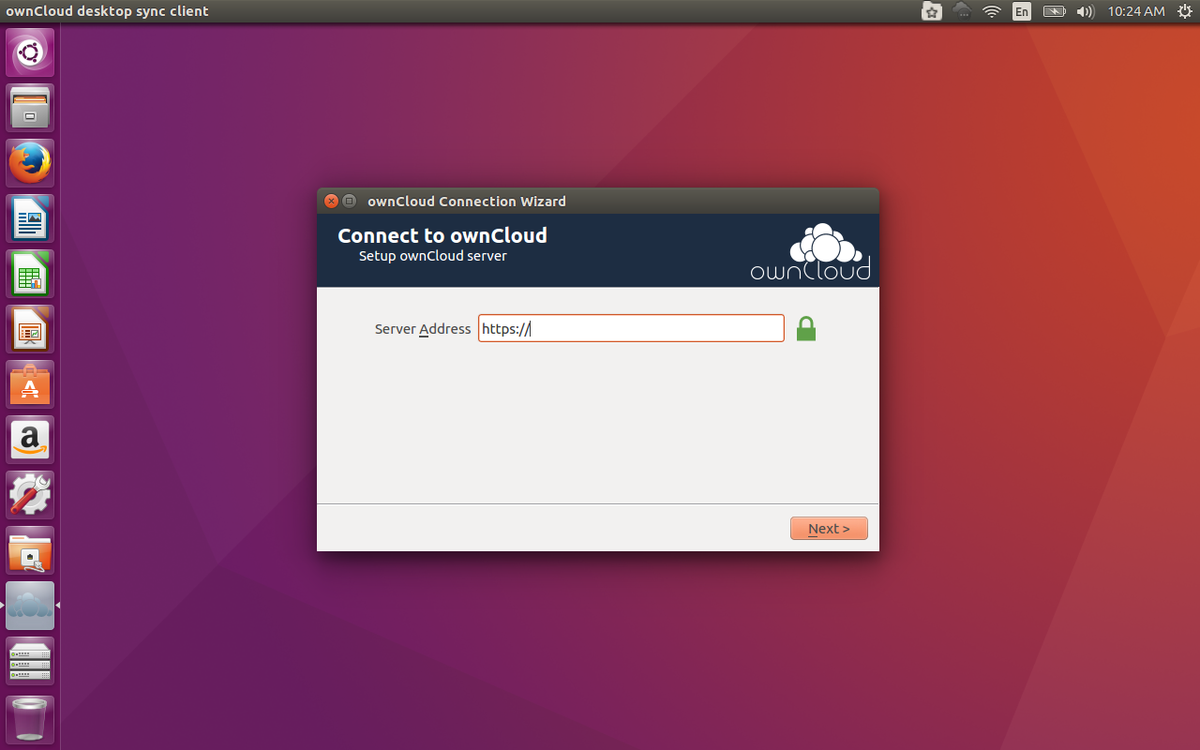
In the first screen to open (Figure A), enter the full address of your Nextcloud server. For my instance, that address is https://192.168.1.228/nextcloud. Once the information is entered, click Next. If your server is using SSL, depending upon your setup, you might see an untrusted certificate warning. Click the Trust This Certificate Anyway checkbox and click OK.
Figure A
The following screen (Figure B) requires a valid Nextcloud username and password. Enter that information and click Next.
Figure B

The next window (Figure C) asks what you want to sync. The client will automatically determine how much data you have on the server and if you already have Nextcloud data on your system.
Figure C
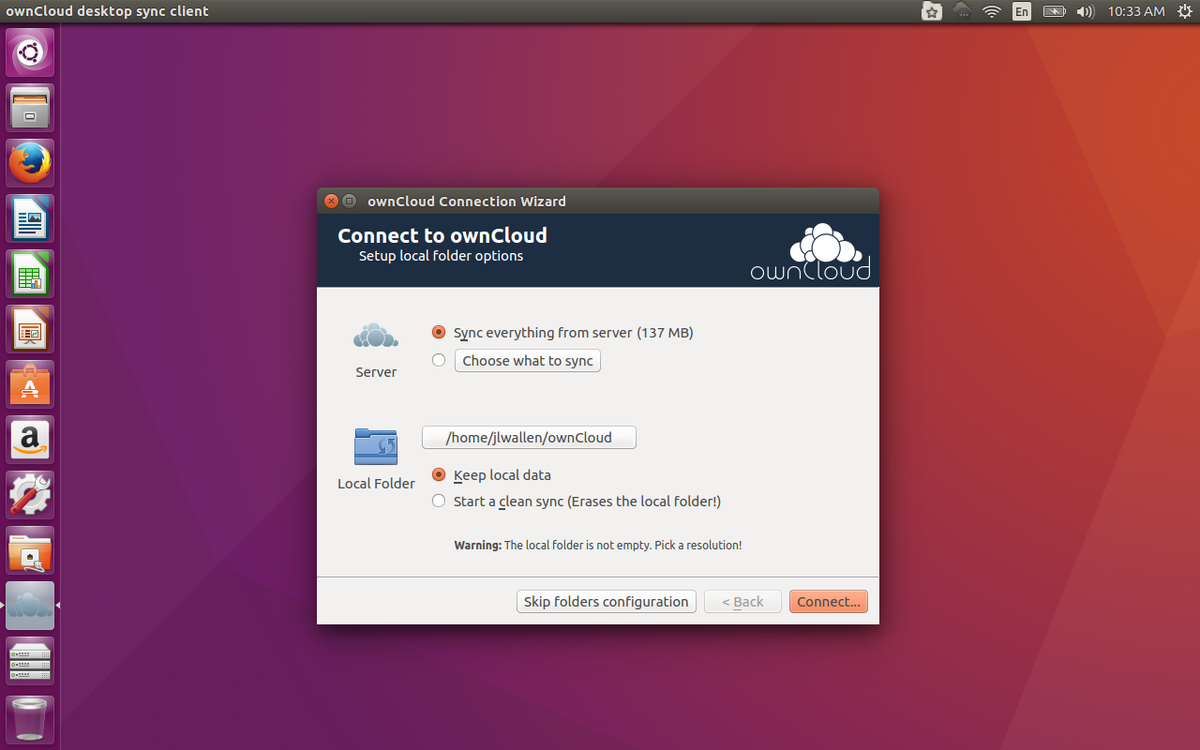
The client setup allows you to choose a folder to house the Nextcloud data, as well as what specifically to sync from the server. Once you’ve chosen your options, click Connect and then Finish.
Enjoy!
Now you can enjoy the benefits of the desktop client with your Nextcloud server, including notifications and drag and drop from your file manager. Although you can connect to the Nextcloud server via a browser, the benefits of the desktop client make working with the server so much easier.
