
If your Windows machine is regularly crashing, freezing or giving you the dreaded blue screen of death, it could have defective physical memory. Luckily, Windows 7 through Windows 11 have a built-in tool to help you test for this.
Testing your RAM with Windows Memory Diagnostic
If Windows detects that your RAM might be failing, it will automatically run the Memory Diagnostic tool when the machine boots. However, you can also run the tool yourself if you want the most immediate results.
PREMIUM: Use this checklist to manage and troubleshoot Windows user accounts.
1. Open Windows Memory Diagnostic
For Windows 10 and 11, right-click the Start icon and choose Run or click the Search icon, enter mdsched and press enter (Figure A).

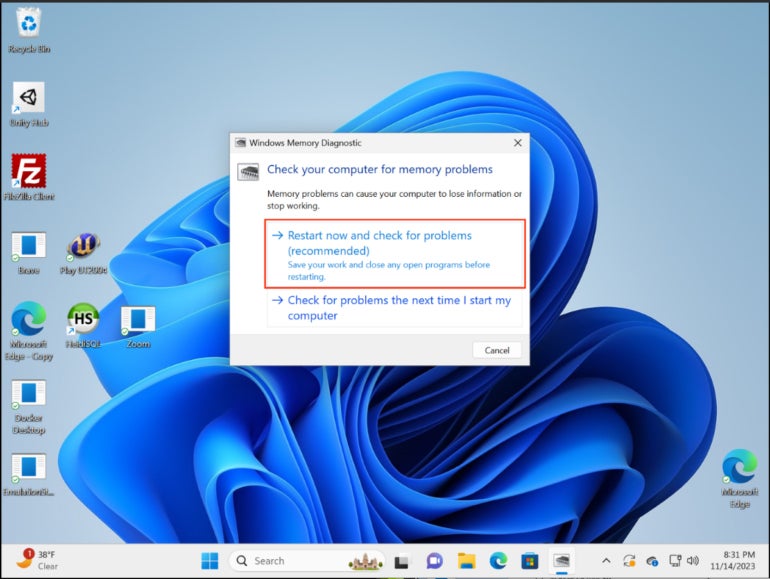
2. Begin the diagnostic
Select Restart now and check for problems, or select Check for problems the next time I start my computer. If you opt to restart and run the tool now, remember to save your work and close any open programs before doing so. Once the machine restarts, the tool will launch and run the memory test (Figure B).
3. Review the diagnostic progress
When the computer restarts, you will see a blue screen, which will track the testing progress. You can press F1 to change the test options or let it run with the standard settings (Figure C).
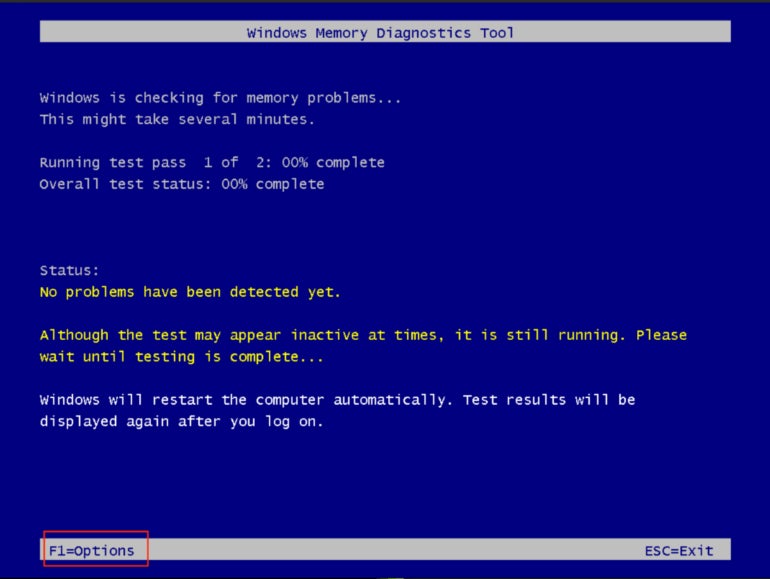
The Standard test should work for most troubleshooting scenarios. Let the test run, which can take upwards of 20 or 30 minutes depending on your memory configuration.
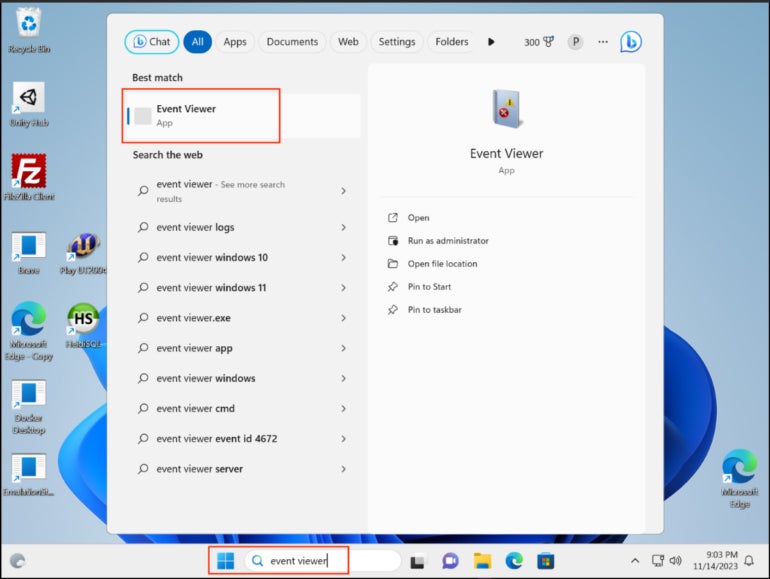
4. View the completed results
Once the test is complete, Windows will continue to start, and after a few minutes, you may see a pop-up showing the results.
Disclaimer: In my experience, I did not see a pop-up. It is possible the pop-up only appears if you have a memory problem.
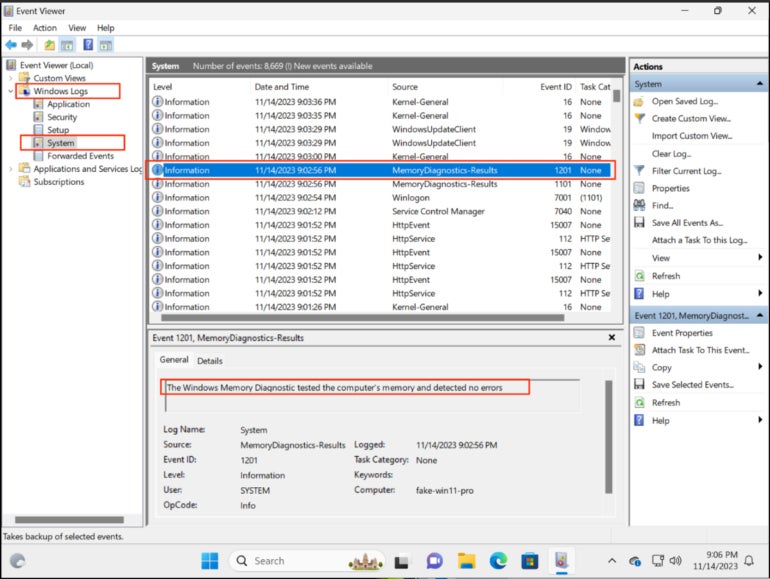
You can also view the results by typing “Event Viewer” into the search box (Figure D).
From there, expand Windows Logs, click System and then select the most recent log with MemoryDiagnostics-Results as the source (Figure E).
Going further
If you’re lucky, you won’t see any errors. If any errors are listed, your RAM might be faulty. This may only require unseating and cleaning the memory and the related slots — compressed air works well for this — but if the issues persist, it may be time to replace your RAM.
SEE: Set up your Windows 10 system with safe mode.
If you have multiple RAM DIMMs, I recommend buying and then swapping each in turn before re-running the memory test to isolate the defective RAM. You may not need to pay to replace multiple DIMMs if only one is faulty.
If all else fails and you’re not sure how to proceed, contact your machine’s manufacturer for more help.