


Image: Apple
Must-read Apple coverage
- Nearly 7 in 10 iPhone Owners Plan iPhone 17 Upgrade
- Apple Prepares AI-Powered Siri Upgrade With Google Search Integration
- Apple’s Xcode 26 Beta Now Supports GPT-5 and Claude
- Apple’s Vision Pro Adoption Stalled As Content Released ‘Drip by Drip’
The biggest, most important assets in our lives require regular upkeep to ensure they function well. Cars go to mechanics, contractors repair houses, and, whether we realize it or not, our computers need maintenance despite a lack of moving parts or exposure to the elements.
Old programs leave behind traces of code, apps that force their way onto startup lists ensure they’re always on and hogging memory, and caches get backed up and slow performance. Luckily, all of the problems that need fixing are digital, so they’re much easier to take care of at home—no expert needed.
Take Apple’s macOS laptops and desktops: They’re great machines when they’re running well, even into old age, but they require regular maintenance to continue to perform. These 10 macOS maintenance tips are designed to help MacBooks, iMacs, and other macOS Big Sur computers operating at peak efficiency, all without a single third-party app.
SEE: 10 acOS tune-up tricks for your Mac (free PDF) (TechRepublic)
Volume First Aid
The macOS built-in Disk Utility app has a First Aid function that can diagnose errors in the way macOS has formatted directories, repair software errors, and even detect if a drive is going bad and needs replacing.
Run the Disk Utility by typing its name into Spotlight (hit command + space bar) and clicking on it. On the left hand side of the Disk Utility app, you’ll see the names of the volumes and partitions on your Mac (Figure A). Right-click on the disk partition you want to perform first aid on and click the First Aid menu item.
Figure A
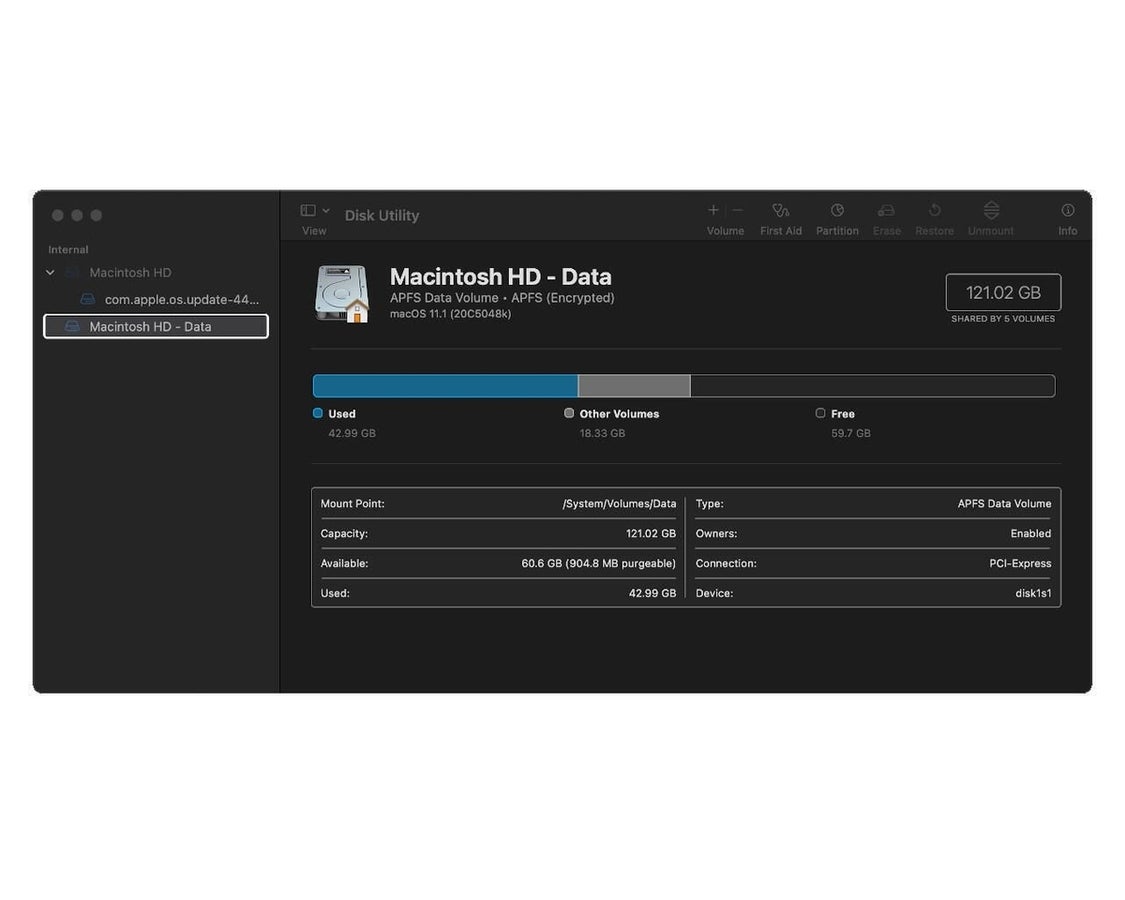
Follow the on-screen prompts, and get ready to wait for a bit–this can take a while, depending on how large your disk is, and Disk Utility takes over your whole machine while performing its scan.
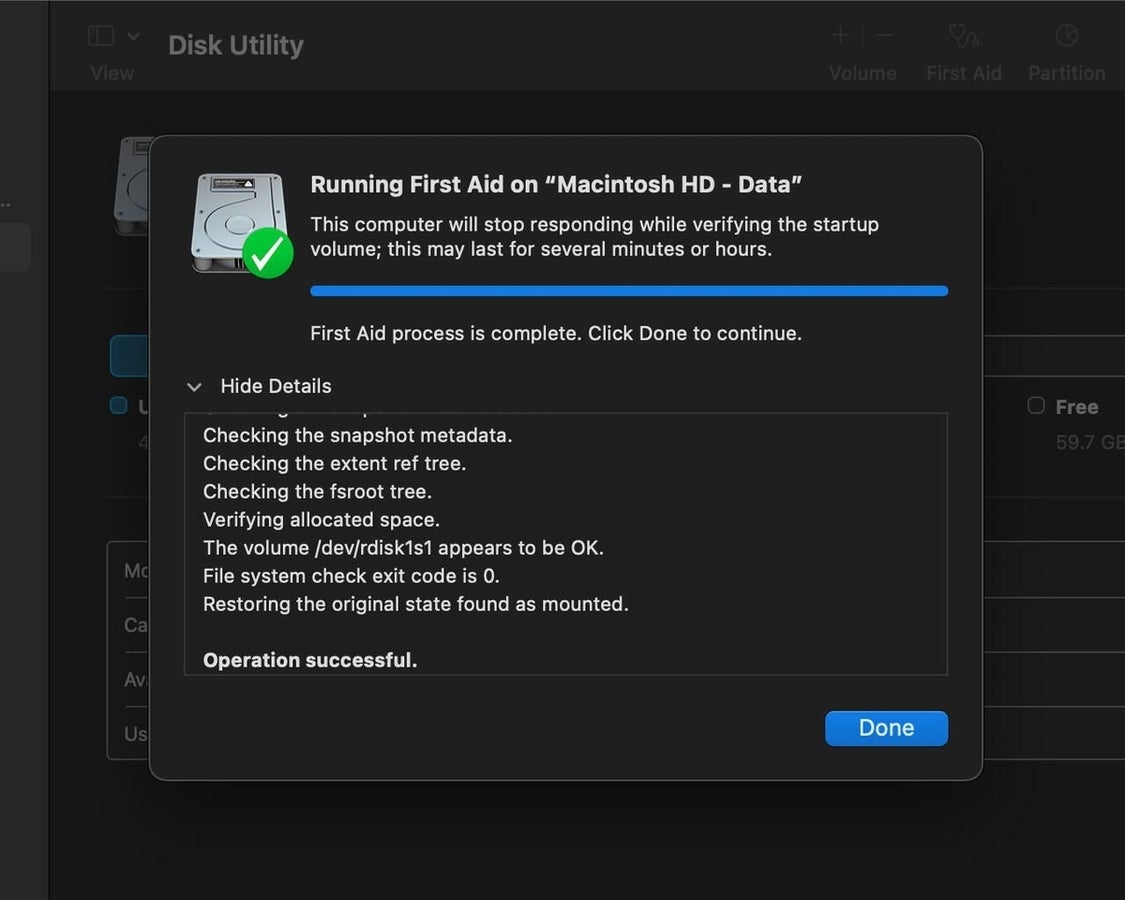
When complete, you’ll see a window in front of the Disk Utility app (Figure B) that displays the result of the scan.
Figure B
Manage your storage
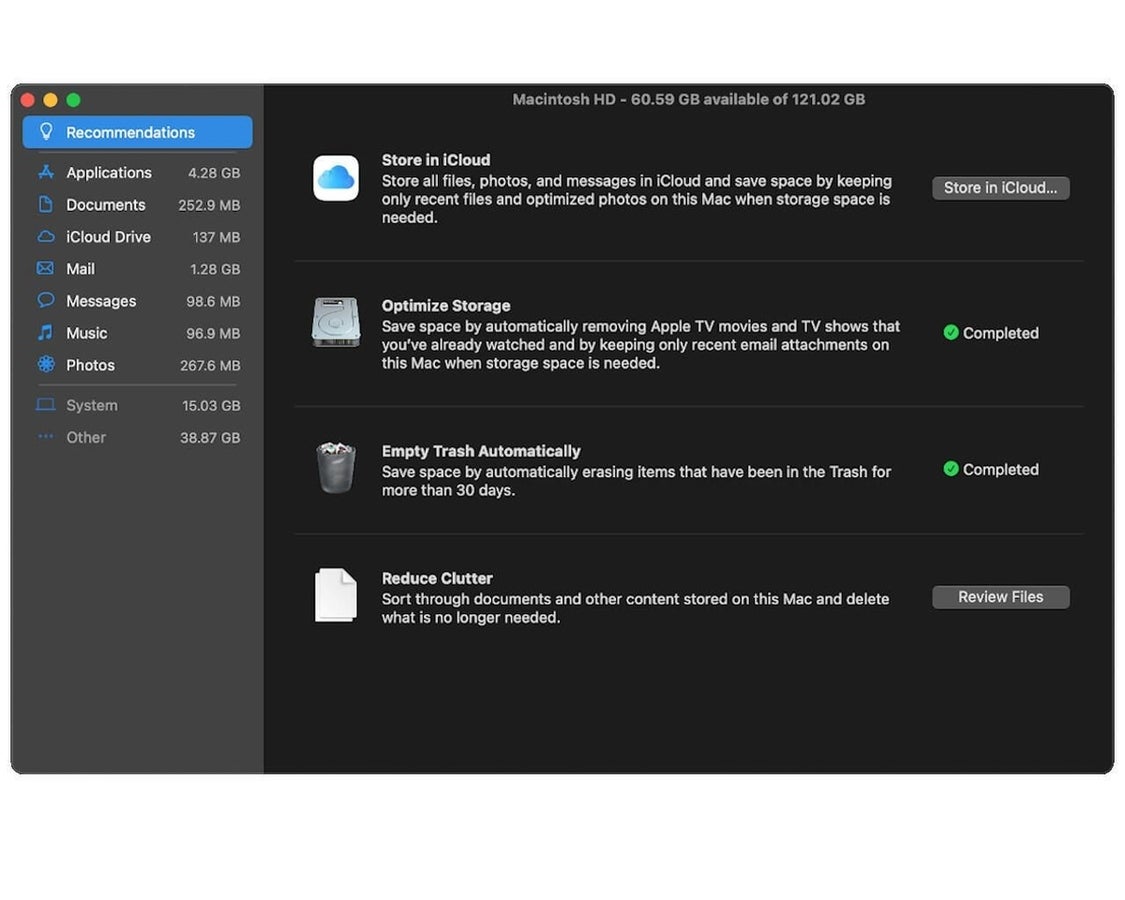
A full hard drive will slow any computer down. Luckily, macOS has a built-in Storage Management app that can take some of the guesswork out of how to free up hard drive space.
Launch Storage Management using Spotlight, and you should see the screen shown in Figure C. There are four recommendations: Store in iCloud, which lets you offload seldom-used files, photos, and messages to your iCloud account in order to free up disk space, Optimize Storage, which lets you give macOS permission to offload certain files and media, an option to toggle automatic trash deletion on or off, and Reduce Clutter.
Figure C
Clicking Reduce Clutter will bounce you over to the Documents tab (Figure D), where you should typically see a list of large files that could be deleted (I clear mine out regularly) and access other tabs that show unsupported files, old downloads, and the like.
Figure D
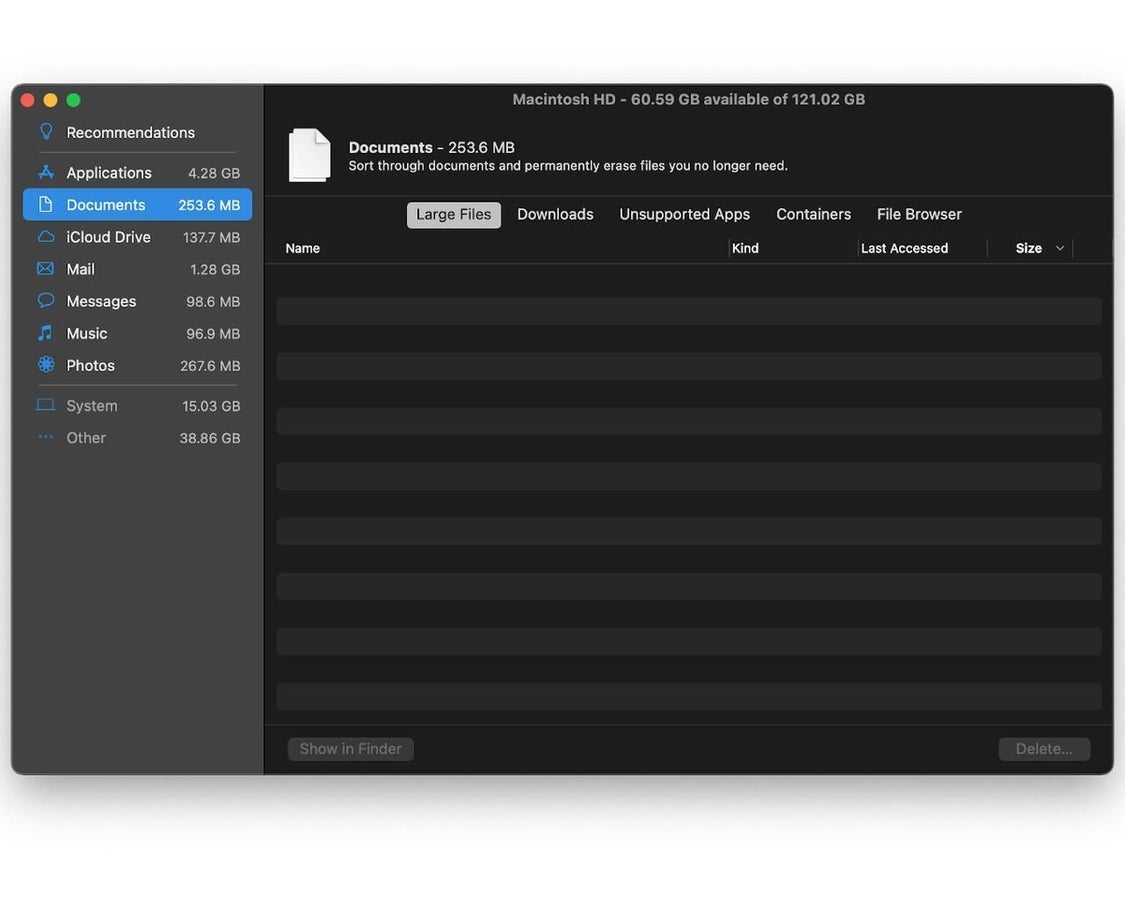
The other sections of Optimize Storage provide more information on what’s taking up space, but its suggestions are generally sufficient to make an improvement.
Make sure updates are happening
Keeping your system up-to-date can keep it running smoothly, and Apple makes it simple to ensure your Mac stays that way. Inside the System Preferences app is the Software Update area, where you can check for updates and tweak update settings.
Click on Advanced to see macOS’ update management options (Figure E). You’ll find the ability to toggle on or off options like downloading updates in the background, automatically checking for updates, and automatically installing updates.
Figure E
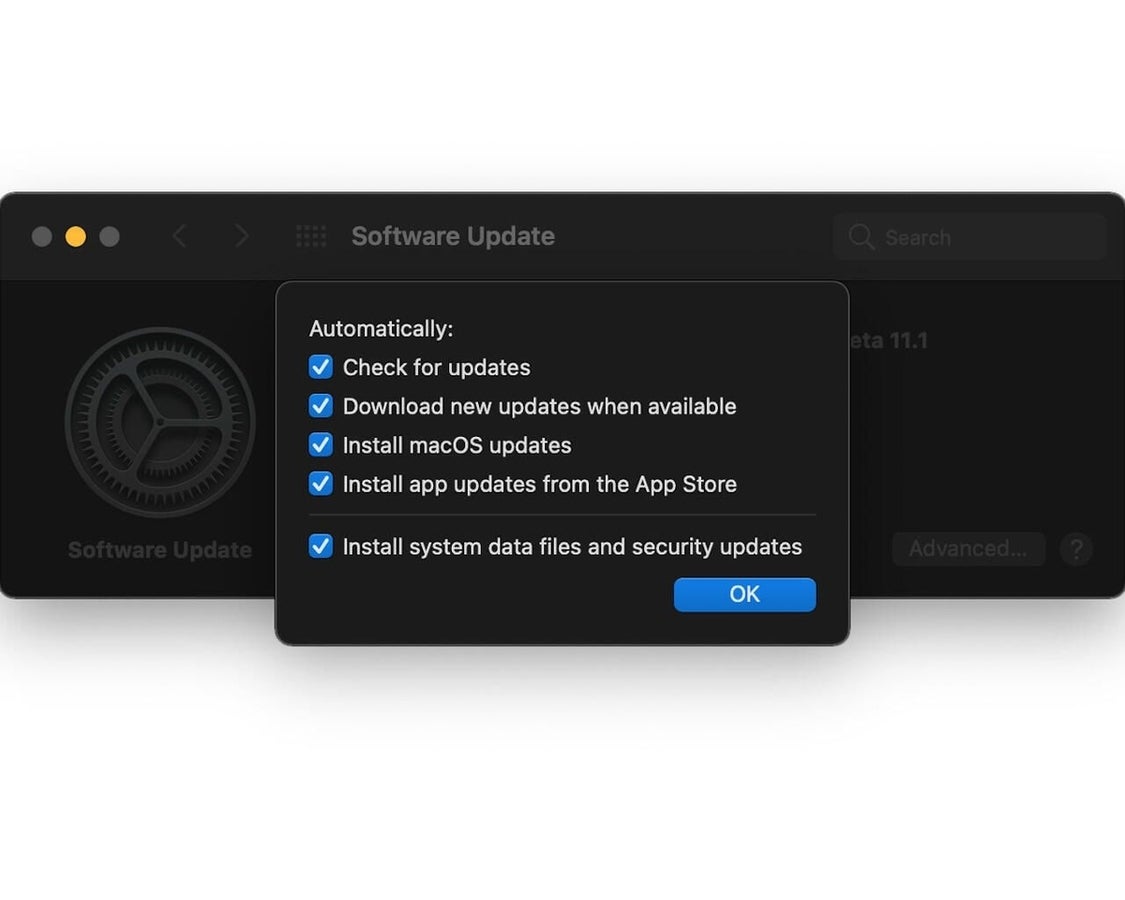
Apple made changes to macOS’ update process in Big Sur that now allow updates to download in the background, so it’s even easier now to update a Mac, meaning you should definitely do it.
Reboot regularly
In the short term, computers have a tendency to slow down between reboots because caches build up, temp files eat up space, and a growing number of system processes eat up resources, among other things.
Regular reboots of your Mac will flush its temporary storage spaces and give macOS a chance to reinitialize and have a fresh start. There’s no reason not to simply restart your machine every night at the end of the workday, giving you a fresh desktop to start the day with.
Re-index spotlight
I mentioned Spotlight above as a quick way to open apps: Just hit command + space bar and you’re instantly able to search for any file on your computer. Emails, media, browsing history, apps—it’s all there if you want Spotlight to be able to search for it.
As with other indexes of computer storage, Spotlight’s database can sometimes need a reboot, but there’s no automated way to do it, so you’ll have to go about it the manual way.
Open System Preferences and look for Spotlight. On the screen that opens you’ll see a full list of the categories of items Spotlight will index. Feel free to change anything you don’t want indexed here, otherwise click on Privacy at the top of the window.
In Privacy (Figure F) you’ll see a list of all the locations on your Mac’s hard drive Spotlight has been told not to index. To recreate the full-disk Spotlight index click the plus sign at the bottom of the window, add your entire Macintosh HD to the list, and click Choose.
Figure F
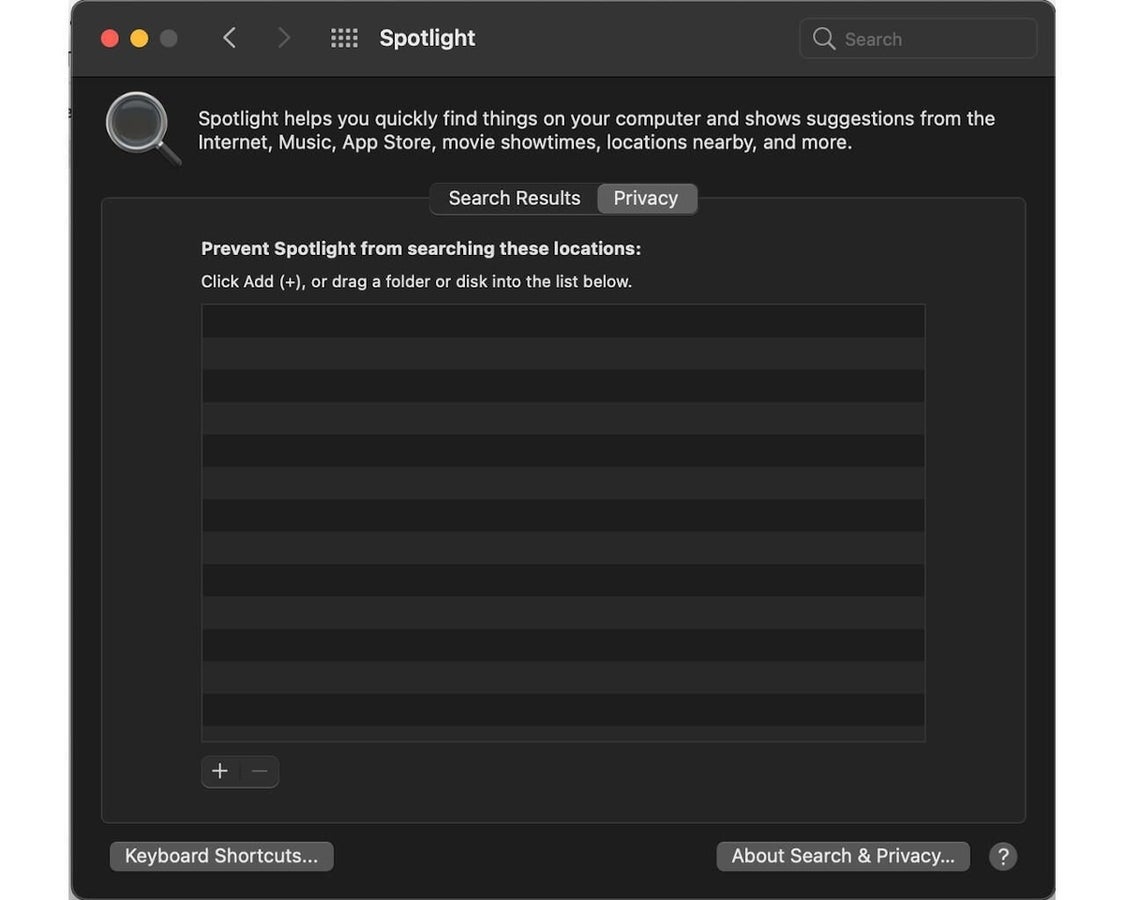
Back on the Privacy screen, click on the hard drive you just added to the list, then click on the minus sign next to the plus you clicked to add it. That will remove the disk from the Spotlight blacklist and force the computer to re-index it. Note: Reindexing can take some time, during which Spotlight or the machine in general may be sluggish.
Check login items
Logging into macOS triggers some privileged apps to start up as well. This can slow down login times and cause the whole computer to slow down as more and more apps assume themselves to have the right to be members of this select list.
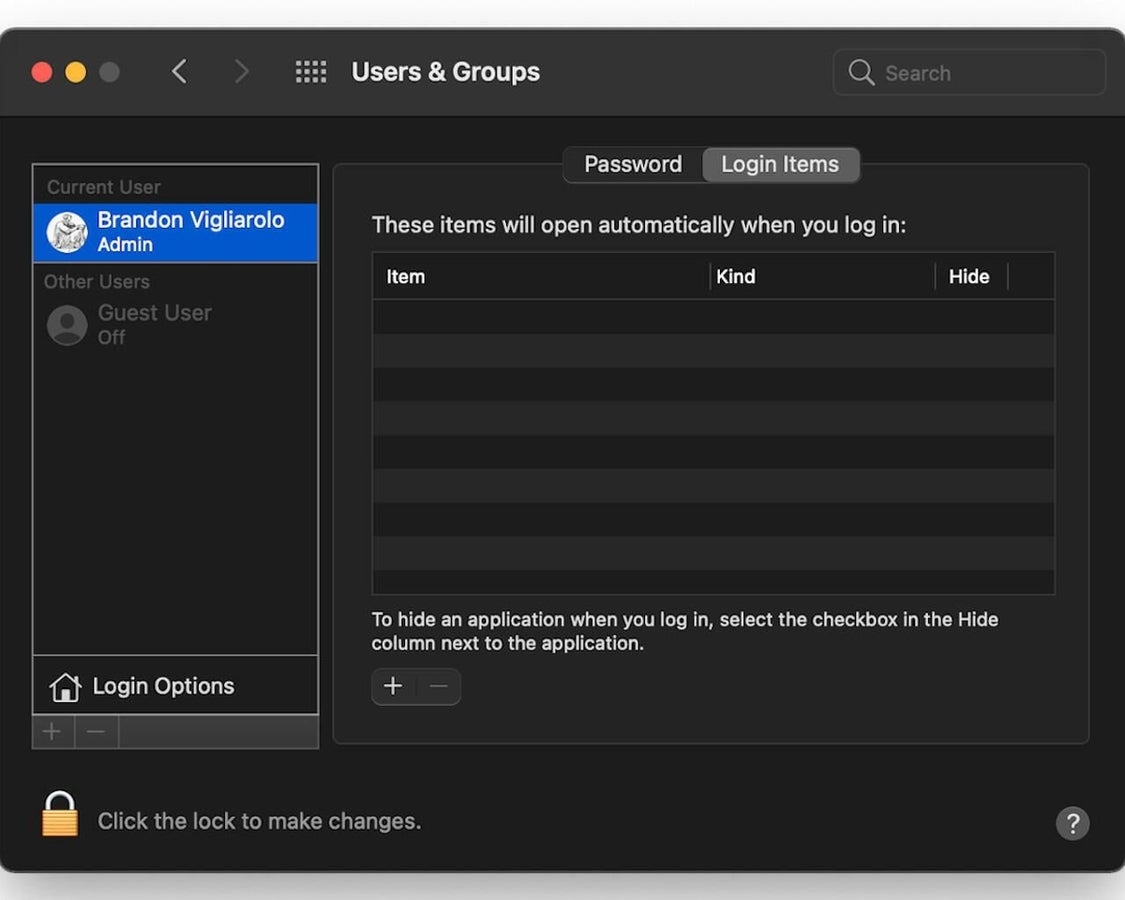
To check what apps are starting up, and expel the ones that shouldn’t be there, open System Preferences, the click on Users and Groups.
One of the options in Users and Groups is Login Items (Figure G). Click on that and you’ll see a list of everything that starts up when you login to macOS. I’ve disabled everything: I don’t want a single megabyte of my RAM being used unnecessarily!
Figure G
Close apps, don’t just minimize them
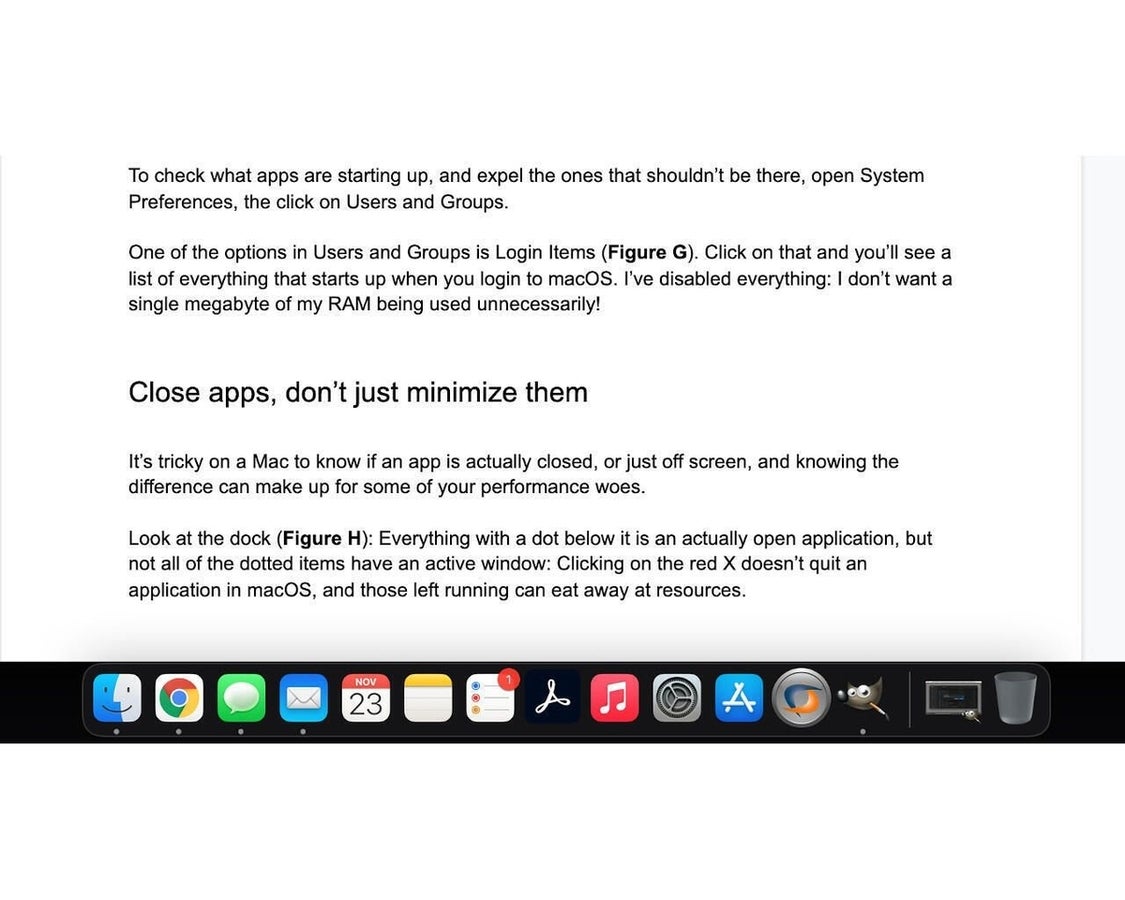
It’s tricky on a Mac to know if an app is actually closed, or just off screen, and knowing the difference can make up for some of your performance woes.
Look at the dock (Figure H): Everything with a dot below it is an actually open application, but not all of the dotted items have an active window: Clicking on the red X doesn’t quit an application in macOS, and those left running can eat away at resources.
Figure H
When you’re done using an app, either quit it by pressing command + Q, or right click on it in the dock and choose Quit. If the app is pinned to the dock the dot will go away, otherwise the app icon will disappear entirely.
Clear your caches
Computers create temporary caches for lots of reasons, mainly to store certain app states, remember your browsing history and passwords, create temp backups of documents you’re working on, and more.
These files can get huge, and macOS doesn’t have any good option for clearing caches out in a centralized location: You either have to know how to do it in a particular app or go about it this way.
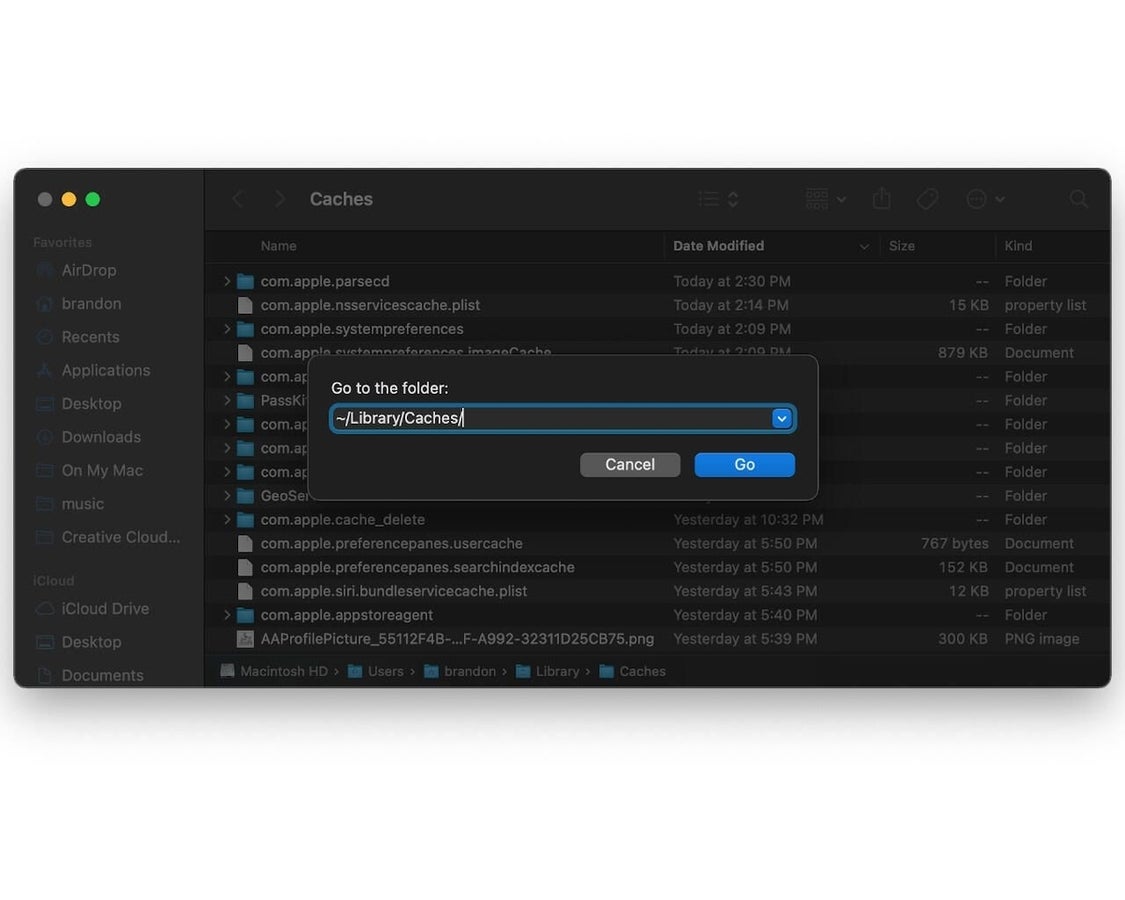
In the Finder, choose Go, then Go To Folder. In the field that appears (Figure I) type in ~/Library/Caches/ and then choose Go. The directory that appears is all the caches apps have created on your behalf. You can delete older ones, ones that belong to apps you no longer have, or anything else you’re sure isn’t important. Just know that doing this is taking matters into your own hands and changes you make could have an impact on important data.
Figure I
Perform memory resets
There are two elements of a Mac’s memory that can wear with age, but a quick reset can handle problems with both.
The first, NVRAM (nonvolatile random-access memory) and PRAM (Parameter RAM), is where macOS stores settings it needs to access quickly. Both have the same reset steps and are covered in detail by Apple.
The second area that can need resetting is the system management controller, or SMC, which handles things pertaining to power and thermal management. Resetting this is a bit complicated, like the NVRAM and PRAM process, and is covered by Apple on its site.
Offload large applications
There are a few applications that I run on my Macbook Air that require large local files to operate. With my small system drive (just 125GB) I’ve taken to storing the apps, and their files, on a 1TB USB-C SSD. Keeping free space on the system drive of your computer is essential, which is why cloud storage (or a local external disk for large applications) can be a life saver.
Solid state USB drives are surprisingly cheap, and are on sale all the time at places like Best Buy, Amazon, and Walmart. If you’re using a Mac with a small drive, or simply want to save as much space on your system drive as possible, get an external SSD: It’ll change your life.