


For the longest time, anyone needing to take photos to be used for the purpose of marketing, documentation, archival, etc. had to carry with them a Digital Single Lens Reflex (DSLR) camera to get the best quality photo. That’s not always the case now. With smartphone cameras equally or, in some cases, surpassing the quality of photos taken by DSLR camera, you have everything you need in your pocket to take promo-quality photos.
That quality hardware doesn’t always equate to the best possible picture. And so, I’ve gathered together some of my best tips for taking better photos using the Android platform. Let’s see how many of these will improve your end results.
Know your settings
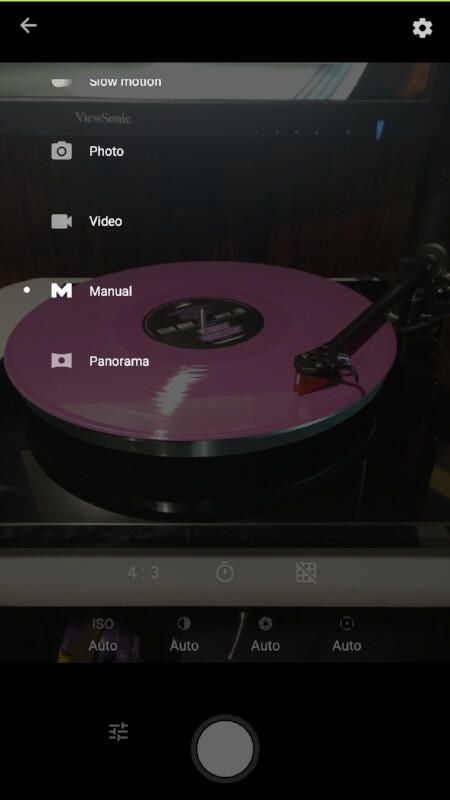
Very few smart phone cameras offer the extensive settings found in a DSLR camera. In only very few Android camera apps (one example is Manual Camera) can you adjust all of the pertinent settings: ISO, aperture, exposure time. In many cases (where these options are available), you will find some of the options in the Manual option (Figure A). If your camera app does offer these settings, at least know the following two:
- Exposure time – How long your shutter remains open for taking a picture. In low-light settings, the exposure time should be longer. The trick is, however, when you adjust to longer exposure times, it is imperative that you hold the phone completely still.
- ISO – The light sensitivity of your camera’s sensor. The higher the value, the more sensitive the sensor. In low light conditions, a higher ISO and longer exposure time is ideal.
Figure A
A third important setting is Aperture. This setting is (in most cases) not available on a smartphone camera (the Manual Camera app does include aperture). This is an adjustment that changes the amount of light reaching the image sensor.
Get to know manual focus
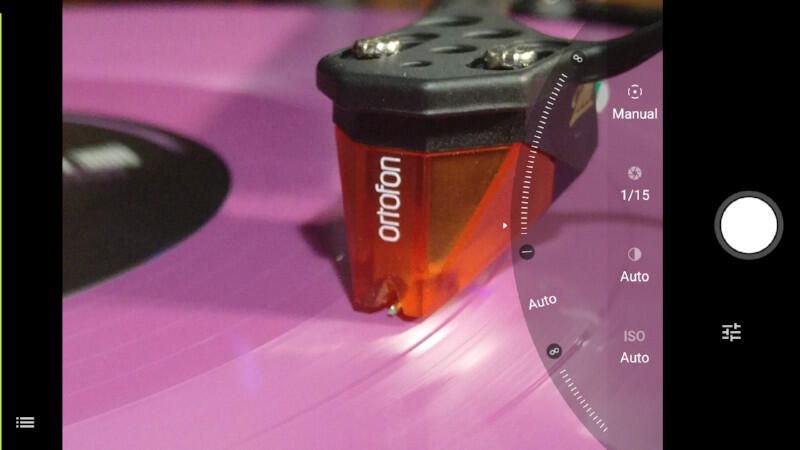
Smartphone cameras have a pretty good autofocus built in. However, it’s not always perfect. There may be times when you’re trying to frame an image to focus on a certain point, and auto focus insists it focus on another point. To that end, you need to understand how manual focus works on your phone’s camera app (Figure B). Manual focus isn’t always the easiest route to taking photos on a smartphone, but once you get accustomed to how it works, your camera app will be far more versatile (and likely to focus on the point in the frame you’re looking for).
Figure B
Adjust your aspect ratio
Get to know how your camera app handles aspect ratio. The aspect ratio defines how square an image is (1:1) or how wide an image is (16:9). Make sure you understand how to change the aspect aspect ratio in your camera app. Take sample photos of the same image using 4:3 and 16:9 ratio and see which image is truncated and which offers the full picture. Do note that taking photos in the larger format does create larger files.
Mobility must-reads
- Big Apple OS Makeover: Here’s What to Expect & When
- MWC 2025: Nothing Shows Off (3A) Phones With AI Organization Tool
- Bad News for App Developers: Most Apps Fail to Hit $1,000 Monthly Revenue Within Two Years
- Mobile Device Computing Policy
Clean your lens
Even if you don’t see anything on the camera lens of your phone, clean it. There could be even the slightest bit of film or particles of dust on the lens that will alter the quality of photo. Before you grab the end of your tee shirt to clean the lens…don’t. Buy a microfiber cleaning cloth or a cloth specifically designed for camera lenses. Keep that window to the world as spotless as you can.
Use lighting to your advantage
I never use the phone’s flash. Why? Because it’s inconsistent and makes for uneven lighting. Your best bet is to make use of the natural lighting. If you can, position the photo by a window; or, better yet, take the photo outside. If you can’t get natural lighting for the photo, find an external source (other than the flash). Just remember, however, that most fluorescents are far from flattering. Whatever you can do to avoid it, use anything but the phone’s flash. The thing about lighting is, it can be very tricky to get right. And, as a rule of thumb, you can never have too much light. Even if you find yourself in a situation where there’s a significant amount of lighting, you can compensate for that within your camera app’s settings.
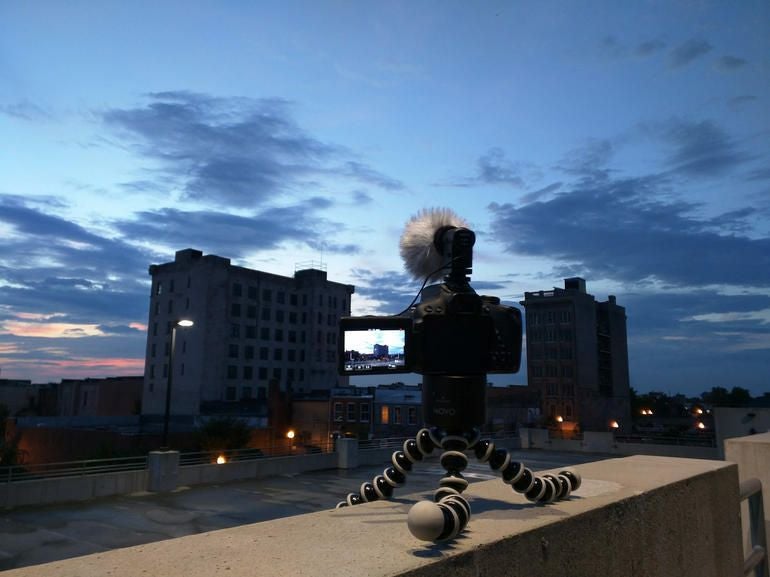
Buy a gimbal or stand
When you’re taking a photo, your hand needs to be still (especially when you’re using manual settings or in low light situations). For some, this is an impossible task. Luckily you can purchase gimbals (such as the Zhiyun Z1-Smooth-C) and stands. By using one of these tools, you can be sure your camera will be significantly more steady than if you were merely holding the camera in your bare hand. Although a gimbal is more useful when taking movies, it will still do a great job of steadying that phone while taking photos (plus, it’s more portable). If a gimbal isn’t in your budget, go with a stand.
Stop zooming
The average smartphone lens isn’t usually capable of handling zoom well. Because of that, it’s always best to crop the photo (after the fact). Zoom is one of the areas where the DSLR separates itself from the camera phone, in that no smartphone camera can handle zoom like a quality DSLR lens. So stop zooming and retain the quality of your photos. Get closer to the subject and crop out what you don’t want with the likes of GIMP, Photoshop, or Pixlr.
A picture is worth…
…a thousand of these things. If you take the time to acquaint yourself with your smartphone camera app (as well as some of the fundamentals of photography), the photos you take with your smartphone will improve dramatically.