


The openmediavault platform is a Network Attached Storage solution that anyone can use – from individuals running their own business or family, all the way up to enterprise-class companies. It’s flexible and includes all the features you need from an NAS platform.
I’ve walked you through the process of deploying openmediavault, and now it’s time to take what will probably be your first post-install step, which is creating users and groups. After all, what good is a NAS if you’re not allowing users to access the platform? By managing those users with groups, you can gain better control over the assets that can be accessed by the users.
SEE: Windows, Linux, and Mac commands everyone needs to know (free PDF) (TechRepublic)
What you’ll need
The only things you’ll need to make this work are a running instance of openmediavault and a user with admin privileges. Out of the box, that user is admin and the password is openmediavault.
How to change the admin user password
Before diving down the rabbit hole of users and groups, the first thing you should do is change the admin user password. Strangely enough, the admin user isn’t listed under User Management. Instead, click on the gear icon in the upper left corner and then click Change Password (Figure A).
Figure A

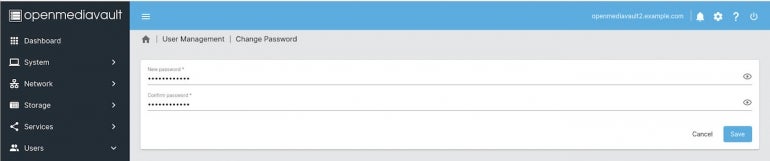
In the resulting window (Figure B), type and verify the new admin password and click Save.
Figure B
How to create a new user
The first thing we’ll do is create a new user. Before you do that, however, you might want to consider enabling user home directories. By doing this, every user will automatically have their own home directory to store files.
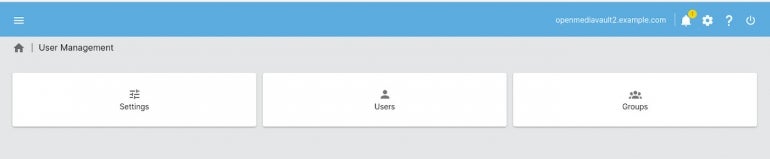
To do this, click Users in the left sidebar and then, in the resulting window (Figure C), click Settings.
Figure C
From the User Management Settings window (Figure D), click the checkbox for Enabled, and then from the drop-down select the drive that will be used for the home directories.
Figure D

Click Save to complete that configuration. You will then be prompted to apply the change.
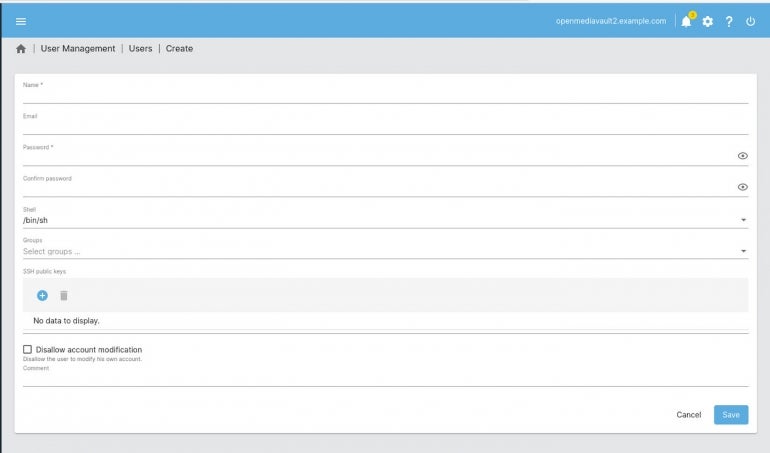
With that taken care of, go back to In the User creation window, click the blue plus sign, and then, from the pop-up, click Create. This will take you to the user creation screen (Figure E).
Figure E
Must-read developer coverage
- What Powers Your Databases? Take This DZone Survey Today!
- Microsoft’s Historic 6502 BASIC Code is Now Open Source
- TIOBE Index: Top 10 Most Popular Programming Languages
- TechRepublic Exclusive: AWS Says Entry-Level Workers Need ‘Curiosity’ In the Age of AI
Fill out the necessary information for the new user (with the option of uploading an SSH public key). One thing to note is the Name is not a full name but, rather, a username. Don’t bother selecting a group, as we’ve yet to add anything specific.
Once you’ve filled out the information, click Save and then apply then changes when prompted.
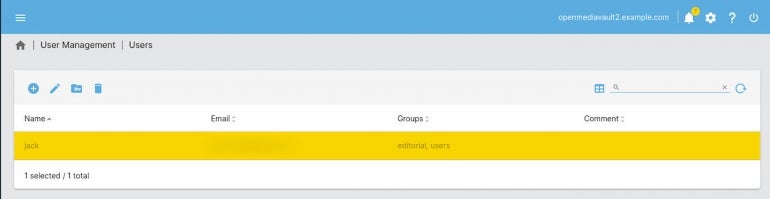
Before you continue, you’ll need to adjust the user’s privileges. Go back to User Management, click Users, select the user you just created, and then click Shared Folder Privileges (Figure F).
Figure F
In the resulting window (Figure G), give the user the necessary access to any of the available folders.
Figure G
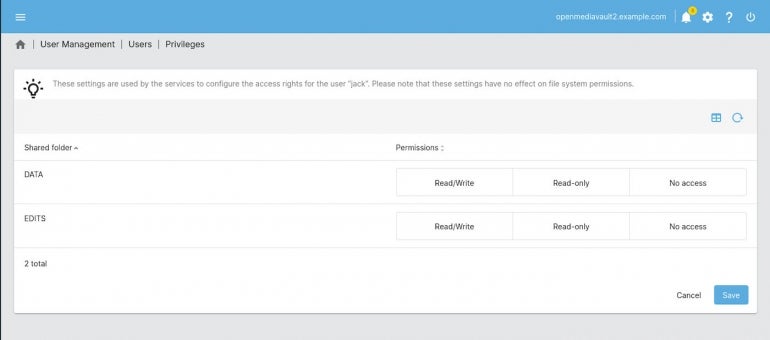
If you want the new user to have both read and write access to a folder, click Read/Write and then click Save.
How to create a new group
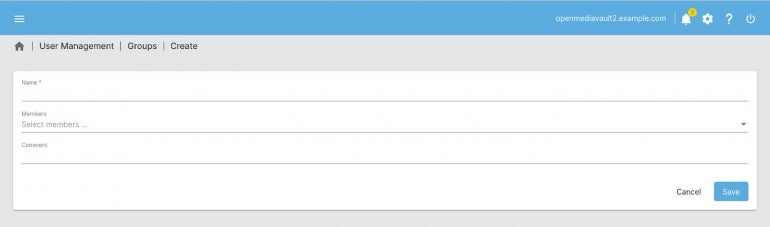
Next, we’ll create a group and add our newest user to it. Go back to the User Management window, click Groups, click the blue plus sign, and then click Create.
In the resulting window (Figure H), name the new group, select members from the drop-down, add an optional comment for the group and click Save.
Figure H
And there you go, you’ve created your first group and added users to openmediavault.
Congratulations, you’re one step closer to having a handy and flexible Network Attached Storage solution for your business. The next time around, we’ll create a new share that users can access via their desktop file manager.
Brush up on Kali, Ubuntu, Bash Shell Linux skills—now priced at 98% off—with the Mastering Linux Development Bundle from TechRepublic Academy.