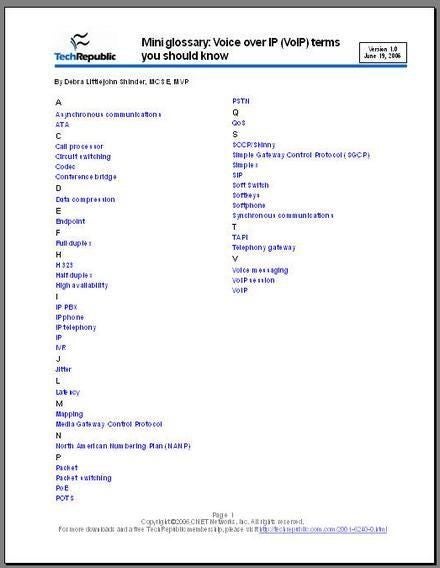
Creating a multiple-column layout on the page in Word is
easy enough–but users often hit a snag. Word creates snaking columns,
which means they run from the top of the column to the bottom until they run
out of text. Figure A shows how this works.
|
Figure A |
 |
| Word’s snaking columns often mean uneven columns–generally not the layout effect of choice. |
A lot of times, users want the columns evenly balanced to
avoid all that white space in the second column. The
solution is easy but not remotely intuitive, so it’s worth learning the trick
for future reference. Here’s a quick walk-through to illustrate the process.
Applying a column format
To apply a multiple-column layout to a Word document, you
just click the Columns button on the Standard toolbar and use the drop-down
grid to specify the number of columns you want (Figure B). We’ll go with
two columns for this demo.
|
Figure B |
 |
| Use the Columns button to specify the number of columns you want for your document. |
Word will immediately change the document layout to reflect
your selection. (Note that you’ll need to be in Print Layout view or Print
Preview so see the effect.)
Achieving balance
To force Word to balance the columns, click at the end of the
text and choose Insert | Break. In the Break dialog box (Figure C),
select Continuous under Section Break Types and click OK. Figure D shows
the effect on the sample document we looked at earlier.
|
Figure C |
 |
| Enter a Continuous section break at the end of the text. |
|
Figure D |
 |
| The section break forces the text to balance between columns. |
Depending on how your text is formatted (and whether the
number of total lines of text is evenly divisible by the number of columns),
you might have to do a little tweaking to achieve perfect alignment. For
instance, we cheated a little with our example, applying the Keep With Next
format to the heading “M” to push it to the top of the next column.
This created proper alignment as well as ensuring that the heading stayed with its
entries.
An extra twist
This trick works fine on such a simple example. But users
may be grappling with a more complex document–say, one with more than one
section. Let’s suppose that they already have a section break at the bottom of
the sample document–a Next Page break they threw in to keep the alphabetical
listing on the first page, begin the main text on the second page, and return
to one-column formatting for the second and subsequent pages.
You’d think that having a section break already there would balance
the columns, but that’s not the case. The break that evens up columns must be a
Continuous one. Luckily, you can put in two breaks to achieve the desired
effect. Just insert the Continuous section break right above the Next Page
break, as shown in Figure E.
|
Figure E |
 |
| Even if you have a Next Page section break at the end of your text, you’ll still need to enter a Continuous break to force Word to balance the columns. |
