


Business users with mixed networks that support both Windows and macOS devices may occasionally have users that need to share files between one another or access a central file storage server. Forget SSH, this is a job for Samba (SMB) sharing. With SMB, you can interact with and access shared Windows storage services, printers and more from a Mac.
If you work with a MacBook Pro or other macOS device on a network with non-Mac machines, chances are you need to connect to folders that have been shared via the SMB protocol. The best thing is that this open-source Samba service is built right into macOS — there’s nothing extra to install. So, let’s take a look at how to connect to SMB shares and what’s involved.
What you’ll need
Before beginning, you’ll need to ensure you have:
- Windows server you can connect to over the SMB protocol.
- Login credentials.
- IP address or domain of the server you wish to connect with. You may need to get this from your systems administrator.
Connecting to an SMB Server from Finder
Once you have these, let’s get started connecting to an SMB server by simply doing the following:
- Click the Finder icon in the Dock of your Mac.
- Select Go from the menu bar, then Connect to Server. Or press Command + K from any Finder window (Figure A).
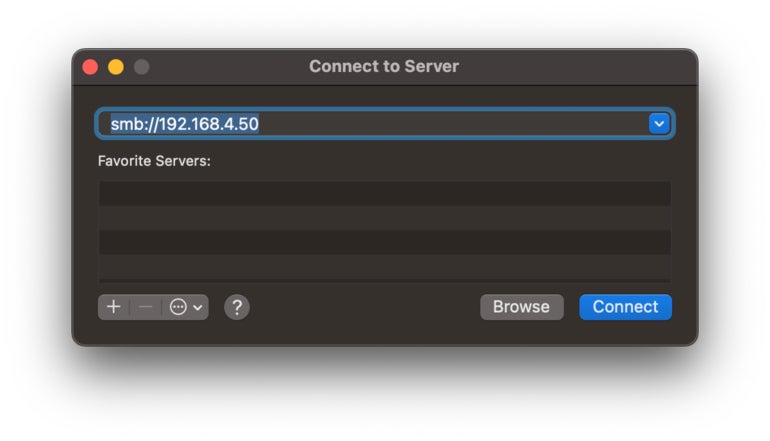
- Enter the IP address or domain of the server you wish to connect to, then click Connect.
- If prompted for a password, enter your credentials, then click OK (Figure B). You can optionally have your Mac remember the password for future use. While this password will be securely stored in your macOS Keychain, it may be against your IT policies to store a password to a network drive. If your Mac has FileVault set up, it can be considered relatively safe to store these passwords, however.

- If prompted, select a drive to connect to on the host machine you’re connecting. This will only be prompted if there are multiple volumes that can be connected to. Your Mac will mount the one you select.
PREMIUM: Make sure to have a P2P file sharing policy in place.
Once you do this, your server will show up in the Finder sidebar and let you browse the files just like you would browse your local files in the Finder (Figure C). You can easily manipulate the files, upload more by dragging and dropping, or delete files from the server store.
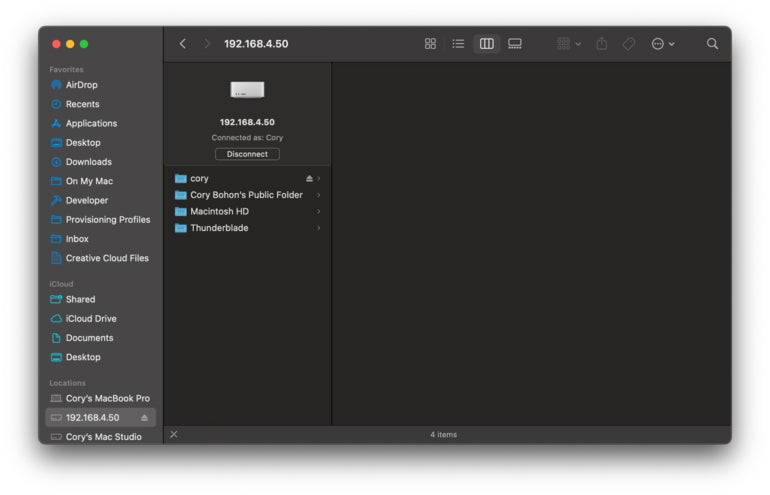
That’s all there is to connecting to an SMB share from macOS on your network. Until you unmount the share, reboot your macOS device or leave the network, the share will remain available.
Setting up your Mac as an SMB server
Not only can you connect to an SMB server from your Mac and the Finder, you can also turn your Mac into an SMB server to share files with other operating systems like Windows and Linux systems. This is great for organizations that primarily make use of Macs but also have Windows or Linux users that need to access files on those Macs.
To make your Mac an SMB server, do the following:
- Open System Settings from the Apple menu.
- Select General | Sharing.
- Click the “i” beside File Sharing.
- Enable the Switch for File Sharing to turn on the file sharing service.
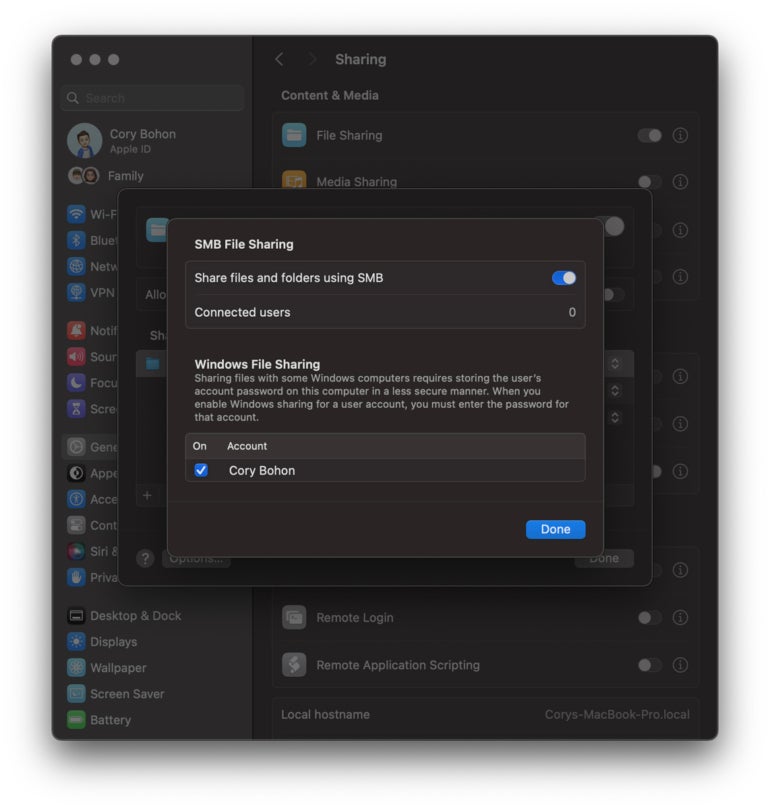
- To enable the user account access via SMB, click Options… and then Share files and folders using SMB. Check the accounts you wish to enable the service on, then click Done (Figure D)
- When prompted, enter your Mac user password to confirm the changes.
Once this has been enabled, you’ll be able to connect to the Mac via SMB from another Mac, but you’ll also be able to connect from Windows or Linux as well over the SMB protocol.
As you can see, the Mac is very powerful and SMB sharing can be a powerful way to get files to and from your Mac and to and from other platforms that might be on your local corporate network — and the best part is that it’s built into macOS for free.