Image: DragonImages, Getty Images/iStockphoto
Multipass is still one of my favorite virtual machine systems. With this command-line tool, I can very quickly spin up a virtual instance of Ubuntu in seconds. These VMs can be used for testing, development and other use cases.
SEE: Business leaders as developer: The rise of no-code and low-code software (free PDF) (TechRepublic)
But what if you prefer to develop within a graphic environment? Or what if the app or service you’re building needs a GUI for early testing? In that case, you might benefit from installing a desktop within a Multipass VM. I’m going to show you how to do just that.
What you’ll need
To make this work, you’ll need a running instance of Multipass. If you don’t already have that working, give How to use Multipass, a new tool for launching virtual machines a quick read and you’ll be up to speed in no time.
How to launch a new VM and access its shell
The first thing we’ll do is launch a new instance of Ubuntu and access the shell. Find out what iterations of Ubuntu are available with the command:
multipass find
The results should list out each version of Ubuntu that’s available for use with Multipass. Let’s deploy a virtual machine with Ubuntu 21.10, with the command:
multipass launch daily:21.10
Once the VM launches, you should see it’s randomly generated name listed. If you miss it, you can locate it with the command:
multipass list
To access the shell for the new VM, issue the command:
multipass shell NAME
Where NAME is the randomly assigned name.
You should now find yourself at the bash prompt of the virtual machine.
How to install the desktop
Now, we’re going to install both a desktop and an RDP server. First, update apt with the command:
sudo apt-get update
When that completes, install the desktop and RDP server with:
sudo apt-get install ubuntu-desktop xrdp -y
The installation should take a few minutes. Once it completes, create a new user with the command:
sudo adduser USERNAME
Where USERNAME is a username you’ll log in with.
Finally, give the new user sudo access with:
sudo usermod -aG sudo USERNAME
Where USERNAME is the user you just created.
How to access the desktop
To access the newly-installed desktop, you will first have to discover the IP address of the VM. For that, remain within the VM shell and issue the command:
ip a
You should see an IP address such as 10.171.55.156, which will be the address for the VM.
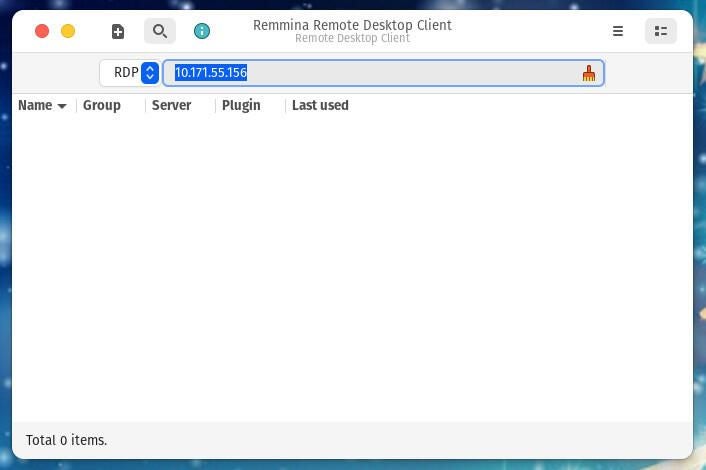
To access the desktop, you’ll use an RDP client (such as Remmina on Linux). When the Remmina window opens (Figure A), type the VM IP address and hit Enter on your keyboard.
Figure A

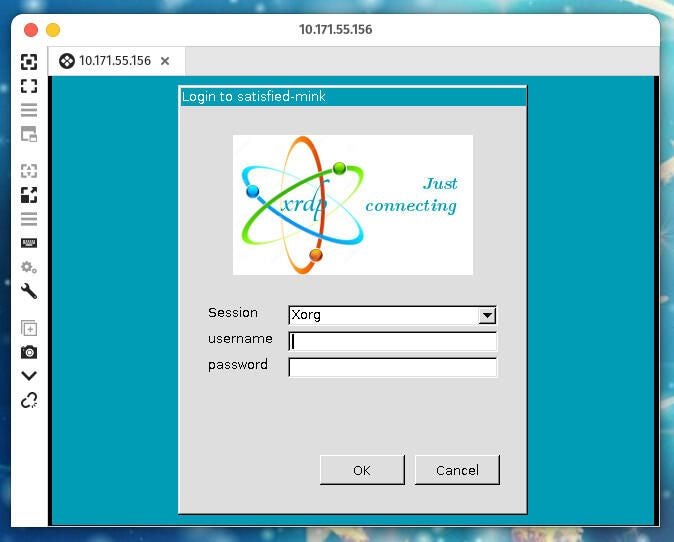
You should then see the login screen (as presented by Remmina–Figure B).
Figure B

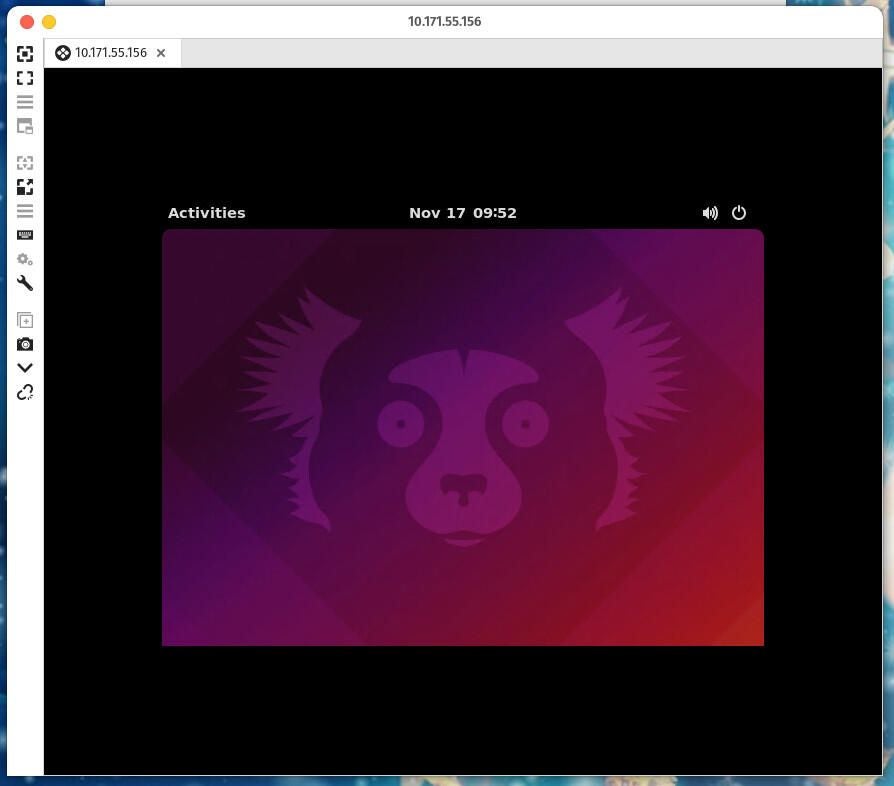
Type the new username/password combination you created from within the Multipass VM shell and you’ll then be presented with the Ubuntu desktop (Figure C).
Figure C

And that’s all there is to adding a GUI to your Multipass virtual machine environments. If you prefer to develop with a GUI or need one to test an application, you now have the ability to do so.
Subscribe to TechRepublic’s How To Make Tech Work on YouTube for all the latest tech advice for business pros from Jack Wallen.