
SFTPGo is an open-source SFTP server that is highly configurable and offers plenty of features to make it a viable option for just about any type of business or even home usage. SFTPGo supports a number of storage backends, such as local filesystem, encrypted file systems, S3 Object Storage, Google Cloud Storage, Azure Blob Storage, and even other SFTP Servers.
SFTPGo is available for Linux, FreeBSD, macOS, and Windows. I want to walk you through the process of deploying SFTPGo on Ubuntu Server 22.04, so you can enjoy a fully-featured SFTP server on your network.
SEE: 40+ open source and Linux terms you need to know (TechRepublic Premium)
What you’ll need
In order to make this work, you’ll need a running instance of Ubuntu Server 22.04 (which can be in your data center or a third-party cloud host) and a user with sudo privileges. Let’s make some SFTP magic.
How to install SFTPGo
The first thing we must do is install SFTPGo. To do that, we have to add the official repository. Log into your Ubuntu instance and issue the command:
sudo add-apt-repository ppa:sftpgo/sftpgo
Once the repository has been added, install SFTPGo with:
sudo apt-get install sftpgo -y
The installation should go off without a hitch and start/enable the SFTPGo service. That’s it for the installation.
How to access the SFTPGo web UI
Open a web browser and point it to http://SERVER:8080 (Where SERVER is the IP address or domain of the hosting server). You should be greeted by the admin user creation page (Figure A).
Figure A
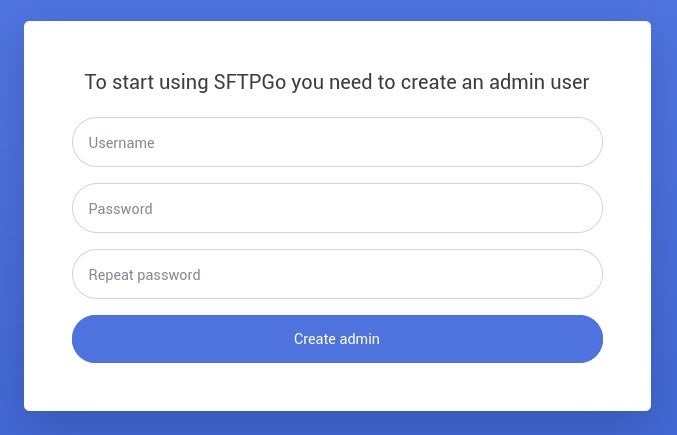
Type a username and then type/verify a password for the new user. Click Create Admin and you’ll then be transported to the SFTPGo main window (Figure B).
Figure B

How to create a new user
Now that SFTPGo is up and running, you’ll want to create users, so that people can actually access it. To do that, click Users in the left navigation and, in the resulting window (Figure C), click +.
Figure C

In the resulting window (Figure D), fill out the Username/Password field and, if necessary, paste the public key for the user. I do highly recommend adding the public key, for more security, but that will depend on if your users have generated their SSH key pairs or not.
Figure D
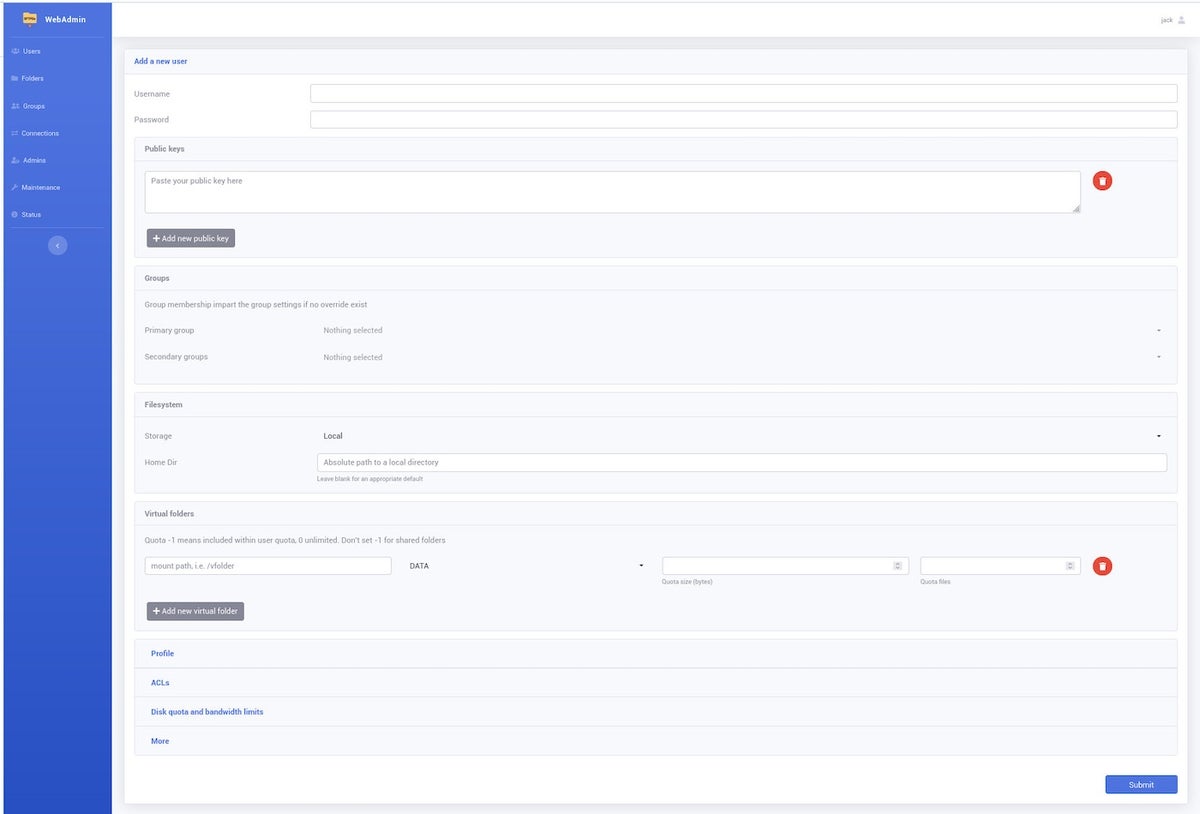
You can also configure groups, home directory, ACLs, disk quota, and more. Once you’ve configured the new user, click Submit to save the information.
How to create a virtual folder
Before you actually add a virtual folder for a new user, you must first create the folder. To do that, click on Folders (in the left navigation). In the resulting window, click +, and then fill out the necessary information for the folder (Figure E).
Figure E
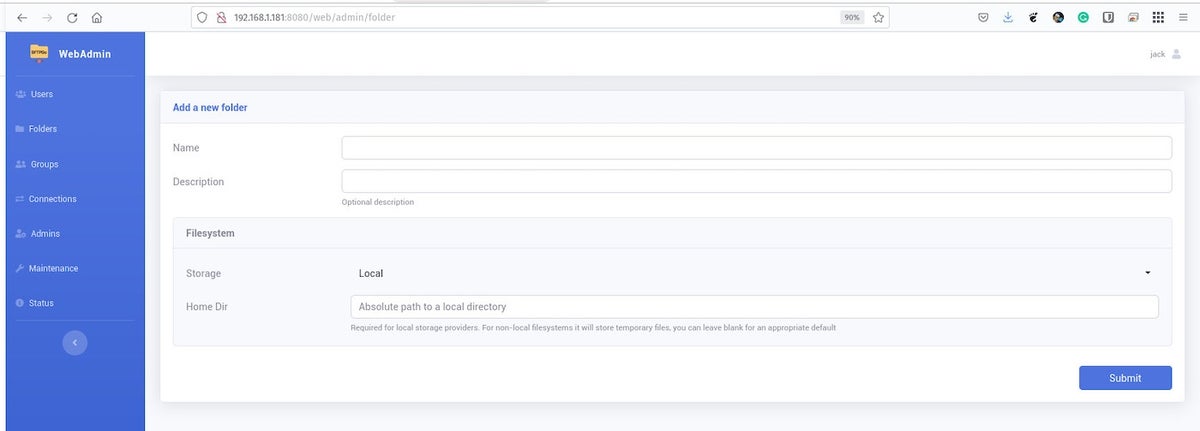
Once you’ve created a new folder, it will then be available to add as a virtual folder that users can access (you can go back and edit a user to add a virtual folder). To give users access to the virtual folder, give the folder a name (in the user creation page) and then select the existing folder from the drop-down (Figure F).
Figure F

That virtual folder will always be available to users and you can share it with multiple users. Only those virtual folders will be accessible globally (and only if you add them to each user’s profile). You can also add as many virtual folders to a user’s profile as needed.
WebClient vs. WebAdmin
There’s one little trick you’ll need to know for SFTPGo. Once you’ve logged out as the admin user, when you go to log back in, it will default to the WebClient interface, which does not include any of the admin bits. If, in the login screen, you see WebAdmin listed below the Login button (Figure G), you’re logging into the WebClient interface.
Figure G
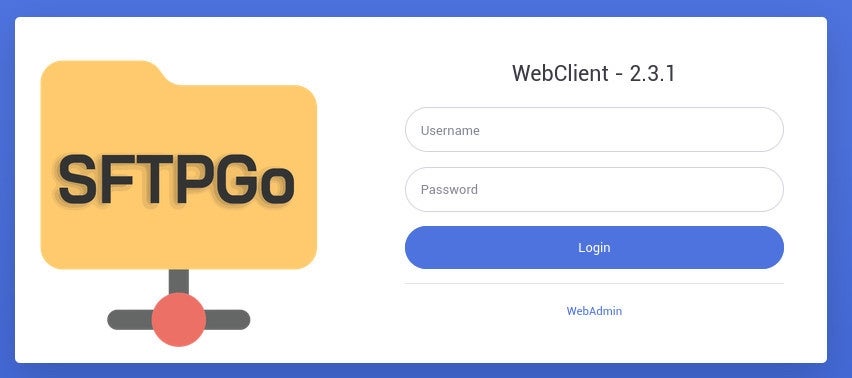
If, however, you look at the URL, you’ll see it’s clearly
/web/client/login
If you click WebAdmin, the URL changes to
/web/admin/login
Even your SFTPGo admin user can log into the regular client console.
Once you’ve created the users (along with their virtual folders), those users can log in and start working with the SFTPGo web interface, which makes it incredibly easy to upload, download, and manage files and directories.
SFTPGo is one of the easiest FTP servers you can deploy to either your data center or cloud-based host. With a simple user interface and plenty of features, it’s sure to become your go-to for FTP file serving.
Subscribe to TechRepublic’s How To Make Tech Work on YouTube for all the latest tech advice for business pros from Jack Wallen.
