


Image: iStockphoto/gorodenkoff
If you’ve been around Linux long enough, you know about Webmin. If not, let me introduce you to one of the first open source, web-based admin GUIs created for the Linux platform. This particular tool allows administrators to manage nearly every aspect of their Linux servers, all from a user-friendly graphical interface.
If the built-in modules don’t meet your needs, you can always install a third-party module to extend the feature set. For anyone looking for a solid web-based GUI to make administering data center servers easier, you can’t go wrong with Webmin.
Let me show you how to get Webmin installed on Linux. I’ll be demonstrating on both Ubuntu Server 20.04 and CentOS 8.
SEE: CentOS: A how-to guide (free PDF) (TechRepublic)
What you’ll need
- A running instance of either Ubuntu Server 20.04 or CentOS 8
- A user account with sudo privileges
How to install Webmin on Ubuntu Server
The first thing we’ll do is install Webmin on those Ubuntu Server instances in your data center. We’re going to add an apt repository so Webmin gets included in apt-get updates. For that, we must first add the necessary repository. Create a new file with the command:
sudo nano /etc/apt/sources.list.d/webmin.list
In that file, add the following line:
deb https://download.webmin.com/download/repository sarge contrib
Save and close the file.
Download the necessary GPG key with the command:
wget https://download.webmin.com/jcameron-key.asc
Install the GPG key with the command:
sudo apt-key add jcameron-key.asc
Next, update apt with the command:
sudo apt-get update
Finally, install Webmin with the command:
sudo apt-get install webmin -y
The installation should complete without problem.
SEE: MSP best practices: Server deployment checklist (TechRepublic Premium)
How to install Webmin on CentOS 8
The process for installing Webmin on CentOS 8 is similar to that of Ubuntu. First, we must create a new yum repository file with the command:
sudo nano /etc/yum.repos.d/webmin.repo
In that file, paste the following contents:
[Webmin]

name=Webmin Distribution Neutral

#baseurl=https://download.webmin.com/download/yum

mirrorlist=https://download.webmin.com/download/yum/mirrorlist

enabled=1
Save and close the file.
Import the necessary GPG with the command:
sudo rpm --import http://www.webmin.com/jcameron-key.asc
After the key import completes, install Webmin with the command:
sudo dnf install webmin -y
The installation should complete without problem.
Since this is CentOS, we need to make an adjustment to the firewall. Issue the command:
sudo firewall-cmd --zone=public --add-port=10000/tcp
Now, make the rule permanent with the command:
sudo firewall-cmd --runtime-to-permanent
How to access Webmin
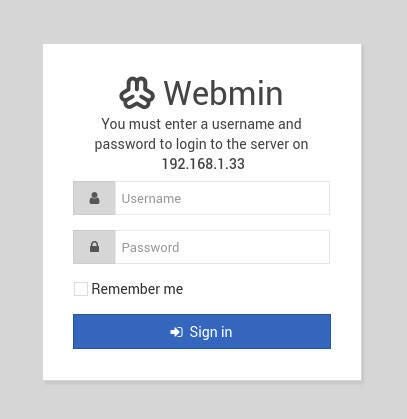
With the installation complete, you are ready to access Webmin. Open a web browser and point it to http://SERVER_IP:10000 (where SERVER_IP is the IP address of the hosting server). You should be greeted by the Webmin login screen (Figure A).
Figure A
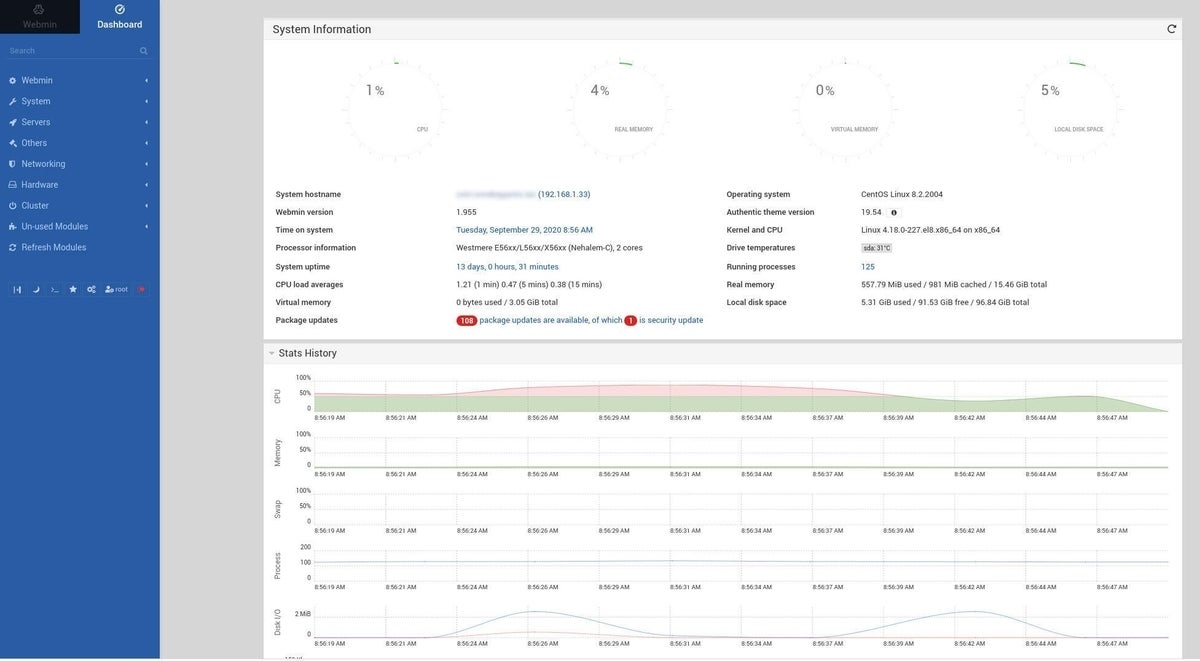
Enter a valid username/password combination (one that has sudo privileges) and you’ll find yourself on the Webmin dashboard (Figure B).
Figure B
And that’s all there is to getting this powerful, web-based GUI installed on either Ubuntu or CentOS. Get this tool up and running on your data center servers and your admins will thank you.