Openvid (now found at useloom.com) allows you to record your browser window and accompanying audio and video as you browse a site in Chrome–here’s how:
- Open Chrome.
- Install the Openvid Chrome extension.
- Create an account at opentest.co.
- Open the website you want to record.
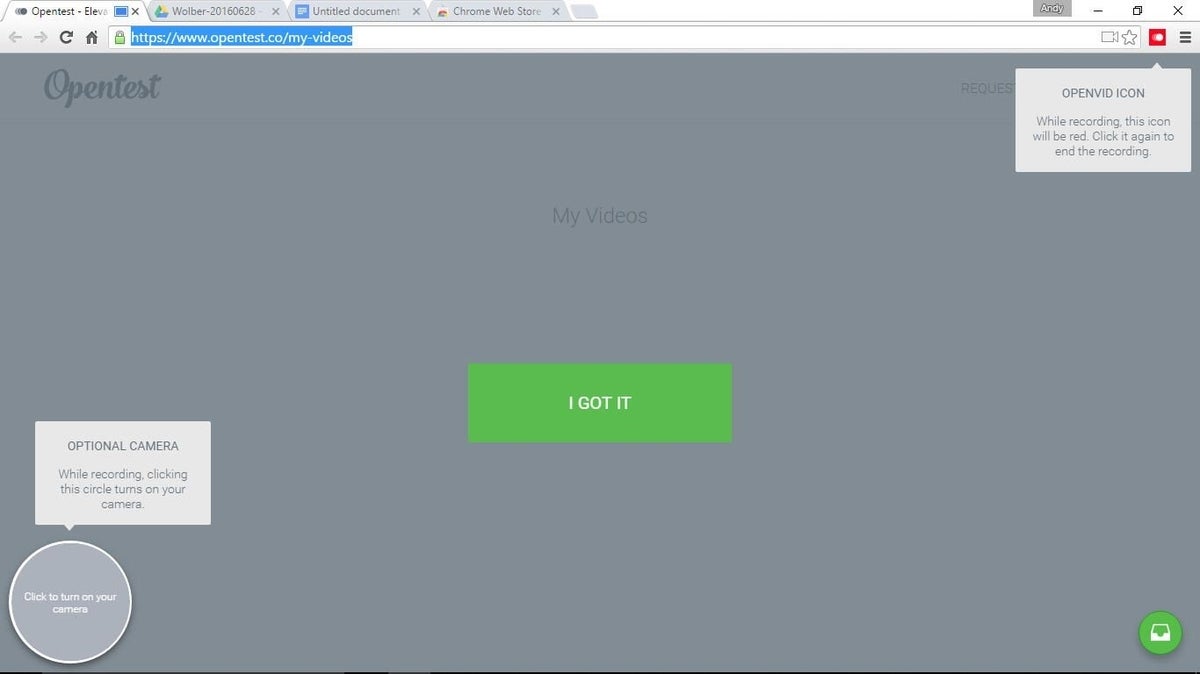
- Select the Openvid extension: It will turn red. You’re now recording a video of the site with audio from your microphone.
- Select the circle in the lower left of the browser to turn on your webcam. Now, you’re recording your face from the webcam.
- Select the Openvid extension again. Recording ends. See all of your recorded videos at https://www.opentest.co/my-videos.

After you complete the long version of the setup, try the short version:
- Click. (Start recording)
- Click. (Start webcam)
- Talk and browse.
- Click. (Stop recording)
- Recording done.
SEE: Snagit best for screen capture on Macs (TechRepublic)
Focused website recording
Much of the appeal of Openvid is what it doesn’t do.
Most notably, Openvid records the site, not the entire screen. With a full-screen recording tool, you need to hide things before you record to eliminate unnecessary viewer distractions. I typically hide my bookmark bar, system toolbar, extra browser tabs, and extra Chrome extensions. But, none of those show when you record with Openvid. The extension records only the contents of the browser window, not items elsewhere on your screen.
Openvid also doesn’t limit recording time, unlike some screen recording tools that restrict recordings to 10 minutes or less. With Openvid, you record without worrying about a time limit.
The system doesn’t insert a logo or watermark into your recording, either. Your recording shows exactly what you recorded–nothing more and nothing less. Openvid is free to use.
Finally, since Openvid works as a Chrome extension, it doesn’t require a complicated setup. It works on any desktop system that runs Chrome: Chrome OS, macOS, and Windows. You just install the extension and create an account.
Simple video sharing
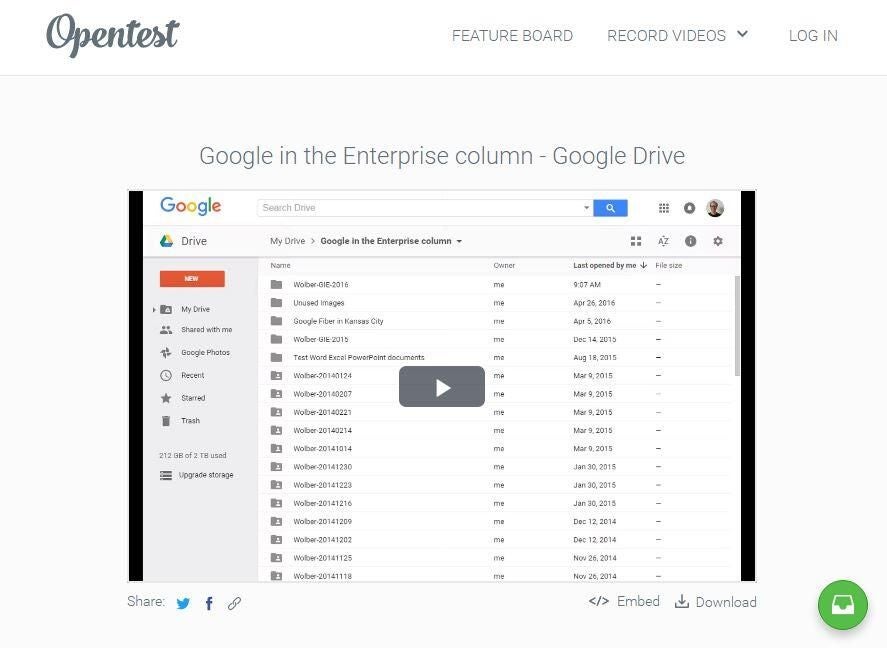
Openvid automatically saves your completed video in WEBM format at opentest.co. You don’t have to remember to save your file and there’s no additional “upload your video” step. Stop recording and the web page with your saved video appears. All videos are public, but accessible only with an obscurely long link.

The system gives you five ways to share your video. The first three link to your saved video page: You can share the link via Facebook or Twitter, or copy the link to share elsewhere. If you prefer, one click gets you an embed code you can use to display the video on another website. Another click lets you download the video file as an MP4, which you can then save, edit, or store elsewhere. (And when you no longer need your video, you can delete it from the site with a click.)
SEE: Five good apps for editing video (TechRepublic)
Record to explain, or explore
The most obvious uses for screen recording with commentary are videos that explain a concept or process. A video walkthrough can explain how to use a web app, or show product features, functions, and benefits. Screen recordings can also serve educators working in a “flipped classroom”–where a teacher records a video that students can view outside of the classroom.
Openvid also works well for videos that explore questions. Want to know how well your site really works? Have a person record a video of their experience while trying to complete a task on your site. Run into problems with a site? Record a video and explain your struggle while you show the problem. Want to know how well a college student really understands a concept? Ask the student to create a video response as they scroll through to a long post.
Openvid is the sort of tool that if you need it, you know you need it. And, as of June 2016, it’s a great example of a simple, easy-to-use tool with few features. As the creators continue to develop the product, I hope Openvid never gets more complicated than “click, click, talk and browse, click.”