


Are your company websites being served up by the Apache web browser? If so, are they loading as quickly as you’d like them? If not, you could throw more hardware at the situation or you could use a handy Apache module (created by Google) that is used to automatically optimize web pages.
That module is called mod_pagespeed, which compresses things like javascript, CSS, JPEG, and PNG files, so your pages load faster.
I’m going to show you how to install this module and how to access it’s web-based admin page.
SEE: Resolve IT issues quickly with these 10 PowerShell cmdlets (TechRepublic download)
What you’ll need
The only things you’ll need for this to work are a server running the Apache web browser and a user with sudo privileges. I’m going to demonstrate this using the Ubuntu Server 18.04 platform. If you use a different platform, you’ll need to alter the installation process for the module.
How to install Apache
In case you’re coming at this without a server running Apache, let’s install it. On Ubuntu Server, Apache is installed with a single command. Log in to your server and issue the command:
sudo apt-get install apache2 -y
When that command completes, start and enable the server with the commands:
sudo systemctl start apache2

sudo systemctl enable apache2
With Apache up and running, it’s time to install mod_pagespeed.
How to install mod_pagespeed
In order to install mod_pagespeed, you first need to download the necessary .deb file. To do this, issue the command:
wget https://dl-ssl.google.com/dl/linux/direct/mod-pagespeed-stable_current_amd64.deb
When the file download has completed, install the module with the command:
sudo dpkg -i mod-pagespeed-stable_current_amd64.deb
Finally, restart Apache with the command:
sudo systemctl restart apache2
How to test the module
With mod_pagespeed installed, let’s make sure it’s running. Issue the command:
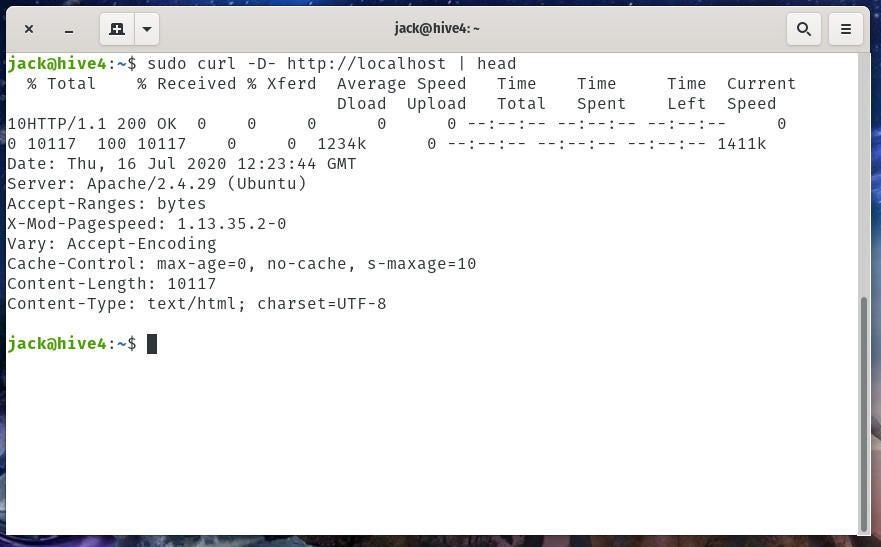
sudo curl -D- http://localhost | head
You should see the version of mod_pagespeed printed out–along with various other bits of information (Figure A).
Figure A
How to access the admin panel
The mod_pagespeed module includes a handy admin panel that displays the statistics of the pages served up by Apache. By default, this panel is only accessible from localhost. Seeing as how we’ve installed it on a headless server, we need to make it available from anywhere on our LAN.
To enable the admin panel, open the configuration file with the command:
sudo nano /etc/apache2/mods-available/pagespeed.conf
Scroll down to the bottom of the page and look for the sections that start with:
And:
In both of those sections, you’ll need to add the following line under Allow From 127.0.0.1:
Allow from all
Once you’ve taken care of that, save and close the file. Restart Apache with the command:
sudo systemctl restart apache2
Point a web browser to http://SERVER_IP/pagespeed_admin/ (where SERVER_IP is the IP address of the server hosting Apache). You should be presented with the mod_pagespeed admin panel (Figure B).
Figure B
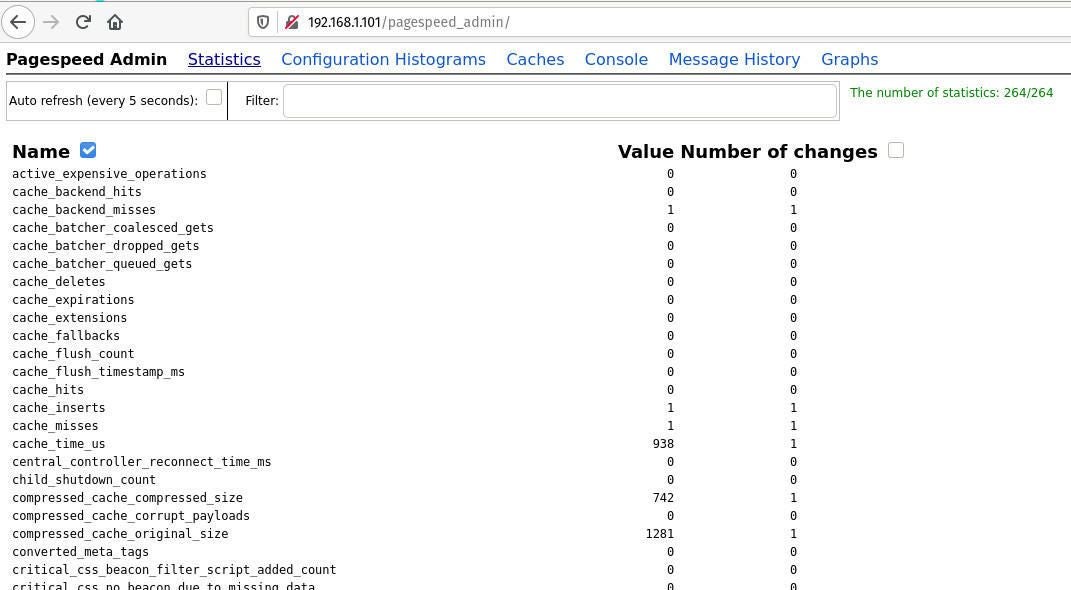
You can now monitor the statistics of your Apache sites, optimized with the help of mod_pagespeed.
And that’s all there is to it. Enjoy the newfound speed of your page load times.

Image: Jack Wallen