


Image: TechRepublic/Nick Heath
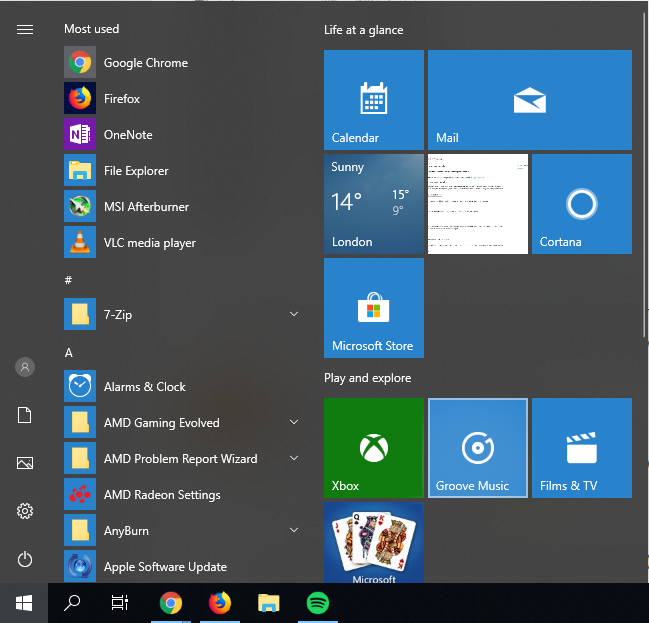
The Windows 10 Start menu strives to be versatile by offering you a traditional one-column menu and a tiled screen. You’ll find all your installed apps in the menu, and you can pin your favorite apps to the tiled screen for quicker and easier access. But editing the menu itself is challenging–especially if you want to arrange and organize it into your own customized folders and shortcuts.
If you’re not quite content with the Windows 10 Start menu or the tiled section, or just want to explore other options, a Start menu alternative is worth trying. One solid choice is a free program called Open Shell. Replacing the Windows 10 Start menu with a more traditional Start menu, Open Shell lets you customize the menu with the folders and shortcuts of your choice.
SEE: Windows 10 power tips: Secret shortcuts to your favorite settings (TechRepublic Premium)
Open Shell is based on another Windows Start menu alternative called Classic Shell. A popular program, Classic Shell ceased active development in December 2017. Since then, development has been taken over by volunteers on GitHub who christened the new program Open Shell. The last version of Classic Shell still works effectively, and it remains available for download at its website, but if you’d prefer to use a program that is continually updated, Open Shell is a better option.
First, download the latest version of the OpenShellSetup .exe file from the program’s GitHub page. Run the downloaded .exe file to install the software. After installation, the Settings window opens for Open Shell. At this screen, choose your preferred layout for the Start menu: Classic style With One Column, Classic Style With Two Columns, or Windows 7 Style. You can also opt to replace the Start button with a different icon (Figure A).
Figure A

You can click on the other sections in Settings, such as Basic Settings, Skin, and Customize Start Menu. You can also check the box to Show All Settings where you can tweak every aspect of the program. But the array of settings can be overwhelming so I would recommend using the Open Shell menu at this point to see if you like it. You can then always return to the Settings window to fully customize the program. Click OK to close the Settings window and then click on the Start button. The Open Shell Start menu appears with the layout you choose in Settings (Figure B).
Figure B
For example, if you selected the Windows 7 Style menu, recently-used apps appear on the left, while specific features and folders, such as Documents, Pictures, Control Panel, and Settings, appear on the right. Click on the All Programs entry to change the view on the left to all installed programs (Figure C).
Figure C

Yes, the All Programs menu probably looks like a mess with folders and shortcuts scattered about, but you can now customize the menu by creating specific folders and moving shortcuts into the right folders. You can do this two different ways. Right-click anywhere on the All Programs menu. Select the command for New Folder (Figure D).
Figure D

In the text field, type the name you wish to give the folder. For example, if you’re creating a folder to store all the shortcuts for Microsoft Office, call the folder Microsoft Office. If you’re creating a folder to store utility programs, call the folder Utilities. Click OK (Figure E).
Figure E

After you’ve created the necessary folders, move the appropriate shortcuts into them. Move the shortcuts for all the Microsoft Office programs into the Microsoft Office folder. Move all your utility programs into the Utilities folder. You can easily do this in the Open Shell menu by dragging and dropping a shortcut into the appropriate folder. You can also right-click on a shortcut and select Cut from the menu. Then right-click on its new folder and select Paste (Figure F).
Figure F

Alternatively, you can create folders and move shortcuts in File Explorer. To get to the right folder, right-click on the entry for All Programs and select Open or Open All Users. Some Windows programs and apps install for all users so that every account on the PC can access them. Other programs install only for the current user. The Open All Users option points you to shortcuts to programs installed for all accounts, while the Open option points you to shortcuts for programs installed just for your account. Ultimately, you’ll need to work with both locations to fully organize all your apps if you wish to do so through File Explorer. (Figure G).
Figure G

In File Explorer, position the window for the Start menu shortcuts for all users and the window for the shortcuts for the current user. I prefer to move all the shortcuts into the menu for all users so they’re all in one single place. From there, you can then create folders and move the respective shortcuts into the right ones (Figure H).
Figure H

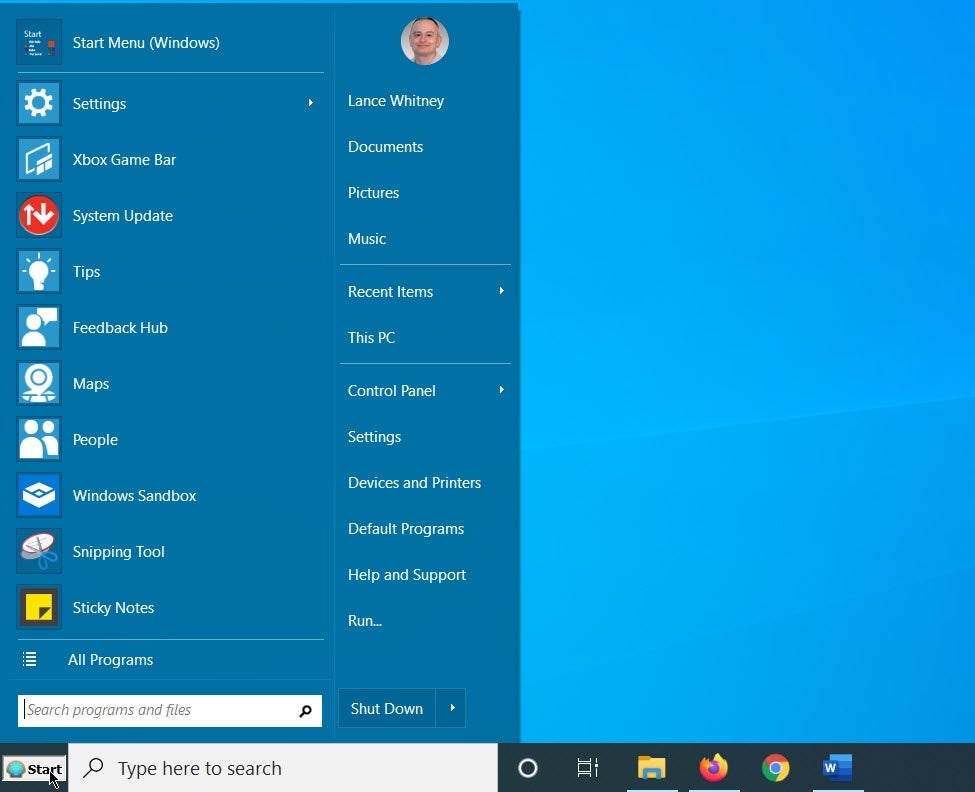
When you’re finished, close the File Explorer windows. Click on the Start button and then click the entry for All Programs to see your customized menu (Figure I). If you want to access the regular Windows 10 Start menu, click on Back and then select the entry for Start Menu (Windows) at the top.
Figure I

If you’re happy with Open Shell, you can further customize the program. To do this, right-click on its Start button and select Settings. You can now tweak the basic settings. Check the box to Show All Settings to view and work with more advanced settings.