


In previous articles, I explained that the Ribbon toolbar system with its Core and Contextual tabs is designed to expose close to 200 different file management commands in File Explorer. One of these commands that I want to tout, as I wrap up this series on File Explorer, is the Filter feature.
While the Filter feature is not actually a command on the Ribbon, it is a very useful tool to have in your arsenal. Similar to the Group by command, the Filter feature allows you to gain a different perspective on the data files that you have stored on your hard disk. However, unlike the Group by command, which allows you to reorganize all of the files in a folder, the Filter feature allows you narrow the display to only those files that you want to work with. Let’s take a closer look.
Accessing the Filter feature
To begin with, the Filter feature is only accessible in File Explorer’s Details view. The reason for this is that the Filter feature actually lives in the column headers that display at the top of the File List pane when you’re using the Details View.
For example, the Documents Library displays the Name, Date modified, Type, and Size column headers by default (Figure A).
Figure A
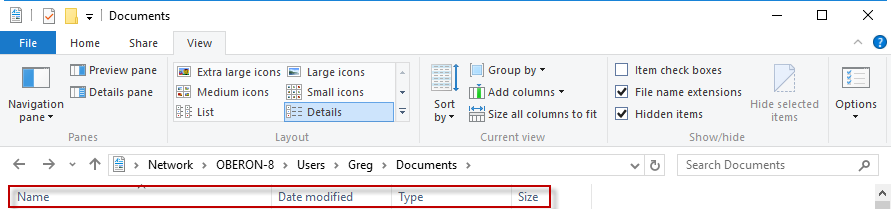
There are four column headers in the Documents Library by default.
When you hover your mouse pointer over any one of the column headings, you’ll notice that a drop-down arrow appears on the right side of the heading. This drop-down arrow provides you with access to the Filter feature, which manifests itself as a menu that displays the Filter options that are appropriate to the heading type. For example, the Filter menu on the Name heading displays Filter options that show groups of numbers and letters that a file name could begin with (Figure B). Selecting one or more of the check boxes enables that filter.
Figure B
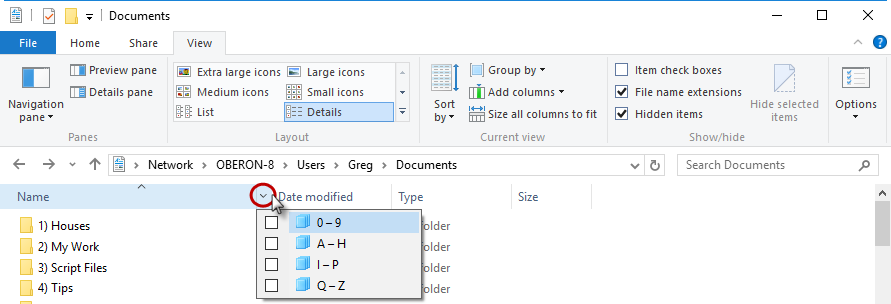
The column heading menu contains Filters that are appropriate for that heading type.
To get a better understanding of how the Filter feature works, let’s look at some example situations where using it would be advantageous.
Using the Filter feature
Suppose that you encounter a folder that contains a plethora of files and folders, but you only want to see the PDF files. If so, you’d access Filter feature on the Type header, and the resulting menu would then display all of the file types present in the folder (Figure C).
Figure C
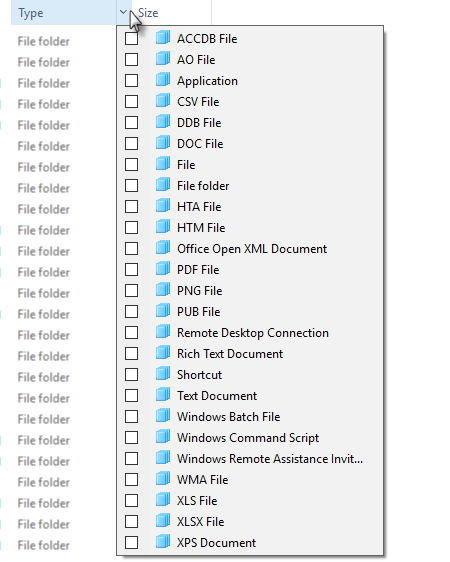
The Type Filter menu will display all the file types present in the folder.
If you select the check box next to the PDF type, you’ll only see the PDF files in this folder (Figure D). Notice the check mark in the column header; this indicates that this File List is currently being filtered. You’ll also see the file type spelled out in the address bar.
Figure D
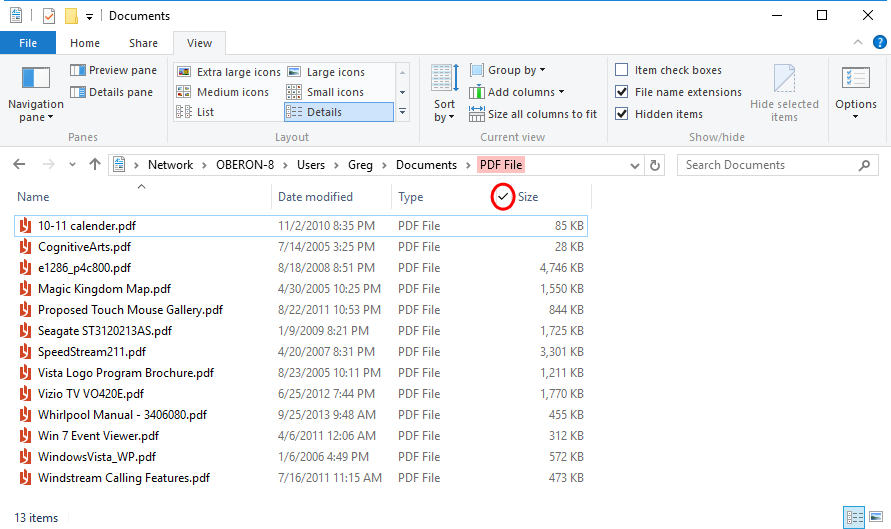
The Filter option allows you to filter out all but the documents that you’re interested in seeing.
You can use multiple Filters at the same time. For example, you could add a Name Filter to limit the display to only document names that begin with any letters in the range of Q to Z (Figure E).
Figure E

You can use multiple Filters at the same time.
Suppose that you’ve found the PDF files that you’re looking for, but you also want to find the DOC source files. Go back over to the Type Filter (Figure F). As you can see, the Type Filter menu is much smaller, because it’s now only considering those file types that have file names that begin with any letters in the range of Q to Z.
Figure F
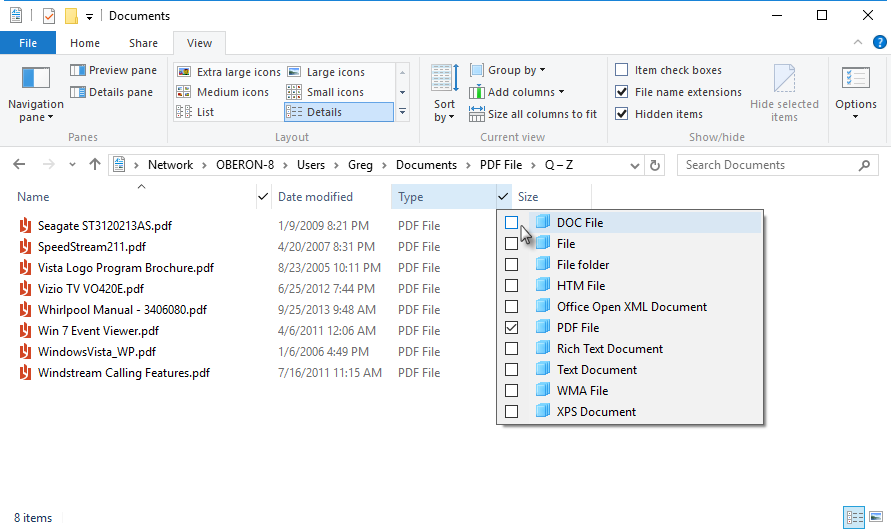
The Type Filter menu is now being filtered by the Name filter.
The other nice thing about the Filter menu is that it remains open until you click on something other than the menu. This means that you can select different Filter options on the menu, one by one, to easily see different sets of files.
For example, suppose that you want to look for files created on certain dates. Once you bring up the Date modified filter, you’ll see a Calendar display (Figure G). As you click on any date on the calendar, File Explorer will instantly filter out all other files and display only the files created on that date. So, if you select the 8th, you’ll instantly only see files or folders created on the 8th. If you then select the 9th, you’ll instantly only see files or folders created on the 9th, and so on.
Figure G
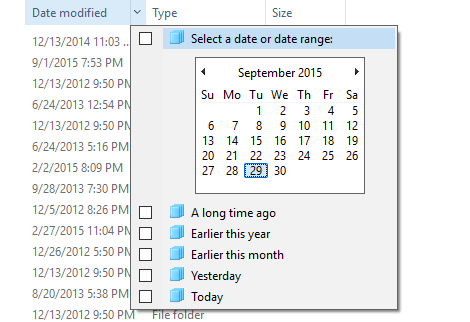
A Filter menu will remain in focus, allowing you to sequentially apply different filters on the fly.
Removing Filters
To remove a filter, you can clear the check box, or you can use a shortcut–just click the back button. Keep in mind that if you’ve applied multiple Filters, you’ll have to click the back button to remove each Filter. If you decide that you want to immediately apply the Filter again, just click the forward button.
Other filters
In my examples, I only showed you the Filters in the Documents folder. You know that other folders, such as Pictures, Videos, and Music, contain different file types and have different headers in the Details view. This also means that those folders will have Filters that are appropriate to the type of files in that folder. Make sure that you delve into File Explorer and experiment with the Filter feature.
What’s your take?
What practical application do you see for the Filter feature in your line of work? Let us know in the discussion thread below.