


A watermark is text or a graphic that, seemingly, appears behind the main document. You’ve probably seen them used to display status information or possibly warnings, such as draft and confidential. Adding a watermark to a Word document is easy, but there’s more to the feature than you might realize. In this article, I’ll show you how to add a watermark and then explore two ways you can get more out of the feature than you might think!
I’m using Word 2016 on a Windows 10 64-bit system, but you can use these instructions in all ribbon versions. You can work with your own document or download the demonstration .docx file. Word 2003 also has a watermark feature, but I haven’t included instructions for that version here. This article assumes that you have basic knowledge of Word headers and sections.
SEE: Microsoft Office 365: The smart person’s guide
The basics
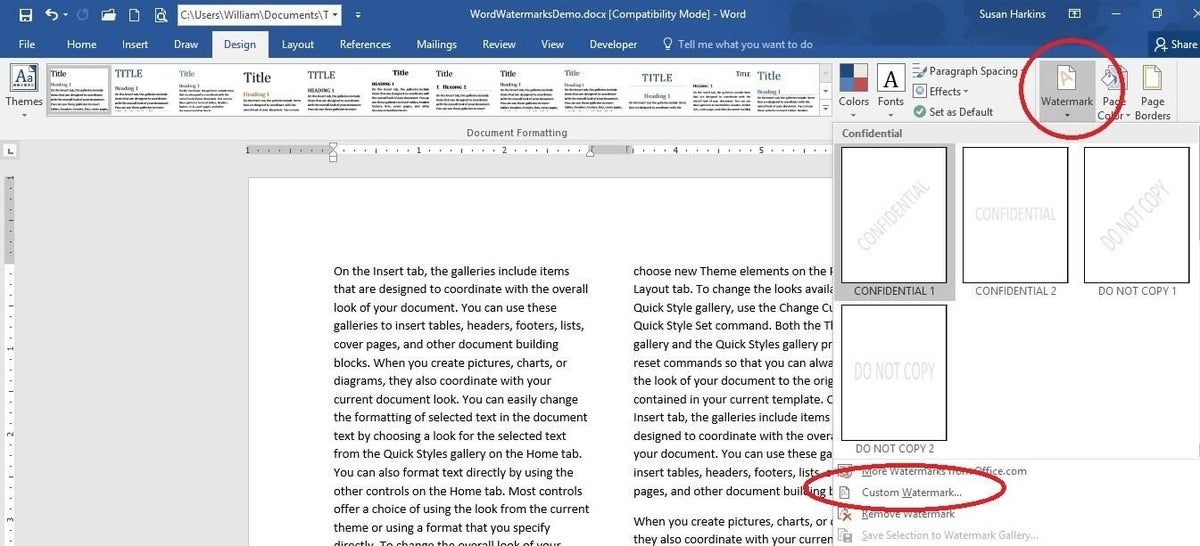
First, you need to know how to insert a watermark, such as the one shown in Figure A. With the document open, do the following:
- Click the Design tab. In Word 2007, click the Page Layout tab.
- Click Watermark in the Page Background group (Figure B).
- Choose one of the watermark thumbnails from the gallery and click OK. The watermark appears on every page in your document (unless you specify differently using sections).
Figure A

Figure B
A watermark is a shape–not true text. Using the preset options, the watermark is limited; you can open the header to select it, and then resize it, move it, and rotate it.
Inserting a preset watermark is certainly easy, but occasionally, you’ll want more flexibility. When that happens, you can insert a custom watermark. Simply repeat the above process, but at step 3, choose Custom Watermark to open the Printed Watermark dialog, shown in Figure C. Using these options, you can insert a graphic or custom text. When inserting a graphic, navigate to the file and insert it. Word offers lots of formatting options for custom text.
Figure C
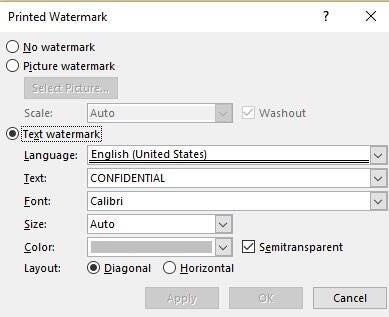
When inserting a custom watermark, you have access to several format and position options. We won’t discuss them here because they’re self-explanatory; explore them later. You might never need any more than the basic feature, but you can do a bit more with them.
Display a watermark for multiple columns
You can use a custom watermark to insert customized text or a graphic, but Word will still position it in the center of the page. That behavior can be problematic if you’re working with columns, and you want the watermark to appear behind each column. Fortunately, it can be done, and you might be surprised how easy it is!
Use the instructions above to insert a watermark as you normally would. In this case, consider using a custom watermark for the sake of experience. I used a logo and unchecked the Washout option so it’s easier to see. With a watermark in your columnar document, as shown in Figure D, open the header by double-clicking the header section and continue as follows:
- Select the watermark and using the selection handles, resize the shape if necessary (Figure E).
- With the watermark selected, press [Ctrl]+C and [Ctrl]+V to add a second watermark.
- Select and position each separately (Figure F).
- Save the document.
Figure D

Figure E
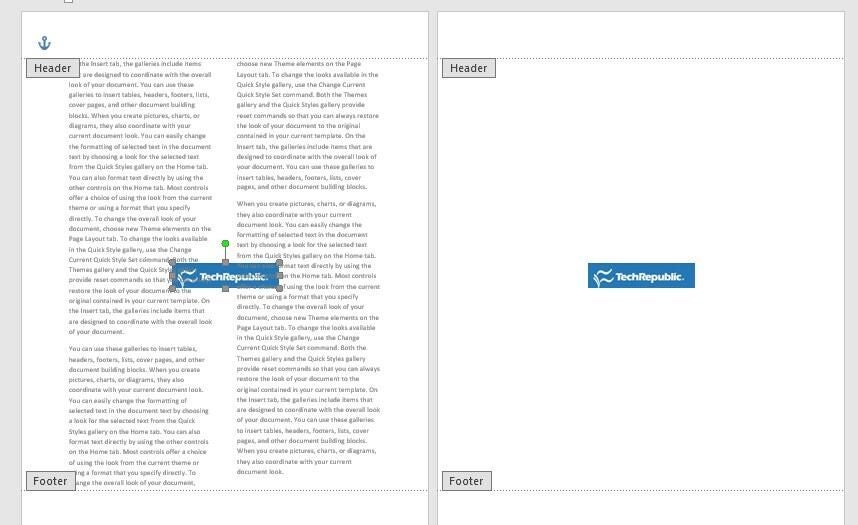
Figure F
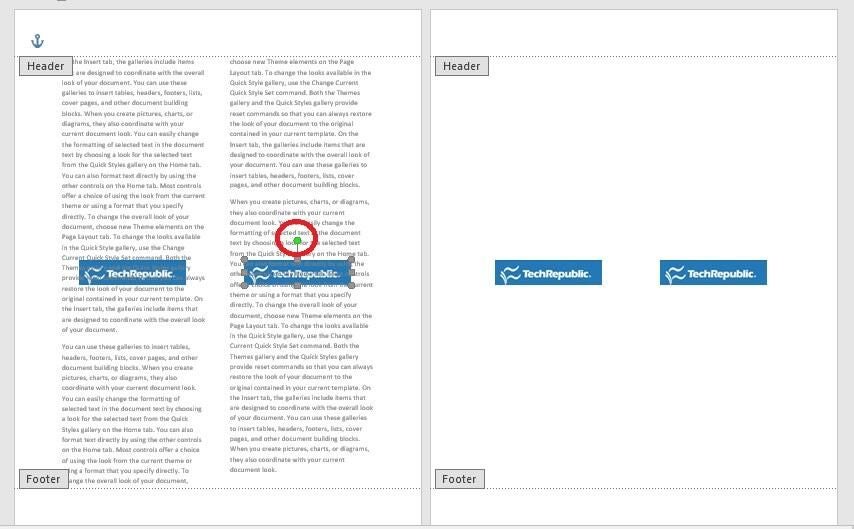
Most likely, you were expecting something more convoluted. Fortunately, accommodating columns is an easy task. It doesn’t matter how many columns you have–copy a watermark for each column and position them as needed. In addition, you can use the rotation handle. The two watermarks don’t have to be the same text or graphic, nor do they have to be in the same position or direction.
SEE: 10 timesaving Excel tricks you might not know about
A little to the side
With a little thought, you can probably come up with several ways to use watermarks in nontraditional ways. Figure G shows the result of dragging a watermark into a document’s margin. Doing so required no special skills. Using what you’ve already learned, simply add the watermark, resize it if necessary, and then move it where you want it!
Figure G
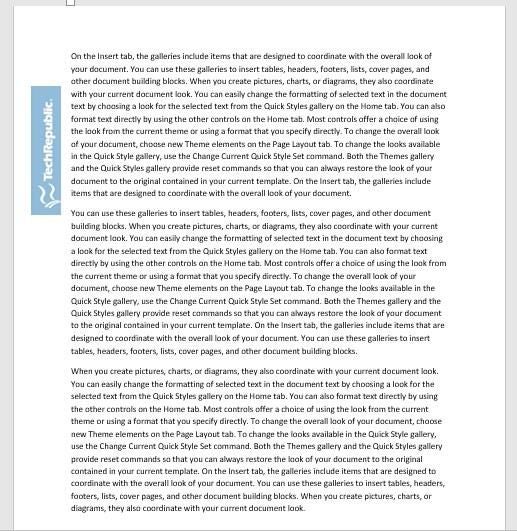
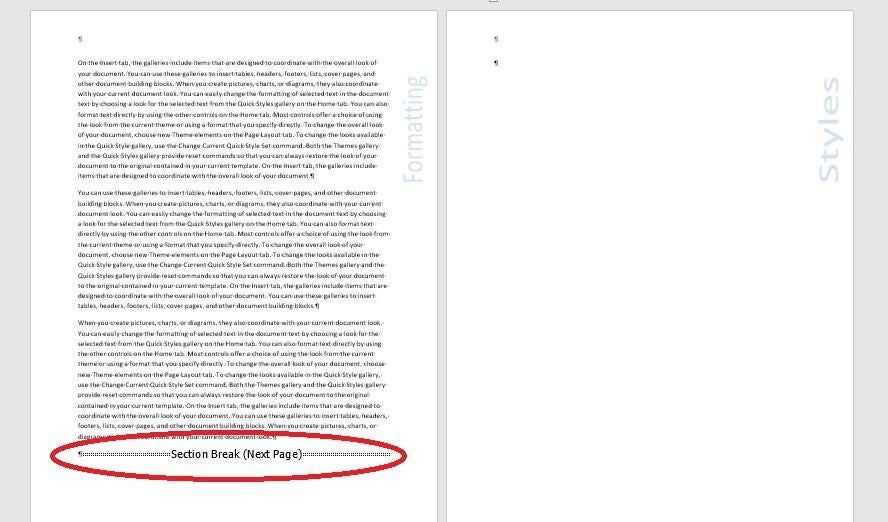
Figure H shows the same technique in use to add a descriptive section tab. This technique works only if your document employs sections. (To display the section break code, click Show/Hide in the Paragraph group on the Home tab.)
Figure H
As before, add a watermark. Then, to change the watermark for the next section, do the following:
- Move to the first page of the next section and open that section’s header.
- Click the Link to Previous option in the Navigation group on the contextual (Header & Footer Tools) Design tab to break the link between the section headers.
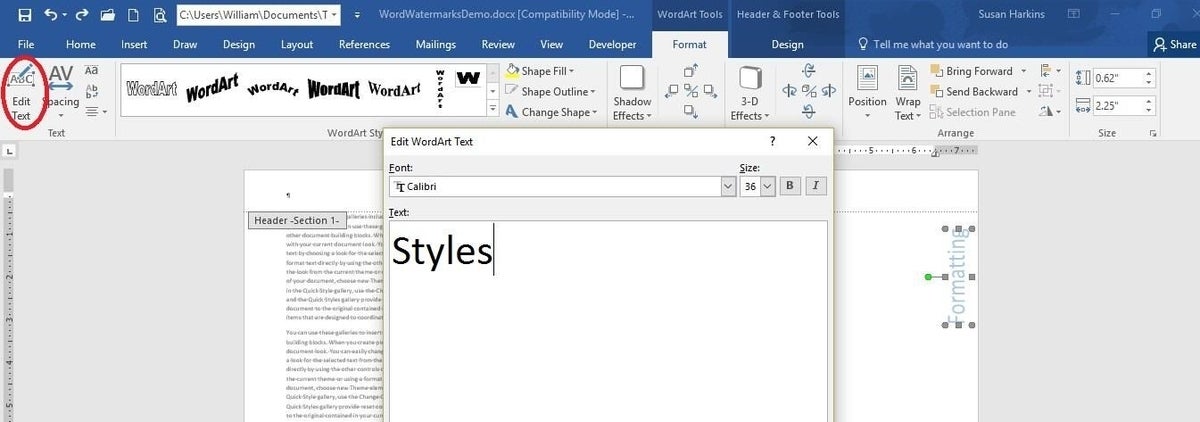
- Hover over the watermark until Word displays the crosshair pointer and then double-click it.
- On the contextual (WordArt Tools) Format tab, click Edit Text in the Text section.
- In the resulting dialog, enter the new section’s descriptive text (Figure I), and click OK.
Figure I
Worth nothing
If a watermark disappears, check your header options
- Different First Page
- Different Odd & Even Pages
Enabling either in a section can have unexpected results. The easiest solution is to select the page where the watermark is missing and re-add it, but it might remain problematic. Or, check the Show Document options as follows:
- Click the File menu and choose Options.
- Choose Advanced in the left pane.
- In the Show document content section, make sure the Show documents and text boxes on screen option is checked.
- Click OK to return to the document.
To the best of my knowledge, there’s no way to use a watermark to block the document’s text. Disabling the washout option when inserting the graphic or text will make the watermark easier to see, but it will still have some degree of transparency.
You can’t insert a watermark is Word’s browser version; nor can you view an existing one.
Send me your question about Office
I answer readers’ questions when I can, but there’s no guarantee. Don’t send files unless requested; initial requests for help that arrive with attached files will be deleted unread. You can send screenshots of your data to help clarify your question. When contacting me, be as specific as possible. For example, “Please troubleshoot my workbook and fix what’s wrong” probably won’t get a response, but “Can you tell me why this formula isn’t returning the expected results?” might. Please mention the app and version that you’re using. I’m not reimbursed by TechRepublic for my time or expertise when helping readers, nor do I ask for a fee from readers I help. You can contact me at susansalesharkins@gmail.com.