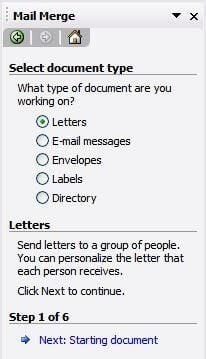
Let’s jump right in to creating a form letter so you can see how much time you could save with Word’s mail merge.\r\nTo get started, open a new document in Word and, from the menu bar, choose Tools | Letters and Mailings | Mail Merge. In the sidebar area, Word opens a Mail Merge helper that provides you with a wizard-like interface that walks you through the process.\r\n
\r\nWord’s mail merge can be used to create form letters, e-mail messages, envelopes, labels, or directories. With a little imagination, these choices let you create just about any kind of document or communication you would need.
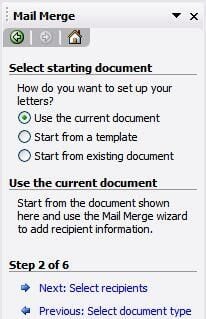
Any document you’ve created can be converted into a form letter. This starting document is often referred to as the “master document” as well. The terms are interchangeable, although other Word features also use the term “master document”, so be sure to keep things straight.\r\nThe starting document is the document that will ultimately contain the base form letter.
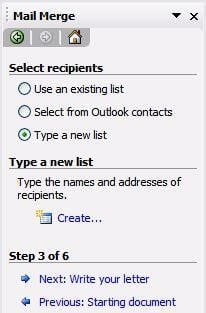
In this step, you need to decide to which recipients you want to send the form letter. Word’s mail merge feature lets you use a wide variety of data sources. You can use an existing list you created for an old mail merge. Or, you can type in a new list of recipients. You can also use your Outlook address book if you like.

If you select the “Type a new list” option Word also provides you with a “Create” option so that you can actually provide your data list.
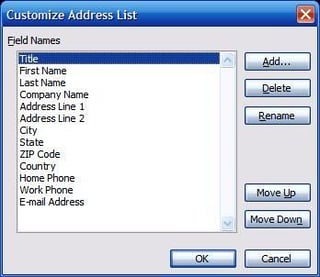
The New Address List form allows you to easily provide recipient information and includes all of the fields you would expect, including first name, last name, address information, e-mail address and phone numbers. If you need different information, such as an employee’s length of service or another piece of information not provided in the window, click the Customize button.
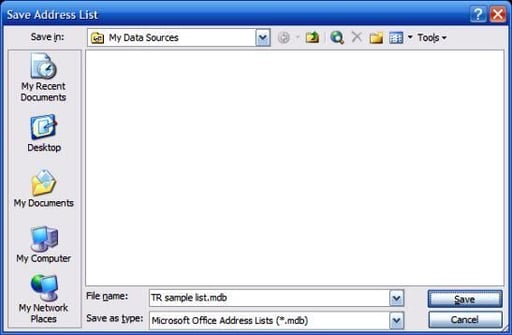
When you’re done with a record, click the New Entry button to complete it. If you want to remove a record, choose Delete Entry. Once you get a lot of entries, you can use the Find Entry button to locate a specific record. Finally, you can also sort and filter you entries. For example, you can sort you entries by zip code, or filter the entries so that just records from a particular city are available. When you’re done adding entries, click the Close button.\r\nWord will ask you to save your new list so you can use it again. Provide a name for your list and click the Save button.
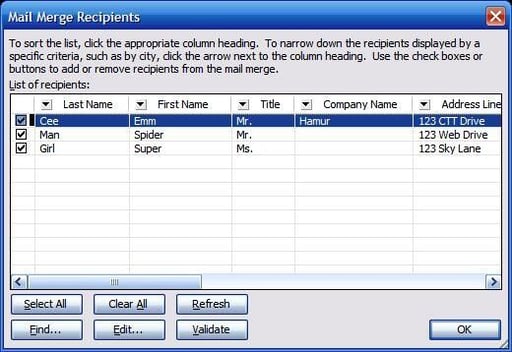
With your list saved, Word gives you the opportunity to take a look at your list, sort it, filter it, and choose whether to include or exclude specific records.
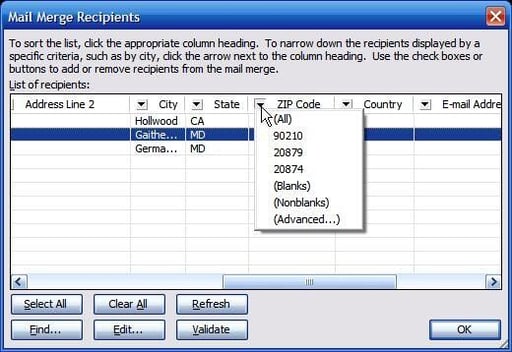
You can also filter records–that is, select just a certain subset of records to include in your output. For example, suppose you want to print form letters just for a particular zip code. Notice that each heading has a little down arrow right next to the name. Click the down arrow to get a list of all of the values in that column. When you select a specific value, you will only see records that have that value in that field. All other records are then hidden from view and will not be printed. To remove your filter, click the filter down arrow and choose the “(All)” option.
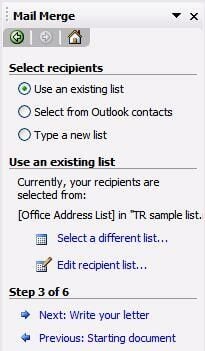
When you’re done with your record manipulation, click the OK button. The right-hand sidebar now indicates which data file you’re using. Click the “Next: Write your letter” option to continue.

Now, you need to type your letter. Or, if you’ve opted to use an existing letter, you need to provide Word with “fields” that are replaced with the information from your address list. Remember that each form letter will be addressed to a different person. So, you don’t want to type your letter to a specific individual, but want to make it generic and let Word do the heavy lifting for you.\r\nBefore you start typing, notice the addition of a new toolbar to your arsenal.

Using the More items? link, you can include the merge fields you populated earlier.
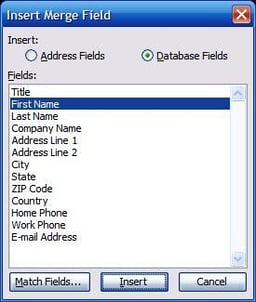
We’ll start simple. In your letter, type the word “Dear” and then hit the space bar. Now, click the More Items option. The Insert Merge Field window opens with the same list of fields you saw earlier. Choose the field you want to insert?in this case, the First Name field?and click the Insert button.
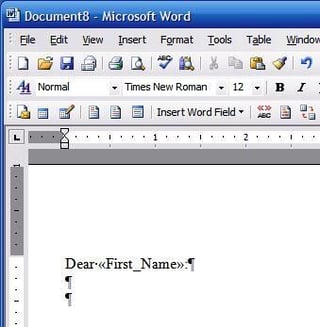
In your document, you will get <
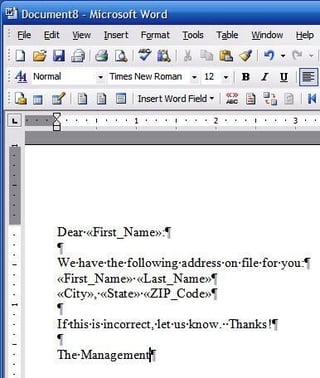
All of the fields we want are on the letter.
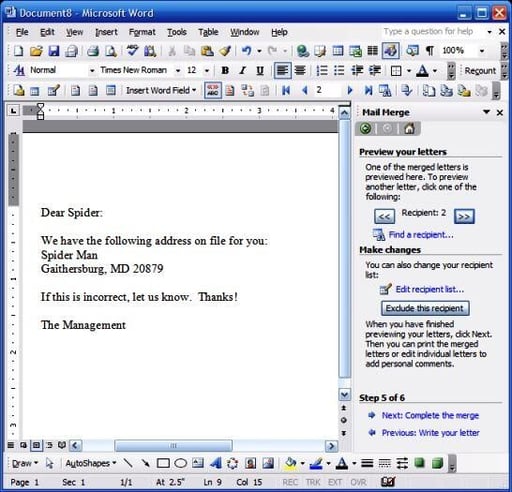
With your letter written, it’s time to see the results. From the sidebar, click the “Next: Preview your letters” option. The result should look similar to what you see here.
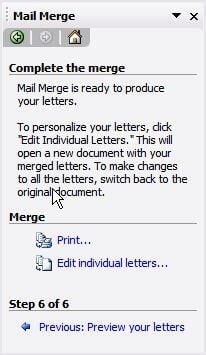
Once you’re verified your recipients, click the “Next: Complete the merge” option.
At this point, Word has not officially performed the merge. That is, your letter and data file are still mostly separate. When you click one of the two options?(1) Print; or (2) Edit individual letters?Word asks you what you want to merge.
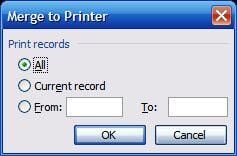
Your options here are to merge all of your records, in which case you will get one page per recipient, or choose which records you want to include. When you choose the print option, Word sends your letter right to your printer.
Bill Detwiler is the Editor for Technical Content and Ecosystem at Celonis. He is the former Editor in Chief of TechRepublic and previous host of TechRepublic's Dynamic Developer podcast and Cracking Open, CNET and TechRepublic's popular online show. Previously, Bill was an IT manager in the social research and energy industries. He has bachelor's and master's degrees from the University of Louisville, where he has also lectured on computer crime and crime prevention.


