\n\tOne of the most frustrating technologies that all administrators deal with is email. Virtualization is my primary technology, and when VMware does big things; I take note. Recently VMware acquired Zimbra, makers of an open source collaboration tool that is becoming a contender in the new wave of email solutions.
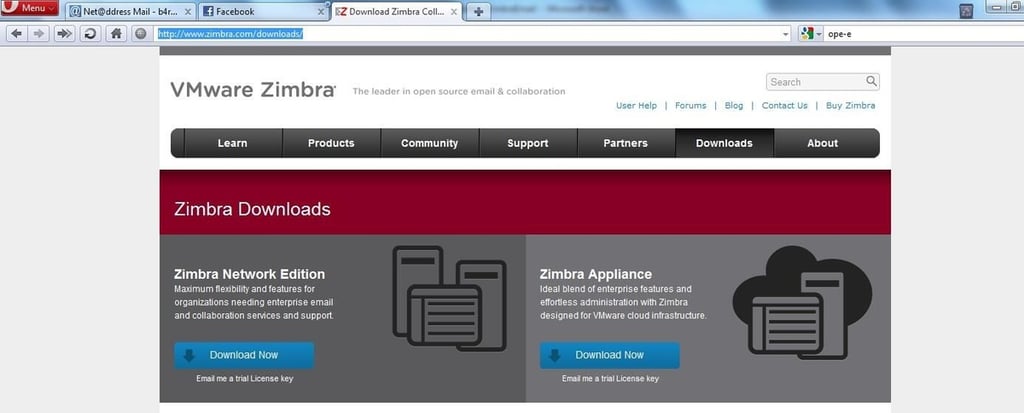
\n\tThe Zimbra appliance is a download from the Zimbra website, and installs as an OVF (Open Virtualization Format) machine. This means that the virtual machine will be downloaded directly to the vSphere infrastructure (either an individual ESXi host or via the vSphere Client connecting to vCenter Server).
\n\t
\n
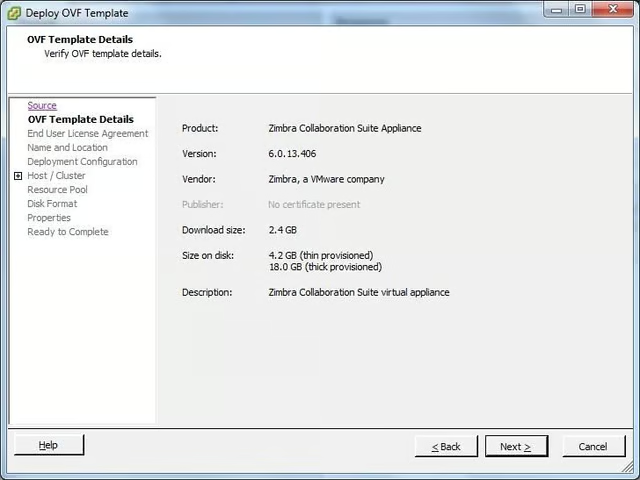
\n\tBasic information for the email appliance is shown here, and this option I’ve selected is the trial version, which is very small. The download is 2.4 GB, and may take some time depending on the Internet connection.
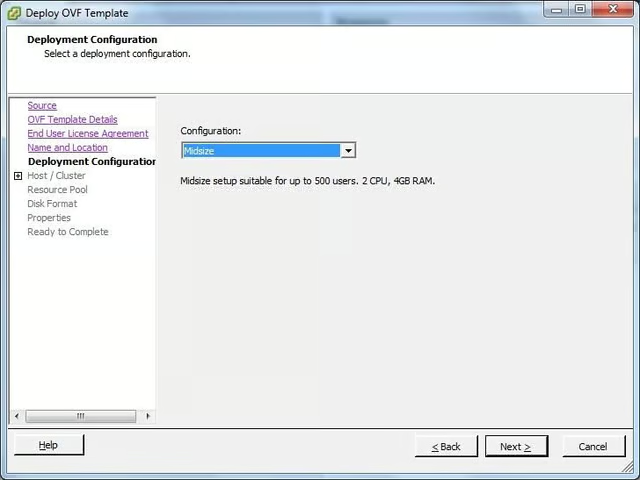
\n\tThree deployment options are available for the appliance. The trial size is one virtual CPU and 2 GB of RAM, the midsize is two virtual CPUs with 4 GB of RAM scaled to 500 users, and the large version is two CPUs with 8 GB of RAM for approximately 1000 users.

\n\t
\n
\n\tAfter a few basic questions (such as where the virtual machine will reside in the cluster and IP configuration), the installation options are presented. This screen allows passwords to be set for the appliance as it is deployed locally.
\n
\n\tOnce the options are completed, a summary is displayed. The passwords are displayed in clear text; while I don’t like that; it is handy to screen-shot this step for the initial setup. The OVF will now download, which may take a while.
\n\t
\n
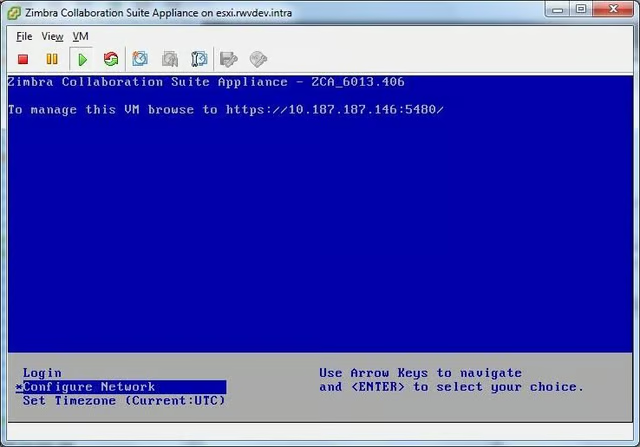
\n\tAfter the OVF is downloaded, power on the virtual machine. Here, the opening screen is displayed. Note the login URL with port 5480 specified and the IP address of the appliance.

\n\t
\n
\n\tTo create a test mailbox, click on the Zimbra Administration tab then click new account. Rich data such as phone number, address, and more are available to be populated in the new user wizard.
\n\t
\n
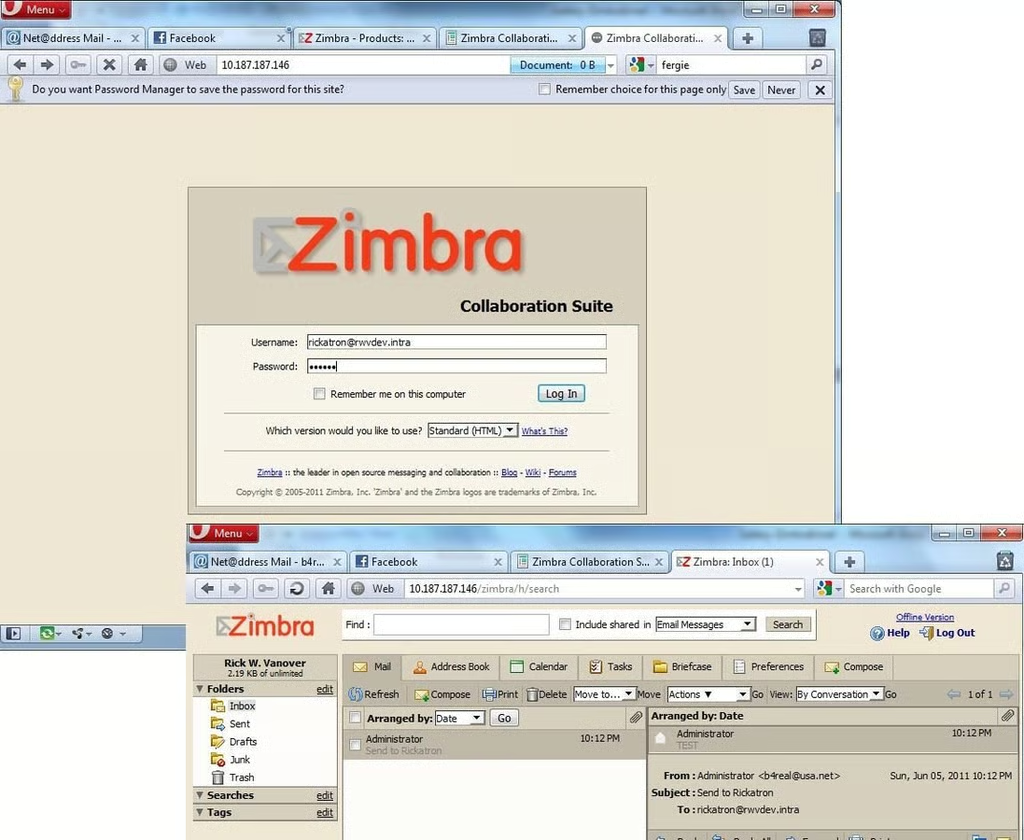
\n\tNow, the newly created user can log in via the mail URL with an SSL connection. The webmail interface is that easy! It would be a good time to poke into the administration section of the management portal and configure some additional email accounts. Here are a couple of points to remember to get started:
\n
\n\t
\n\t
\n
\n
\n\tThe default configuration allows for an internal mail transfer to be used, so an application that sends email over SMTP port 25 can leverage the Zimbra appliance to send mail. Overall, this appliance is incredibly easy to get up and running.

Rick Vanover is an IT Infrastructure Manager for Alliance Data in Columbus, Ohio. Rick's IT certifications include VMware VCP, Microsoft Windows Server 2008 MCITP, Windows Server 2003 MCSA and others. \ \ Previous experiences included working for Dematic Corp (formerly Siemens L&A, Siemens Dematic, Rapistan)in Grand Rapids, MI in various capacities deploying custom software solutions to the material handling industry using a mix of current hardware and software products. You can reach Rick at b4real@usa.net. Follow rick on Twitter at @RickVanover


