Many organizations support a variety of devices, running any number of different operating systems as productivity tools for their users. Whether stemming from the company’s own policies or in support of a BYOD initiative, heterogeneous environments call for flexibility and convergence of tools, like software, to provide cross-platform compatibility.
Must-read Windows coverage
- CrowdStrike Outage Disrupts Microsoft Systems Worldwide
- 10 Best Project Management Software for Windows in 2024
- Windows 10 Extended Security Updates Promised for Small Businesses and Home Users
- Securing Windows Policy
This helps minimize any inherent incompatibilities between the file systems of each OS, allowing for data to be freely accessed, modified, and shared across all devices and platforms. And while the standardization and cross-licensing of technologies has helped overcome these issues, certain limitations still sometimes impede data sharing.
Third-party developers often fill this niche, such as Paragon Software’s newest entry, APFS for Windows. This small, yet powerful utility provides a necessary translation between the native NTFS file system in Windows and the modern APFS file system created for macOS 10.12 (and newer). By allowing Windows computers to natively read and write to/from APFS-formatted drives, there is effectively no limit to productivity. Work can be started on one type of device, saved, and then edited or completed on a different one, regardless of the underlying OS. This is especially useful for collaborative teams that may be using different devices with different operating systems installed to complete a project.
There are some requirements necessary to ensure APFS for Windows works as intended:
- A PC with Windows 7 (or newer) or Windows Server 2008 (or newer)
- APFS for Windows software
- A drive formatted with APFS
SEE: Windows 10 power tips: Secret shortcuts to your favorite settings (Tech Pro Research)
Installing APFS for Windows
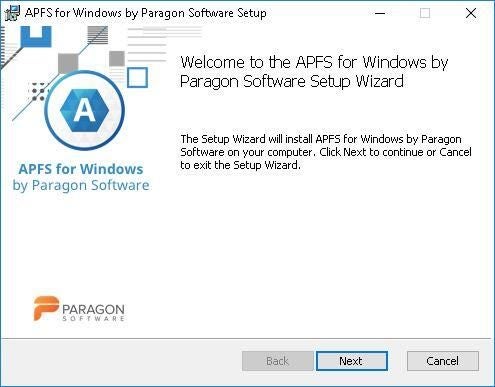
1. Double-click the installer to begin the installation process (Figure A). Click the Next button to proceed .
Figure A
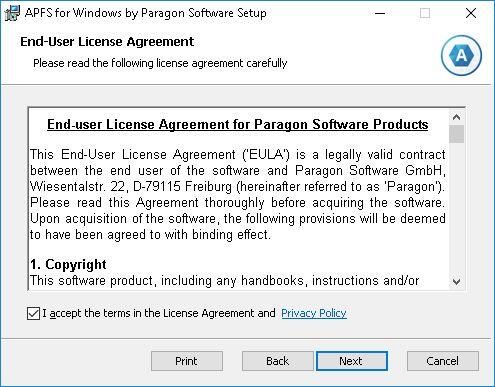
2. Check the box to agree to the EULA (Figure B) and click Next .
Figure B
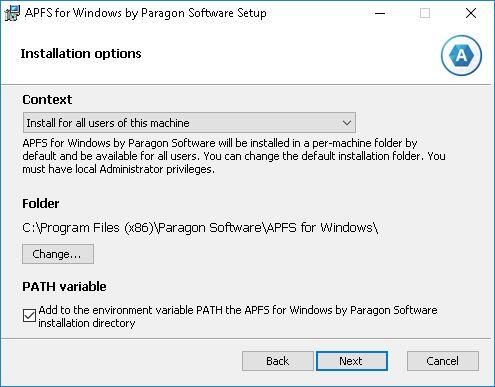
3. Now you can choose the installation path, as well as whether to make this app available per-computer or per-user. Optionally, you can check the box to create a path variable (Figure C), useful when passing commands through the CLI. Click Next after completing your selections.
Figure C
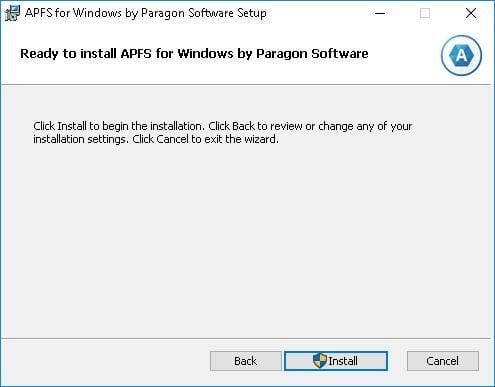
4. The installation is now configured and ready to begin. Click the Install button to start the process (Figure D).
Figure D
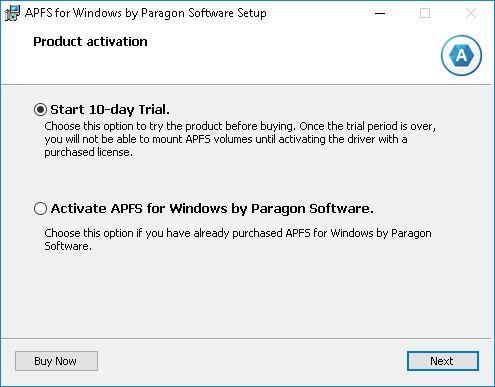
5. APFS for Windows, by default, installs as a 10-day trial. If you’ve already purchased it and have your license code, select the radio button to activate the software, then click Next to proceed. If your running the trial, the Buy Now button will take you to a webpage to purchase a license, if you choose to (Figure E).
Figure E
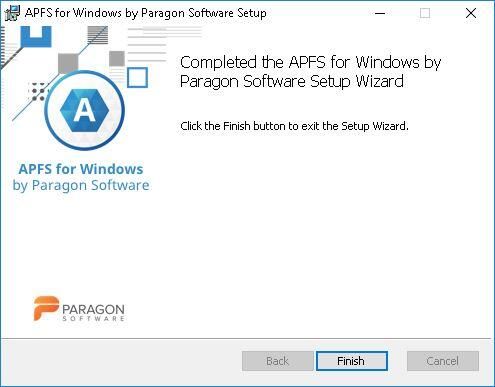
6. On the final page, installation of APFS for Windows will be completed (Figure F). Click Finish to close the wizard .
Figure F
SEE: Microsoft Teams: The right collaboration platform for your organization? (free TechRepublic PDF)
Configuring settings for APFS for Windows
After launching APFS for Windows for the first time, you may want to modify a few settings, as not all features are available by default.
1. Clicking on the ellipsis located next to the Sign In button will reveal a dropdown menu. From here, the service may be restarted, the app settings can be accessed, or the log displayed for troubleshooting issues (Figure G).
Figure G
By default, APFS for Windows runs in read-only mode. To allow APFS drives mounted with read-write capability, you must first access the Settings menu and select the Read-Write radio button under the Mount Volumes In section (Figure H). Clicking the Save Settings button will commit the changes
Figure H
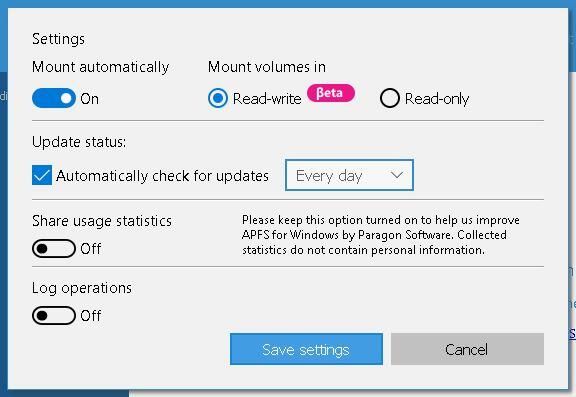
3. Additional settings to consider changing include enabling the automatic mounting of APFS drives and turning on the log operations, which are both optional, yet extremely helpful as they automate the process of accessing mounted drives and recording transactions to the log for troubleshooting errors.
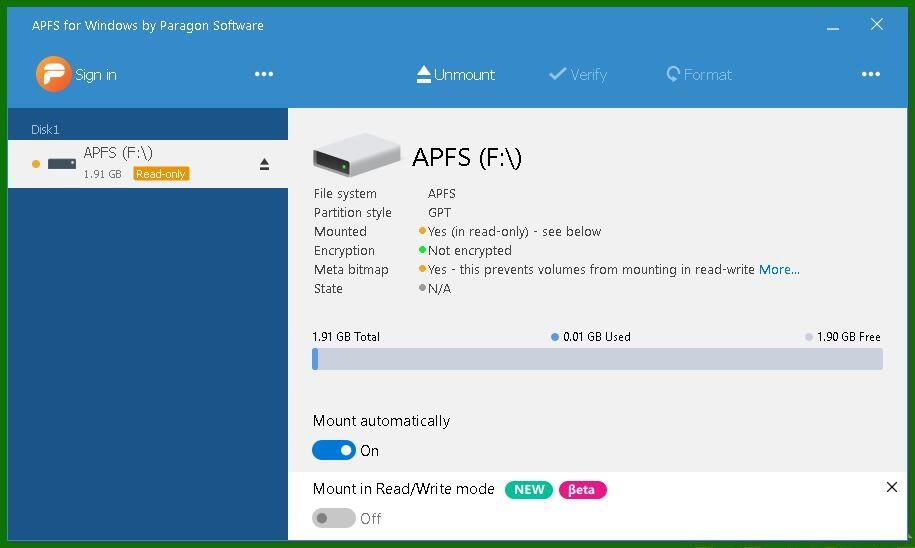
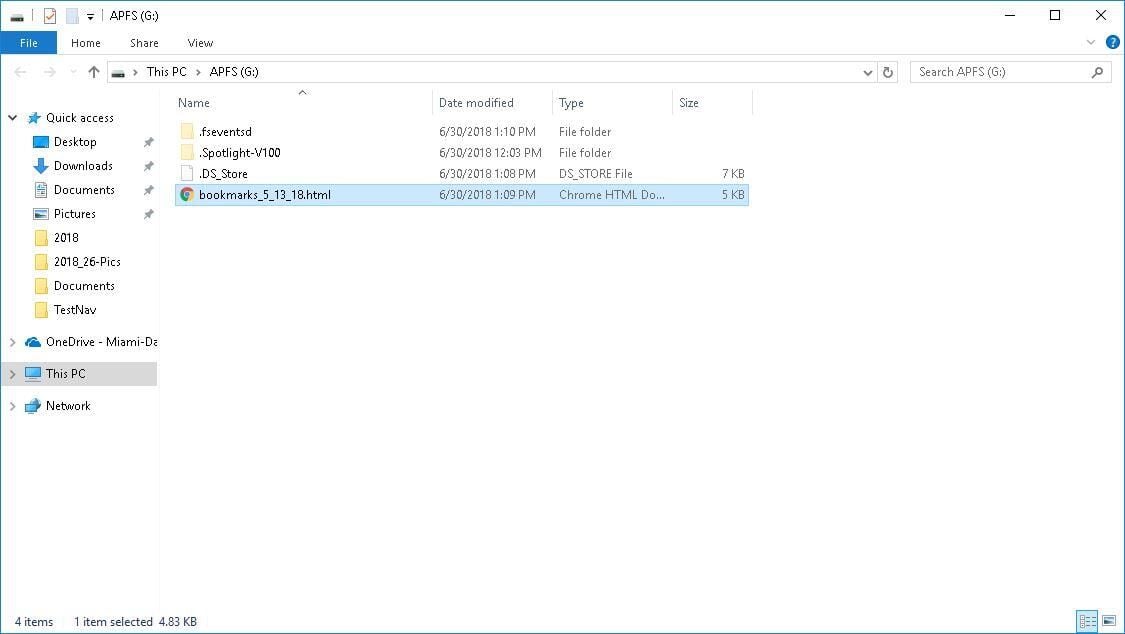
4. Once an APFS-formatted drive is inserted, it will appear on the left-hand menu, with a drive letter assigned by Windows. Select the drive you want to explore and click the ellipsis next to Format to display the Open In File Explorer dropdown menu (Figure I). Selecting this entry will open a new Windows Explorer window with the contents of the APFS drive listed (Figure J). You are free to interface with the drive and can read/write data to/from the source .
Figure I
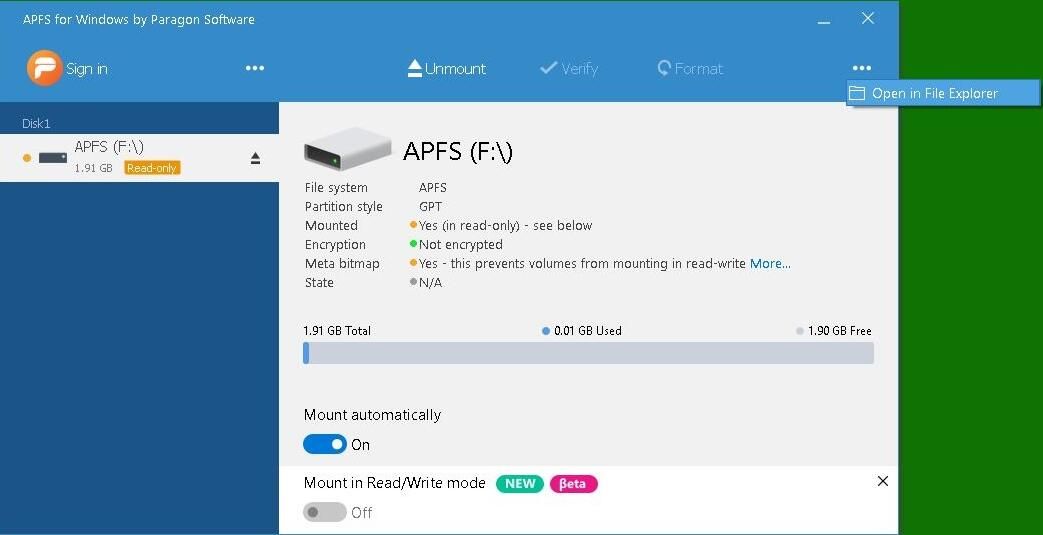
Figure J
Takeaways
There are a few sticking points that proved to be more than a little challenging when I used the app. For example, write access is, by default, disabled. More troubling is the fact that write access is currently a beta feature, and as with all alpha/beta builds, it should be treated with caution. The feature is not quite fully baked and could incur unintended consequences for users and their data. Additionally, due to how the application handles metadata embedded in the files on the drive, it will open in read-only mode only if metadata is detected on the drive. This actually prevented me from using the program on a production USB flash drive I rely on for a variety of things, which is disheartening and may affect the causal user a lot more.
Lastly, there are a few features–such as verifying and formatting APFS drives within the app–that are not supported in the current version but will likely be implemented in a future revision. This also applies to APFS-specific features, like cloned files, containers, and encrypted volumes, none of which is currently supported as of this writing.
APFS for Windows works as advertised. It does an admirable job of mounting APFS-formatted media, allowing users to interface with the data and work on it just as if they were on a Mac. Furthermore, the program is lightweight and does not require much in the way of resources, so impact on performance is next to nil.
Also read…
- Still running Windows 7 instead of Windows 10? You’re at greater risk from malware says report (TechRepublic)
- Windows password decryption possible from dump files, mounting offline partitions (TechRepublic)
- Windows 10 April 2018 Update: A cheat sheet (TechRepublic)
- Windows 10 problem solvers: My must have utilities (and many are free) (ZDNet)
Your thoughts
What are your go-to tools for enabling cross-platform collaboration and compatibility? Share your recommendations with fellow TechRepublic members.