


monday work management offers a metaphorical metric ton of features for its project management platform. The more you use the tool, the more features you’ll find that can seriously up your game. One such feature is the Connect Boards column, which allows you to link a column of items from one board to another. With this added, you can connect information between boards, which can improve a workflow that involves interrelated boards.
To explain this a bit more simply: Imagine you have one board that lists clients and another board that lists orders. With the Connect Boards column, you can view both without having to switch boards to keep track of what clients have ordered and what products/services.
I’ll show you how to add the Connect Boards column to your project. It’s not exactly intuitive, but it’s not all that challenging.
SEE: Hiring kit: Project manager (TechRepublic Premium)
What you’ll need
To add the Connect Boards column, you’ll need a paid monday.com account, which can range from $6.00/seat/month (minimum of 3 seats) to $22.00/seat/month (minimum of 3 seats). You can sign up for a free plan and then test the paid plan for 15 days without having to enter any credit card details.
With a paid plan at the ready, let’s find out how to add the Connect Boards Column to your project.
How to add the Connect Boards column
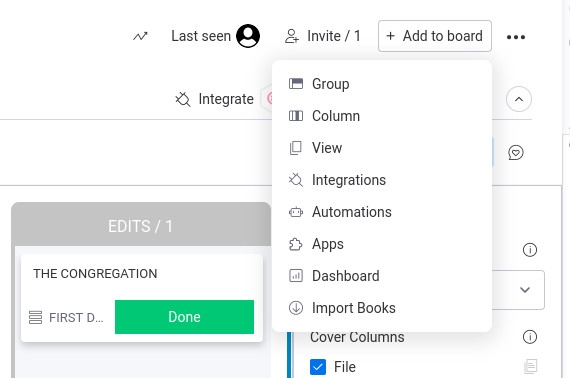
First off, you need to have multiple boards associated with a project — otherwise, this feature won’t work as expected. With that said, log into your monday.com account, select the Workspace with which you want to work with, and then open the Kanban Board view. In the resulting window, click Add to Board at the top right, which will open a pop-up menu (Figure A).
Figure A
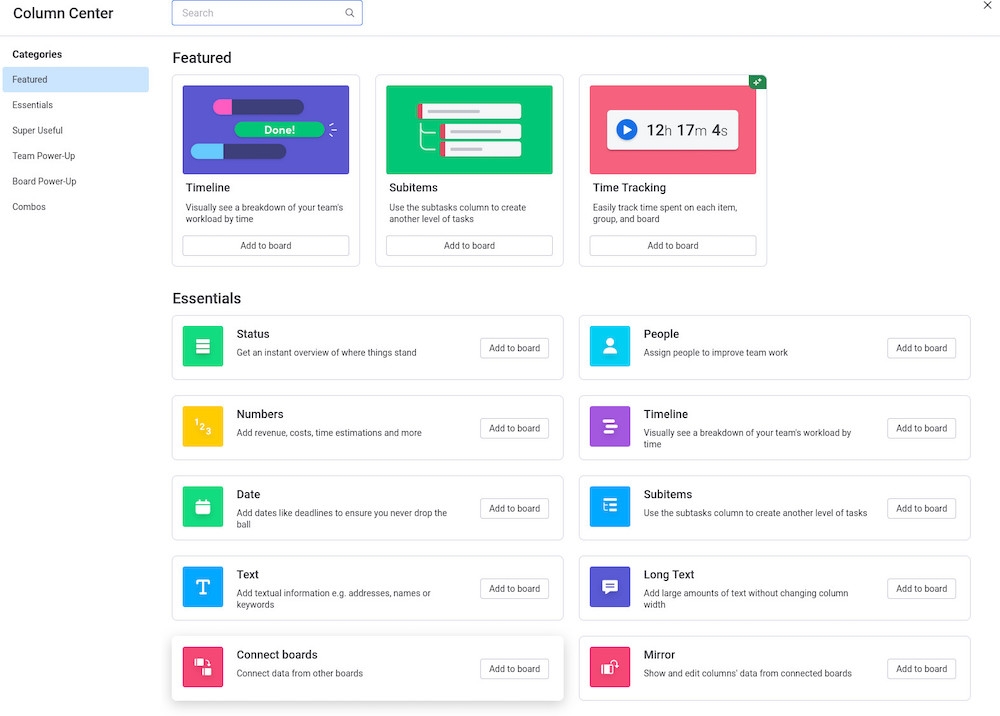
Click Column to reveal the Column Center and then click Add to Board associated with Connect Boards (Figure B).
Figure B
You will immediately be asked to select the board you want to link (Figure C).
Figure C
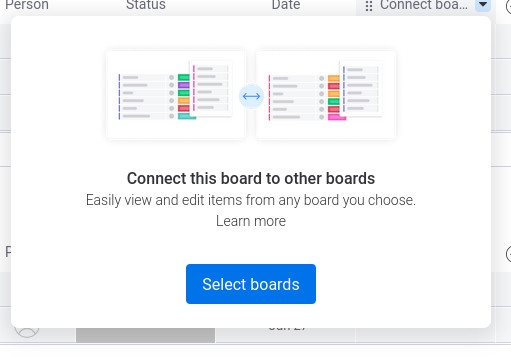
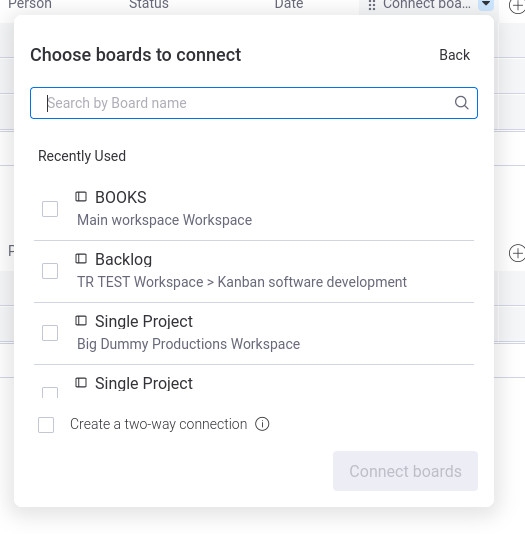
Click Select Board and then, when prompted, select the board you want to use and click Connect Boards (Figure D).
Figure D
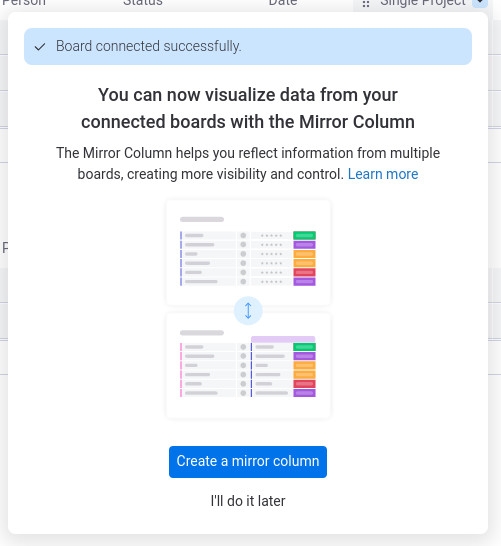
You will then have the option to add a Mirror Column (Figure E), which reflects data from multiple boards in a single column.
Figure E
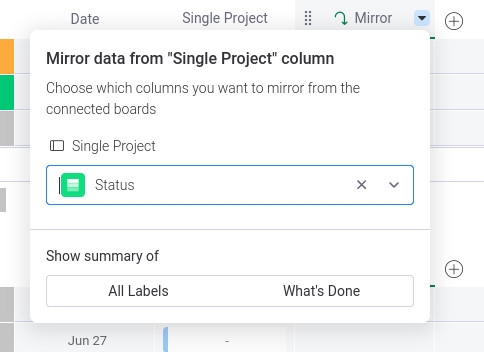
If you opt to skip this step, you can always do it later. Click Create a Mirror Column and then configure the column as needed (Figure F).
Figure F
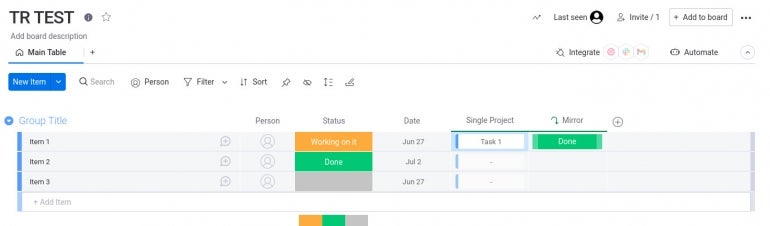
At this point, you can start adding items from the connected board to the newly added column (Figure G).
Figure G
And that’s how you connect boards in monday work manamgenet. The feature isn’t exactly as intuitive as I’d like it to be, but once you figure out how it’s used, you’ll find it to be incredibly helpful for Workspaces that include multiple boards.
Subscribe to TechRepublic’s How To Make Tech Work on YouTube for all the latest tech advice for business pros from Jack Wallen.