


Jitsi is an open-source, free conferencing server that can handle chat, video and VOIP conferencing. It’s a great alternative to the likes of Skype and Zoom. You can quickly deploy Jitsi and use it as an in-house solution or even open it up to the public.
I want to show you how easy it is to deploy Jitsi on Ubuntu 22.04. You can deploy this with either a fully qualified domain name or using a server with just an IP address. For simplicity’s sake, I’ll demonstrate using an IP address, which is a great option for an internal solution.
SEE: 40+ open source and Linux terms you need to know (TechRepublic Premium)
What you’ll need
The only things you’ll need to make this work are a server running Ubuntu Server 22.04 with a minimum of 4GB of RAM and a user with sudo privileges. That’s it: Let’s get to work.
How to install the dependencies
The first thing we must do is install a few simple dependencies. Log in to your Ubuntu instance and issue the following two commands:
sudo apt-get update

sudo apt-get install wget curl gnupg2 apt-transport-https -y
Once those commands are finished, you can move on to install Jitsi.
How to install Jitsi Meet
Since you won’t find Jitsi in the standard repositories, we must add the repo to apt. First, download and add the official Jitsi GPG key with the following commands:
curl https://download.jitsi.org/jitsi-key.gpg.key -o jitsi-key.gpg.key

sudo gpg --output /usr/share/keyrings/jitsi-key.gpg --dearmor jitsi-key.gpg.key
Next, add the repository with:
sudo nano /etc/apt/sources.list.d/jitsi-stable.list
In that file, paste the following:
deb [signed-by=/usr/share/keyrings/jitsi-key.gpg] https://download.jitsi.org stable/
Update apt and install Jitis Meet with:
sudo apt-get update
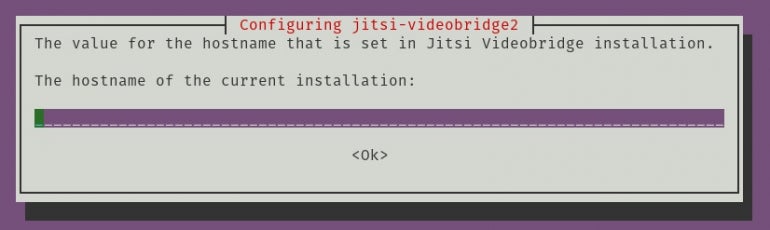
sudo apt-get install jitsi-meet -y
During the installation, you’ll be prompted to type the hostname for the machine (Figure A).
Figure A
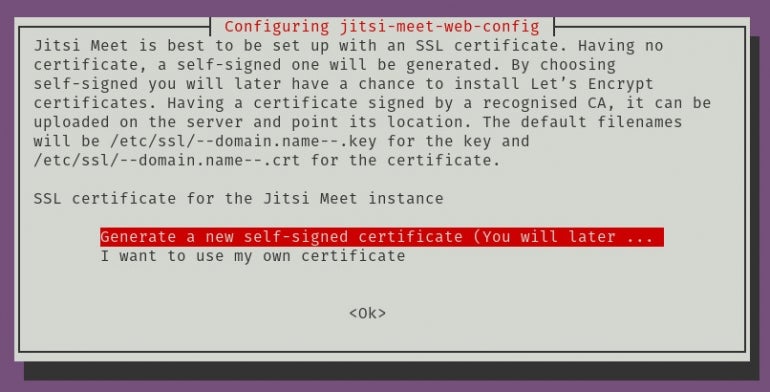
You will then be asked to either generate a self-signed certificate or upload your own (Figure B).
Figure B
Finally, you will be prompted to restart the necessary services (Figure C).
Figure C

And that’s it for the interactive portion of the installation. The installation should complete without errors and start the service.
How to access Jitsi Meet
Open a web browser and point it to https://SERVER, where SERVER is either the IP address or domain of the server. You will be greeted by the Jitsi Meet main window, where you can start a new meeting (Figure D).
Figure D

As soon as you create the new meeting, Jitsi will ask permission to use whatever camera and mic you have.
Congratulations, you now have a meeting and conferencing server up and running on your LAN. Anyone should be able to use and access this service for simple and internal communications.
Learn more about Ubuntu with The Mastering Linux Development Bundle from TechRepublic Academy.
Subscribe to TechRepublic’s How To Make Tech Work on YouTube for all the latest tech advice for business pros from Jack Wallen.