


My recent shift from GitHub to Bitbucket was relatively painless, with the exception of the site I hosted using GitHub Pages. Bitbucket provides a similar feature minus some of the extras included on GitHub. Here’s a quick tour of putting this feature to use with hosting a basic website via Bitbucket.
It’s all in the name
The key attraction to Bitbucket for me was that its model uses number of users or team members on a project as a basis for charging as opposed to the number of repositories. With that said, you are free to create as many Bitbucket repositories as necessary without incurring cost. Hosting a static website via Bitbucket is as simple as setting up a new repository and adding the necessary files or content.
The key with creating the repository is the name should match your username. This name is prepended to the bitbucket.org string and used as the repository name. For example, my website repository is named aspatton01.bitbucket.org since aspatton01 is my account name. Once the repository is created via Bitbucket, you can clone it, populate with necessary files, and push the changes to Bitbucket. For my site, I created a local directory with the same name as my repository. Once in the directory, GIT is initialized, and it is linked with the Bitbucket.org repository.
git init

git remote add origin https://username:password@bitbucket.org/username/username.bitbucket.org.git
With the repository set up locally, you can add files to get your site up and running. As an example, an index.html file is added since it is the default home page. With it added to our local directory, it can be pushed to the Bitbucket.org repository via git commands — first it is added and then committed. Once committed, it is pushed to the online repository.
- git add . — This adds all files to the repository.
- git commit -m ‘Comment’ — This commits changes to the repository.
- git push -u origin master — This sends all changes in the current master branch to the online repository.
If you move to another computer and wish to work with your repository, you can use the git clone command to make a local copy. The exact syntax for your repository can be easily retrieved from the Bitbucket site (Figure A). If you prefer a point-and-click interface, you can use a git client such as SourceTree (Figure B).
git clone https://username:password@bitbucket.org/username/username.bitbucket.org.git
Figure A
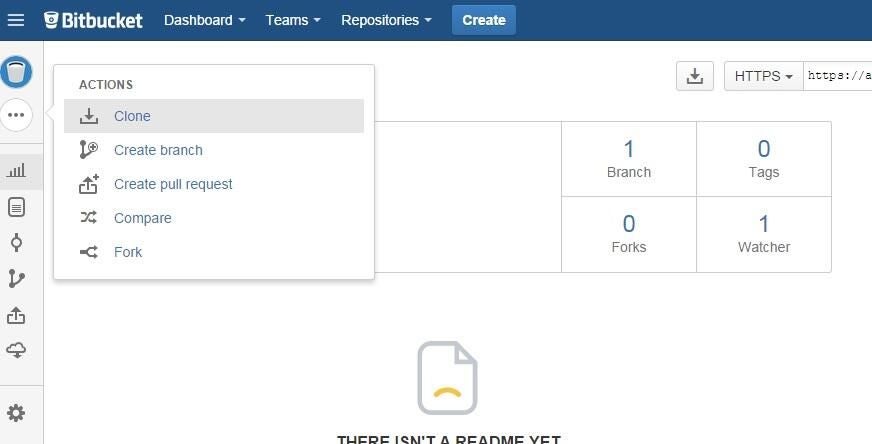
The Bitbucket interface provides easy access to the clone command.
Figure B
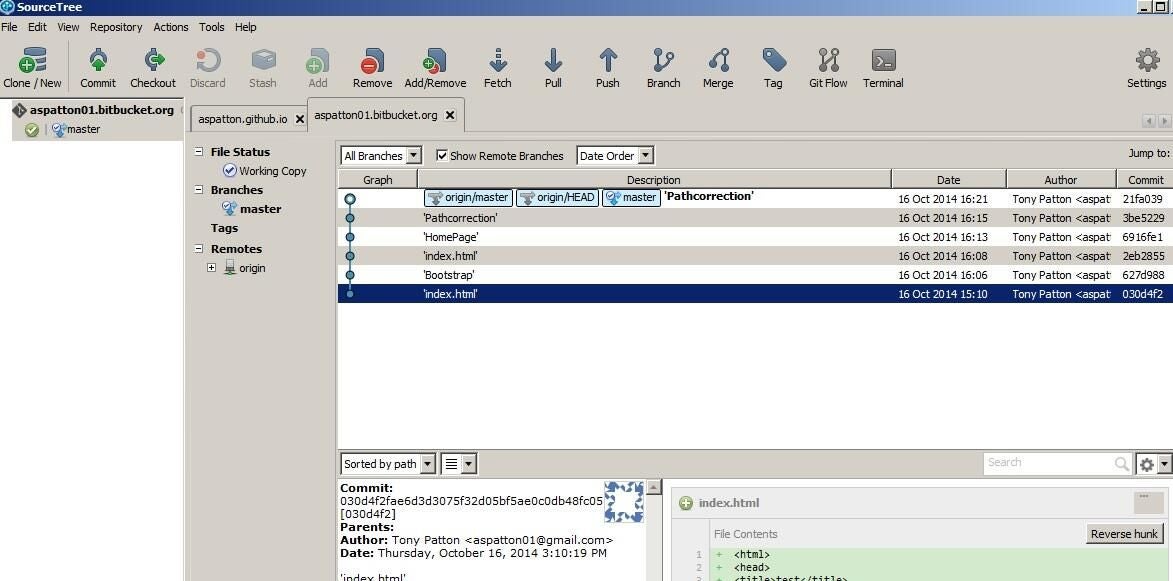
Working with website repository in SourceTree client.
The key feature of a Bitbucket-hosted site is it is static, so no dynamic content via languages like PHP. A static site does not mean unimpressive, as web standards such as CSS and JavaScript can be used to enhance it. For example, the Bootstrap framework can easily be added to our repository and used to enhance site presentation and functionality; this is as simple as downloading the Bootstrap files, adding them to our local repository, and pushing the additions to the Bitbucket-hosted site. The following commands accomplish the task.
git add .
git commit âm âBootstrapâ
git push âu origin master
Figure C shows the local repository directory loaded in Atom with the home page open. Figure D shows the site open in Internet Explorer.
Figure C
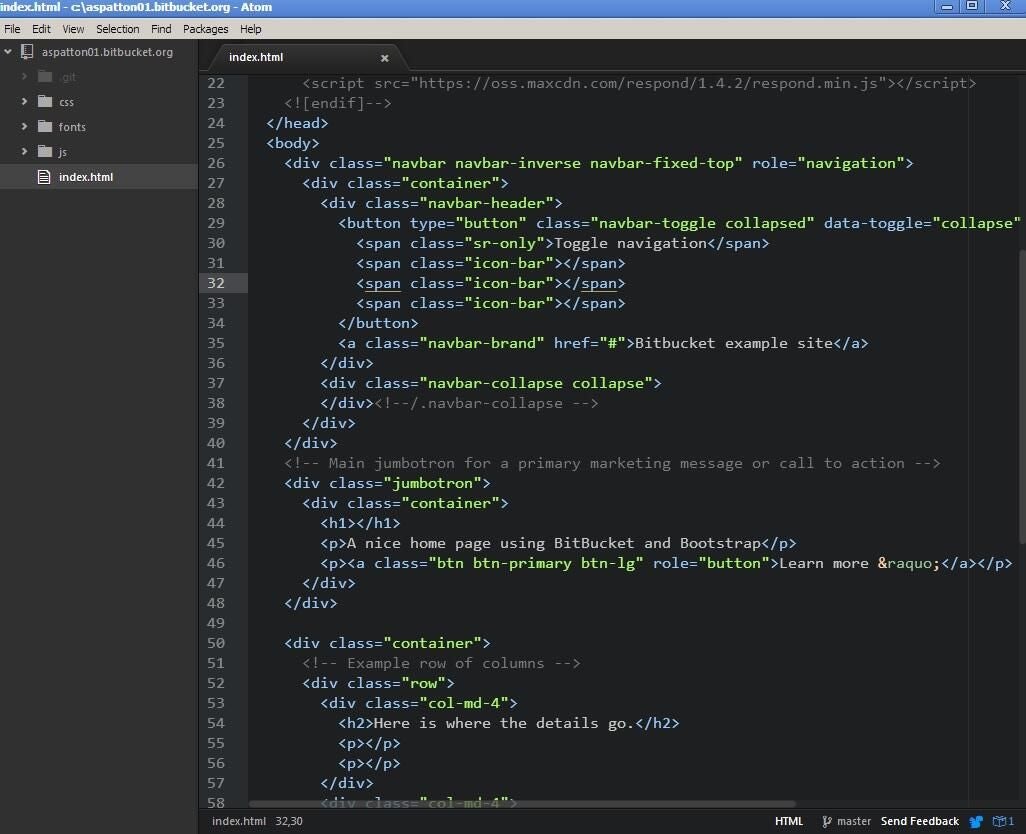
Working with the local repository in Atom.
Figure D
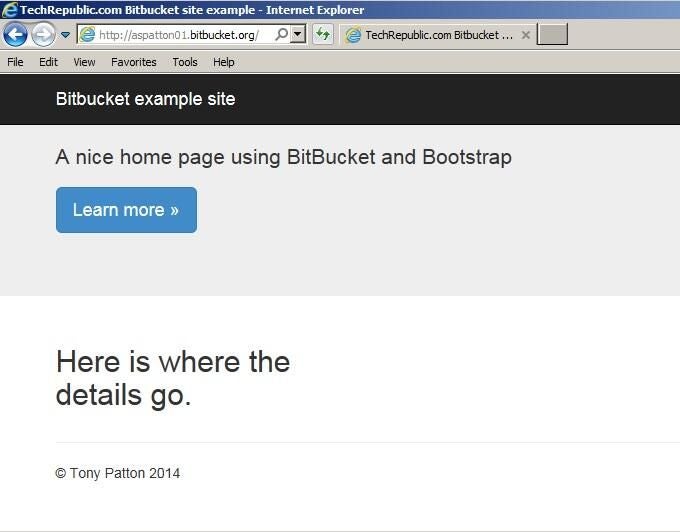
The Bitbucket site open in Internet Explorer.
Generating static content
A key feature that makes GitHub Pages so powerful is its use of Jekyll, a static website generator that uses markup and template files to spit out static content. While it is not a part of Bitbucket’s static hosting (nor can it be added), its output (static content) can be hosted on Bitbucket, so it’s an extra step but the same functionality as its GitHub counterpart. You simply generate the site and push generated files to Bitbucket. The following commands demonstrate the Jekyll portion of generating static content.
- jekyll new ExampleSite — generates a new Jekyll site in the ExampleSite directory.
- cd ExampleSite — goes to the directory where the Jekyll site was generated.
- jekyll build — builds the Jekyll site and generates the static files.
- cd _site — goes to the directory containing the static content.
Once in the Jekyll static content directory (_site), you can push this to your Bitbucket repository using the previously covered commands. While the manual steps can be tedious, they could easily be automated using your favorite tool. Figure E shows a sample Jekyll-generated blog served via Bitbucket.
Figure E
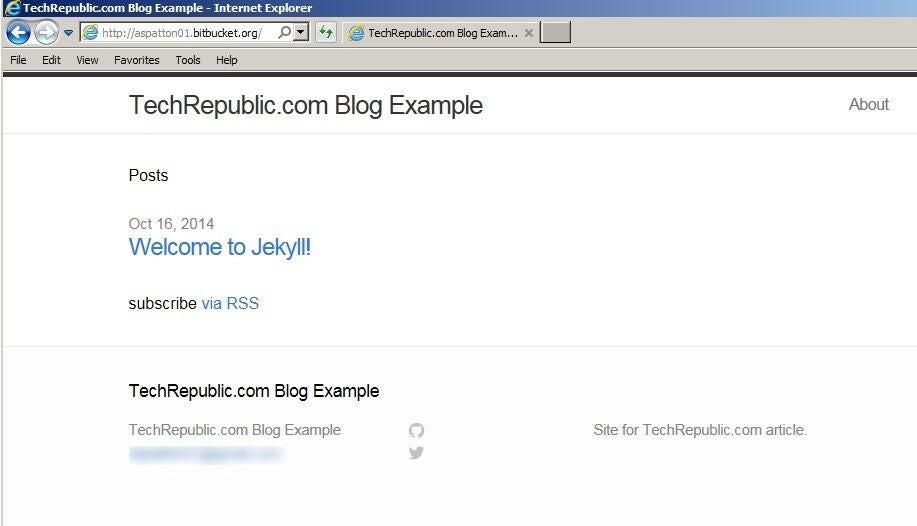
Jekyll-generated site hosted on Bitbucket.
A great option for hosting site
I loved the GitHub Pages feature, so I was ecstatic that a similar feature was available on Bitbucket. It isn’t the answer for every website, but for personal sites or simple static sites, Bitbucket provides everything needed. It allows you to host the site as well as source control for site assets.
The one difference with GitHub Pages is a site’s repository on Bitbucket does not have to be public, as you can host a private repository, but static content can easily be viewed in the browser so that’s not a big deal.
Bitbucket hosting is a great option with a great price: free.