


Word’s numbered list feature is easy to use when you need a simple numbered list. Anytime you want to customize that list a bit, for instance, by adding a prefix to each number, you might find yourself a bit lost in all the settings. That’s because there is no prefix option. However, that doesn’t mean you can’t add one. In this article, I’ll show you how to include a prefix by adding it to the number format.
SEE: 83 Excel tips every user should master (TechRepublic)
I’m using Microsoft 365 on a Windows 10 64-bit system. (I recommend that you not upgrade to Windows 11 until all the kinks have been worked out unless you have a specific reason for doing so.) You can work in earlier versions if you’re not upgraded to 365. Word Online will display a customized numbered list with a prefix, but you can’t add the prefix when working online. For your convenience, you can download the demonstration .doc and .docx files.
Why a prefix?
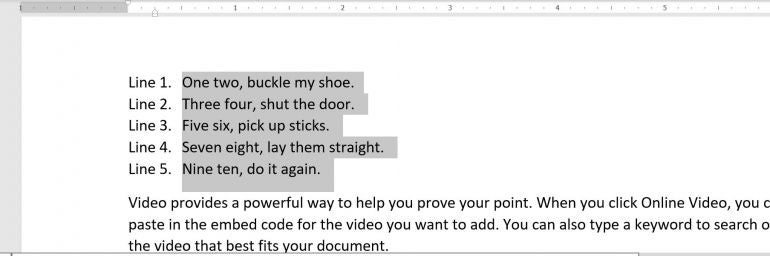
A prefix is a substring that you add to the beginning of a word. It might be a single letter or a complete word, but it changes the original word. For instance, adding “un” to a word creates a word that means the opposite of the original word: unsettled, unfortunately, and so on. Adding a prefix to a numbered list is similar, but you’re not changing the meaning of a word. Instead, you’re documenting something or more likely, simply adding a caption that expands or adds more meaning to the list items, as shown in Figure A. It’s a simple example, and we’re simply adding a line number to a children’s song. It’s not something you’ll do often probably, but it’s easy to accomplish if you need to.
Figure A
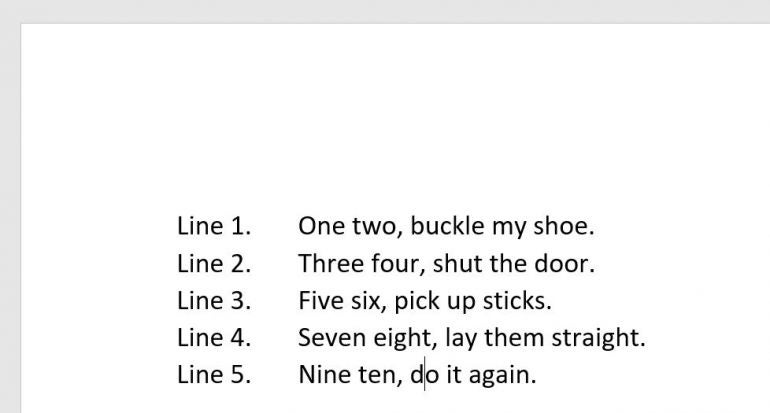
The numbered list
The first thing you need is a list. Before we start though, it’s important to note that clicking the Numbering option (in the Paragraph group) applies the numbering format you applied last. Clicking the dropdown arrow will display a gallery of recently applied formats and a library of formats.
In addition, it’s important to note that you can add the prefix when you start or when you complete the list. Let’s do the former:
- Enter the first item, One two, buckle my shoe.
- Click the Numbering option to start the numbered list. If you don’t like the default numbering option, click the dropdown and choose another one. Remember, when clicking this option, Word applies the last number style used.
- Select the number 1. Doing so highlights the number and the indent (white space) between the number and the first character in the item, as shown in Figure B.
- Click the Number dropdown to display the dropdown list. Do not click the option itself because doing so will automatically apply the default numbering option instead of showing you the dropdown gallery.
- From the dropdown, choose Define New Numbering Format.
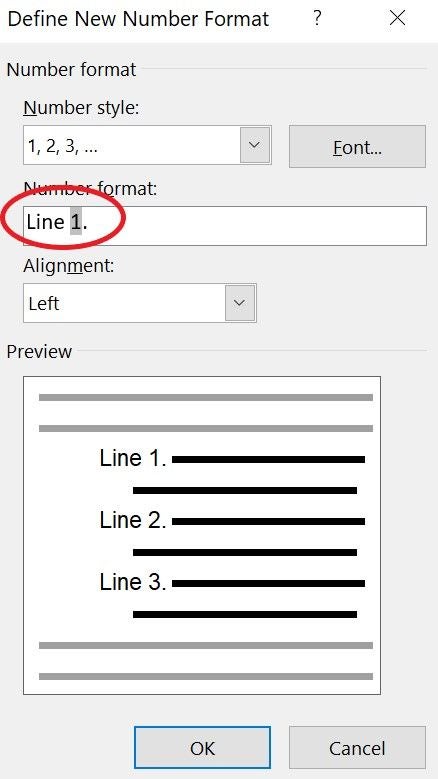
- In the resulting dialog, the Number Format control displays 1. Insert Line before the number in the Number Format control (Figure C).
- Click OK.
Figure B
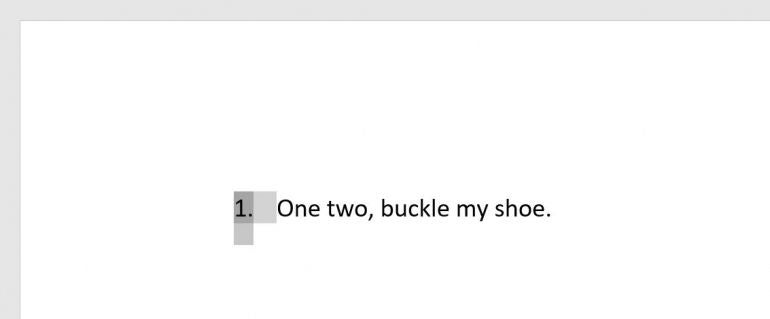
Figure C
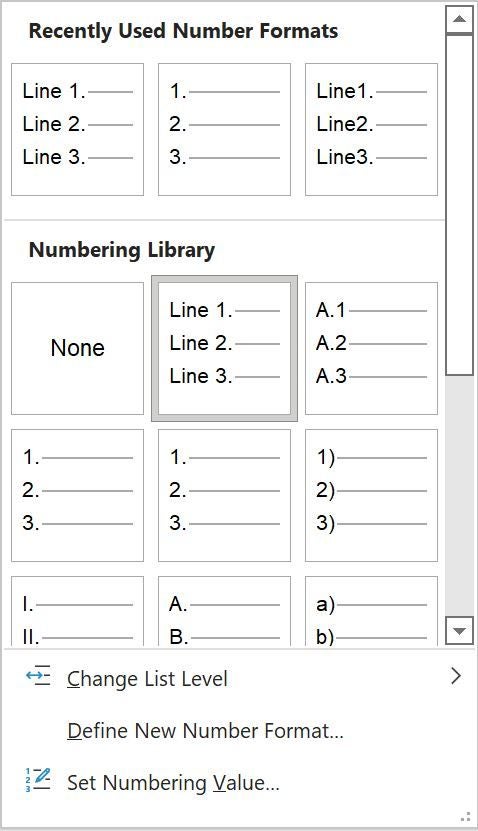
Continue to add the remaining lines, to create the list shown earlier in Figure A. This numbering format, which includes the prefix “Line,” will now be available via the Numbering dropdown library (Figure D). To apply it, simply click that option. You can also remove it from the Numbering Library section by right-clicking the thumbnail and choose Remove.
Figure D
Earlier, I mentioned that you can add the prefix when you start the list or once the list is complete. Let’s try that now.
- Enter all the items in your list (in this case, you can remove the numbering from the list used in the last example by choosing None from the Numbering dropdown.
- Select the entire list, click the Numbering dropdown, and choose Define New Number Format. (For our purposes, pretend that the new format isn’t already available in the numbering gallery.)
- In the resulting dialog, enter Line, in the Number Format control as you did before, and click OK.
When you return to the list, it will resemble the one shown in Figure A. Neither way is better; use either or both as best supports the way you work.
How to change the indenting
After adding the prefix, you might decide that you don’t like the indent before the left margin. If a one-off example, it’s easy to fix. Select the numbered list and click the Decrease Indent option in the Paragraph group (on the Home tab). As you can see in Figure E, the default list is now flush with the left margin. (I used RAND() to add a bit of text so you could easily see the left margin.)
Figure E
Where numbering is considered, it’s always best to know what you want before you start adding the list. If you’re going to customize the list, I recommend that you explore a bit, decide what you want, and if necessary, create a new number format before you start adding the lists. Even using VBA, modifying multiple numbered lists is an awkward task that might yield some unexpected results.