


Apache is an incredibly powerful web server. The one drawback, at least for some users, is that it doesn’t include any sort of GUI tool for the configuring, monitoring, and managing. Fortunately, one is but a quick install away. Said tool is ApacheGUI. ApacheGUI makes configuring your web server as well as needed virtual hosts so much easier. The tool also gets you easy access to all of the Apache log and help files. Although you might be perfectly comfortable configuring Apache from a terminal window, if you manage a lot of Apache web servers, ApacheGUI brings a level of efficiency to the task you won’t have otherwise.
With that said, let’s get this tool up and running.
What you’ll need
I’ll be demonstrating the installation on CentOS 7. You’ll need to have your Linux server up and running, as well as the Apache server installed and working. You’ll also need to have access to an account with sudo rights.
Installation
The first thing that must be done is the installation of openjdk. To find out which is the latest available version, issue the command yum search openjdk. The output should indicate which most recent version is available (Figure A).
Figure A
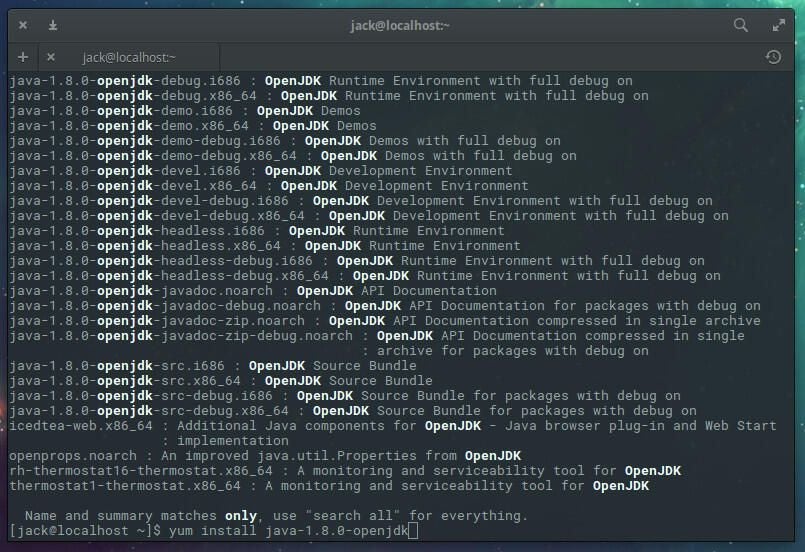
Once you know which version (mine is 1.8.0), install the dependency with the command:
sudo yum install java-1.8.0-openjdk
Make sure to substitute 1.8.0 with the most current release of the openjdk.
With that out of the way, you’re ready for ApacheGUI.
Download and install
There actually isn’t an installation per se. Instead what you must do is download the tar.gz file, extract it, move it, and then run the included executable. Do note, I am installing version 1.11. You’ll want to check with the ApacheGUI website to find out the latest available version. Here are the steps:
- Download the file with the command wget https://sourceforge.net/projects/apachegui/files/…
- Extract the file with the command tar xvzf ApacheGUI-1.11.0.tar.gz
- Move the file with the command sudo mv ApacheGUI /opt/ApacheGUI/
- Change into the newly moved directory with the command cd /opt/ApacheGUI/bin
- Start ApacheGUI with the command sudo ./run.sh
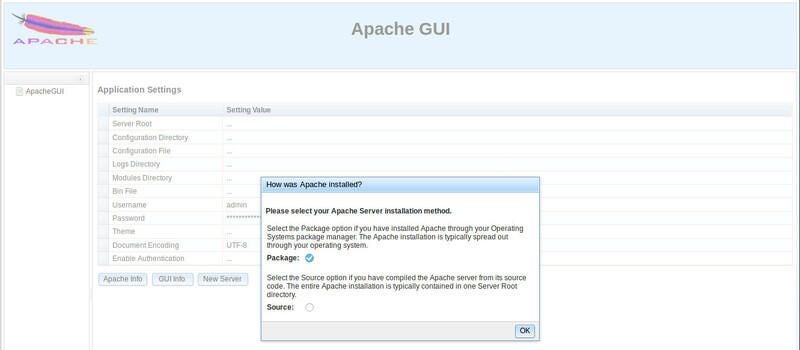
With the service running, open up a web browser and point it to http://SERVER_IP:9999/ApacheGUI/. The first screen you’ll see asks you to select which installation method you used for installing Apache. Chances are, you installed via the package manager, so select Package and click OK (Figure B).
Figure B
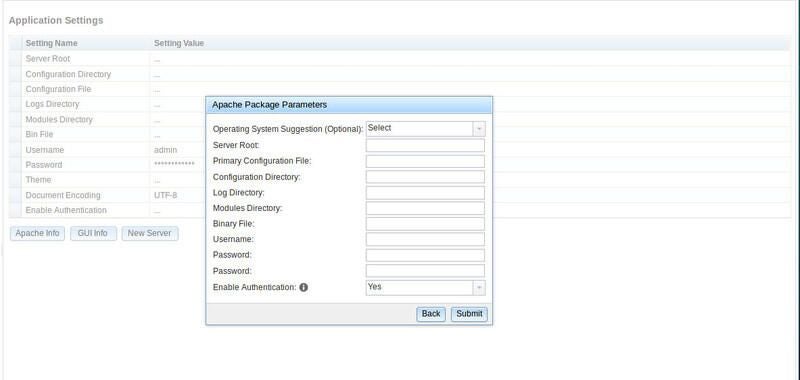
In the next window ( Figure C), select the operating system that hosts Apache. Once you’ve selected your host platform, the necessary information will automatically fill in. The only bits that won’t autofill are the Username and Password fields. You must enter those manually. That user is the ApacheGUI admin user. Remember those credentials, as that is how you log into ApacheGUI.
Figure C
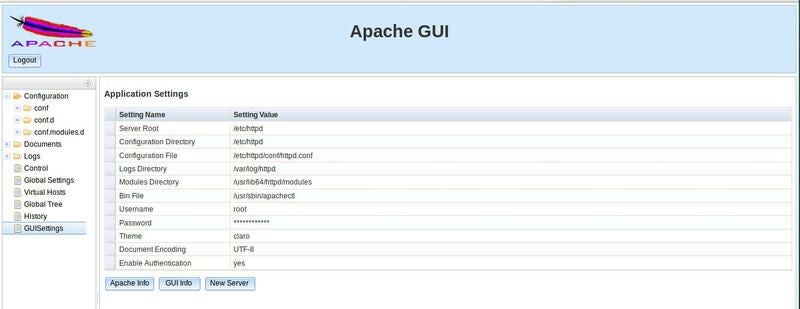
Once you click Submit, you will be automatically transferred to the login screen. Log in with the credentials you created and you can then start managing your Apache server, via ApacheGUI ( Figure D).
Figure D
Easier Apache management
If you’ve been hoping for an easier way to manage your Apache web server, this might be exactly what you’re looking for. Since ApacheGUI is so easy to install and setup, it’s certainly worth a try. Chances are, you’ll find it the one tool you’ve been missing for your Apache management.