
If you manage a database server, you are probably always in search of a tool to make that process a bit easier. If your database of choice is MySQL, you have a number of options. You can always secure shell into that server and manage the databases from the command line. You can also install a tool like phpMyAdmin or adminer to take care of everything via a web-based interface. But what if you’d prefer to use a desktop client? Where do you turn? One possible option is DBeaver.
DBeaver is a free, universal SQL client that can connect to numerous types of databases–one of which is MySQL. I want to show you how to install and use DBeaver to connect to your remote MySQL server. DBeaver is available for Windows, macOS, and Linux. I’ll be demonstrating on a Ubuntu 17.10 desktop connecting to a Ubuntu Server 16.04.
Installing DBeaver
The installation of DBeaver is fairly straightforward, with one hitch. Download the necessary .deb file from the downloads page and save it to your ~/Downloads directory. Open up a terminal window and change into that directory with the command cd ~/Downloads. Install the downloaded file with the command:
sudo dpkg -i dbeaver*.deb
That installation will error out, due to dependency issues. To resolve this, issue the command:
sudo apt install -f
Once the above command completes, everything will be in place to run DBeaver. Open up your desktop menu and search for the DBeaver software. Click on that entry to run the application.
Connecting DBeaver to your server
The first thing you must do is have your MySQL configured to allow remote connections. I’ve already covered this process in my article “How to set up MySQL for remote access on Ubuntu Server 16.04.” Make sure you have that working before continuing on. Otherwise the connection will fail.
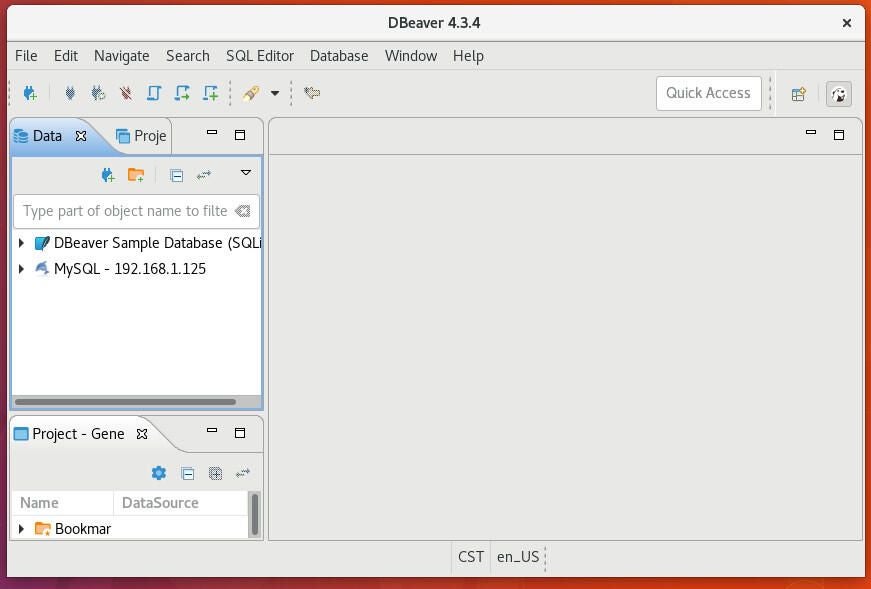
Within the DBeaver main window click the New Connection Wizard button (below File–Figure A).
Figure A
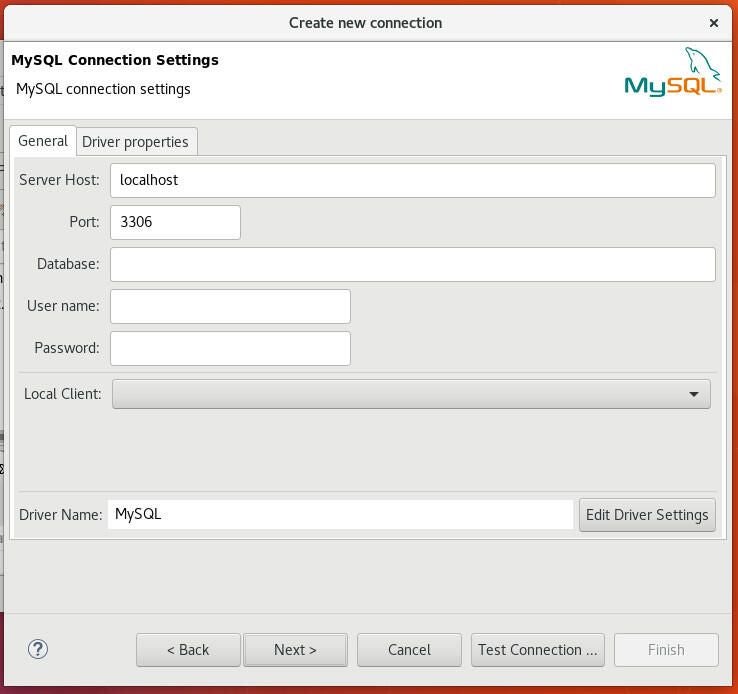
In the resulting window select MySQL from the list and click Next. Enter the necessary information for your MySQL database server (Figure B).
Figure B
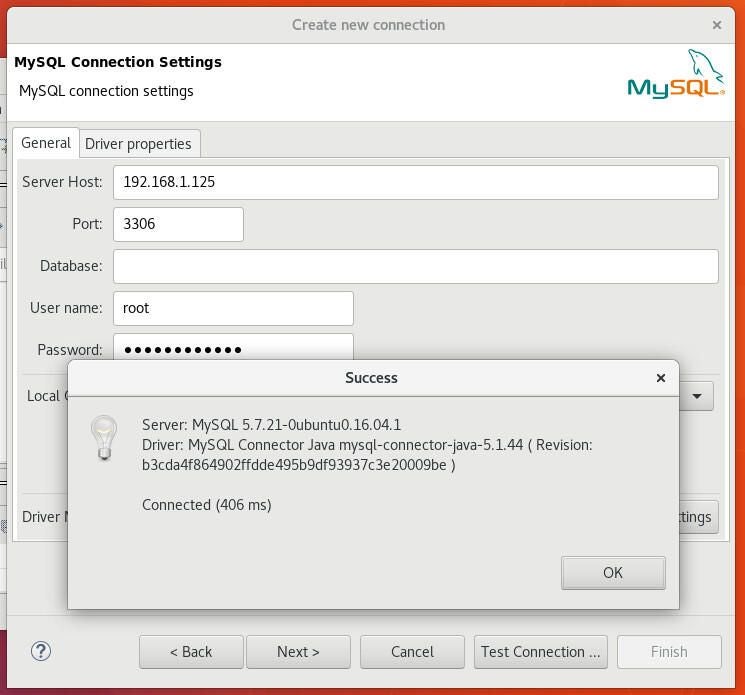
Once you’ve filled out the necessary information, click the Test Connection button. If all goes as planned, you should see a popup informing you the connection was successful (Figure C).
Figure C
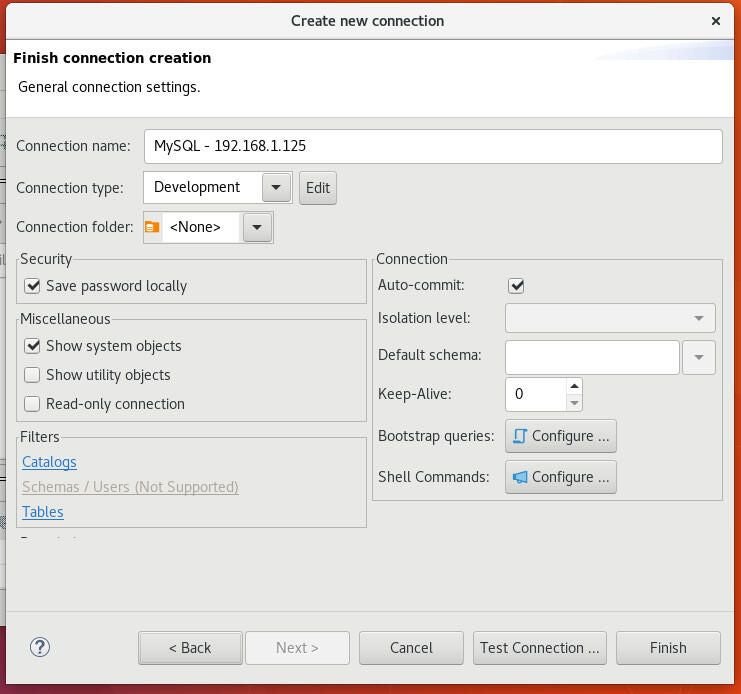
Click Next and then (in the resulting window) set up an optional SSH tunnel. This would be a good idea if you’re connecting to your MySQL from outside of your LAN. If you’re within your LAN, chances are you won’t need this option. If you don’t want to bother with the SSH tunnel, click Next. The final window (Figure D), allows you to check the settings and configure a few more details for the connection.
Figure D
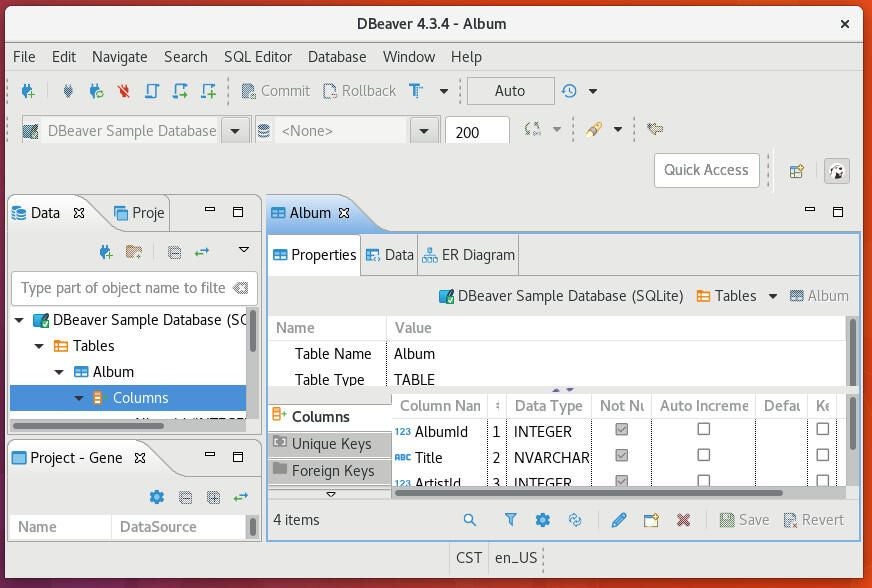
Once you’re satisfied with the connection setup, click Finish then when prompted click Yes to create a sample database. Creating this sample database allows you to explore the DBeaver tool without the danger of wreaking havoc on your production databases. Once you’re comfortable with the DBeaver interface (Figure E), you can then start working on your actual databases.
Figure E
A good tool to empower your MySQL database administration
And that’s all there is to connecting DBeaver to a remote MySQL database. If you’ve been looking for a powerful tool to make your MySQL administration a bit easier DBeaver goes a very long way to making that happen. Give this tool a try and see if it doesn’t become your go-to database admin app.