Image: iStock/Amit_Choudhary
Most bullet points or lists are a bit boring—some text on a white screen. You might see a graphic or graphic theme in your PowerPoint presentation, but the points themselves are bland. If your subject can handle a little fun, you can change those boring text points into fun bouncing balls. In this article, I’ll show you how to create balls that bounce into the Microsoft PowerPoint slide and seemingly turn into a second ball that displays bullet point text. Keep in mind that fun isn’t appropriate for every presentation, so use discretion.
Disclosure: TechRepublic may earn a commission from some of the products featured on this page. TechRepublic and the author were not compensated for this independent review.
We’ll work with two balls for each bullet point: An entrance ball and a text ball. The entrance ball will be the circle shape that bounces into view. The text ball will display the actual bullet text. The two balls will be stacked, and thanks to some simple animation, the bouncing ball will appear to turn into the text ball.
This article assumes you’re familiar with basic PowerPoint tasks, such as inserting AutoShapes. You can work with your own slides and data or download the demonstration .pptx file. You can’t create the full effects in the browser edition and while the browser will run the show, the balls don’t bounce, and the swivels are slower.
How to create the entrance ball
The first step is to create a bouncing ball, which is simpler than you might think—it’s a simple set of animations. To get started, position a circle AutoShape in a blank slide as follows:
- Click the Insert tab.
- From the Shapes dropdown in the Illustration group, select the oval (in the basic shapes section). Hold down the Shift key while dragging to size and position the circle. Doing so will create a perfect circle.
- From the Shape Styles gallery, choose a black option with white font; you could use the fill option, but this style allows you to add text the easy way.
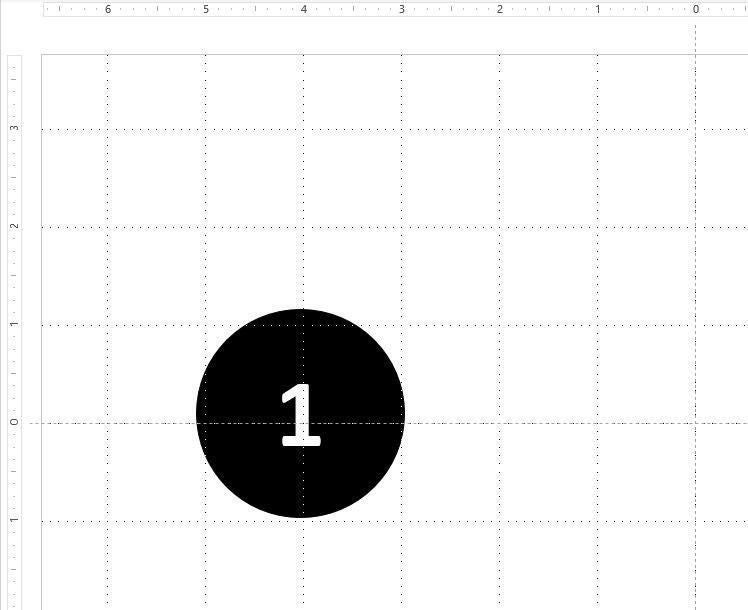
- This circle represents the first bullet point, so enter the number 1. The style automatically centers the white digit, but it isn’t big enough, so select 1 and use the Font Size dropdown on the Home tab to change the font size to 72 (Figure A).
Figure A

We’re going to keep things simple, but there are a number of ways you could enhance the ball: Add a shadow or 3D effect, change the color, change the font or font size, and so on. Because the ball turns into the bullet text, you’ll probably want to use two different colors: one for the entrance ball and one for the text ball, so keep your choices complementary.
How to create the text ball
We have one numbered ball (the entrance ball) and we still need the text ball. The entrance ball doesn’t actually change text. Instead, the text ball hides behind the entrance ball. The entrance ball fades, which triggers the text ball’s entrance animation
The next thing we need is a text ball:
- Select the entrance ball and press Ctrl+b and drag the copied ball to the right. If you usually use Ctrl+c and Ctrl+v to copy and paste content, this might be new to you.
- With the second ball selected, choose red (or another color) from the Shape Fill dropdown in the Drawing group (on the contextual Shape Format tab).
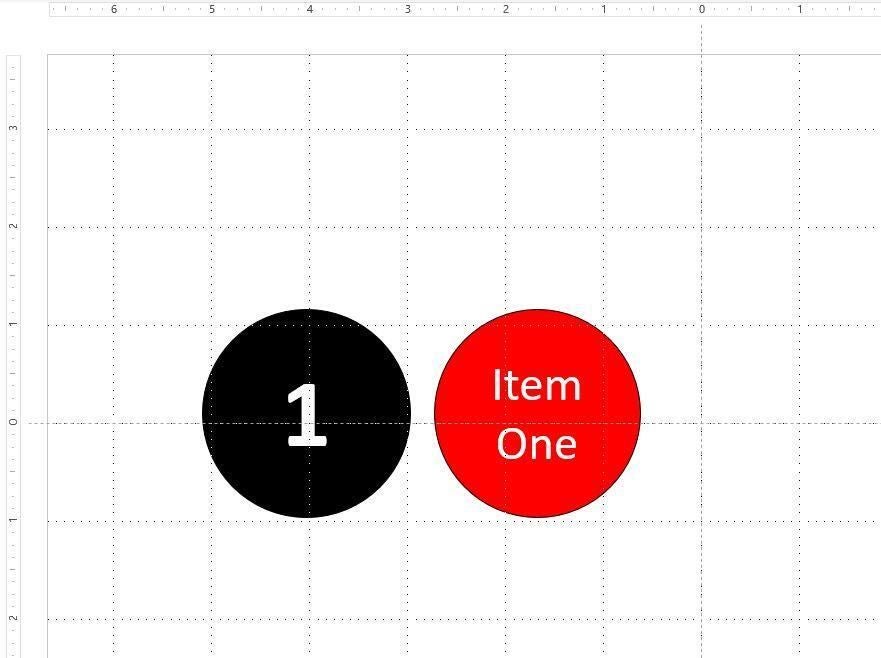
- Replace the digit 1 with the bullet point text, Item One, and select a smaller font size so it fits (Figure B). I used the font size 36.
- Lastly, select one of the corner handles of the text ball, hold down the Shift key and make the text ball only a tad smaller—not so much smaller that you’d notice, but small enough that hiding it behind the entrance ball is easier.
Figure B

How to animate the entrance ball
With both the entrance and text ball ready, it’s time to add the bouncing entrance animation, which is extremely easy:
- Select the entrance ball (black with the number 1) and click the Animations tab.
- Click the Animation gallery’s More button and choose Bounce from the Entrance section. After doing so, PowerPoint will give you a quick peek at what that animation looks like and add a small 1 to the top-left of the shape. The digit identifies the animation order.
After the entrance ball bounces into the picture, we want it to disappear. Doing so will expose the text ball underneath. For that, we want to use the Collapse Exit animation:
- Select the entrance ball.
- Click the Animation tab.
- Click the Add Animation dropdown in the advanced Animation group. (This object already has an animation, so you need to choose this one from the Add dropdown.)
- From the Exit section, choose Fade. Once you’re familiar with how all the animations work together, you can choose a more dramatic one if you like. For now, this one works fine.
- Then, change the Start setting to After Previous (in the Timing group).
How to animate the text ball
At this point, our entrance ball bounces into the slide and then fades. Now let’s jazz up the text ball a bit by adding a bit of fun when it’s exposed. Select the text ball and using the animation gallery, select Swivel from the Subtle section. If the Subtle section isn’t available, click any of the more options at the bottom of the list. On the Animations tab, set the Start option to After Previous.
Now we’re ready to position the two balls—we’re going to stack them. First, select the text ball and choose Sent to Back from the Send Backward dropdown on the contextual Shape Format tab. Or, you use the Arrange option on the Home tab. Then, position the text ball on top of the entrance ball, and watch it disappear. It’s still there, behind the entrance ball. Remember when you made the text ball just a bit smaller? This is why—doing so makes it much easier to completely conceal the text ball.
At this point, there are three animations, but all you can see is one object—the entrance ball. The first bullet point is ready, so press F5. First, the entrance ball bounces in, but the text ball is hidden. Once the ball stops bouncing, it fades. Finally, the text ball’s swivel animation adds a bit of fun to its exposure. If things don’t go smoothly, check the Start options first.
How to add more bullet points
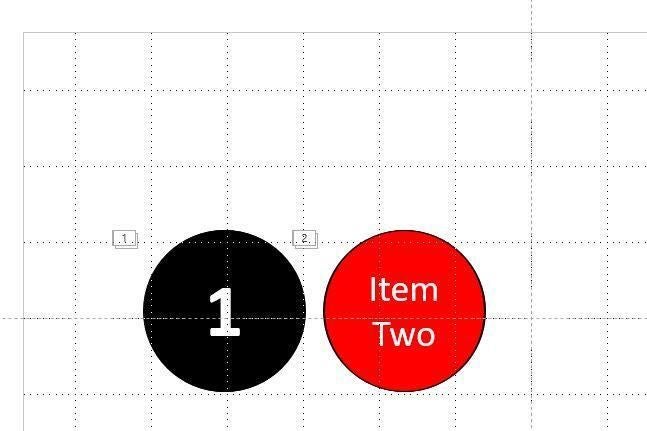
Once you have one bullet point completed, you can use it to create the others. First, drag over the stack to make sure both shapes are selected. Then, hold down the Ctrl button and drag a copy to the right. (You don’t have to use copy and paste.) Change the digit to 2. Choose Send to Back (Arrange option on the Home tab or the Arrange group on the Shape Format tab). This is only temporary. Change the text (Figure C) and then send the text ball to the back. As you can see in Figure D, there are now two entrance balls.
Figure C

Figure D

Continue until you have all of your bullet points. When working with the stacks, be sure to drag over both balls in a stack to make sure both balls are selected. In the Animation pane, you’ll find three new animations; each bullet point stack will have three animations.
Run the show (F5) and click to trigger the first bullet point. When you’re ready, click to trigger the second, third, and so on.
Explore more animations
The complete animation is simple and easy to complete. However, there are a number of variations you might want to try. For instance, try removing the swivel animation and allow the text ball to fade in as the entrance ball fades out. There are any number of animations you can use to hide the bullet point item and then expose it. The key is to stack the two and explore from there.

