For many, the Chromebook is a simple solution to a complex problem–working with a mobile device that offers ease of use, security, and reliability. For the most part, those devices work like no other platform you’ll ever use, especially given that the majority (if not all) of your work will be found within a browser window.
However, you might not be the average Chromebook user. Your daily usage might include Linux and Android apps, more demanding websites, or a large number of tabs. If that’s you, you might want to squeeze just a bit more performance out of that device.
The big question is how? Outside of making sure you’ve secured the fastest Chromebook you can afford, are there ways to gain a bit more performance?
Let’s find out together.
SEE: TechRepublic Premium editorial calendar: IT policies, checklists, toolkits, and research for download (TechRepublic Premium)
What you’ll need
The only thing you’ll need for this is a relatively new Chromebook, as some of these tips might not work with older models.
1. Enable Hyper-Threading
This is one of those tips that may or may not work on your Chromebook, but that doesn’t mean you can’t enable it and find out.
Note: Although Hyper-Threading will increase performance of Intel-based Chromebooks, it does come with a security trade-off. With Hyper-Threading enabled, users could accidentally execute malicious code, such as from a website or an Android app, that exploits MDS to read sensitive content within memory. If you do enable Hyper-Threading to gain extra performance, you must take added precautions with the sites you visit and the Android apps you install.
To enable Hyper-Threading enter the following in the Chrome address bar:
chrome://flags#scheduler-configuration
Locate the entry labeled Scheduler Configuration and choose Enables Hyper-Threading on Relevant CPUs from the drop-down (Figure A).
Figure A

You’ll then need to restart Chrome by clicking Restart at the bottom-right corner.
Hyper-Threading is now enabled, so you should see an improvement in performance.
2. Uninstall unused or useless apps and extensions
This tip is much easier and safer. If you’re a Chromebook user, chances are pretty good that you’re a Chrome user. That means you’ve probably installed a number of apps and/or extensions on the desktop version of the browser. Guess what? Those tools most likely sync’d with your Chromebook and are installed without you having to do anything.
Some apps and extensions really don’t take up much space or consume a noticeable amount of CPU or RAM, but that’s not always the case. Even if you have only installed apps or extensions that gobble up little system resources, if you have enough of them installed, it’ll make a difference.
First and foremost, you should disable the extension sync on your Chrome account. If you don’t, whatever you remove or install on one device will be mirrored on any other Chrome instance associated with your account. To remove that sync option, click on your profile icon in the upper-right corner and click Sync on. In the resulting window, click Customize Sync and then click the On/Off slider for Extensions until it’s in the Off position.
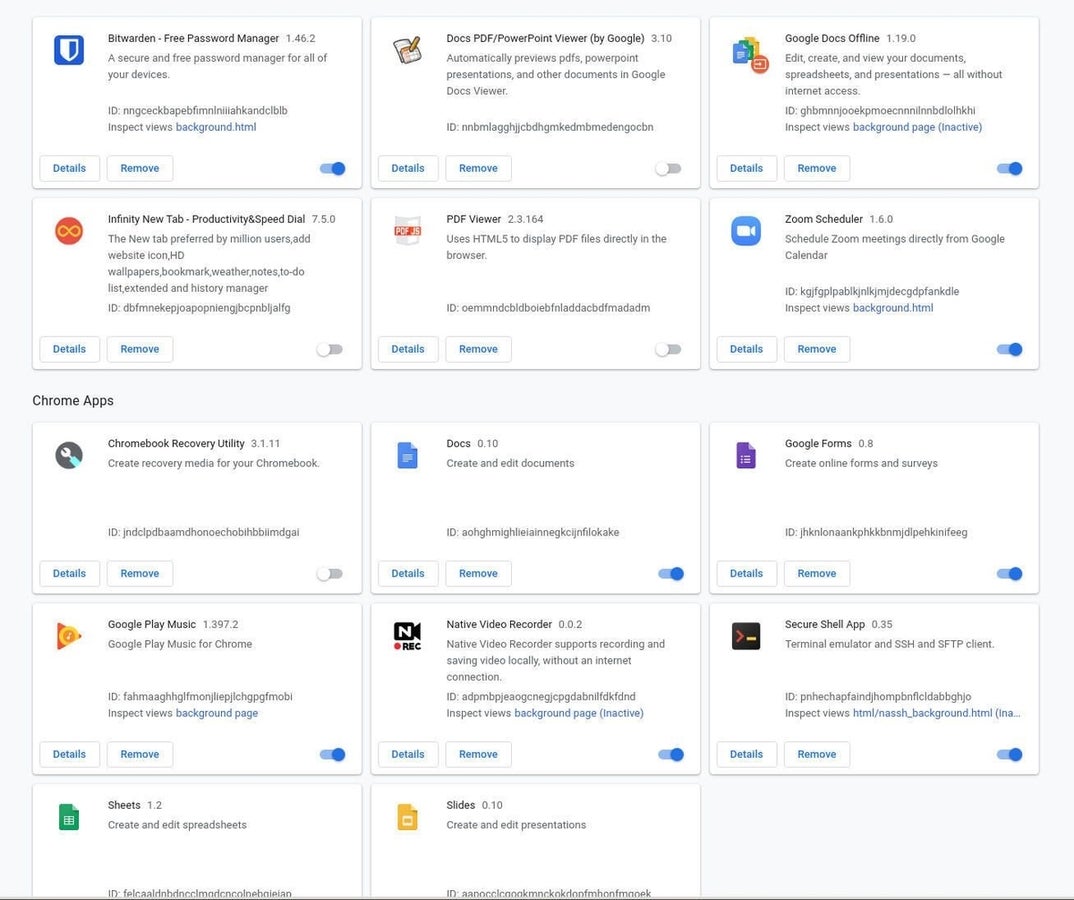
Now, go to the Chrome menu and click More Tools | Extensions. From the resulting page, disable or remove any/all apps and extensions that you don’t rely on (Figure B).
Figure B

3. Enough with the million tabs
Admit it, you leave a multitude of tabs open, simply out of convenience. There’s no way you work with 20 sites at a time. Instead, you spread out that love over the course of the day. If you leave that vast array of tabs open all the time, they’ll be sitting there taking up resources–you don’t want that.
There are two ways around this. You could either only have the tabs open that you need and make better use of your bookmarks, or you could install an extension to hibernate tabs that aren’t being used (such as The Great Suspender). If you’ve gone out of your way to clean up your extensions, you might not want to install yet another. Your best bet is to create a productive bookmark system that allows you to quickly open the sites you need to work with.
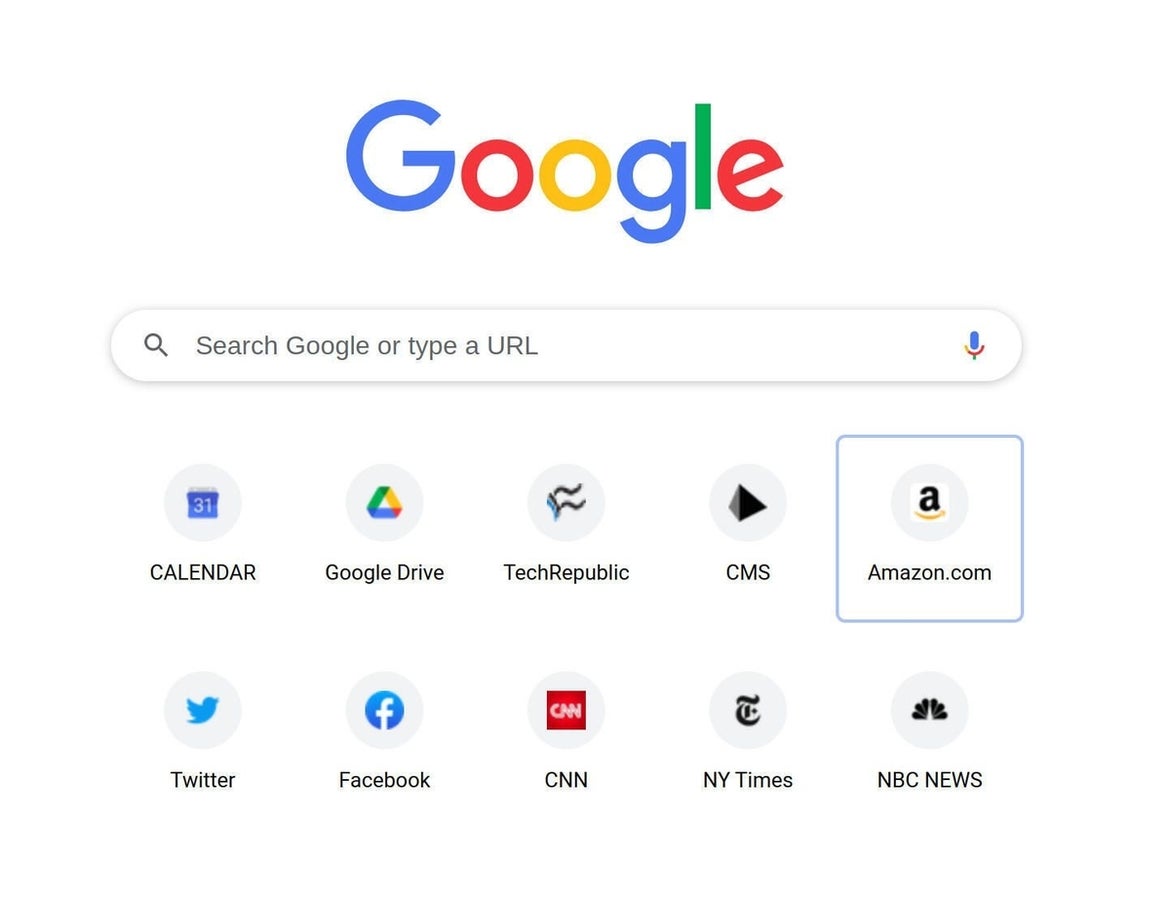
The way I do this is a combination of pinned tabs and bookmarks. I’ll pin tabs to current files I’m working on (say a book, a script, or a long-form article) and then place all of the bookmarks I frequently use as shortcuts on the New Tab page. Unfortunately, you cannot add more than 10 shortcuts to this page, so what I do is add those sites I depend on there and then use the standard bookmarks toolbar for the rest (Figure C).
Figure C

This system has allowed me to limit my Chrome tabs to a just a handful at a time, which goes a long way to saving system resources.
4. Update, update, update
I cannot tell you how many times I’ve gone to help someone with their Chromebook, only to find it’s a few releases out of date. When you do this, you miss out on security patches, new features, and optimizations. Don’t let this happen. Chrome OS does a good job of letting you know when an update is available in the system tray. Take heed and action for those warnings. Every time you see an update available, apply it.
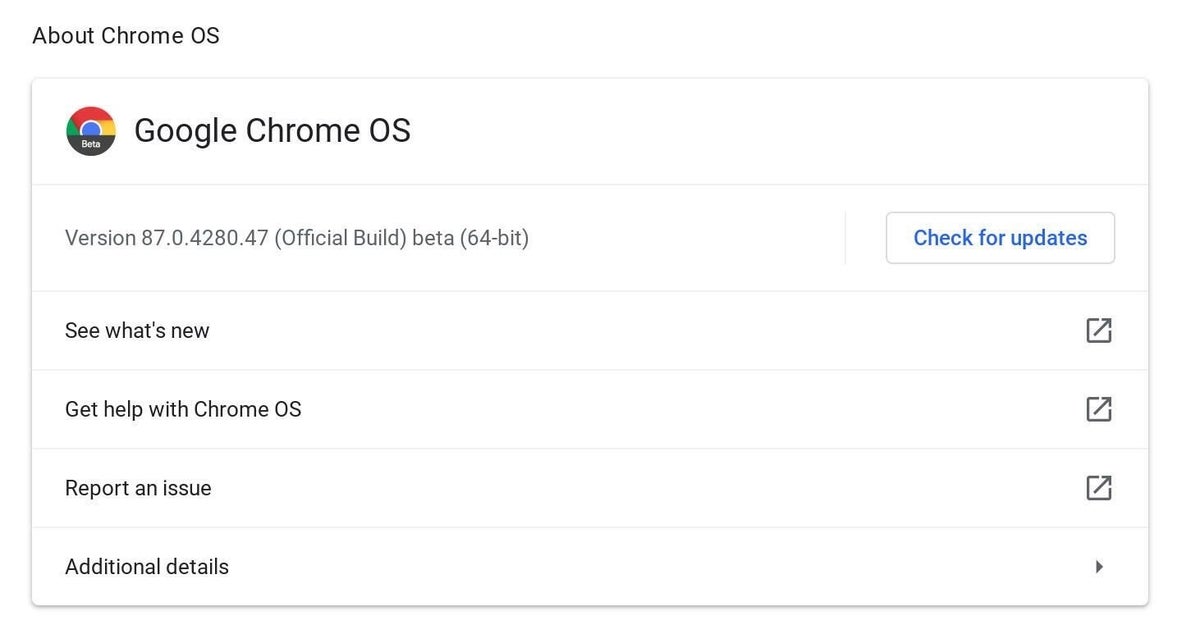
If you don’t see an update available, you can always manually check for one by opening Settings | About Chrome. In that window, click Chrome OS Settings and then click Check For Updates (Figure D).
Figure D

If there is an update available, restart your Chromebook to apply it.
5. Powerwash your Chromebook
When you Powerwash your Chromebook, you return it to factory settings. Don’t worry about doing this, because you’ve set up Chrome OS to sync much of your important data. That means after a Powerwash, you’ll still have all of your bookmarks, passwords, and other bits. The only thing you’ll lose are the files you’ve saved to the local device. Because of that, you’ll want to upload those downloaded files to Google Drive.
To Powerwash your Chromebook, go to Settings | About Chrome OS | Chrome OS Settings. In the resulting window, scroll down to Reset Settings, and click Reset (Figure E).
Figure E

When prompted, click Restart and your Chromebook will begin the process of wiping itself clean. Your Chromebook will start performing as though it were new. As a general rule, I tend to Powerwash my Chromebooks regularly to keep them running smoothly.
And there you have it, five (mostly) easy ways to get a bit more performance out of that Chromebook. Although you might not need a performance gain, it can’t hurt. Just remember to use caution if you enable Hyper-Threading.
Subscribe to TechRepublic’s How To Make Tech Work on YouTube for all the latest tech advice for business pros from Jack Wallen.

Image: Jack Wallen