


Image: iStock/relif
Cloud: Must-read coverage
- CrowdStrike Outage Disrupts Microsoft Systems Worldwide
- Quick Glossary: Cloud Platform Services
- Achieving Cost Efficiency in Cloud Storage: The Role of Western Digital’s Hard Drive Portfolio
- Still Not Backing Up Microsoft 365 Data? Here’s Why That’s a Risky Move
- Verito vs. Rightworks: Which IT Provider Is Best for Your Firm?
If you’re a cloud-native developer (or any developer, for that matter), you might need a tool to analyze your code to help you locate security issues, bugs, vulnerabilities, smells, and general issues. If you only work on a single, small project, you might be able to get by with doing that the old-fashioned, manual way. When you’re constantly cranking out code for the likes of CI/CD, your production levels probably exceed your ability to run manual checks. Where do you turn?
SEE: Managing the multicloud (ZDNet/TechRepublic special feature) | Download the free PDF version (TechRepublic)
You could always install a tool like SonarQube. This web-based software does an outstanding job of empowering developers to write cleaner, safer code. If you happen to have an on-premise Linux server, or a cloud account with the likes of AWS, Google Cloud, or Azure, handy, you can deploy the community edition of SonarQube for free. This edition features:
-
Static code analysis for 15 widely-used languages
-
Bug and vulnerability detection
-
Security hotspot review within your code
-
Code smell tracking
-
Technical debt fixing
-
Code quality metrics and history
-
CI/CD integration
-
Extensible, with 50+ community plugins
You can also check out the features for the paid versions of SonarQube from their version matrix.
I’m going to walk you through the process of getting the community version of SonarQube up and running on Ubuntu Server 20.04.
SEE: Top cloud providers in 2020: AWS, Microsoft Azure, and Google Cloud, hybrid, SaaS players (TechRepublic)
- What you’ll need
- How to modify kernel system limits
- How to install OpenJDK 11
- How to install and configure PostgreSQL
- How to download and unpack SonarQube
- How to create a new SonarQube group and user
- How to configure SonarQube
- How to create a systemd file and start the service
- How to install and configure NGINX
- How to access SonarQube
What you’ll need
The only things you’ll need to make this work are:
-
A running instance of Ubuntu Server 20.04
-
A user with sudo privileges
How to modify kernel system limits
The first thing we must do is make a few modifications to a couple of kernel system limits. Open the sysctl.conf file for editing with the command:
sudo nano /etc/sysctl.conf
Add the following lines to the bottom of that file:
vm.max_map_count=262144

fs.file-max=65536

ulimit -n 65536

ulimit -u 4096
Save and close the file.
Next, we’re going to edit limits.conf. Open that file with the command:
sudo nano /etc/security/limits.conf
At the end of this file, add the following:
sonarqube   -   nofile   65536

sonarqube   -   nproc    4096
Save and close the file.
Reboot your system so the changes will take effect.
How to install OpenJDK 11
We’ll now install the OpenJDK dependency. Do this with the command:
sudo apt-get install openjdk-11-jdk -y
How to install and configure PostgreSQL
For the database portion of SonarQube, we’ll use PostgreSQL (as they’ve deprecated support for MySQL). As PostgreSQL isn’t found in the standard repositories, we must add it.
Download and install the GPG key with the command:
wget -q https://www.postgresql.org/media/keys/ACCC4CF8.asc -O - | sudo apt-key add -
Create a new apt repository with the command:
sudo sh -c 'echo "deb http://apt.postgresql.org/pub/repos/apt/ `lsb_release -cs`-pgdg main" >> /etc/apt/sources.list.d/pgdg.list'
Install PostgreSQL with the command:
sudo apt install postgresql postgresql-contrib -y
Start and enable the database service with the commands:
sudo systemctl enable postgresql

sudo systemctl start  postgresql
Set the PostgreSQL password with the command:
sudo passwd postgres
You’ll be prompted to type and verify a new password for the database admin user.
Switch to the postgres user with the command:
su - postgres
Create a new user for the SonarQube database with the command:
createuser sonar
Log in to the PostgreSQL console with the command:
psql
Set a password for the new sonar user with the command:
ALTER USER sonar WITH ENCRYPTED PASSWORD 'password';
Where password is a strong, unique password.
Create the new sonarqube database with the command:
CREATE DATABASE sonarqube OWNER sonar;
Grant the necessary privileges for the database with the command:
GRANT ALL PRIVILEGES ON DATABASE sonarqube to sonar;
Exit the PostgreSQL console with the command:
q
Exit out of the postgres user with the command:
exit
Enable the PostgreSQL service with the commands:
sudo systemctl enable postgresql
How to download and unpack SonarQube
With the database taken care of, we can now download and unpack SonarQube. As of this writing, the latest version is 8.5.1.3814. You’ll want to check the download link, to ensure you’re downloading the latest version.
To download SonarQube, issue the command:
wget https://binaries.sonarsource.com/Distribution/sonarqube/sonarqube-8.5.1.38104.zip
Upack that file with the command:
unzip sonarqube*.zip
If you find the unzip command isn’t available, install it with:
sudo apt-get install zip -y
Move and rename the newly created directory with the command:
sudo mv sonarqube-8.5.1.38104 /opt/sonarqube
If you’ve downloaded a different version than 8.5.1.38104, make sure to change that release number in the above command.
How to create a new SonarQube group and user
We now need to create a new group and user for SonarQube. Create the group with the command:
sudo groupadd sonar
Next, create the user and add it to the group (and set it’s home directory to /opt/sonarqube directory) with the command:
sudo useradd -c "SonarQube - User" -d /opt/sonarqube/ -g sonar sonar
Change the ownership of the /opt/sonarqube directory with the command:
sudo chown -R sonar:sonar /opt/sonarqube/
How to configure SonarQube
Our next step is to configure SonarQube. Open the configuration file for editing with the command:
sudo nano /opt/sonarqube/conf/sonar.properties
In that file, look for the following lines:
#sonar.jdbc.username=

#sonar.jdbc.password=

#sonar.jdbc.url=jdbc:postgresql://localhost/sonarqube

#sonar.search.javaOpts=-Xmx512m -Xms512m -XX:+HeapDumpOnOutOf
You need to remove the # character from all four lines and change the first line to:
sonar.jdbc.username=sonar
Change the password line to include the password you created for the sonar PostgreSQL user.
You’ll also want to edit the following lines, making sure they reflect what you see below:
sonar.jdbc.username=sonar

sonar.jdbc.password=PASSWORD

sonar.jdbc.url=jdbc:postgresql://localhost/sonarqube

sonar.web.host=0.0.0.0

sonar.web.port=9000

sonar.web.javaAdditionalOpts=-server

sonar.search.javaOpts=-Xmx512m -Xms512m -XX:+HeapDumpOnOutOfMemoryError

sonar.log.level=INFO

sonar.path.logs=logs
Where PASSWORD is the password you set for the sonar PostgreSQL user.
Save and close the file.
How to create a systemd file and start the service
Let’s now create a systemd file, so the SonarQube service can be controlled. Create the file with the command:
sudo nano /etc/systemd/system/sonarqube.service
In that file, paste the following:
[Unit]

Description=SonarQube service

After=syslog.target network.target
[Service]
Type=forking
ExecStart=/opt/sonarqube/bin/linux-x86-64/sonar.sh start
ExecStop=/opt/sonarqube/bin/linux-x86-64/sonar.sh stop
User=sonar
Group=sonar
Restart=always
LimitNOFILE=65536
LimitNPROC=4096
[Install]
WantedBy=multi-user.target
Save and close the file.
Enable and start the service with the following commands:
systemctl enable sonarqube

systemctl start sonarqube
How to install and configure NGINX
We’ll be using NGINX as a reverse proxy for SonarQube. To install NGINX, issue the command:
sudo apt-get install nginx -y
Start and enable the NGINX service with the commands:
sudo systemctl enable nginx

sudo systemctl start nginx
Create a new NGINX configuration file with the command:
sudo nano /etc/nginx/sites-enabled/sonarqube.conf
In that file, paste the following:
server{
listen 80;
server_name sonarqube.da.com;
access_log /var/log/nginx/sonar.access.log;
error_log /var/log/nginx/sonar.error.log;
proxy_buffers 16 64k;
proxy_buffer_size 128k;
location / {
proxy_pass http://127.0.0.1:9000;
proxy_next_upstream error timeout invalid_header http_500 http_502 http_503 http_504;
proxy_redirect off;
proxy_set_header Host $host;
proxy_set_header X-Real-IP $remote_addr;
proxy_set_header X-Forwarded-For $proxy_add_x_forwarded_for;
proxy_set_header X-Forwarded-Proto http;
}
}
Save and close the file.
Restart NGINX with the command:
sudo systemctl restart nginx
How to access SonarQube
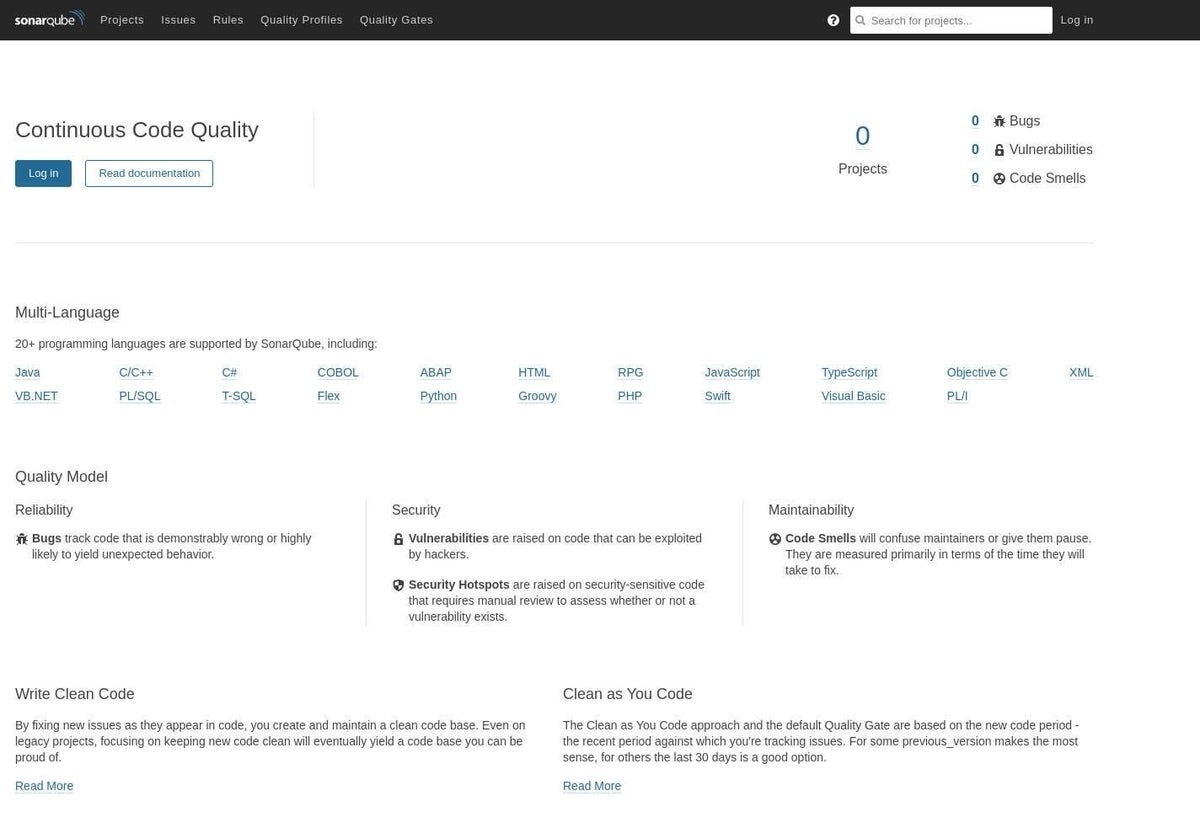
Now that SonarQube is installed, open a web browser and point it to http://SERVER_IP:9000 (where SERVER_IP is the IP address of your server). You’ll be greeted by the welcome page (Figure A).
Figure A
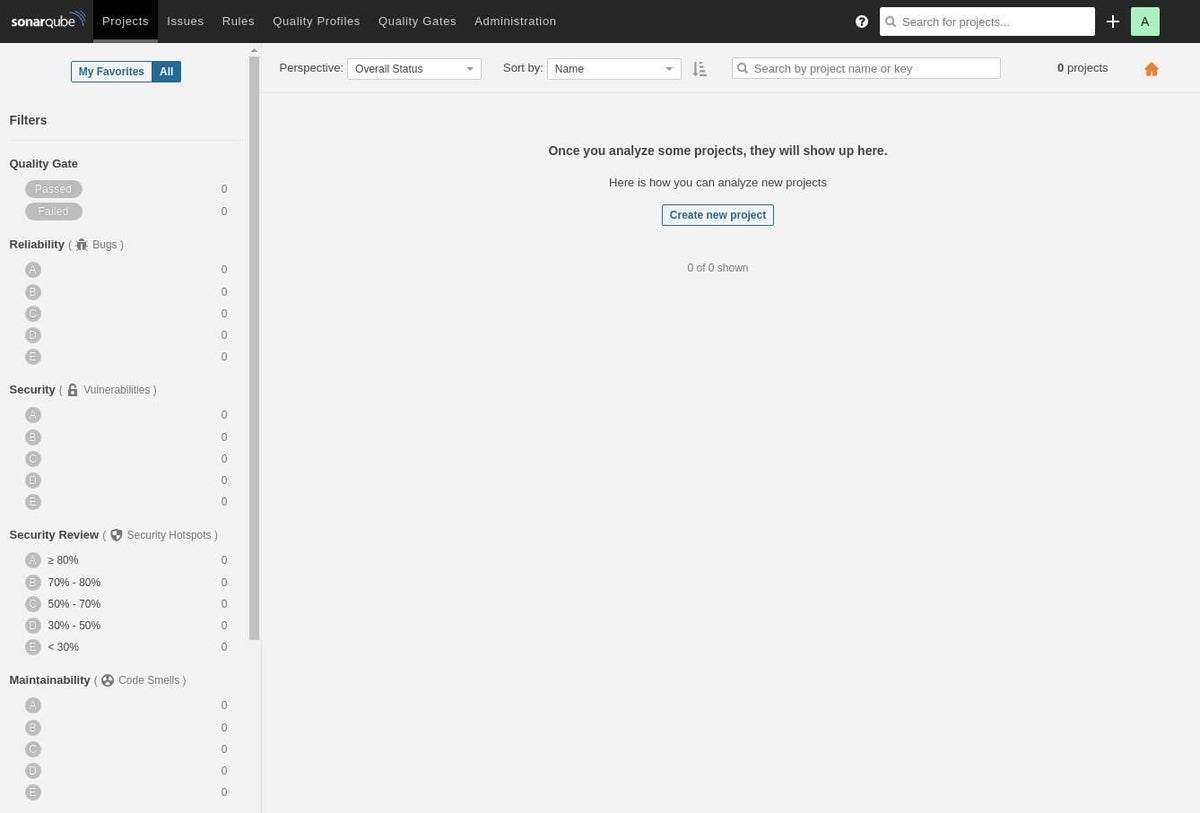
Click Login and use the credentials admin/admin. Once you’ve logged in, you should see the main SonarQube page, where you can start uploading code for analysis (Figure B).
Figure B
Congratulations, you now have a powerful tool that can help you create clean, issue-free code. Use it frequently and wisely.
Subscribe to TechRepublic’s How To Make Tech Work on YouTube for all the latest tech advice for business pros from Jack Wallen.